You must be logged in to rate content!
5 minute(s) of a 224 minute read
5-23-2009
.....were two important tasks I took on and completed today.
New Energy Suspension polyurethane body mounts. I used a pair of new reproduction core support mounts made of rubber, poly mounts were not available for those.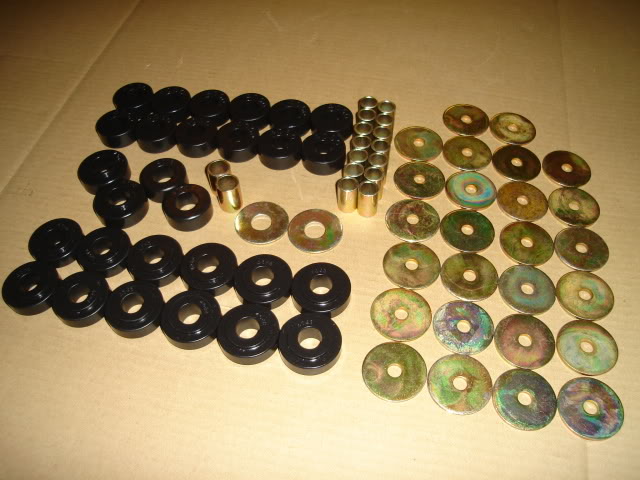
I jacked up the passenger side of the Tempest body first after removing all the bolts on that side and loosening all of the bolts on the other side. The front of the body still came up before the rear even with the jacking point this far back.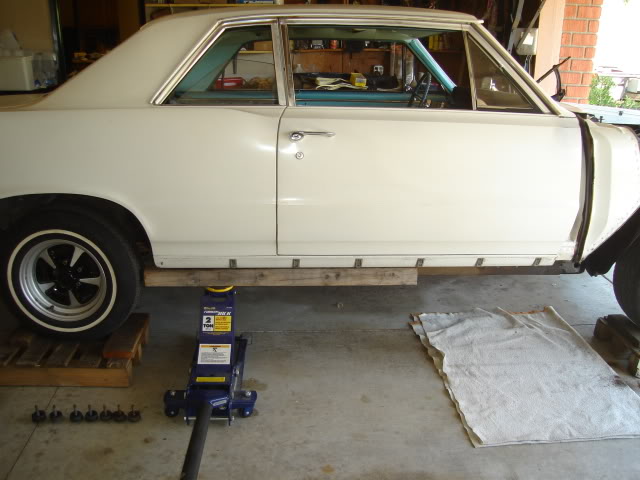
Old mount at the rear of the car.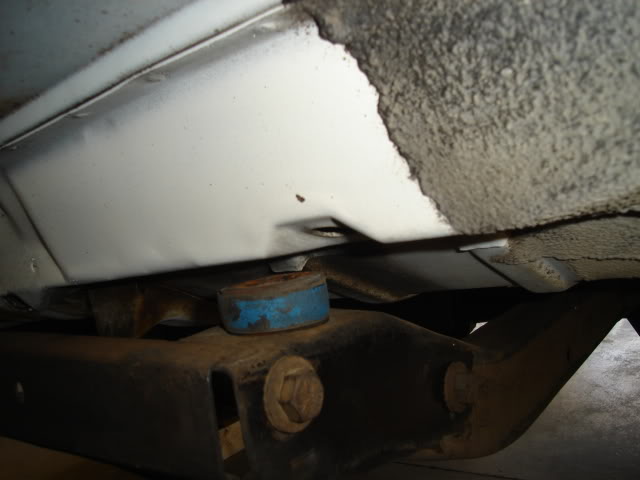
Two old mounts at the front below the firewall. The car doesn't need to come quite this far off the frame to remove them.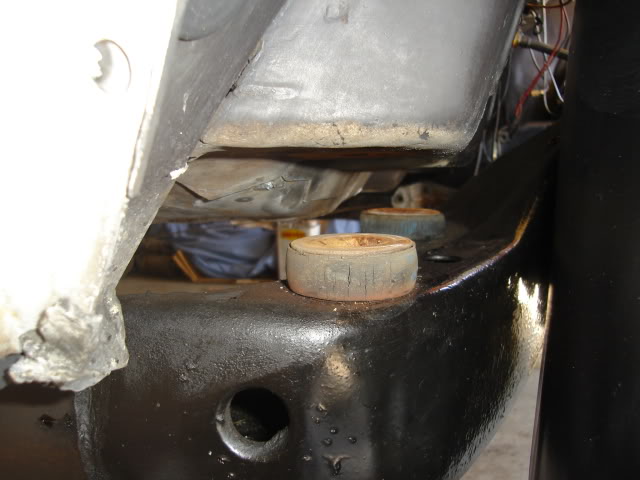
A look at the center frame mount area with the old mount removed, right next to the seat belt mounting point.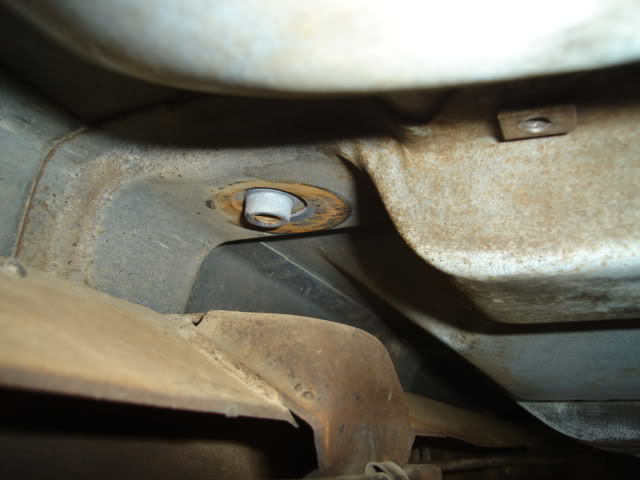
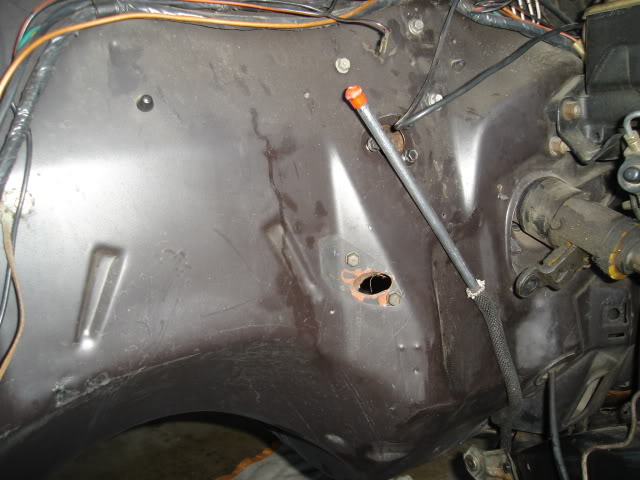
The bolt holding the front inner fender to the frame needs to come out on both sides (driver's side shown), this important step is not mentioned in the body mount installation instruction sheet. I took the brake hose bracket loose from the frame as well.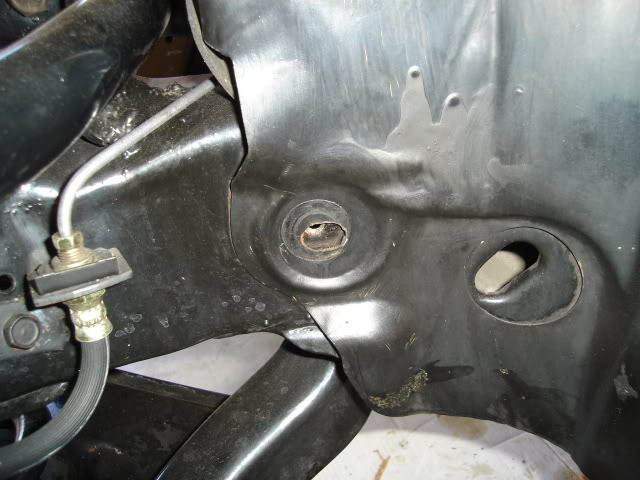
The steering column needs to be taken loose at the rag joint and loosened under the dash so you can pull it back about 1" or a little less. Another important thing that is not mentioned in the instructions.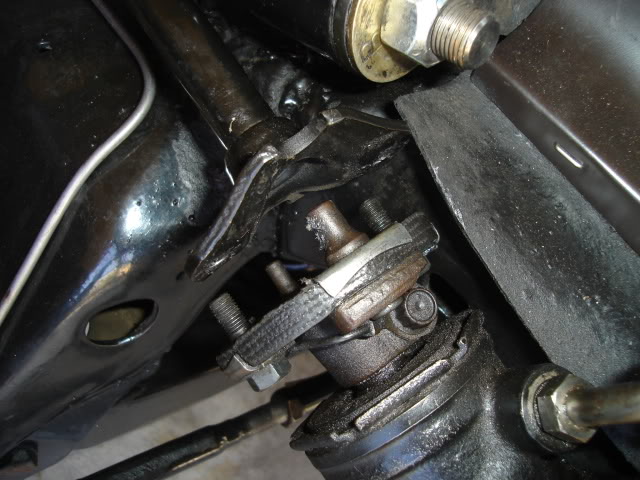
Old mounts removed, in pretty sorry shape. The rearmost ones (seen at the left) were compressed less than the ones closer to the center and front of the car. The original body bolts were in good shape and after some work with a wire brush they were reused after coating the threads with copper anti-seize compound.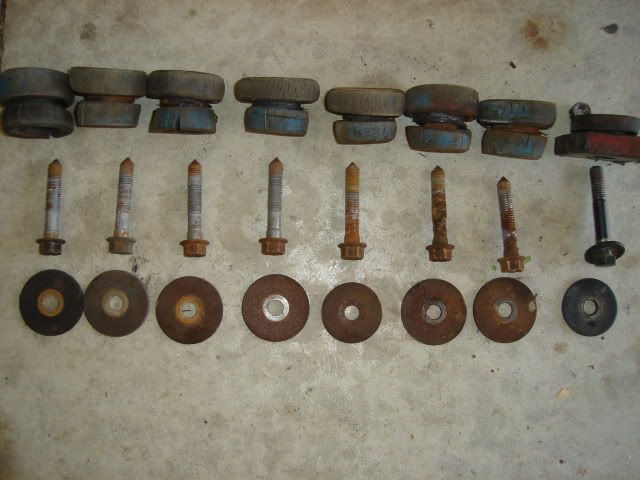
New reproduction 3/8" steel fuel line from Performance Years. They all come with a soft bend in the middle for shipment that's easily straightened out before installation.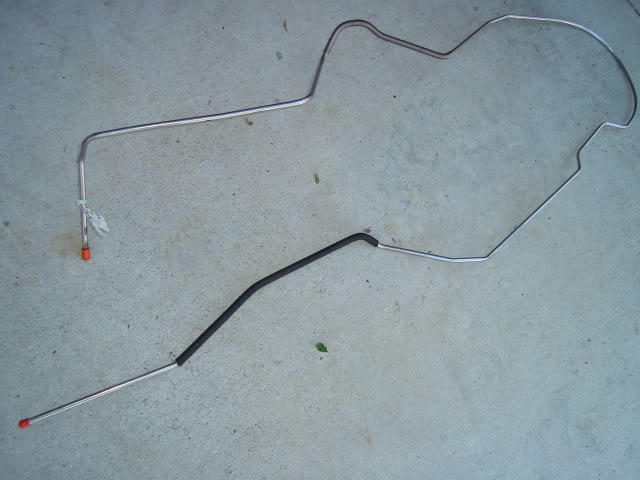
All straight and ready for installation. The 1964 -'67 A-body cars came with 5/16" line from the factory and that is the size you'll see in the PY catalog. Just ask them and they will do it in 3/8" for you by special order.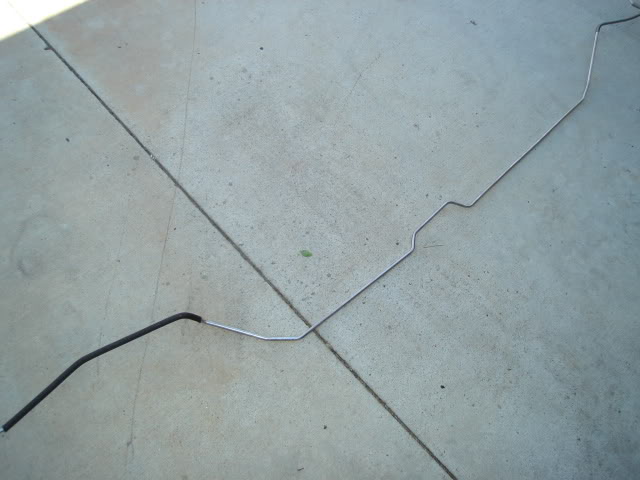
After finishing the passenger side mount installation and leaving the bolts loose I jacked up the driver's side. I jacked up the body a few more inches so I could snake the new fuel line into place. After looking things over I decided that feeding the line through the rear wheel well opening would work without having to bend up the line.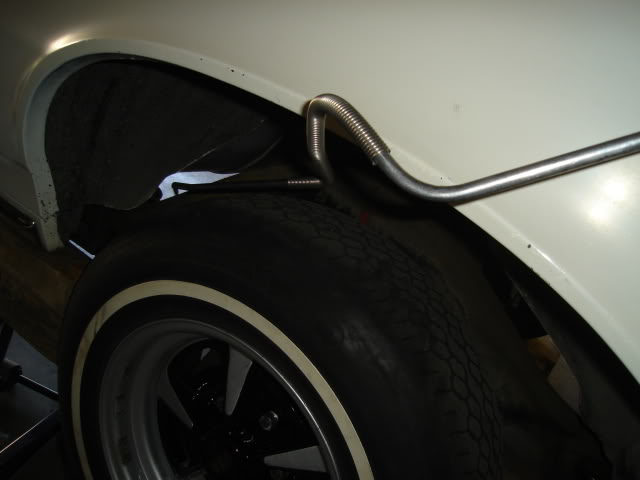
Feeding it in.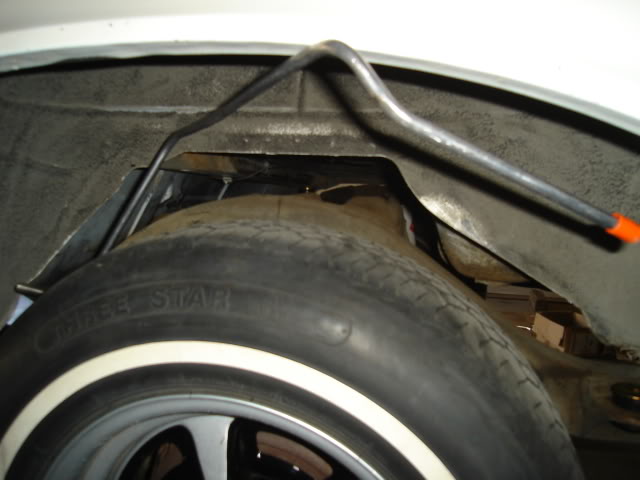
This shot gives you an idea of where it has to go near the rear.
Here you can see it running towards the front of the car. The 3/8" line clips right into the three 5/16" factory clips on the frame making for a neat and easy installation.
Rather than run the line through the front frame rail and out the front crossmember like the factory would have I bent the line so it would hug the firewall and head upward to meet up with the LS3 fuel rail on the driver's side.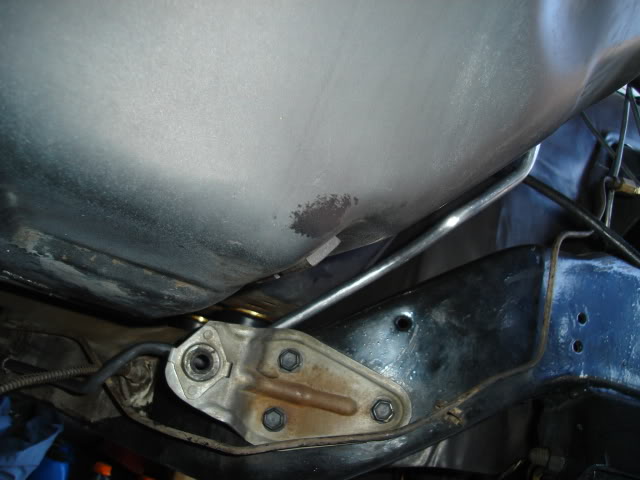
After I finished up the bending I slid the protective sleeving that was originally provided to keep the line from chafing inside the front frame rail over the bends. This will help to insulate the line and keep it from rubbing where it comes close to the frame and firewall. The fuel line is tucked in nice and tight so it will clear my column shift linkage.
Here's why you need to take the steering column loose at the rag joint, the body needed to move upward pretty far to get the mounts and especially the fuel line in.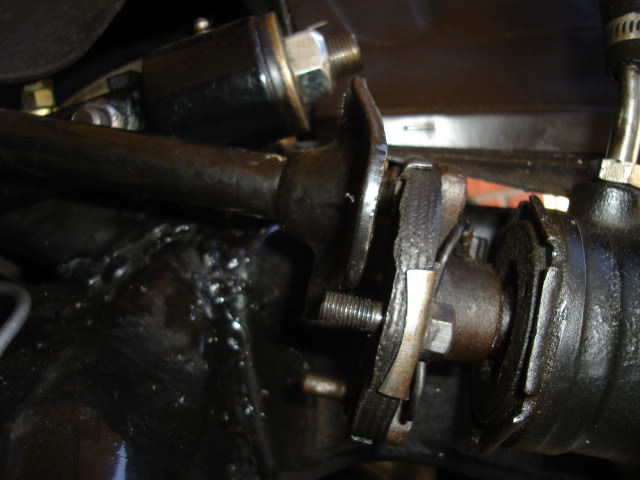
That's all for today, I took advantage of the perfect 75 degree weather and got a lot accomplished.
Moving forward.
The Tempest!
Posted by Diggymart on 3/26/21 @ 3:09:22 PM