You must be logged in to rate content!
4 minute(s) of a 224 minute read
5-9-2009
.....to pretty much finish off the suspension upgrades, a new $300 set of Bilstein Heavy-Duty gas shocks. These are supposed to be one of the best riding and handling shocks available for a reasonable price, by just looking at them the German quality is clearly evident.
I really couldn't justify the purchase of single-adjustable shocks (about $700) or double-adjustable shocks (about $1500) since I'll just be doing a little agressive pleasure driving from time to time and really don't have any plans to autocross this car.
Part # F4-BE3-2972-HO front and AK2080 rear.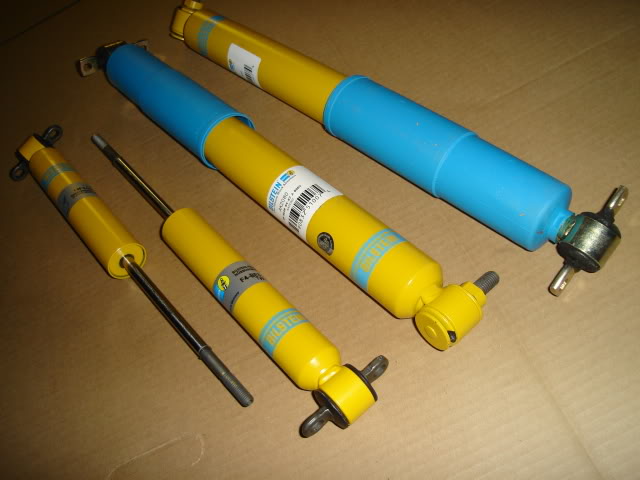
Soon the new Classic Auto Air system will arrive and it will be time to really dig into some 'real' work on the car. The new A/C system along with the Speartech harness and controller will both need to find a home under the dash and on/through the firewall.
Today I finally finished off the window channel rust sanding with some 180 grit paper and tomorrow I plan to seal up the front and rear window channels with some silver POR-15.
Staying motivated.
5-10-2009
Today I got an early start so I could complete 3 coats of POR-15 on the window channels.
I started by scrubbing the already clean channels (cleaned with Simple Green) with some Scotchbrite dipped in PPG DX-579 Metal Cleaner (same as Metalprep) to etch both the rusted areas and the clean bare metal areas as well.
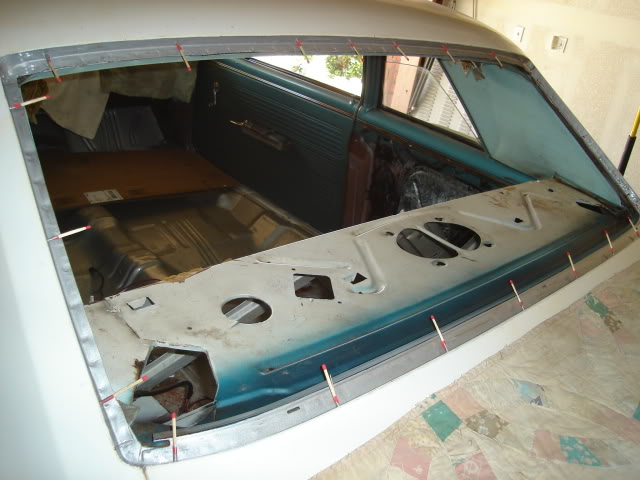
Then to keep the Metal Cleaner and rinse water from finding it's way down into the body I plugged off all of the trim clip screw holes with some wooden matches (of all things!) wrapped with masking tape so they would seal up the holes. I left the matches in place during the POR-15 application to keep it from plugging up or reducing the size of the holes.
All of the pics were taken after the first coat of silver POR-15 was applied.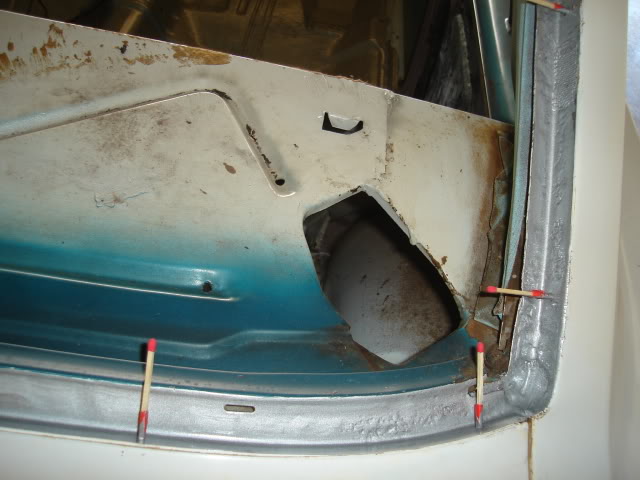
The 3 small holes on the passenger side rear window channel were patched with 2 layers of fiberglass cloth.
Driver's side bottom corner.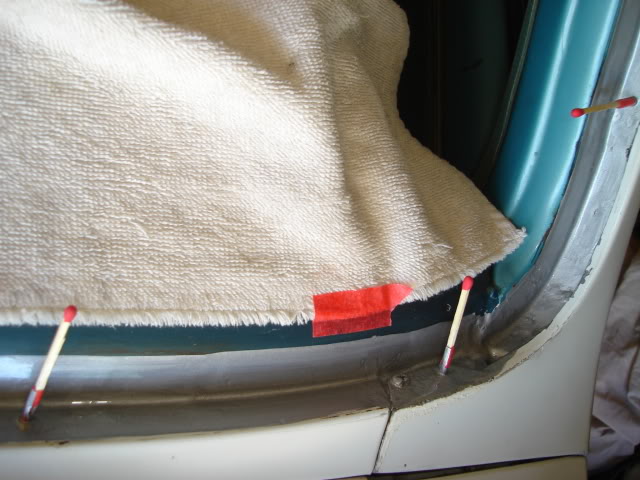
Heaviest pitting is right in front of the driver. I plan to sand this down after the POR-15 cures for about a week and put down a few more coats to level out the surface for a better seal when the new windshield is installed.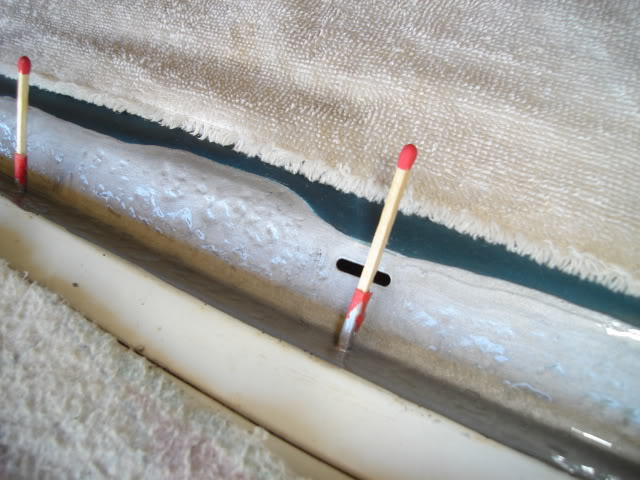
Front and rear channels with the first coat completed and waiting 2 to 3 hours for a second coat.
Right now it's time to put down the 3rd coat of POR-15 before the day/weekend is gone.
I did call my Mom right after the second coat was down, Happy Mother's Day!
The Tempest!
Posted by Diggymart on 3/26/21 @ 3:09:22 PM