You must be logged in to rate content!
7 minute(s) of a 224 minute read
5-2-2009
.....some real motivation to keep moving forward on my Tempest project.
I was actually caught in the act of working on the Tempest by a long-time internet forum friend who I had not had the pleasure of meeting yet. I was all wet and dirty from laying underneath the car. I was really getting into washing down the underside of the floor pans and frame rails to remove all of the grease and dirt when a 'stranger' walked up my driveway called out my name.
Mike (455HOGT37 on Performance Years) stopped by in his LS3-powered six-speed manual 2008 Corvette. We talked cars and took inventory of some of the major components I had for the LS3 swap for a while. It wasn't long befire Mike forced me to get behind the wheel of his 'vette. I gladly accepted his generous offer.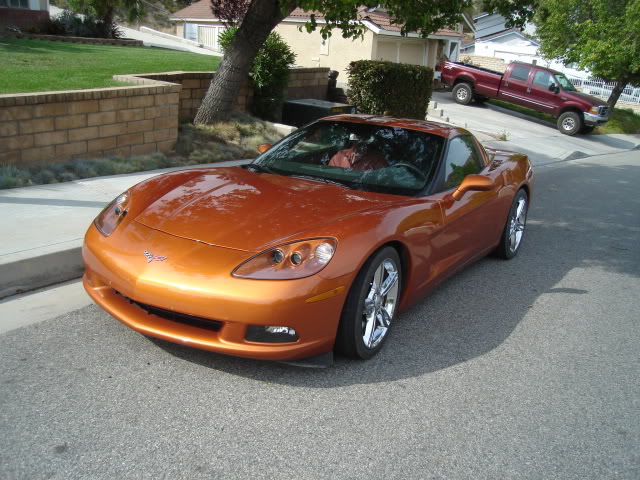
I impressed Mike right away with my ability to handle a stick-shift by trying to take off in 3rd gear instead of first. Those shift gates are mighty close together.
We headed out for a little drive and right away I was impressed with the smooth low-RPM power of the LS3. I had the car in sixth gear at a little over 50 MPH, it was doing about 1100 RPM on the tach and wasn't complaining. I pushed it back into 5th to keep it a little happier.
Mike asked me to find a spot where I could launch the car in low gear from a dead stop, I gladly obliged. Beat on your car? Sure.
The car spun the tires with ease, I let out of the throttle once and nailed it again and they spun even harder. These LS3 cars are animals.
We headed to the freeway to check out the high-speed power and acceleration. I was able to get it up to 90 MPH in a very short distance heading down the onramp, letting off before entering the freeway. The acceleration ability of this base model Corvette was nothing less than astonishing, it's stock other than the addition of a set of factory LS7 headers and matching factory 3" exhaust.
Thanks Mike, I'm now even more excited than ever about getting the LS3 Tempest project done!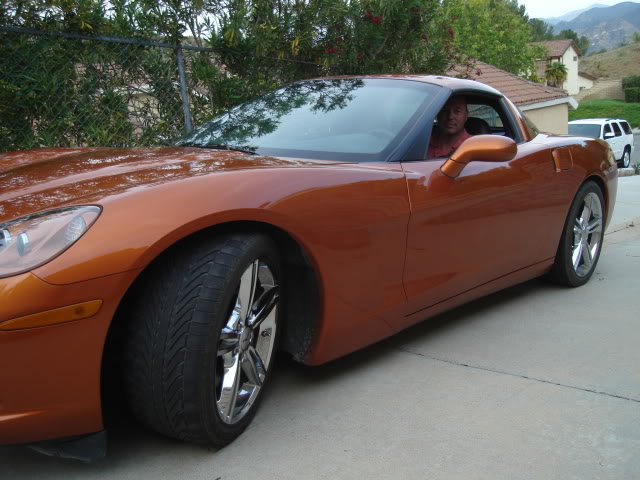
.....look like underneath. This little Tempest is as close to being a rust-free car as you could ever hope for. After a little bit of help on the floor pans and in the front and rear window channels with POR-15 she'll be good to go.
Today I was busy cleaning up the underside of the car and took a few shots. I wanted to degrease the underside before installing the new set of body mounts and 3/8" fuel line. Both of the old drivetrains (original 215-six and the 455 V8) did have a few oil leaks, but all in all it was a pretty easy cleaning job. The sealing technology on the newer LSx engines is so much improved that I fully expect the underside to stay free of oil after this car is back on the road.
Trans tunnel.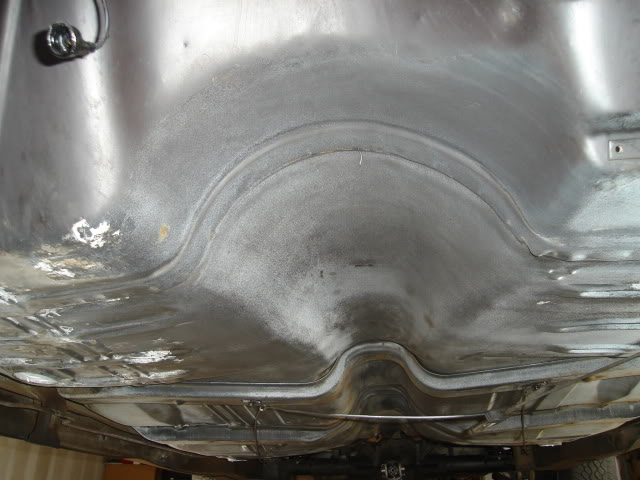
Rear pans looking from the driver's side.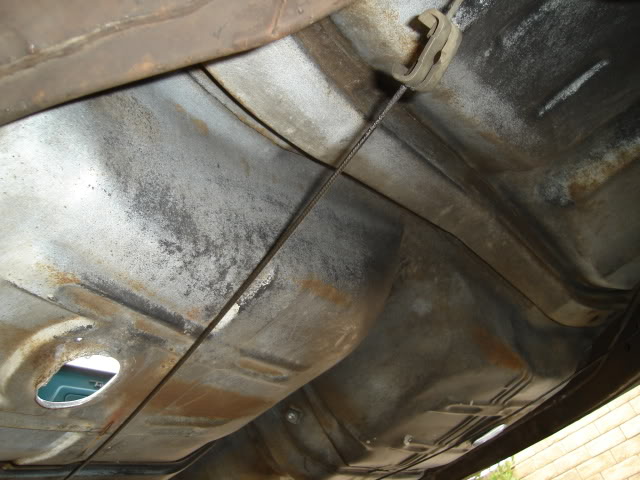
Driver's side pans looking toward the front. Plenty of factory white overspray can be seen here.
Underneath the rear seat area looking from the passenger side.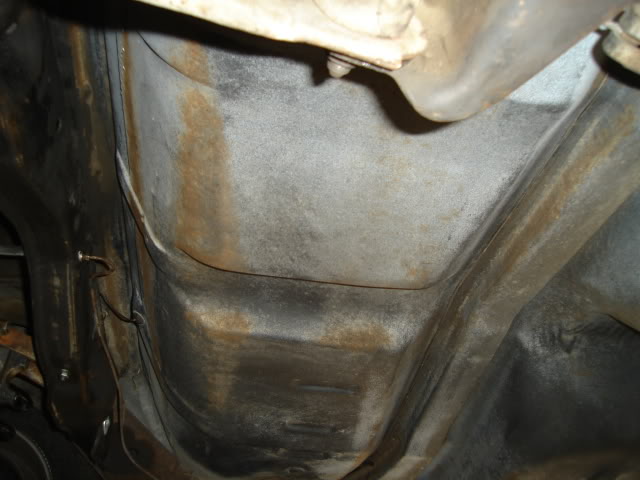
Front passenger floor looking from the driver's side. You can see where the silver POR-15 seeped past the duct tape a little, this side needed the most patching to fix rust holes.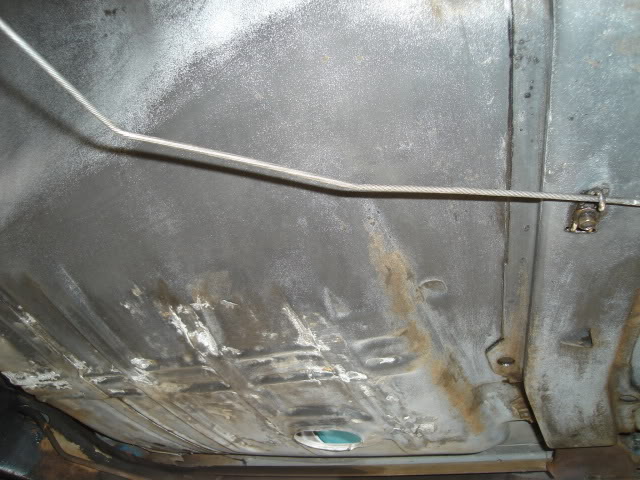
The Tempest is shown here up off the ground by using about a foot-tall stack of small wooden shipping pallets under each tire, a very safe way to get under the car and get work done.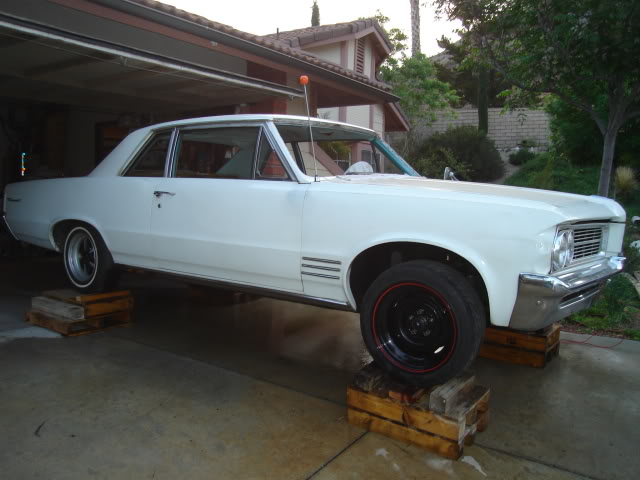
Two weeks ago I spent a few hours removing the back glass, it needed to come out in order to arrest the rust in the window channel and reseal it. Breaking this back glass means spending over $500 for a new replacement, so I was very careful cutting it loose and removing it.
Last weekend I sanded using 80-grit paper for quite a few hours on the front and rear window channels to remove whatever rust that I could. I also removed all of the window reveal moulding clips. They will be replaced with new repro clips, about half of the old ones were rusted badly or broken.
For whatever reason, the worst rust was on the passenger side of the rear window channel.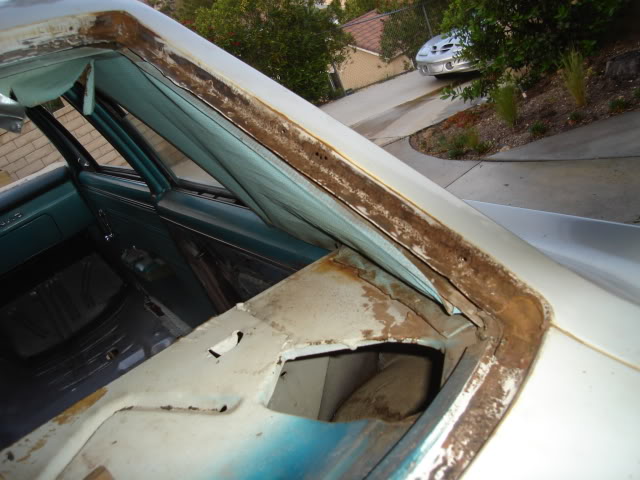
Here are 3 small holes on the passenger side, the only rust that penetrated all the way through on the front or rear channels. I'm feeling pretty lucky.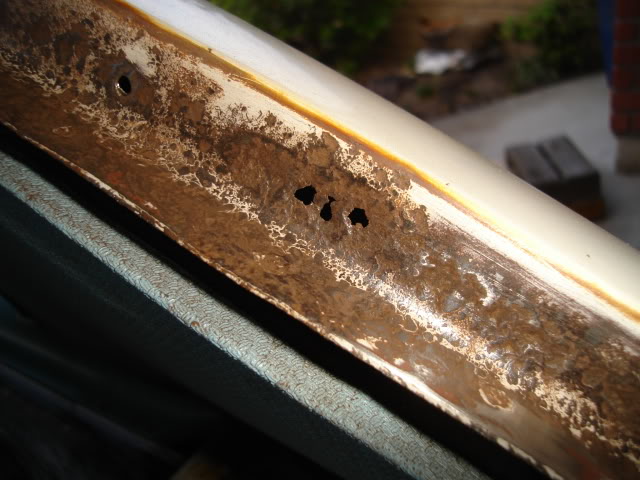
Bottom of the rear channel is in great condition, just a little rust needed sanding near the center for the most part.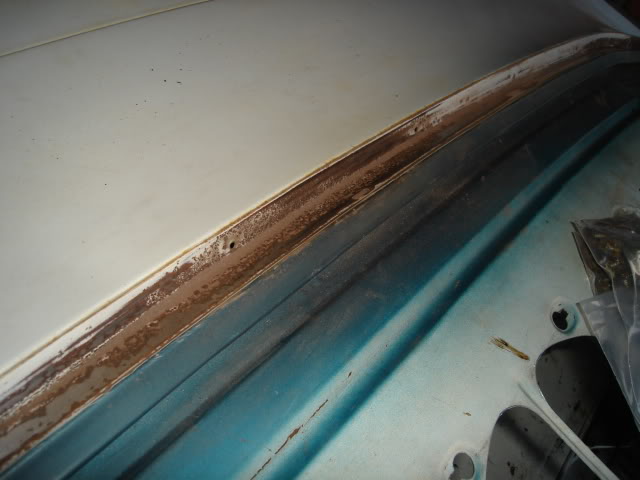
The windshield channel at the bottom has some fairly heavy pitting, it started to creep up into the dash a little on the driver's side. I tucked some white towels under the back edge of the hood to keep most of the sanding dust out of the cowl vents.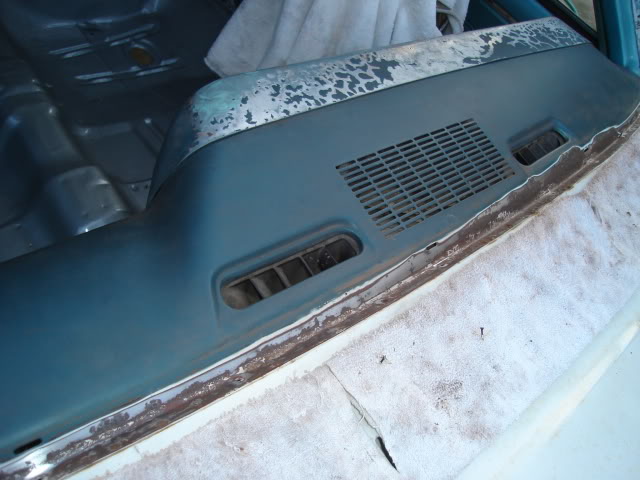
Top center of the windshield channel has some pitting too.
After doing a little more prep work on the channels I'll lay on a few coats of the silver POR-15. After that I'll topcoat it with another POR-15 product, either their 2-part Whitecoat or 1-part Flexcoat in white. Both are UV-resistant topcoats, the silver POR-15 isn't and is the wrong color since the edge will be seen once the window mouldings are installed. While I'm at it I'll topcoat the trunk floor with white as well since I'll have plenty left over, right now it's finished in some silver POR-15 that I put down about 13 years ago.
Still collecting parts and doing some dirty work, nothing too exciting is happening yet.
The Tempest!
Posted by Diggymart on 3/26/21 @ 3:09:22 PM