You must be logged in to rate content!
4 minute(s) of a 224 minute read
12-7-2008
.....on this particular Sunday, there's just too much work that I need to get done before the weather starts getting colder.
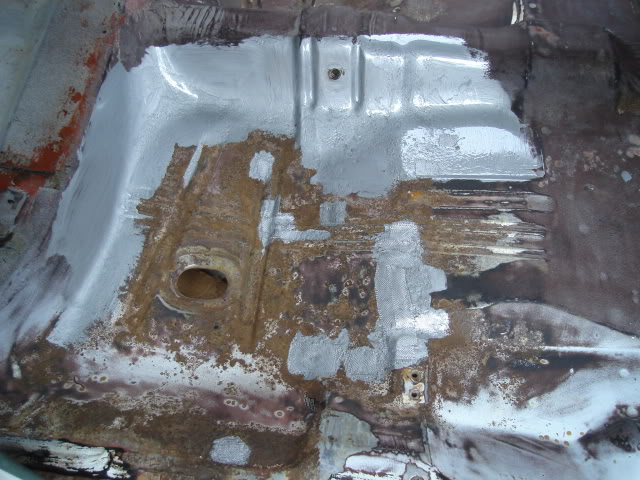
Pulled my daily drivers out of the garage at 7:30 AM so I could push the Tempest out and get the long day started. Spent a little time under the car wiping down the underside of the floorpans with some paint thinner in the areas where I need to patch it, to give the duct tape I'm using to contain the POR-15 in those areas a chance to stick.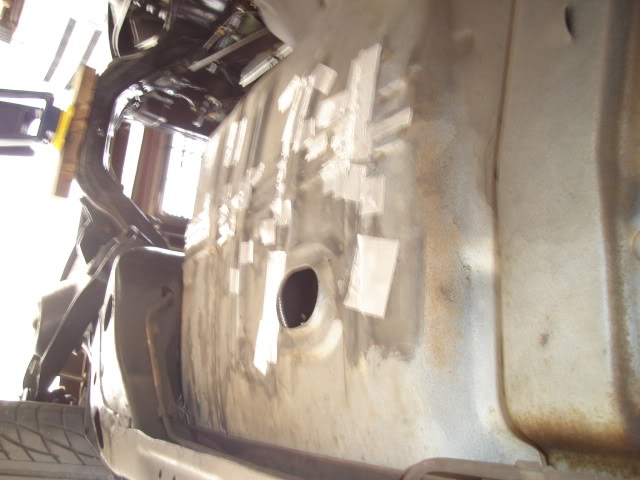
Stirring up the silver POR-15 takes about 5 minutes of constant mixing the first time, there's a ton of solids at the bottom that need to get dispersed in the carrier before you can use it.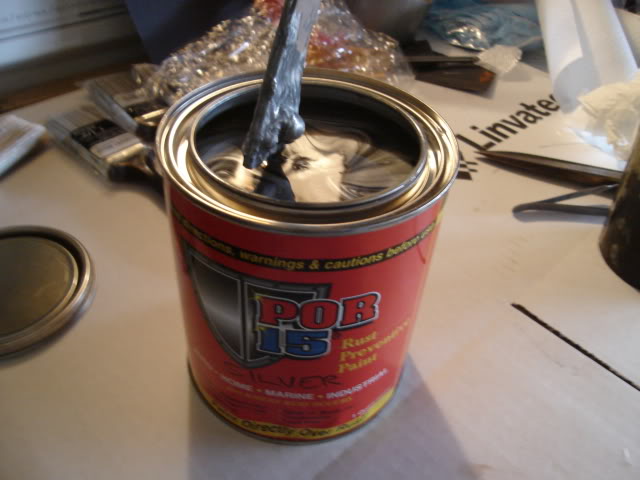
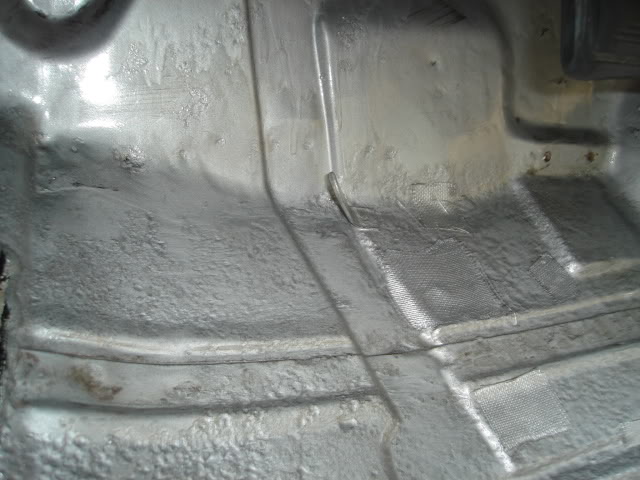
First thing to do is to set all the patches by lifting them up with tweezers and putting a first coat down under each one, starting with the ones furthest away from me. I ended up cutting down a lot of the patches, they don't lay into the valleys and on the ridges very well if they're too big. On the flat areas this isn't a problem, bigger patches are fine in those areas.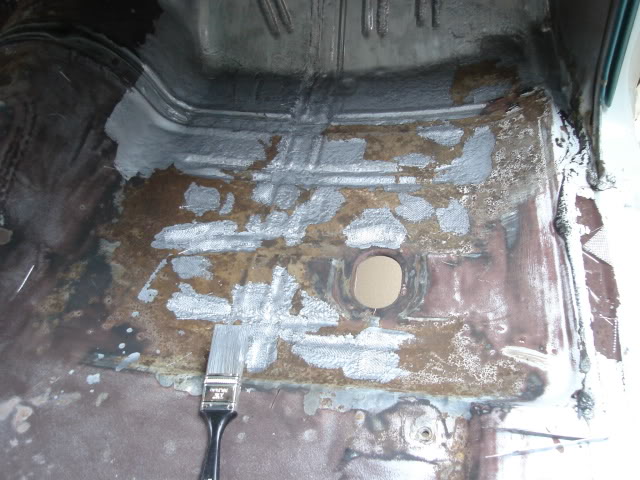
On to the rear passenger floor, in much worse shape than the driver's side passenger floor that won't require any patching.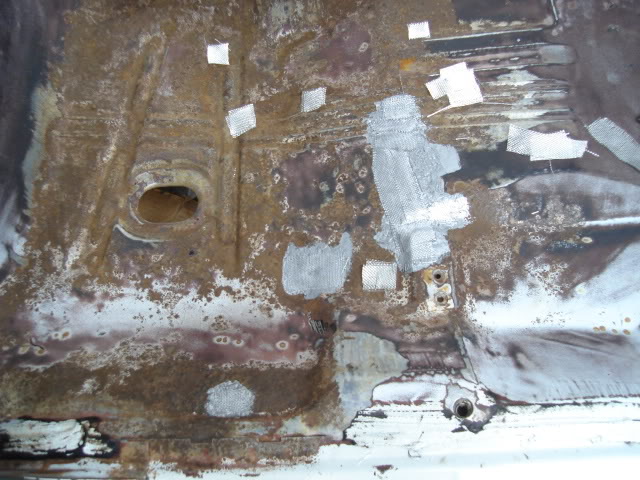
Passenger front floor first coating is now complete. I filled in the areas between the patches by using the tip of the brush in a straight up-and-down dabbing motion so as not to disturb the patches.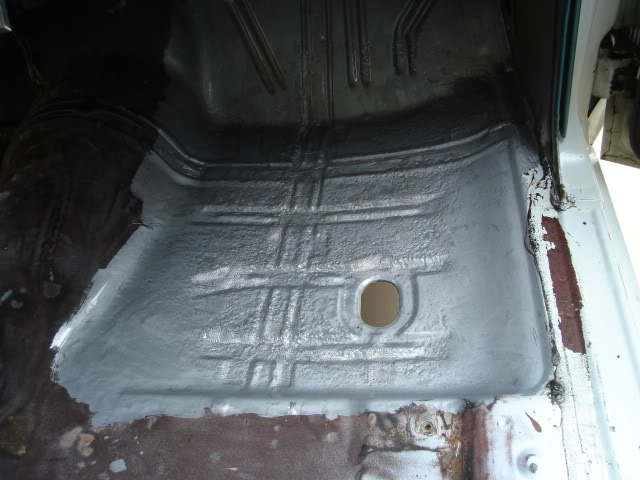
First coat is now complete, about 2 hours of work. Takes a bit of time because I trimmed down quite a few of the patches, plus there were a lot of patches to set on the passenger side. The next two coats that will be done about 2 to 3 hours apart will go a lot quicker, taking about 1/2 hour to coat the entire floorpan.
You have to re-coat within the 2 to 3 hour time frame. Otherwise you're in for a lot of work scuffing this stuff down as it dries super-hard, similar to powdercoating. Again you must dab straight up-and-down with the brush on or near the patches on subsequent coatings, they tend to slide around fairly easlily until this stuff hardens completely.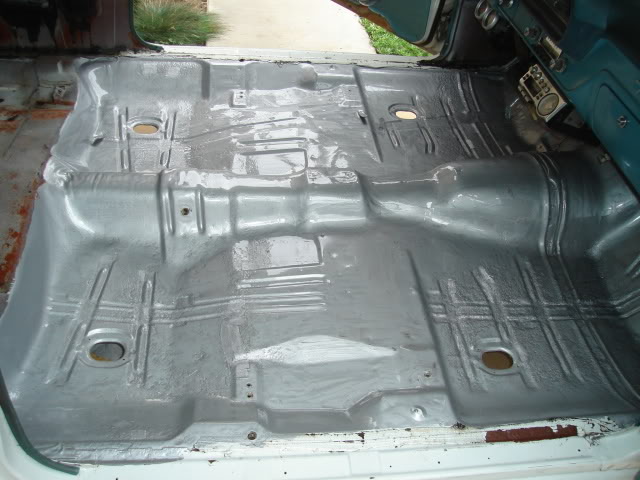
I've already done the front passenger floor pan on my '64 Lemans convertible the same way, a super-strong repair.
The front passenger floor had some rust out where the coolant collects after a heater core blows out, pretty common rust problem on a lot of old cars. I've also done the trunk floor on the Lemans as well as on the Tempest over 12 years ago, had to patch a few small holes on them as well and both are still holding up perfectly.
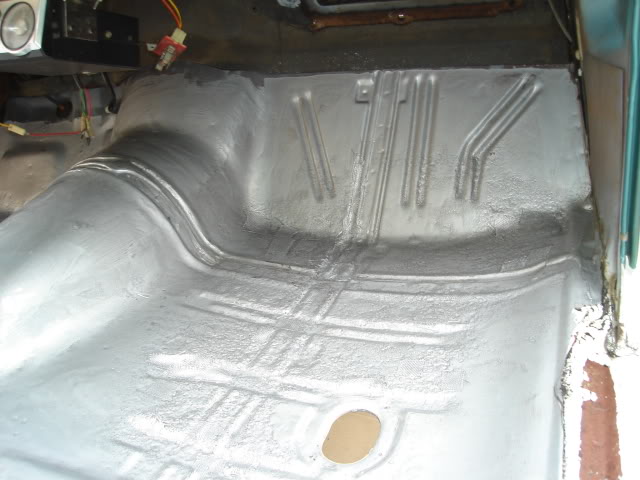
If you tap really hard on the cured patches with your fingernail they sound just like metal, it's surprising just how strong the repairs are. As long as you don't decide to whack it with a hammer it's gonna stay just fine.
The key to this or any other type of body repair is prep, if you skimp or take shortcuts your POR-15 won't adhere well. Of course you should use common sense and use this method of repair for the smaller holes, any holes too much bigger than these means some cutting/welding and replacment of sheetmetal would be wise.

The Tempest!
Posted by Diggymart on 3/26/21 @ 3:09:22 PM