You must be logged in to rate content!
7 minute(s) of a 297 minute read
9-2-2011
I never posted a pic of this, but I converted all the interior lights to LEDs. I did the entire cluster, including all the indicator lights, blinkers, high beams, etc, as well as the HVAC and footwell lights.
blinkers on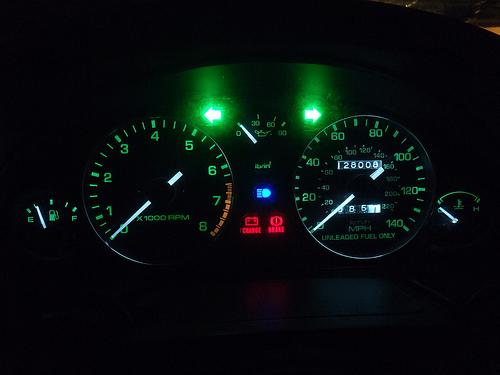
blinkers off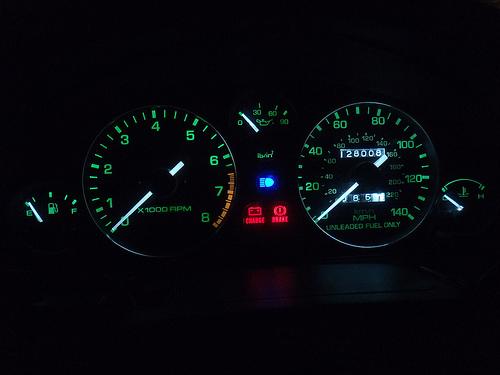
HVAC cluster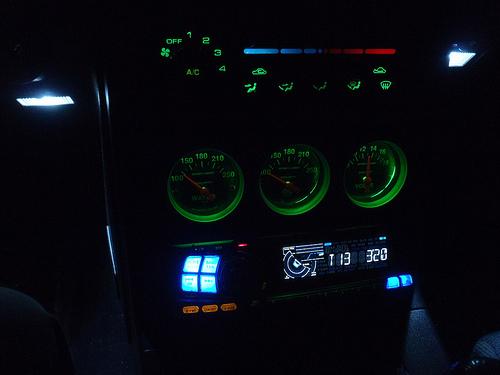
9/15/2011
I ended up ordering a set of custom gauges through Revlimiter. They arrived today, and I installed them right away. I wanted a custom set of gauges that would go up to 9 grand, yet to the average joe, appear completely factory. We bounced ideas back and forth, and the final result ended up like this: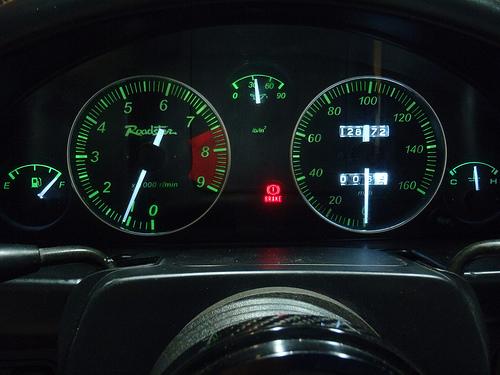
closeup of the tach: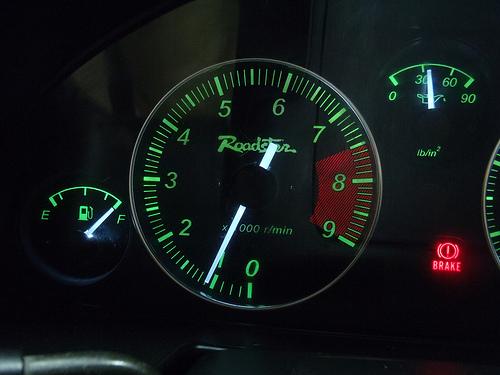
closeup of the speedo: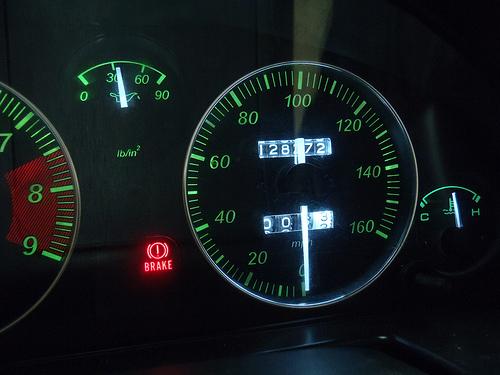
I'm pretty sure the dark spot in the redzone is leftover residue on the clear plastic from the old gauges that I must have missed. I didn't notice until it until after I had reassembled everything, so for now it's going to stay.
I also picked up a new toy from a buddy. It is a 2003 Birel 125cc racing go kart. It will rev up to 14,200 RPMs, has a top speed of 74mph, and capable of pulling 2.5Gs in the corners! I can't wait to get it out on the track.
Quick pic (garage is full at the moment, and thus a complete mess):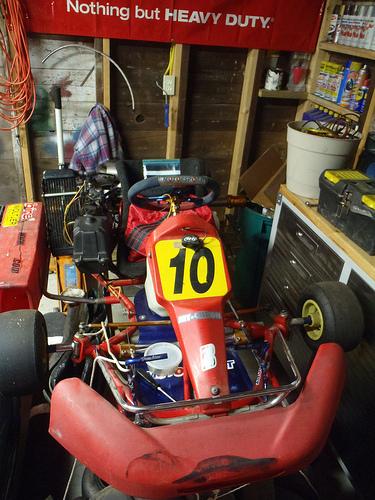
9/19/2011
ha ok 
Took a pic today at work:
I also installed an AEM intake on my friend's MSM. He has a few other upgrades as well (FM little enchilada). I swapped the intake for the AEM one as the FM intake is not CARB approved, while the AEM is (he's moving to San Diego).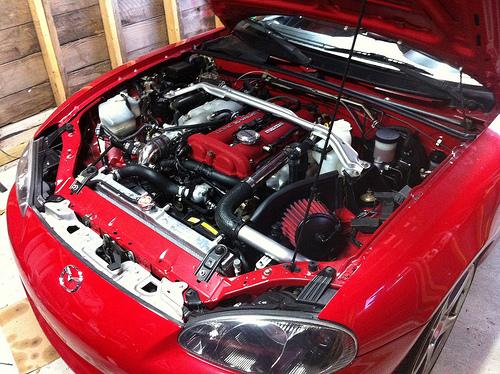
What a difference from driving this car vs mine! 
Picture a friend took from a car meet yesterday:
10/12/2011
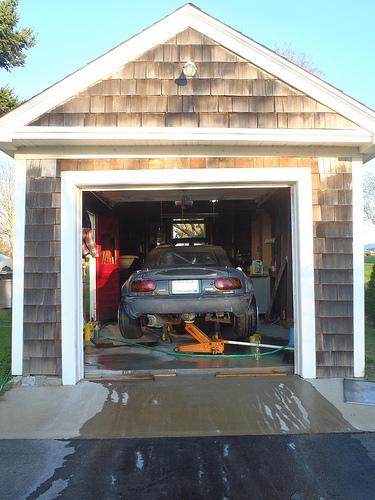
Took a couple pics during the wetsanding (not very exciting)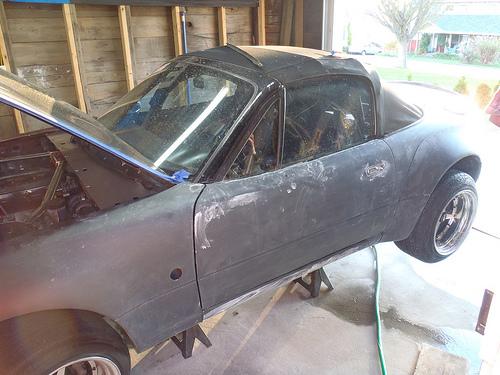
10/17/2011
So I have some time, thought I would update as I did a bit of work for this show. I'll refer to the pics above for the engine stuff.
In the engine bay, I ordered a Garage Star wiper cowl plate in brushed aluminum. I also fabbed up a new rad block-off plate out of an aluminum sheet and deleted the cutout for the stock hood latch as I no longer have it, then hit it with a scotch brite pad to give it that same brushed look as the Garage Star piece. I also replaced every nut in the engine bay with a SS acorn one, and any old nuts where an acorn couldn't be used with some new SS bolts. I wetsanded the engine bay as well with 1000 grit.
On the exterior, obviously I did a ton of wetsanding. Started with 800 on some of the rough spots, then 1000, 1500, 2000, followed up by rubbing compound and polishing compound with a buffer. After that a bit of wax. I ordered touch-up paint to fix the lip and a few small rock chips, but it didn't arrive in time, but yes I will be taking care of that.
Here's a shot I took after I did the rubbing compound with the buffer. I'm standing in the doorway of the garage, hence the tree in the reflection- not too shabby!
I also got a set of NB Zoom carbon fiber side mirrors. The mounting plates are different (bolt spacing is the same), but there is more than enough adjustment in the mirrors for them to work. So for anyone out there wondering, yes you can mount NB Zoom Engineering carbon fiber side mirrors on your NA and have them be functional.
Here's a shot of the mirrors, and also one of a sweet wooden MOMO wheel I recently picked up (reused my old horn button)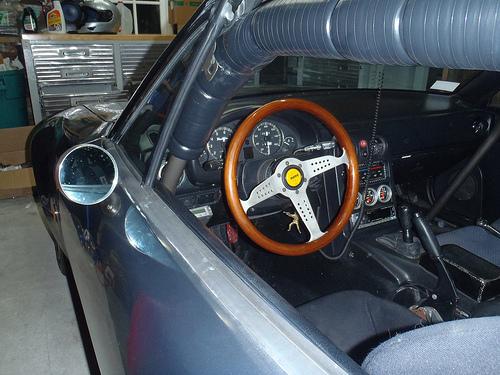
If you look closely in this pic at the HVAC controls, it looks like there is a carbon fiber trim piece. This is actually a piece of aluminum etched to look like carbon fiber. I bought it like 2 years ago, decided not to mount it, put it away somewhere safe and forgot all about it. I rediscovered it looking for something else the other day so I thought, hey why the hell not?
I also wrapped the 2 upper bars with electrical tape. Don't really like it, but it is better than the zip ties I had. Over the winter I'm going to have my wife sew up some canvas covers like what came on Jeeps from the factory.
On the front of the car, I decided to put the stock lights back in as it was supposed to rain Friday, and good thing too as we drove through a downpour pretty much the entire way down to Jersey. I decided to leave them in for the show too.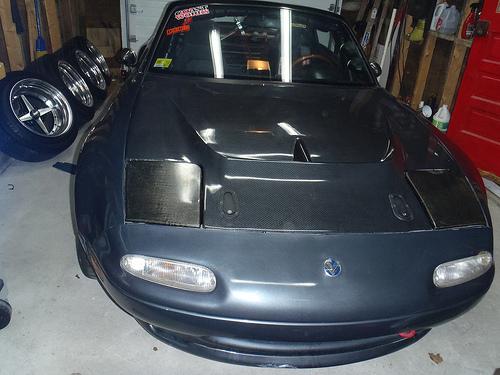
I also picked up a set of crap wheels with some almost new 225/45/15 NT-01s mounted on them. Bolted them up last night and went for a spin and my god do they grip!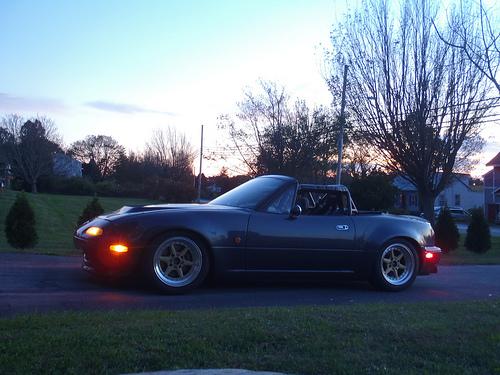
Makes it looks like a complete sunken battleship, but they'll certainly do the trick. I signed up to do my first auto-x on the 30th with this thing; can't freaking wait.
11/2/2011
Cannibeats covereage of First Class Fitment is up! My car is on pg. 1 and 6.

Here's the link to the rest of the photos:
http://www.canibeat.com/2011/11/firs...verage-part-1/
11/3/2011
My car got it's first feature in juststance.com! Here is the link: http://www.juststance.com/exclusive/cloud-9/
11/13/2011
Went for a drive late Friday night with the other members of my car crew, Coast Works. I finally have some video footage of my car, however it's not the most exciting stuff (we were just cruising through the tunnels). This was the first time our cars have been on the road together ever! My buddies both just finished up a 2 year build on each of their cars.
Hope you like it!
Great build!
Posted by Diggymart on 1/29/20 @ 11:22:34 PM