You must be logged in to rate content!
7 minute(s) of a 297 minute read
12-26-2010
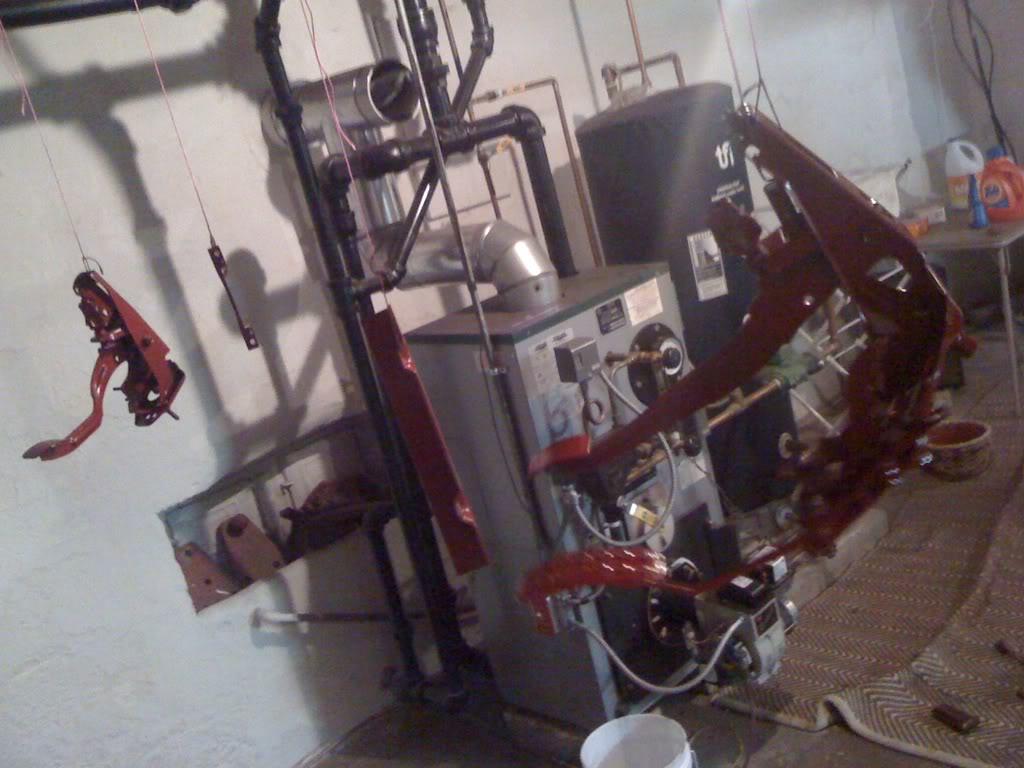
Small update:
After removing the dash frame and pedal assemblies from the car, I brought them to the basement to clean them up and get the loose surface rust off. I also grabbed the steering column as it was starting to show some small rust spots. Once they had been prepped and the important stuff removed/tapped off, I primed and painted them with some spray paint I had lying around. Since the bracketry won't really be seen, color wasn't all that important... I painted the dash frame and the pedal assemblies fire engine red, and the steering column the same bronze hand-hammered paint I used for the roll cage. I think I'll probably go back and hit the pedals themselves with the hand-hammered paint as well. I figured since I had the car this far apart might as well take the time and get a coat of paint on all the bare metal.
Sorry for the crappy phone pics and the bad lighting in the basement.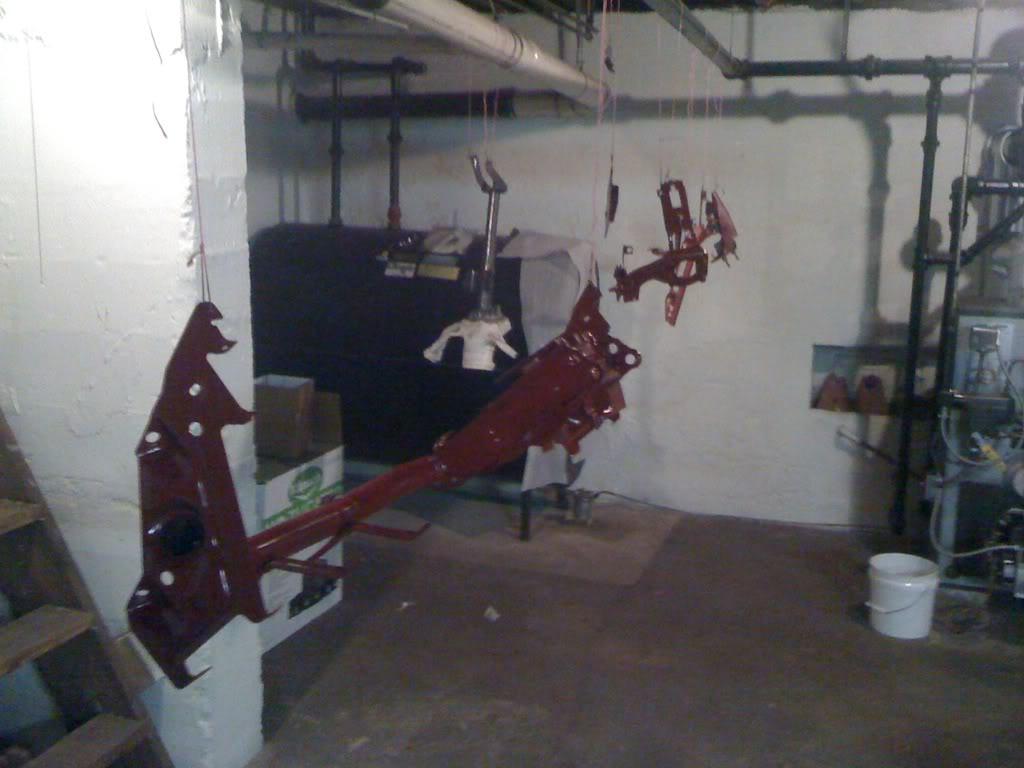
steering column: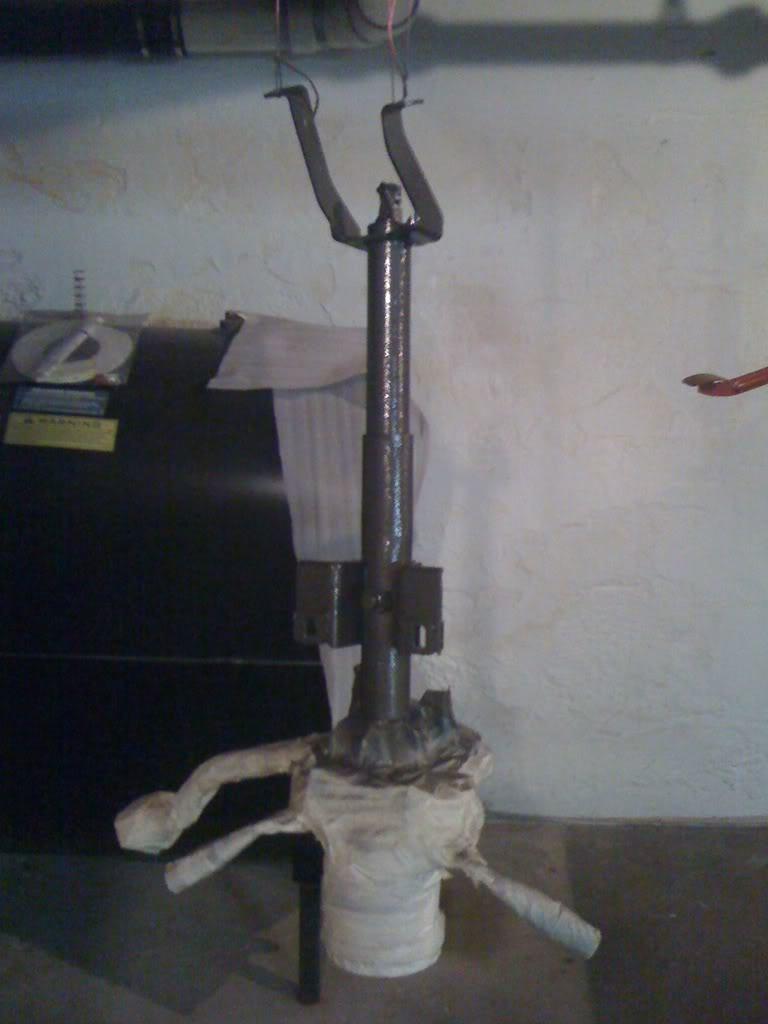
12/28/2010
Spent a little time out in the garage today.
Here's a shot of the engine bay as it sat this morning: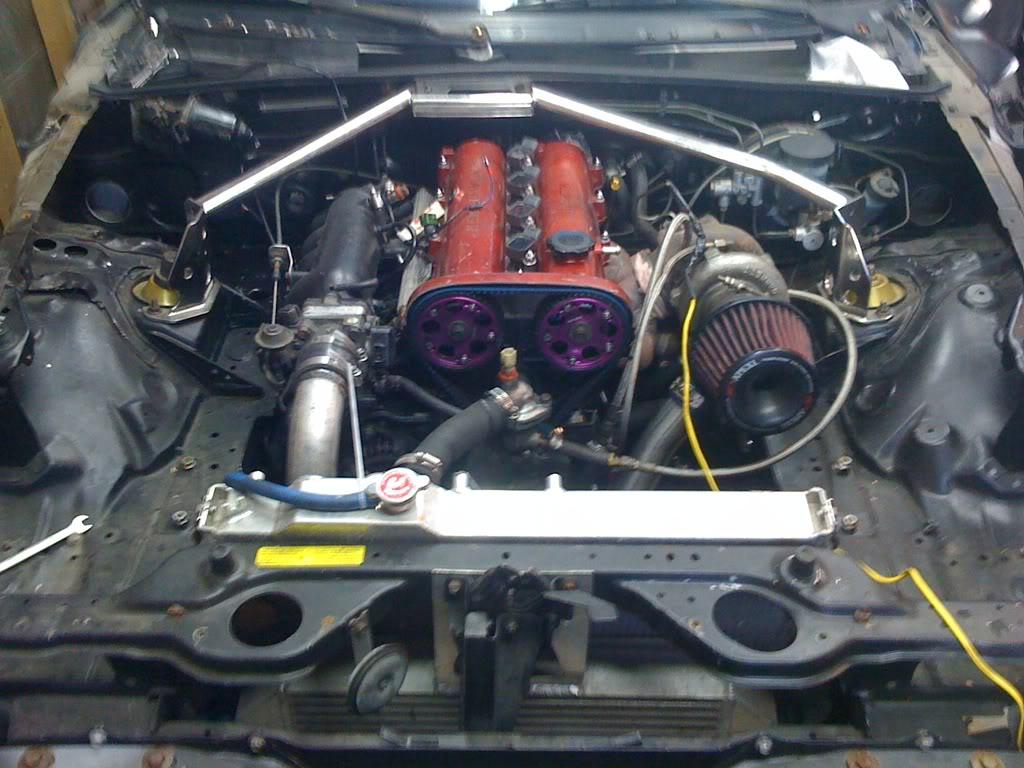
I got the driver's side wiring more or less ready to go. I moved all the relays to inside the cabin, and after some thought, will be moving the diagnostic box to inside the cabin as well. Here's a picture of the new location for the driver's side harness: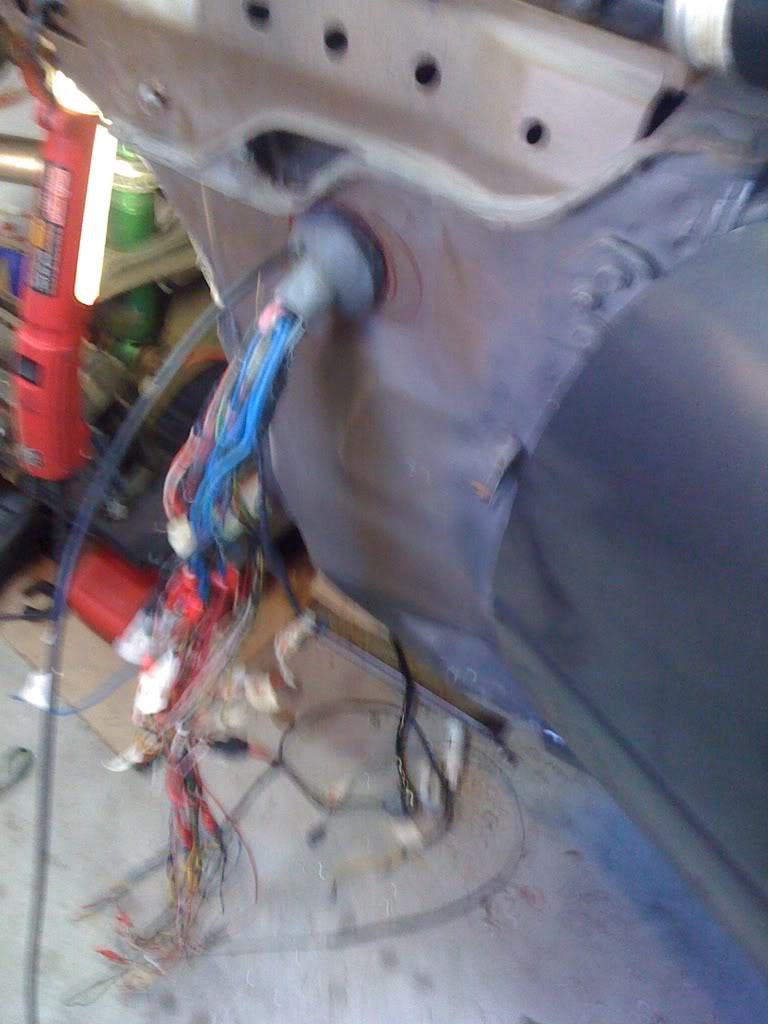
I stripped off the factory loom and electrical tape, split the harnesses, and redid them using techflex and heat-shrink tubing. Here's a closeup of the headlight connections and the fan harness (sorry for the poor quality pics).
I reused the insulated pipe clamps from my last simple tuck again. So much cleaner now!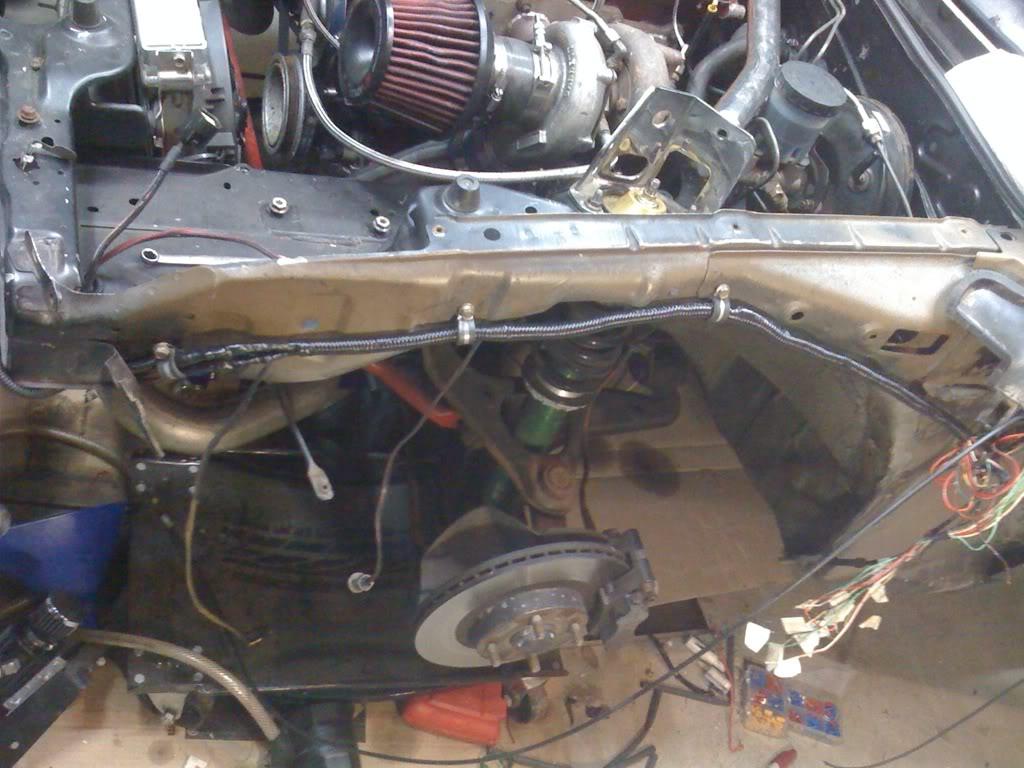
Got the fuse box completely out of the car, which turned out to be easier than I thought.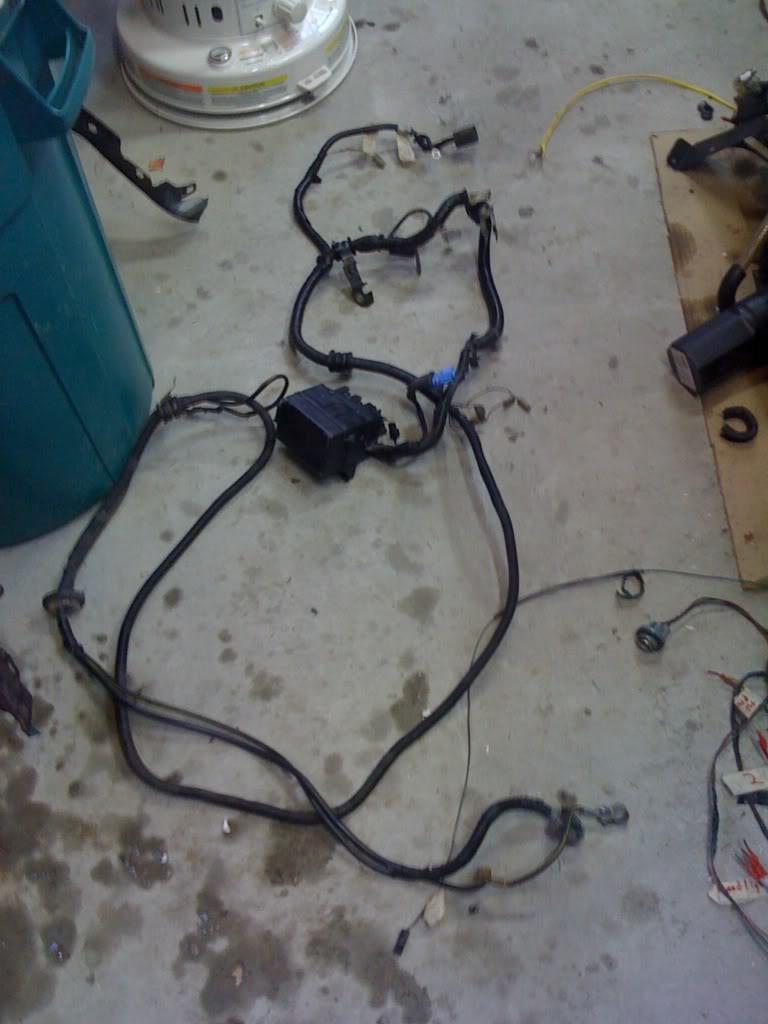
I will be running the fuse box wiring through the grommet in the transmission tunnel on the passenger side. I stripped all the factory loom off the harnesses. I'm going to run them to their respective locations first before I cover them in techflex, just in case any of the wires need to be lengthened/shortened.
12/31/2010
I ordered 25' of 1/8", 25' of 3/8", and 25' of 1/2". Probably more than I'll need, but I didn't want to run out.
Did more work today.
Slowly weeding out the unnecessary wiring in the main harness: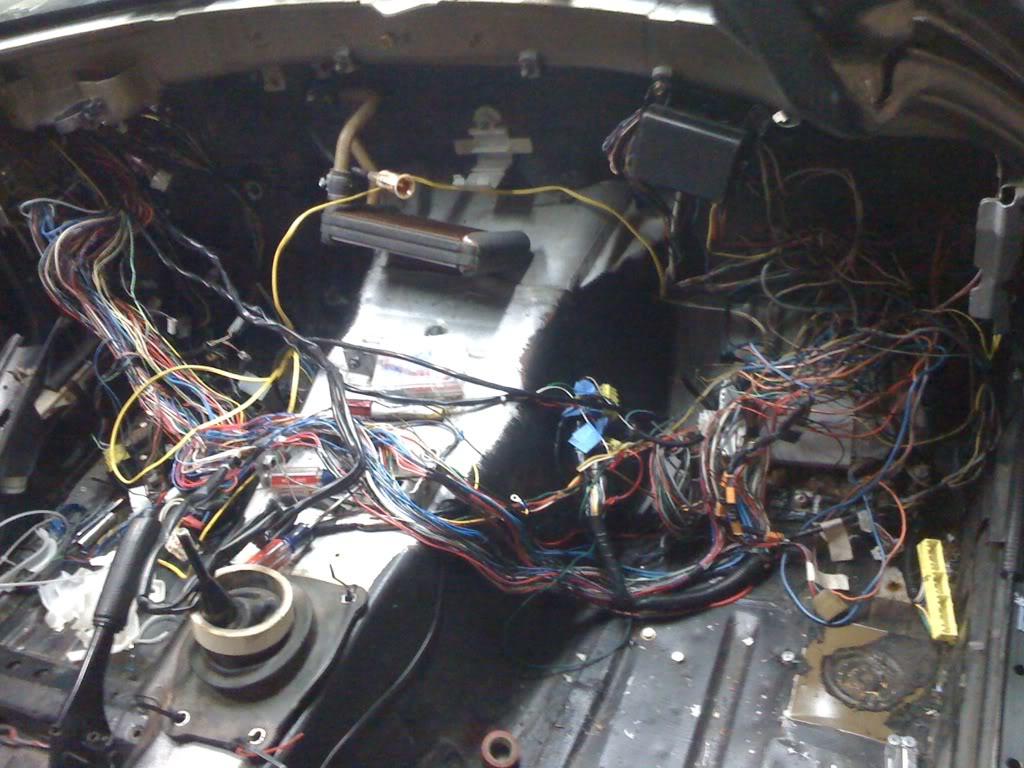
Here's a closeup shot of all the wiring going through the grommet in the firewall.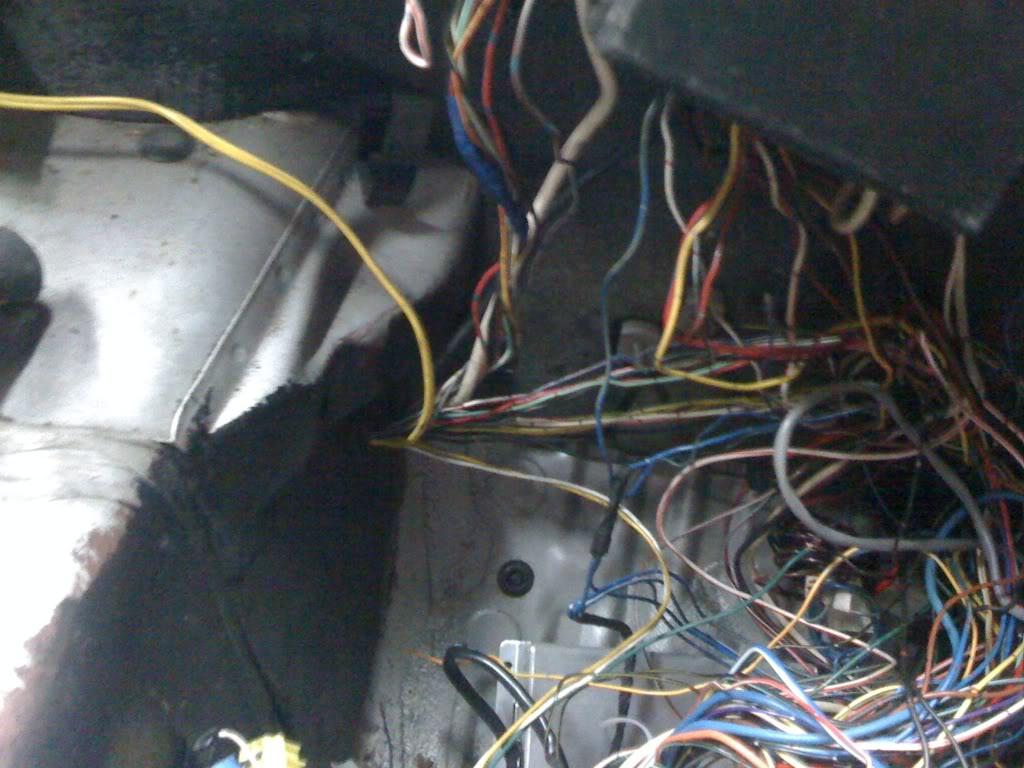
And the new grommet in the pass. side firewall which will hold the wiper motor harness, as well as the wiring for the pass. side lights.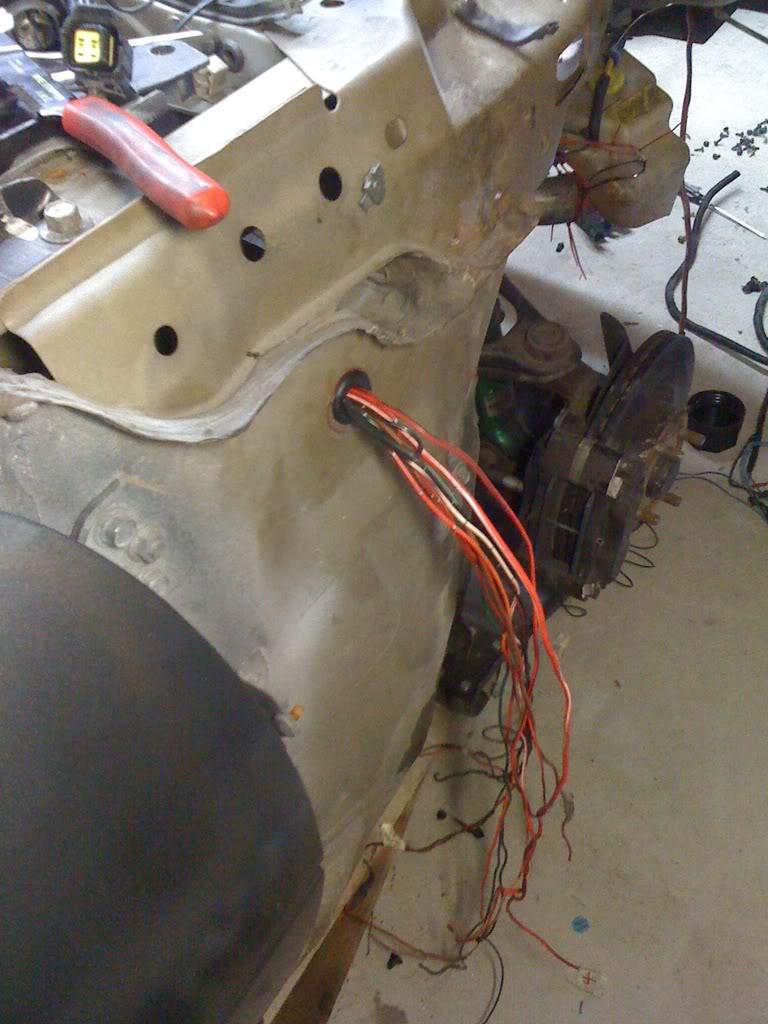
And the completed wiper motor harness- I used the hole in the firewall for the washer fluid nozzle for this new harness to pass through.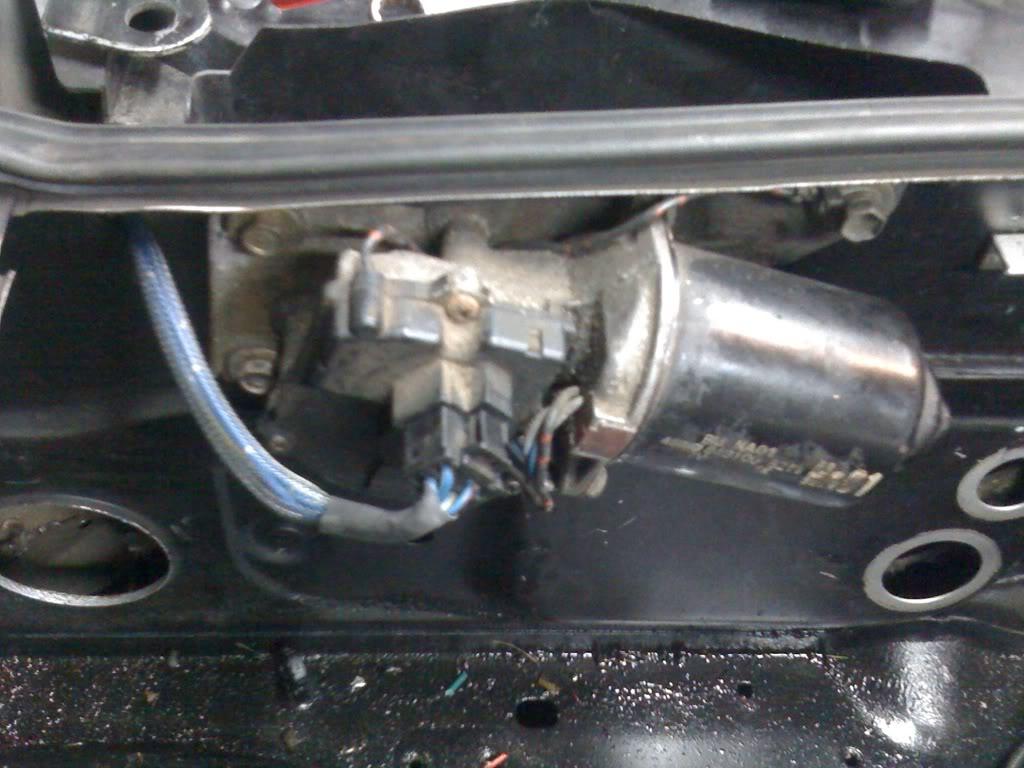
I will be moving the vacuum block and the 2 vacuum components for the Apexi AVCR to the shelf behind the firewall (which will end up being covered). I'm going to wait to mount them until I'm sure this is where they will end up.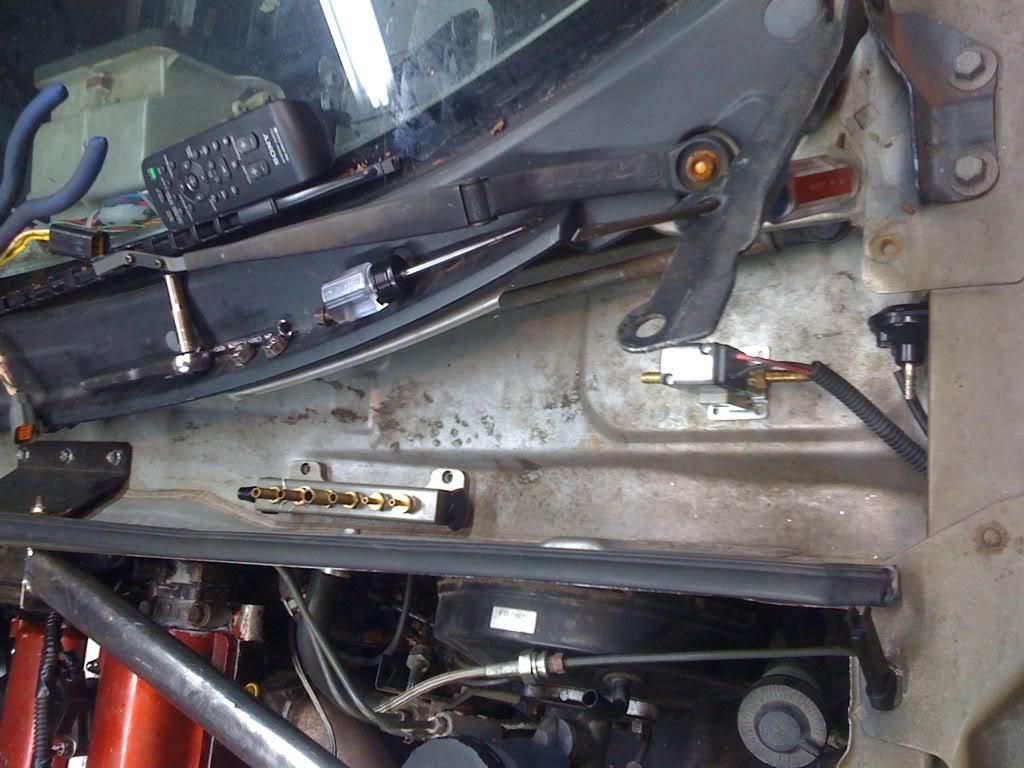
1/14/2011
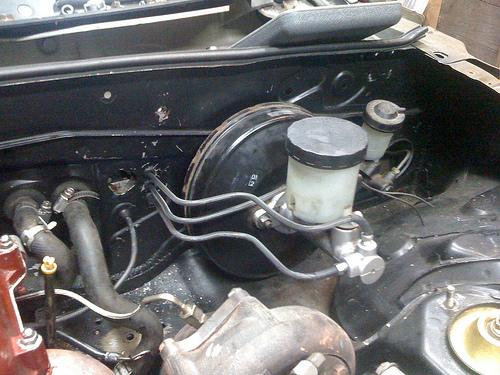
Took a break from the wiring and started on my brake line tuck today. It's coming along fantastic. I got the clutch line completed, however I think I am going to redo it as I had a better idea. I also mounted the prop valve inside the car and ran 2 of the 3 lines from the master cylinder inside the cabin (haven't mounted them to the prop valve just yet)
1/21/2011
I forgot to upload the pics of the brake tuck work, but this just arrived in the mail: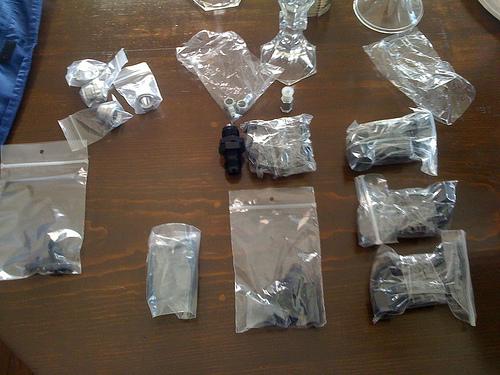
My first batch of AN fittings!
2/10/2011
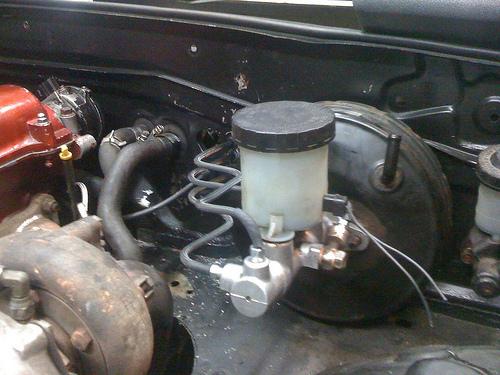
I just realized that I never posted these pictures from the other weekend. Here is the start of my brake line tuck. The middle line isn't connected to anything in the cabin, hence why it looks out of alignment with the others, plus I haven't done any final tweaking either. I also wrapped each line in techflex as well. The bay will be getting a respray once things warm up, don't worry  .
.
2/17/2011
It was brought to my attention today, that my car was featured on speedhunters! I'm honored it was chosen- here's the link for those that wish to check it out:
http://speedhunters.com/archive/2011...ted-miata.aspx
3/1/2011
I have finished about 99% of the wiring- all that's left is hooking up the gauges on the A pillar, which I have to wait until the dash is in to do. I finished the brake and clutch line tuck, and mounted the Apexi avcr modules and the vacuum block in the parcel shelf. I haven't been taking pictures, as I still don't have a camera- however I did finally order a new one, so I'm hoping it arrives soon.
5/2/2011
Long time, but a few updates. I've been slowly assembling all the an lines for vac and fuel. I decided to respray the bay too, as the black was too difficult to spot leaks/dropped hardware, plus I wasn't all that in love with it. I'd say it's a 100% improvement over the black.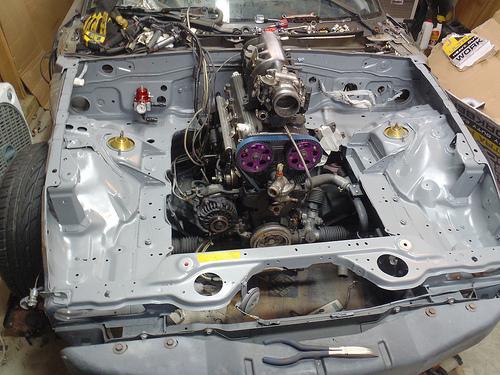
Also stripped, prepped, and painted some of the misc. pieces going back on so everything will be nice and fresh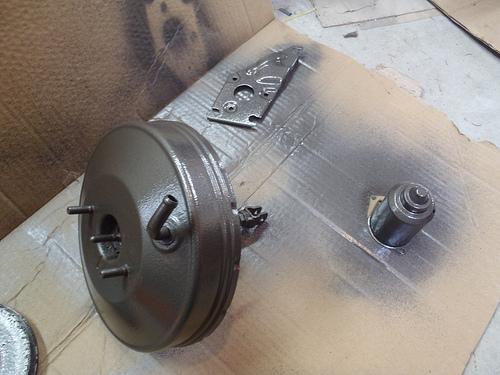
Also gonna try some VHT high temp paint out on the mani and turbo. It's allegedly good up to 2000 degrees, so we'll see: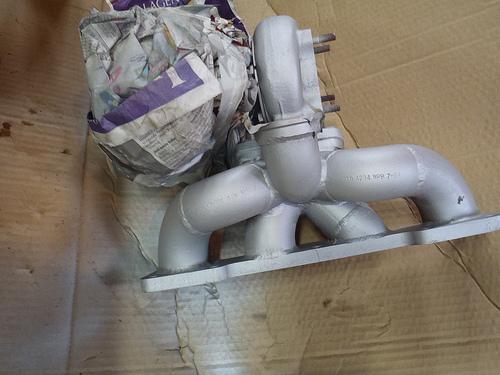
5/9/2011
New part update! After a year 3 search, my quest for the Holy Grail is finally over! I received a tip from fabel that a Mazdaspeed Trap Timer was up on ebay, and I jumped on it! Can't thank you enough fabel for the heads-up! You're alright in my book!
I'm real excited to get this bad boy mounted up!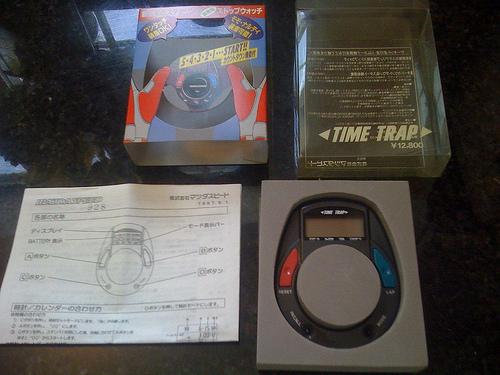
Great build!
Posted by Diggymart on 1/29/20 @ 11:22:34 PM