You must be logged in to rate content!
6 minute(s) of a 297 minute read
9-25-2009
transmission is back in the car, hopefully for the last time now! I also topped off the fluid in the shifter turret and installed my shortshifter: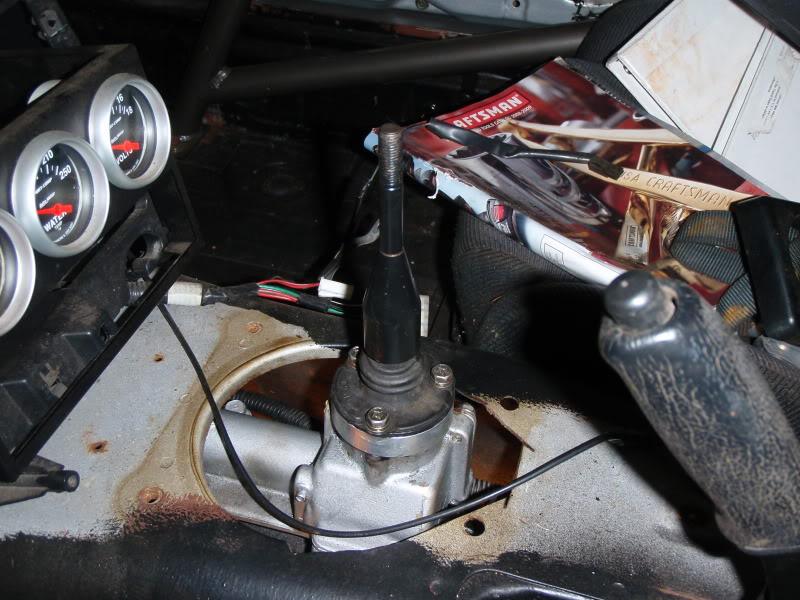
cleaned up the wires, put in the rubber boot and bolted down the center console: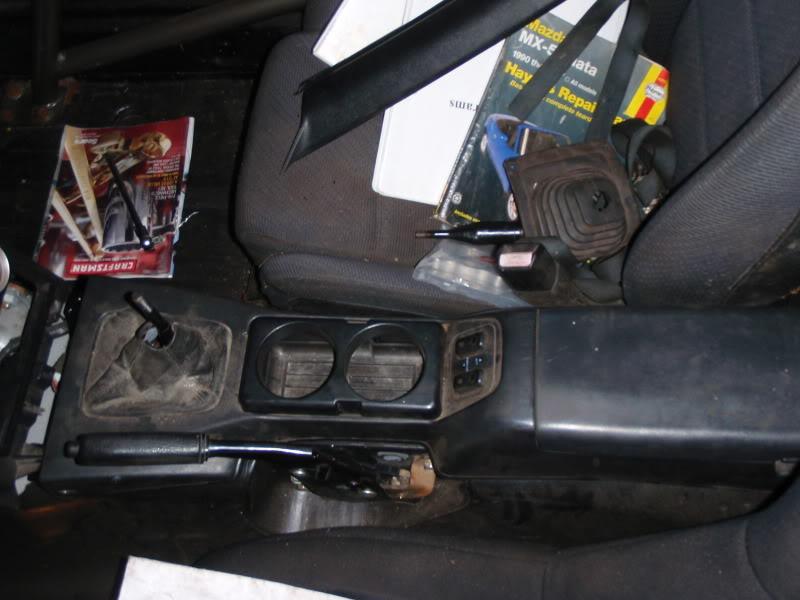
bolted in the new driveshaft: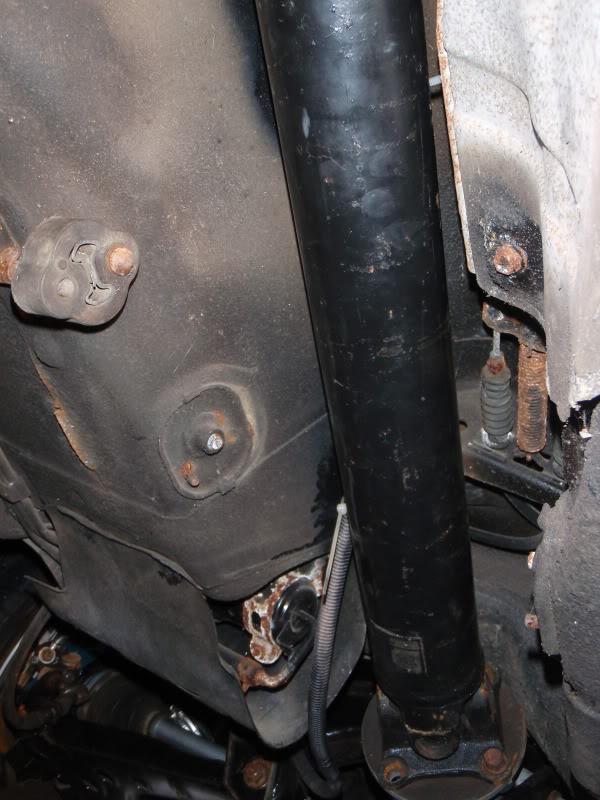
Then I plugged the wiring harness back into all the engine crap, finished up a few loose ends with the harness, and installed the front fenders, front bumper, and also the rear bumper.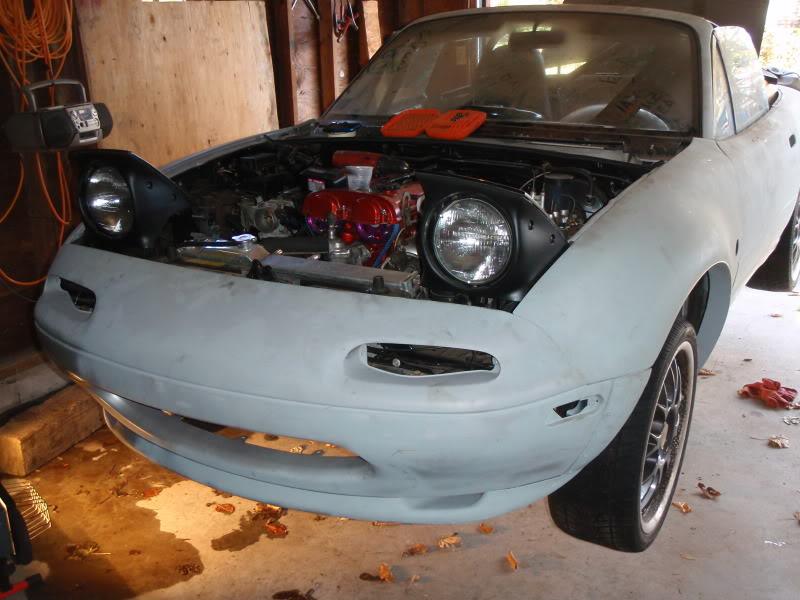
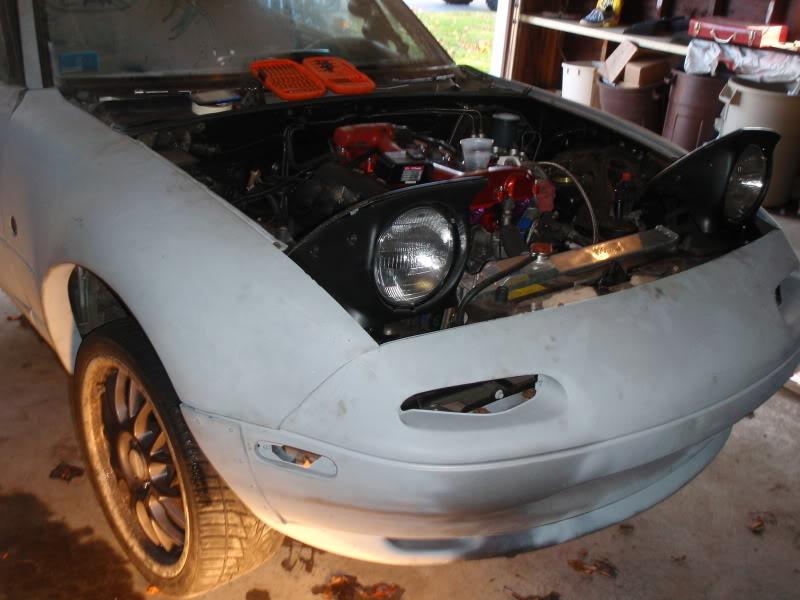
It's finally starting to look like a car! I know I'm getting close because my hardware stash is getting less and less.
11/14/2009
did a little bit today, spent more time running around than actually working on the car.
Installed my beatrush untertray. I had to get creative as from my understanding, these are supposed to be installed with out the r-package lip. Here's what I did. I got some 1/4" threaded rod, cut to fit, and sandwiched the undertray with bolts and washers, as well as the original mounting spot on the bumper. For the rear mounting, it wants you to use the space in the lower control arm bracket that my underbrace bolts to. The tray and the racing beat brace overlapped, so I just bolted the brace over the tray to hold it down in place.
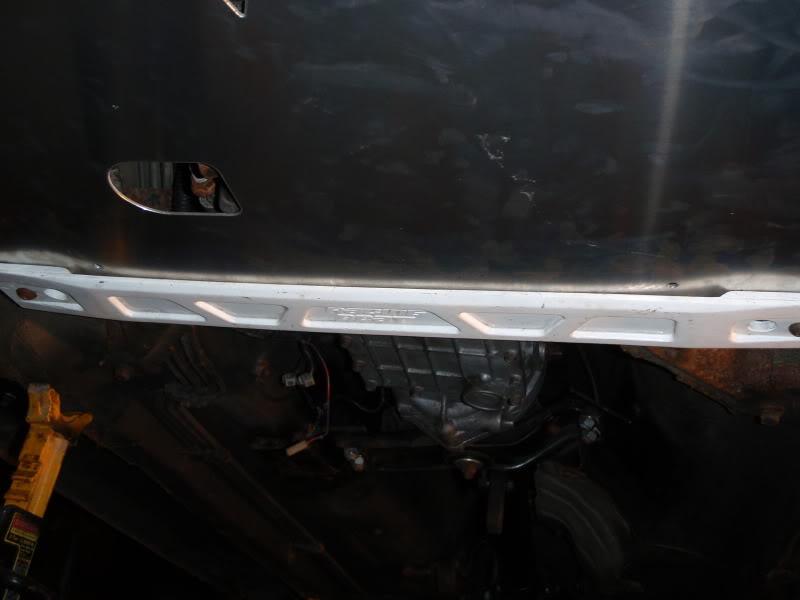
Now it sits level with the bottom of the lip, and the brake duct holes can still be used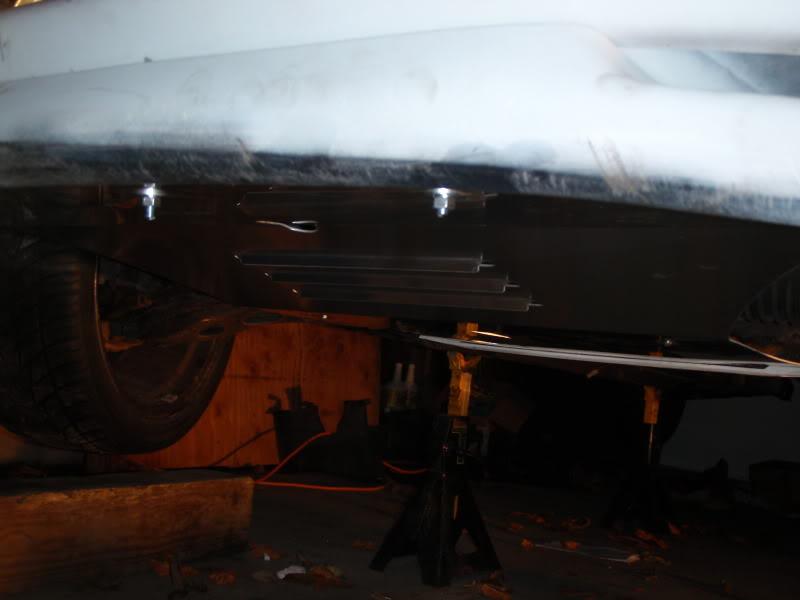
Most likely going to pack the car up tomorrow and get it ready to take to the exhaust shop hopefully this week, but we'll see.
12/4/2009
teaser pic: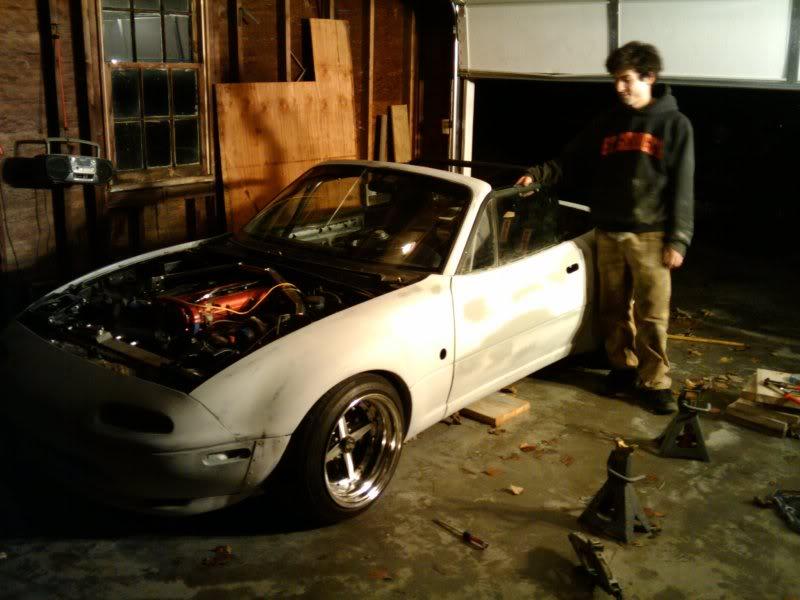
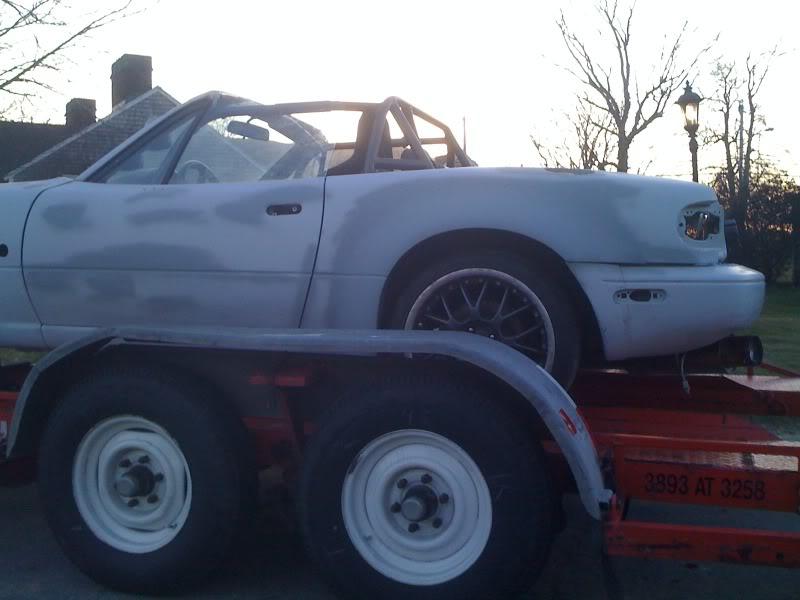
This was after all the bodywork/primer was finished. I measured the ride height, and it's currently at 11.25" from hub center to fender. Def have to raise it up some, I can't even get a screwdriver in between the tire and the fender. I'm also going to trim the lip on the flares for some more clearance too. That's me standing next to it.
3/17/2010
I broke my camera, so I'll have to use crappy iphone pics  .
.
Turbo to downpipe flange ETD racing recommended putting the EGT probe here on the downpipe vs on the manifold itself as they've had problems with them cracking in the past. The temperature difference between the 2 locations should be negligible:
routed the wastegate dumptube back into the exhaust: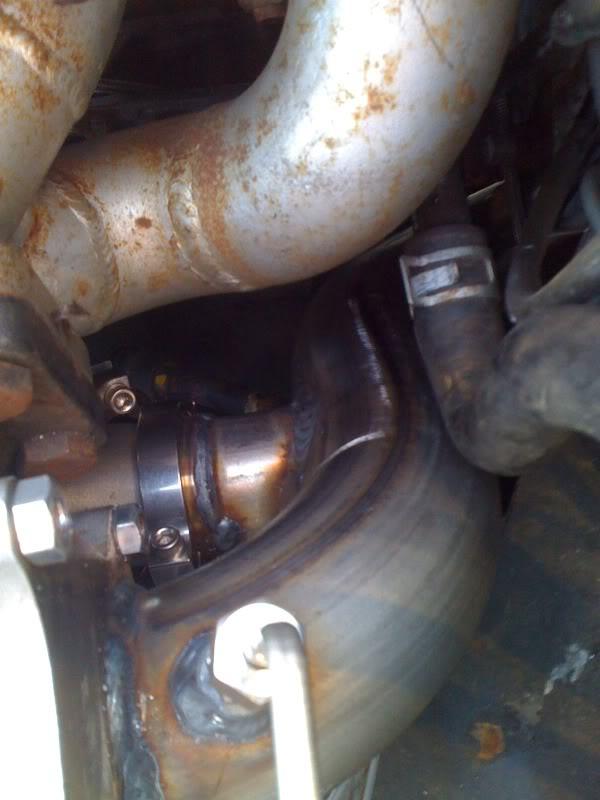
I would have liked a shallower "entry" but space was very limited. The downpipe is 2.5" (couldn't get 3" to clear the TII bellhousing), then it expands to 3" all the way back, all 409 stainless steel. There are very minimal bends, and it's tucked up fairly high for ground clearance. This thing is going to sound mean!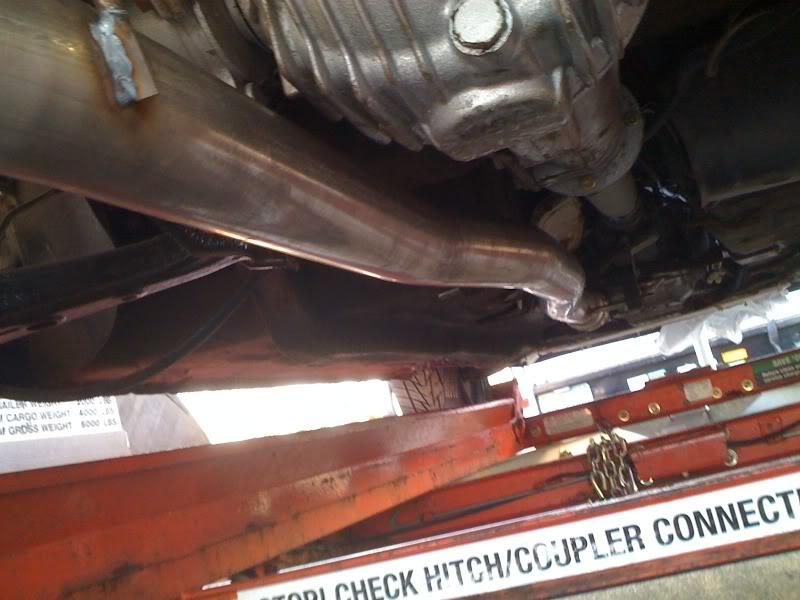
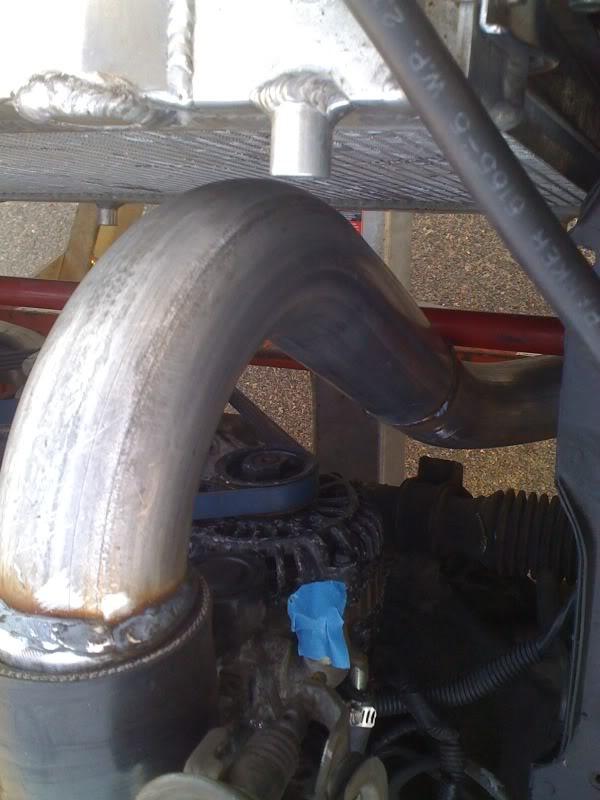
Slight bend at the rear for a left exit: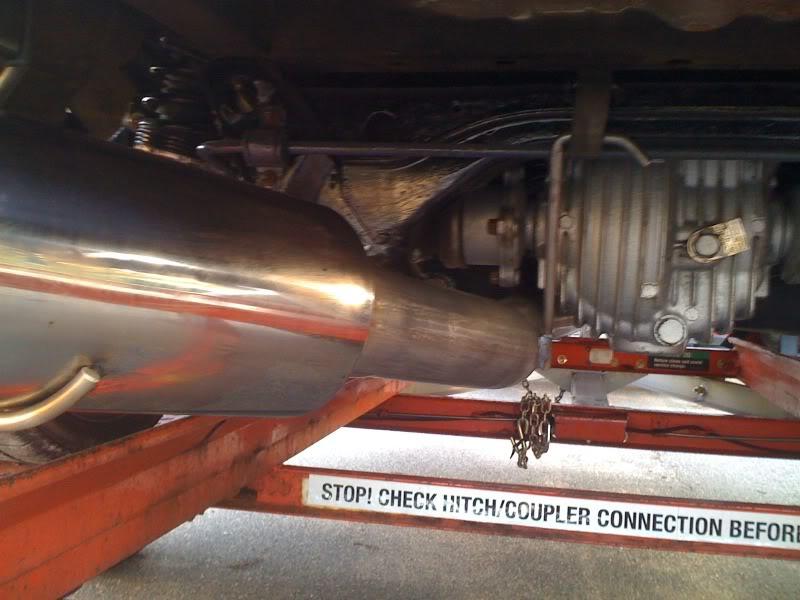
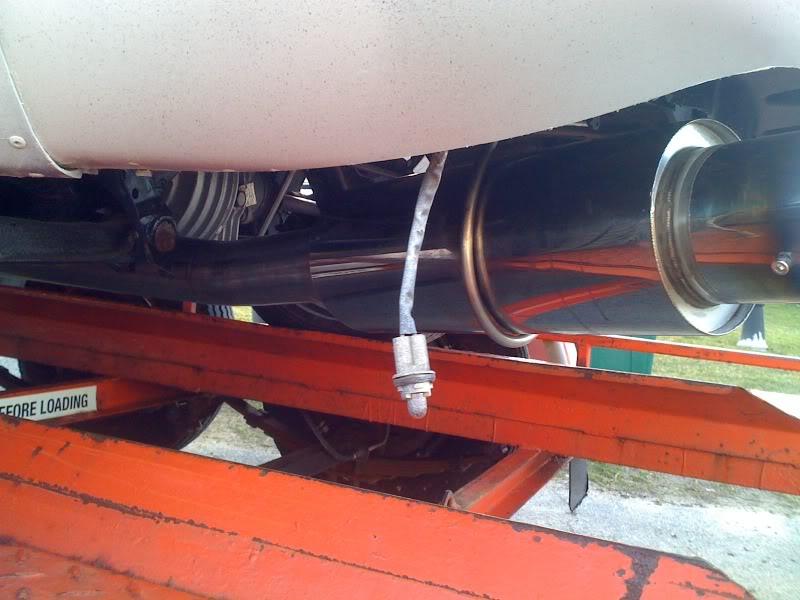
couple more of the exhaust with it still on the trailer: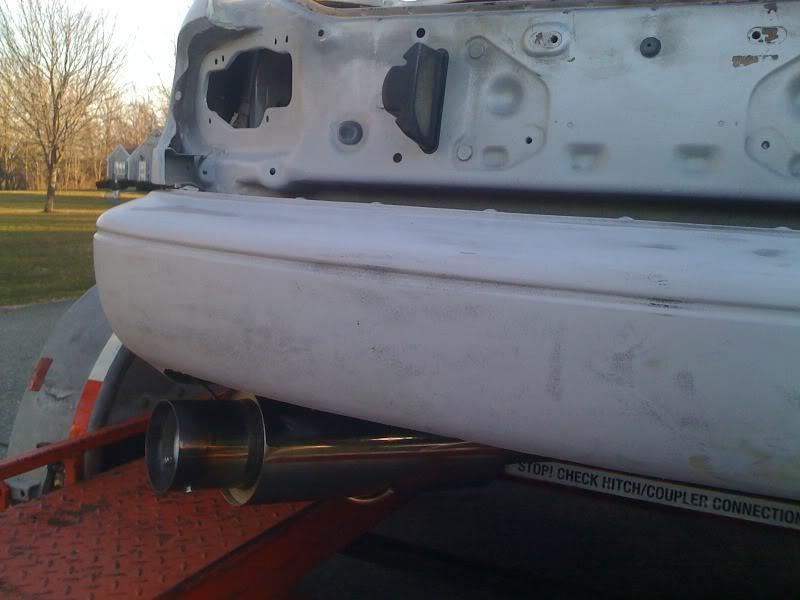
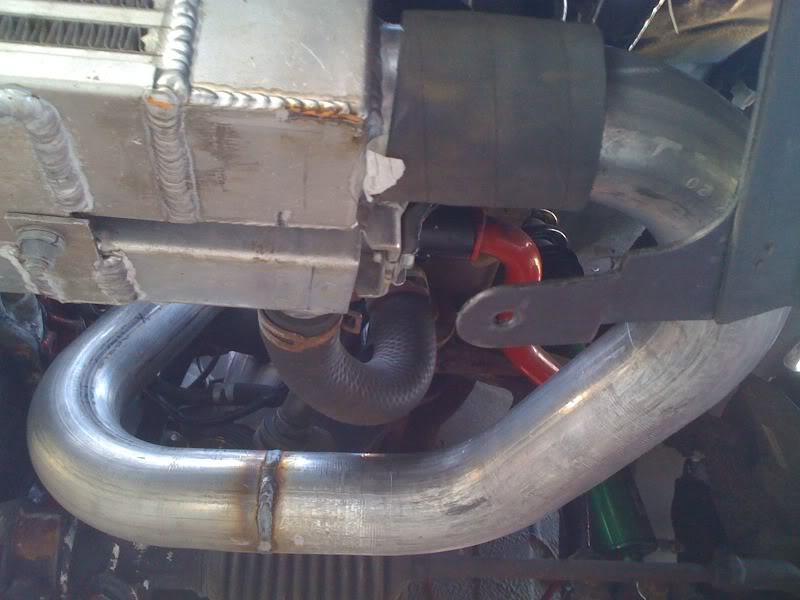
I also had him make my intercooler pipes out of 2.5" mild steel. I'm going to go back and fab up the BOV flange (didn't like how my last one turned out) as well as the IAT bung and the IAC tube.
Hotside: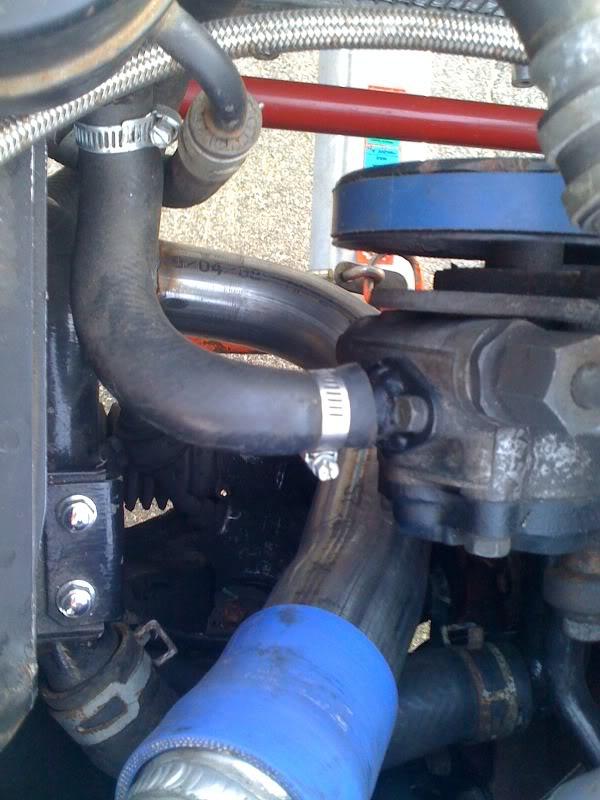
Coldside: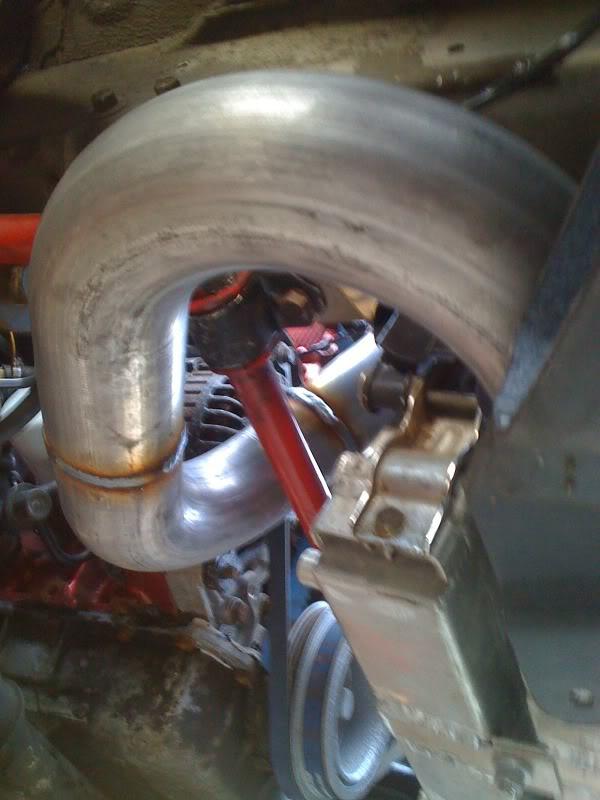
2 more of the engine bay: I stood on top of the truck to take the first shot.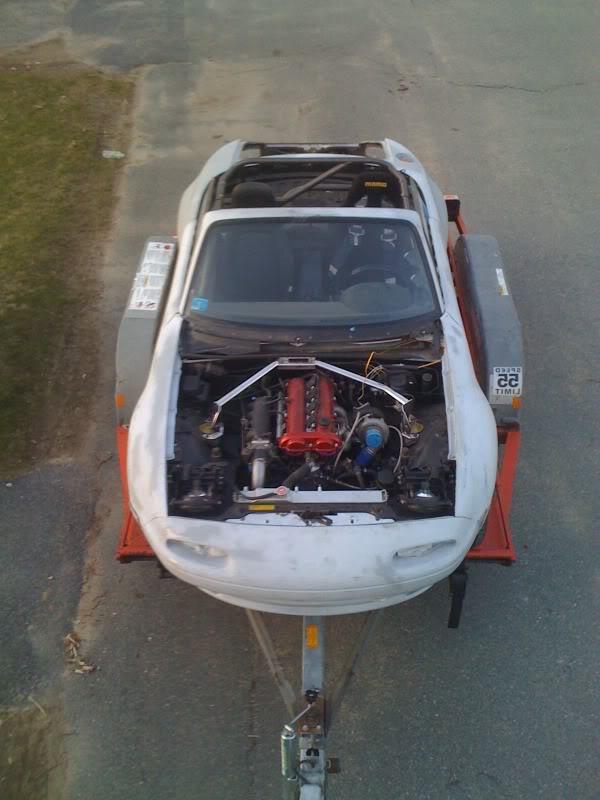

It's coming down to the final stretch!
Great build!
Posted by Diggymart on 1/29/20 @ 11:22:34 PM