You must be logged in to rate content!
8 minute(s) of a 155 minute read
8-21-2013
I updated the wiring for the fog light relay and added a second load reduction relay last night.
Instead of having the fog light relay be activated by the 75x post and receive power from the fog light switch, I reversed the wires and have it functioning like a normal relay now. 75x supplies power, the fog switch activates the relay. The two pins are different and requires replacing the pins.
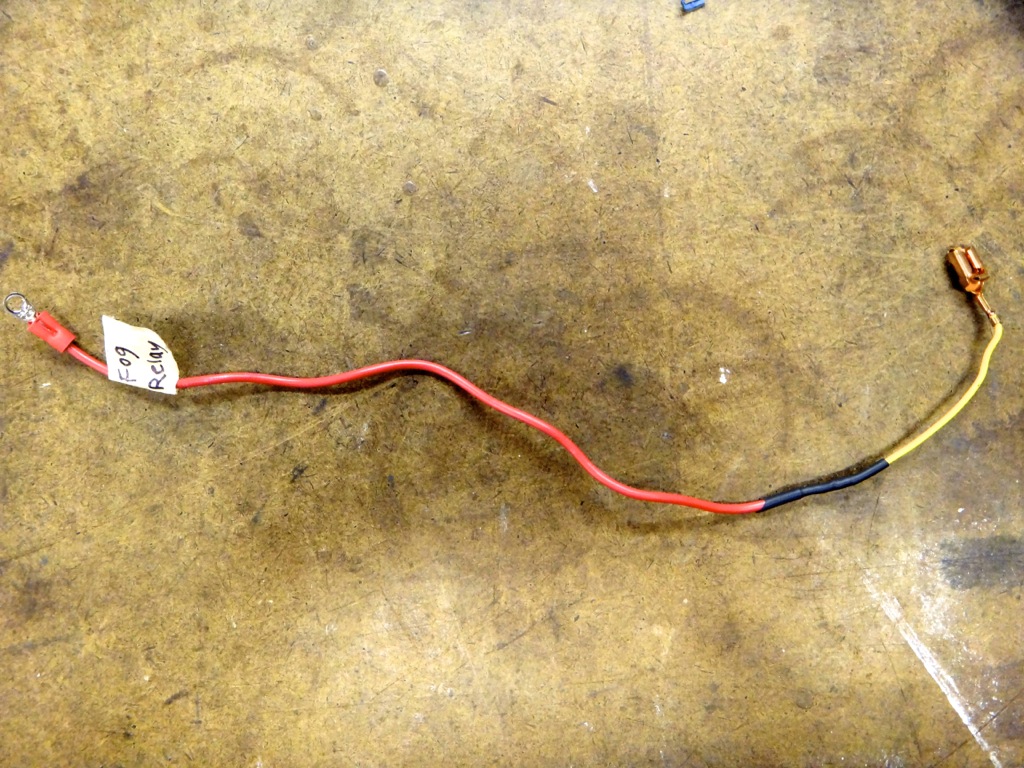
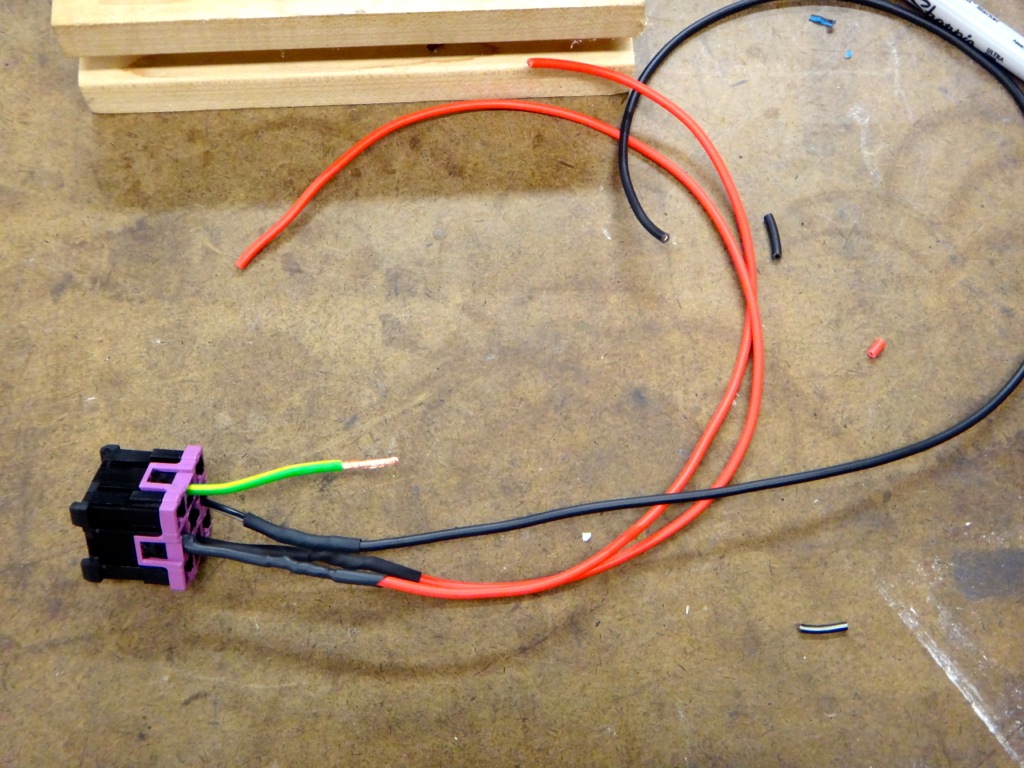
Here is the old 86 wire removed.
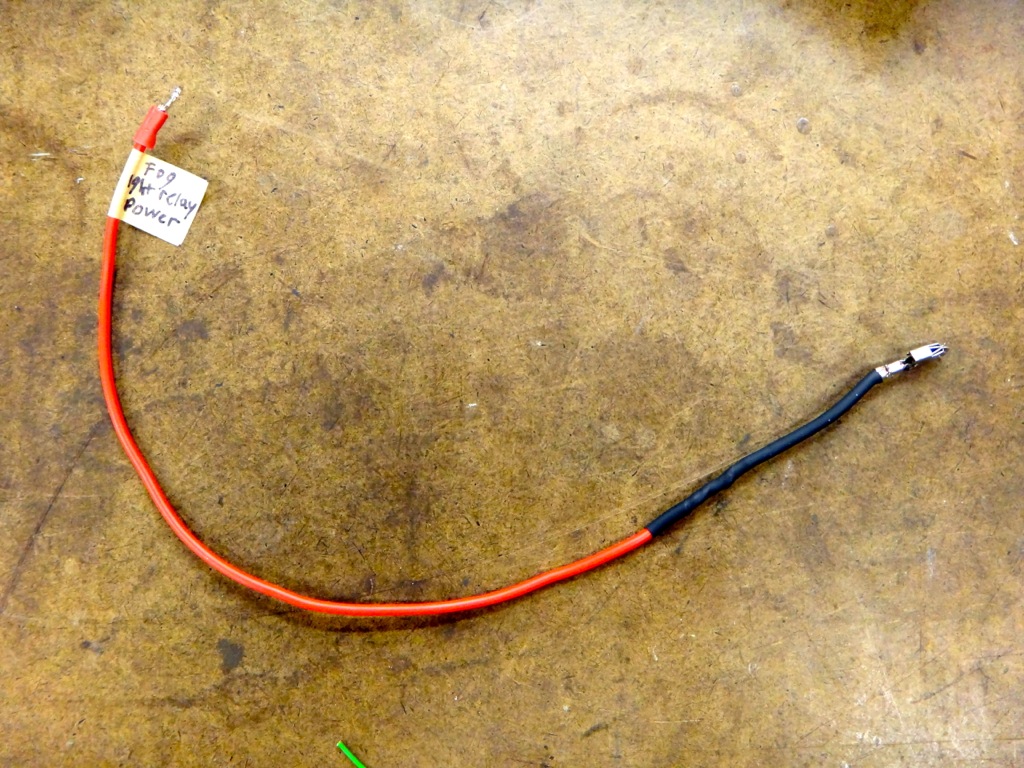
And the new wire with the correct pin.
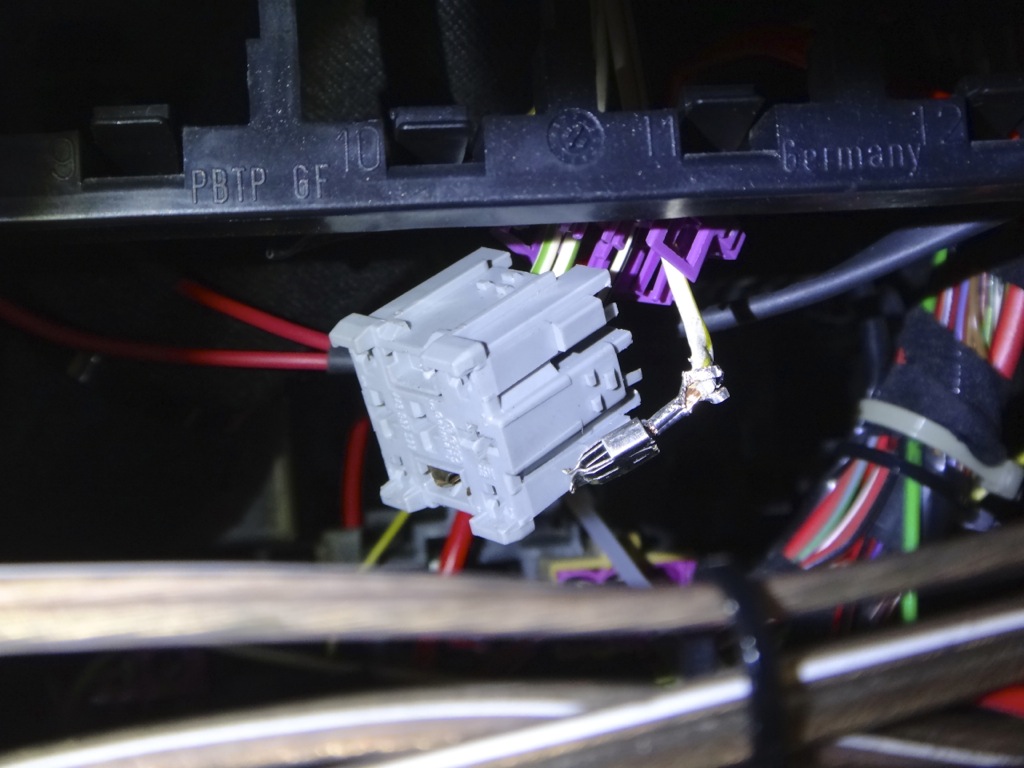
Old 86 wire removed from the relay and the old 30 wire hanging off the side. That wire did NOT want to come out...good thing that pin gets cut off.
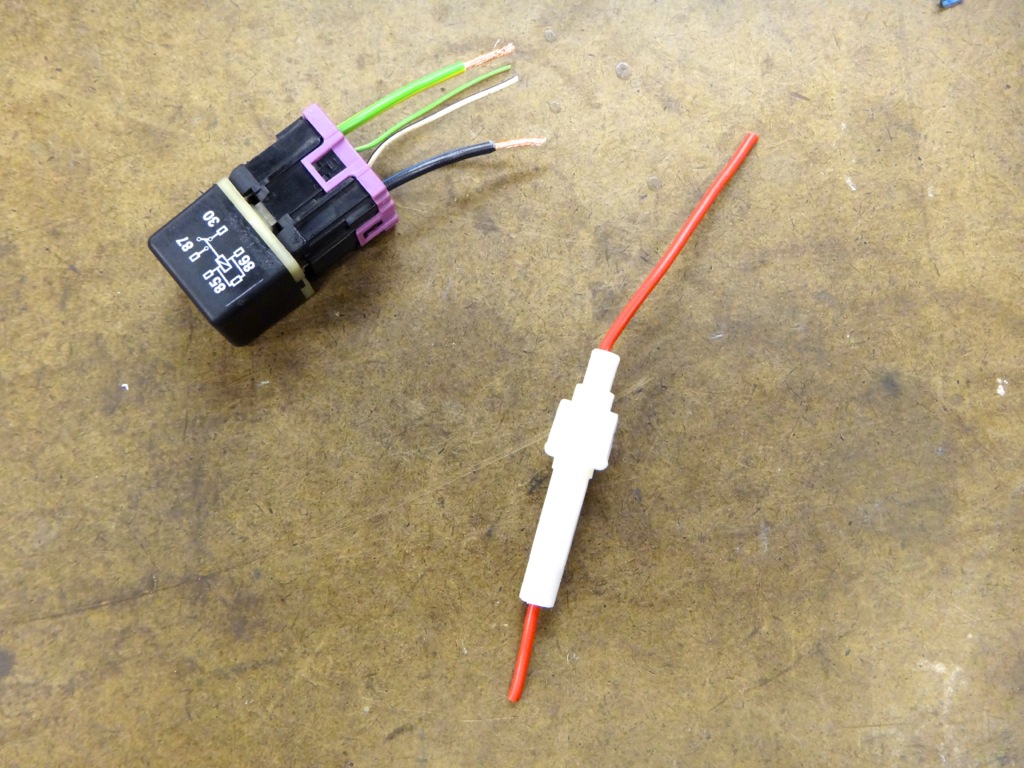
Next up was the new load reduction relay. This relay will power the distribution box that is powering all of my accessories. The relay will get its power from terminal 30 and be activated by 75x.
Relay and in line fuse for the terminal 30 wire.
Wired up.
8-28-2013
I've just added a table of contents for the thread to the first page. Each modification is listed in the order it was completed (roughly.) I have noted any modifications that have been removed or replaced. If I don't have pictures of the installation, the page listed shows a recent picture.
I hope this makes it easier to find what you're looking for.
Engine
1. 18psi tune (PO installed)
2. Replaced turbo oil feed line
3. Forge 007 (Pictured on Page 26)
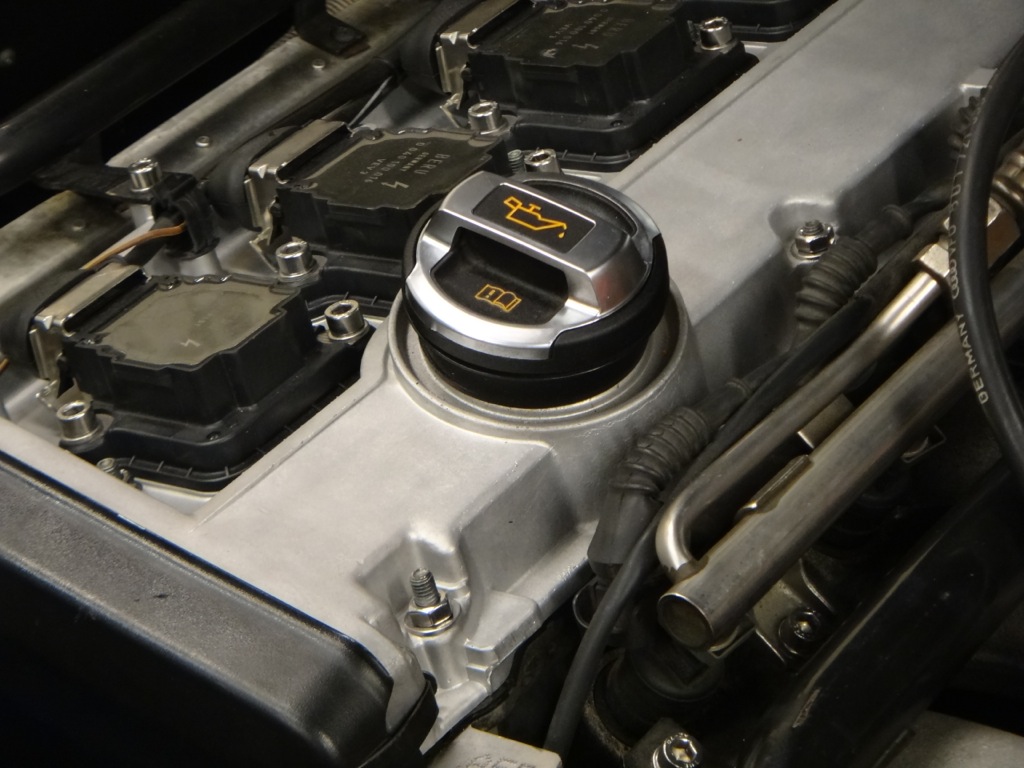
4. R8 oil cap (Page 11)
5. Carbonio CF intake (Page 13)
6. New blue silicone vacuum lines (Page 15)
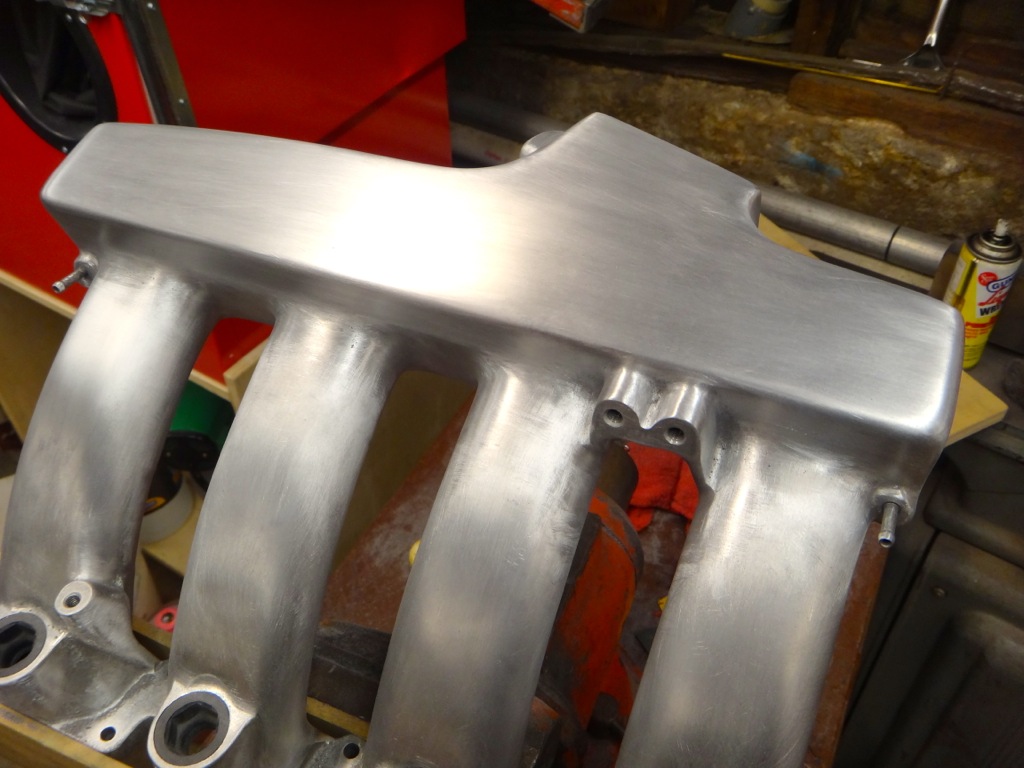
7. Shaved/polished intake manifold (WIP) (Page 1, 4, 5, 6, 22)
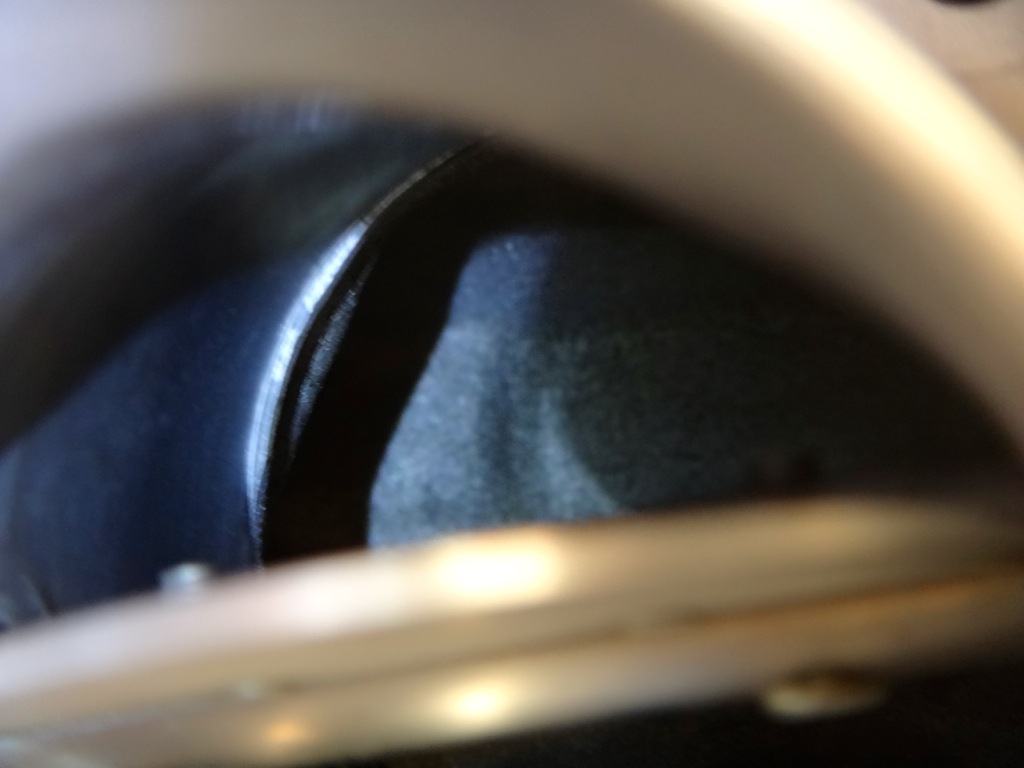
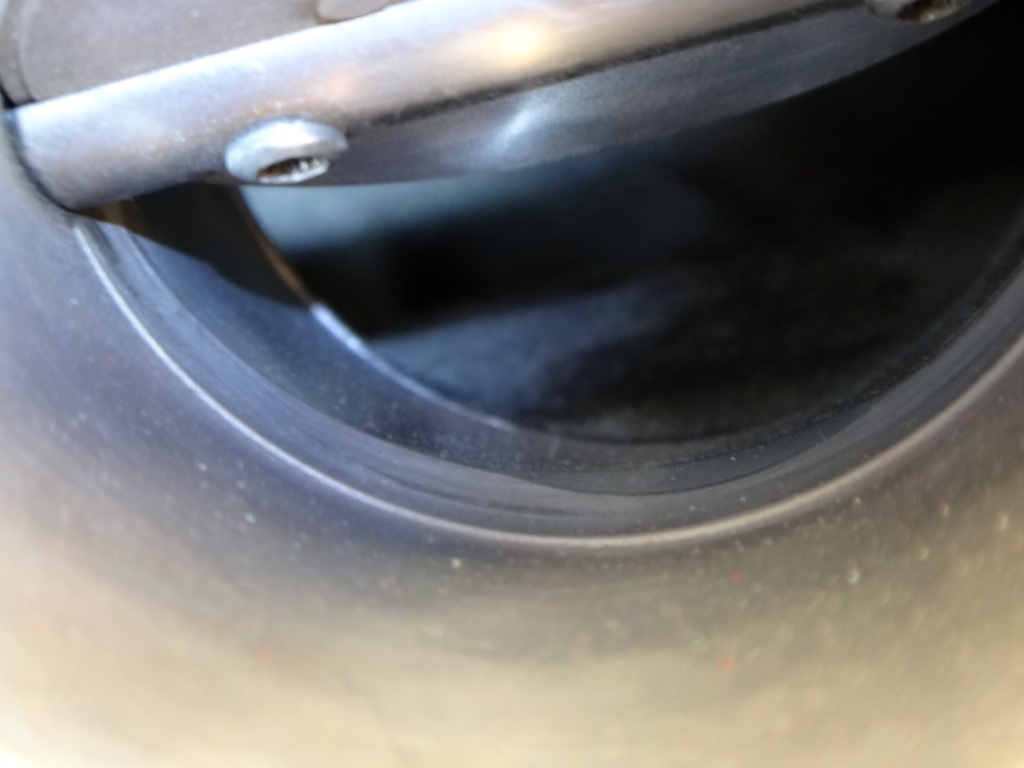
Polished throttle body (WIP) (Page 20, 21)
8. Plasti dipped fluid caps (Page 14)
9. Timing belt service including cam chain tensioner, serpentine tensioner, seals, etc. (Page 26, 27)
10. Bead blasted valve cover (Page 25, 27)
Suspension
1. Meyle 12 piece HD control arm kit including TREs & sway bar end links
2. New motor mounts
3. Neuspeed snub mount
4. S4 rear sway bar (Mentioned on Page 11)
5. 034 street density transmission mounts (Page 14)
6. Sport shocks and springs (Page 23)
Interior/Electronics
1. Sony Xplod stereo, 8" sub in trunk (PO installed)
2. Chrome gauge rings (page 1) (Removed with old cluster)
3. Sunglass holder (Page 3)
4. iPhone integration and mount (Page 6)
5. AWE vent boost gauge (Page 8)
6. Osir shift **** (Page 8)
7. Red LED under dash lights (Page 10)
8. Funk switch (for under dash lights) (Page 10)
9. LED interior lights
10. Sport steering wheel(Page 11)
11. Facelift vent housings (Page 11, 14)
11. Hardwired GPS (Page 11)
12. "A4" marked pedal covers (Page 13)
13. eBay short shifter (Page 13)
14. Redline short shift boot (Page 13)
15. LCD cluster swap (Page 18, 20, 21, 23)
16. Updated flip key remote (Page 20)
17. Leather facelift ebrake handle covers
18. Installed headlight relays using OEM equipment (Page 28, 29)
Exterior
1. Clear side markers (Page 1) (Replaced with smoked side markers)
2. Lower chrome grille (Page 4) (Removed)
3. M3 lip spoiler (Page 6)
4. Shaved badges (Page 6)
5. LED license plate lights (Page 6)
6. RS4 grille (Page 10)
7. Plasti dipped 5 spoke wheels, grille trim, and side mirrors (Page 8, 14)
8. Painted brake calipers red (Page 14)
9. Smoke side markers (Page 24)
10. S4 gloss B pillars (Page 16)
11. Facelift tail lights (Page 16)
12. Facelift independent fog lights (Page 17, 24, 29, 31)
Advancing stages of the exterior
1. 4/23/2010 - See below
2. 5/23/2010 - Essentially stock
3. 8/12/2010 - With 16" 5 spoke wheels
4. 10/8/2010 - Added RS4 grille, chrome lower grille, lip spoiler
5. 9/5/2012 - Plasti dipped wheels, mirrors, red calipers
6. 1/8/2013 - Facelift tail lights
7. 1/26/2013 - Dipped grille, snow photos
8. 2/11/2013 - On sport suspension
9. 2/20/2013 - With updated fogs
8-29-2013
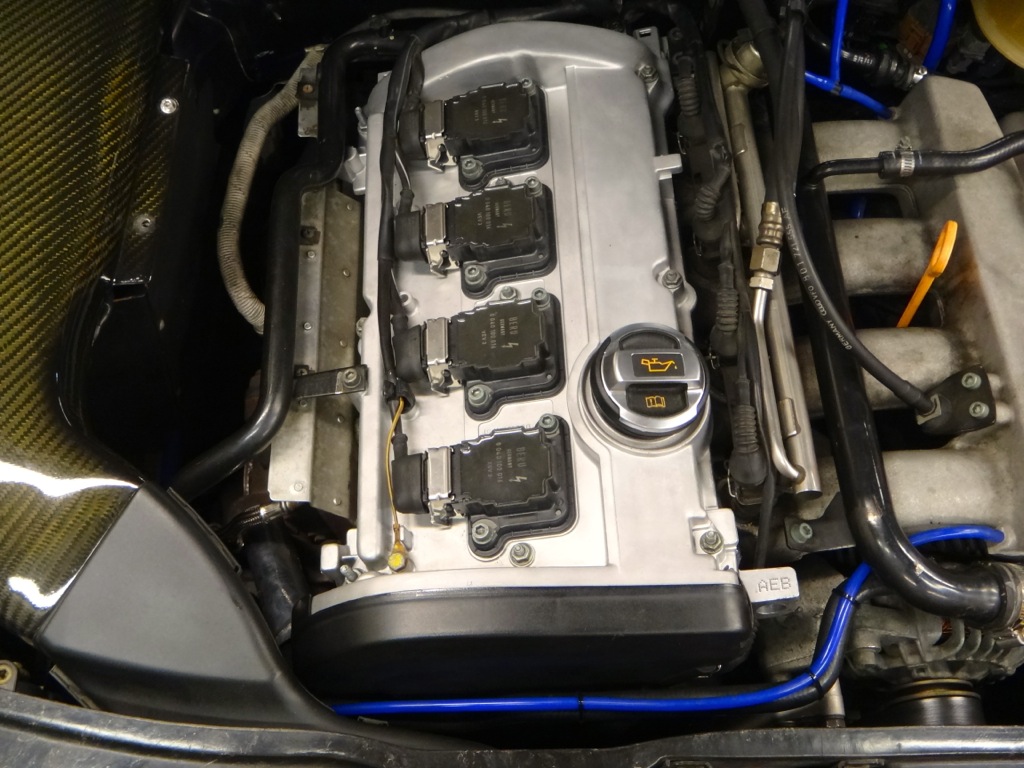
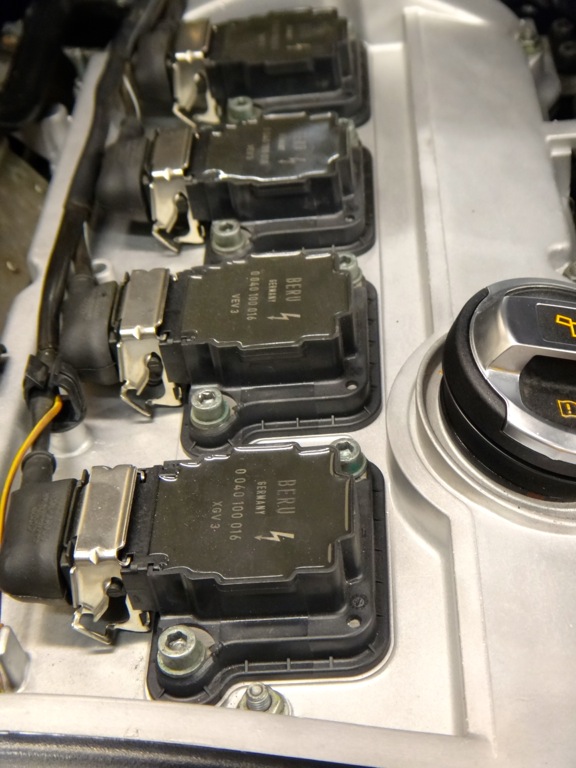
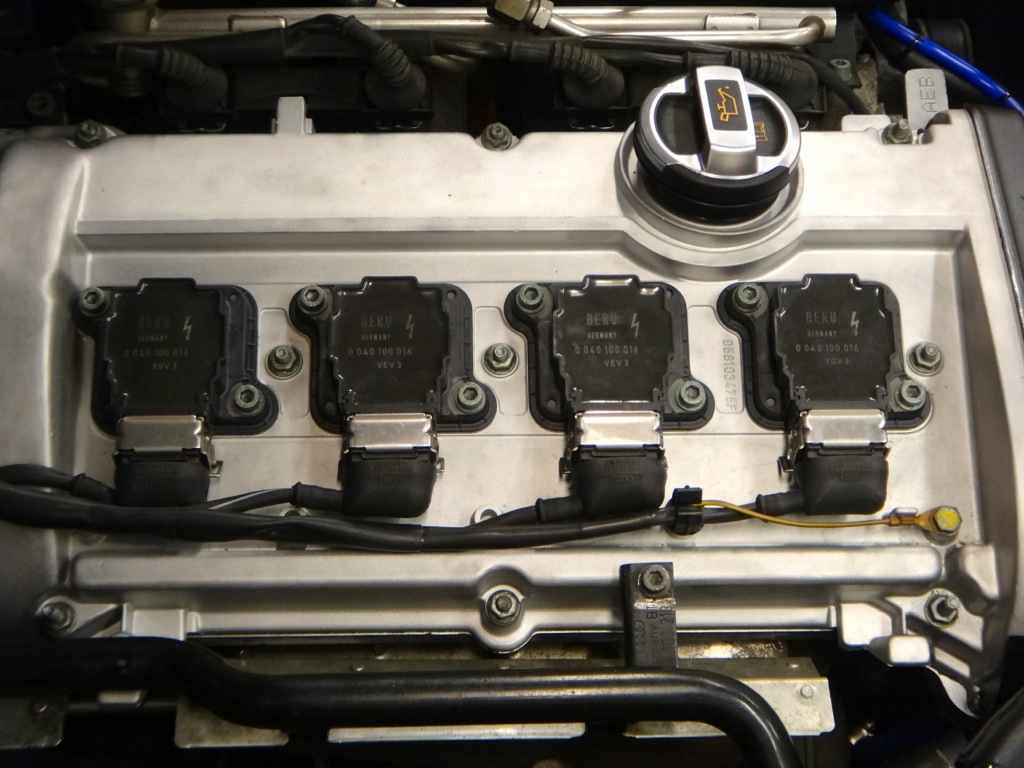
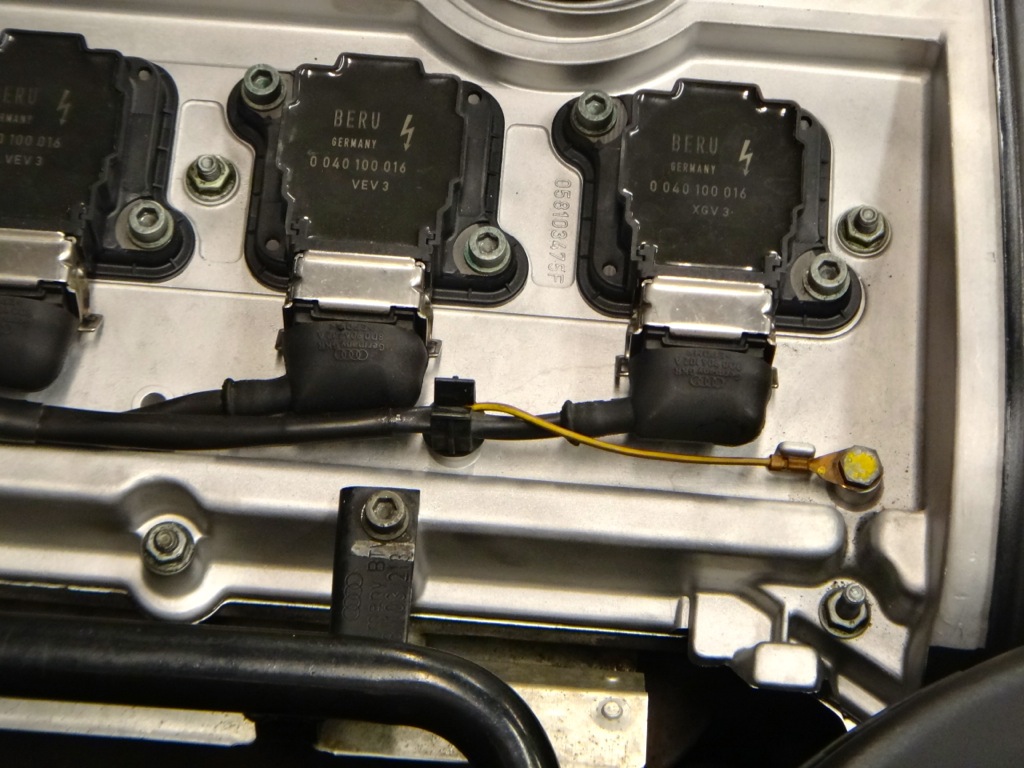
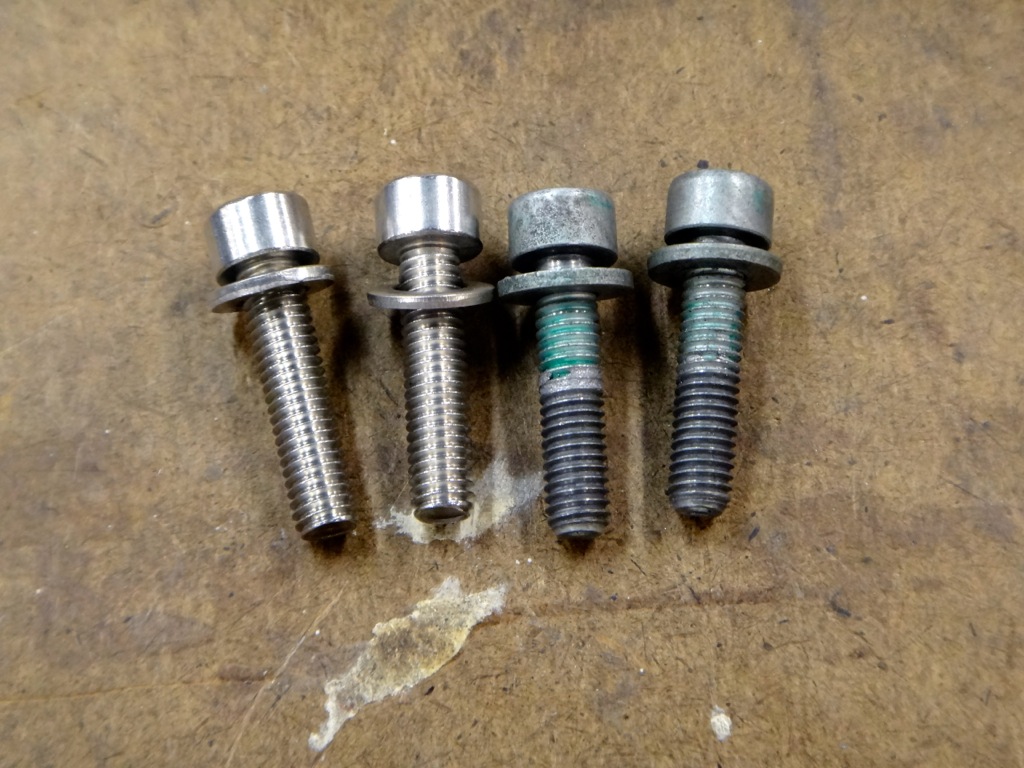
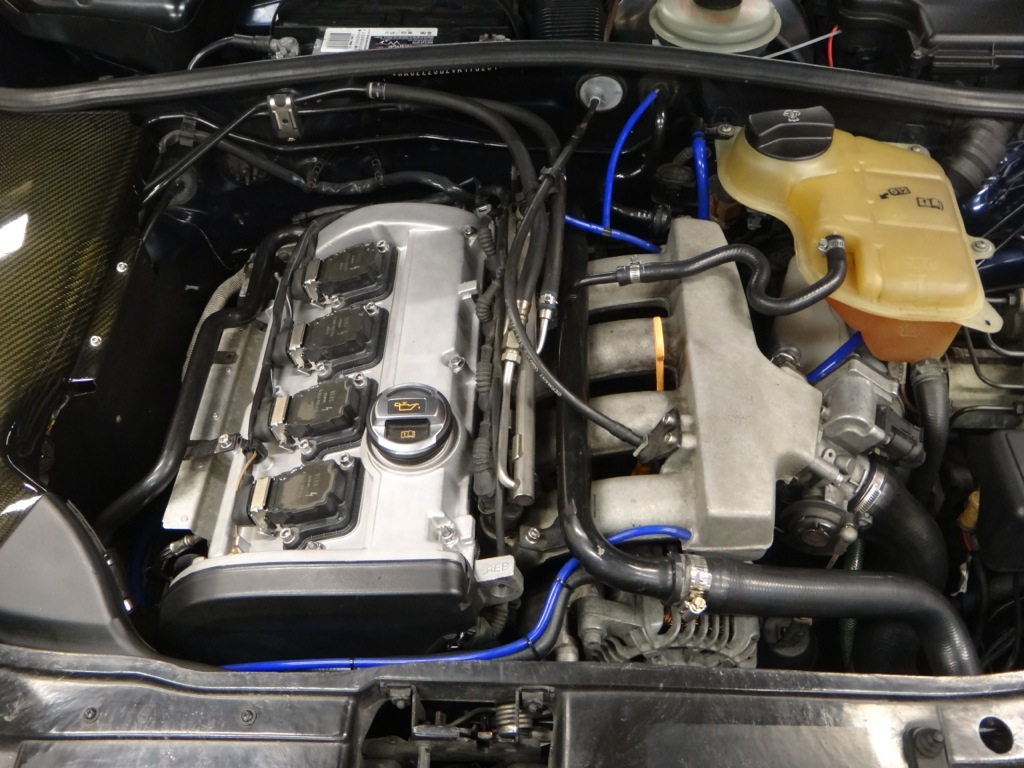
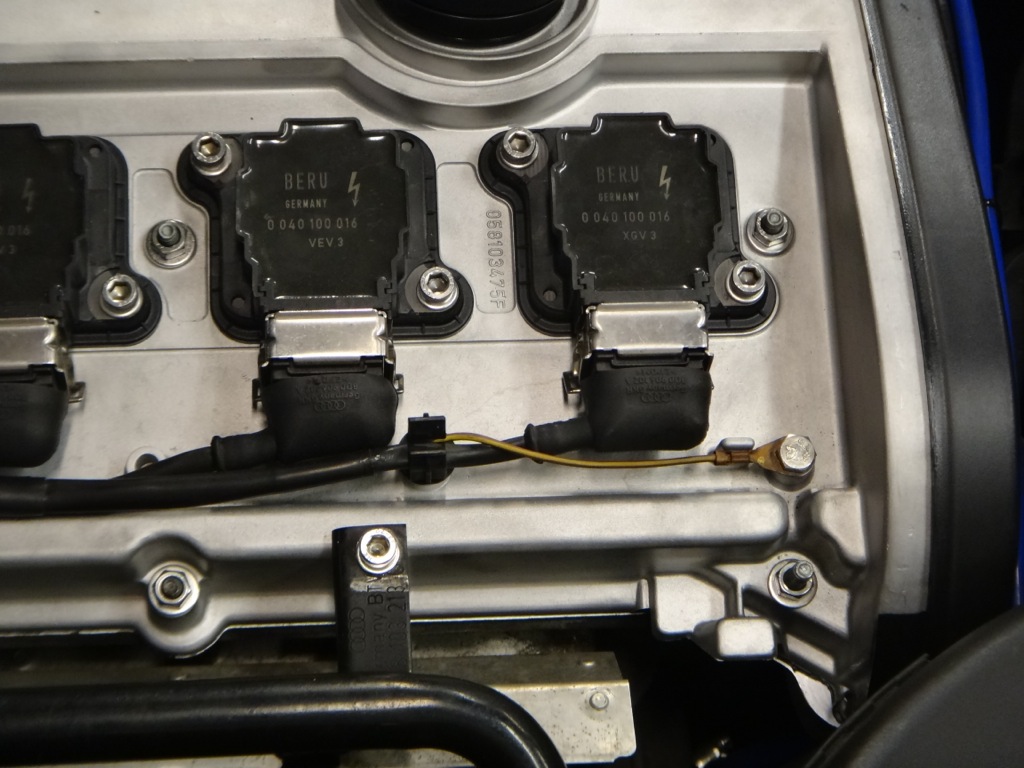
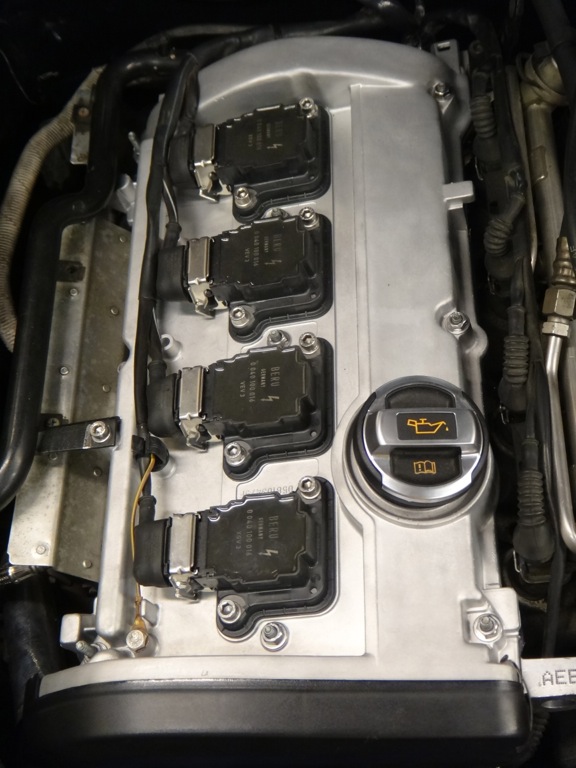
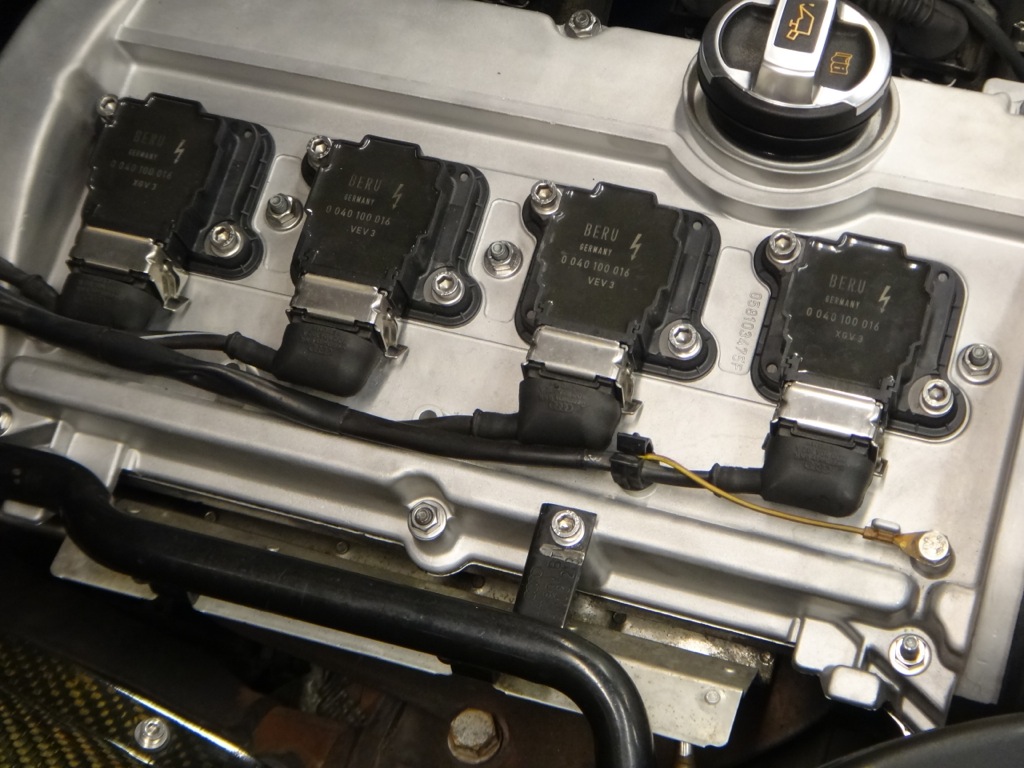
Today I swapped some of the engine bay fasteners out for stainless steel replacements. I swapped the valve cover nuts, coil pack & ground bolts, fuel rail, upper coolant pipe, breather pipe, throttle cable bracket, and the visible throttle body bolt. No more visible green hardware.
Before:
After:
9-4-2013
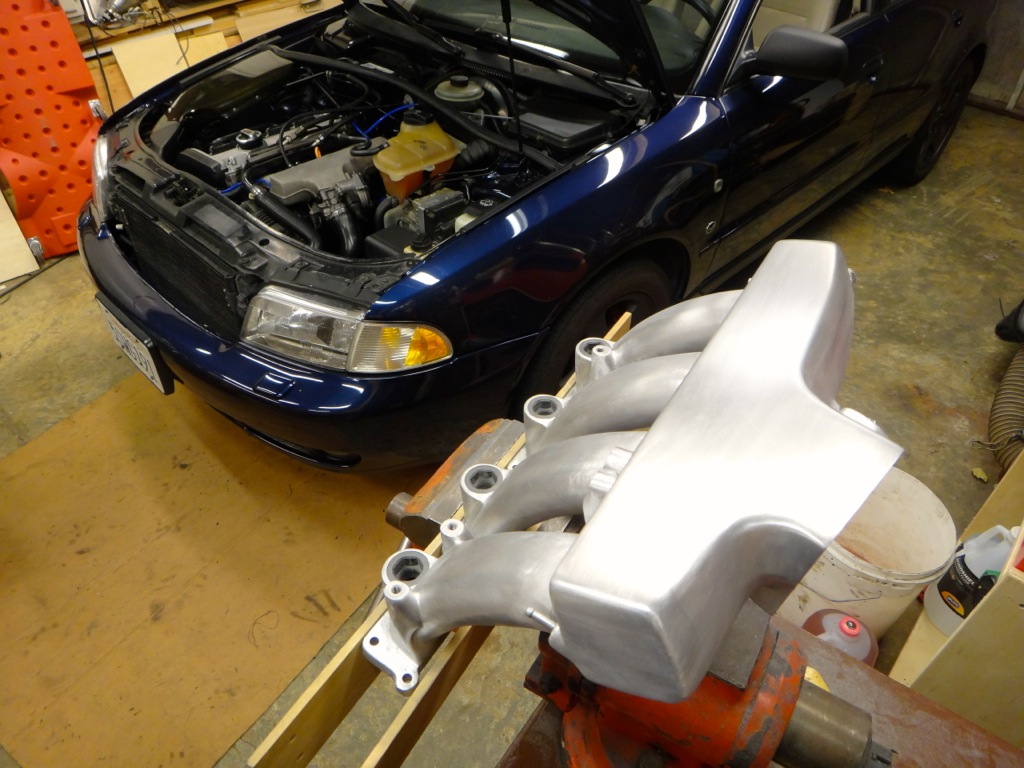
I ordered the 034 breather hose kit a few days ago and it should show up tomorrow. Accessing the breather is a lot easier with the intake manifold removed. I've been planning to swap on my new manifold whenever I got the breather hose, so the time has come.
I've been working my butt off to finish it, my fingers really do not like me right now. I'm still debating with myself about how polished to take it, I'm not going for a mirror finish. Something satin-y..
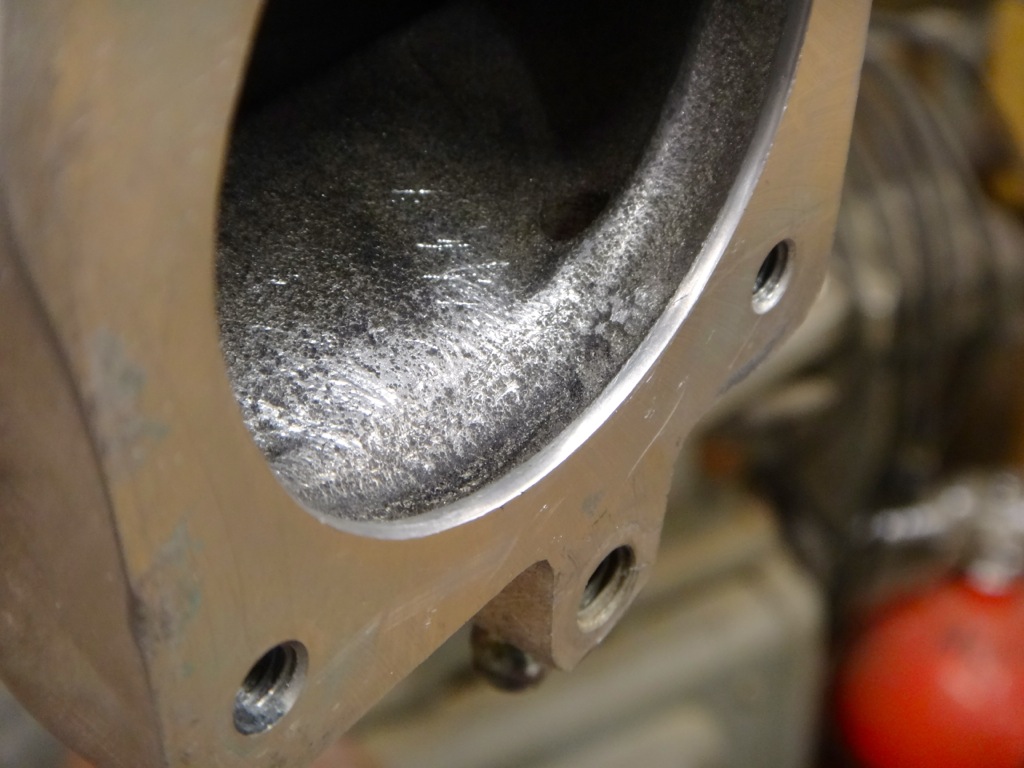
I took a break from polishing to port match the throttle body to the manifold. I removed about a millimeter from the manifold to line things up. I apologize for the crappy pictures.
You can see the lip here.
After filing and sanding.
All smooth.
This 034 breather really is a quality piece. Can't wait to put it on.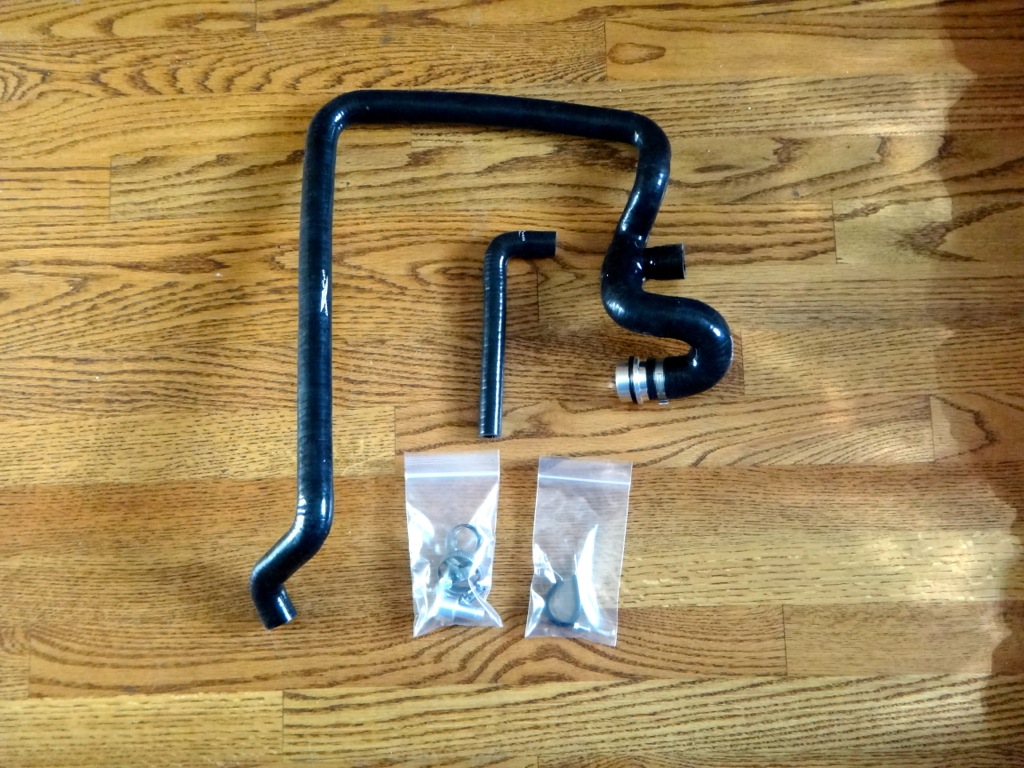
9-5-2013
Thanks for the heads up.
The joys of the 97 AEB continue to crop up. Despite being an AEB, there are differences in the vacuum systems between early and late AEBs and it seems this kit was designed for later AEB motors.
The large main pipe should work fine, all the bends are in the right spots. The problem is with the "L" hose that is supposed to go to the intake manifold. The hose supplied with the kit is too large to fit any of the ports on the manifold, my car does not have a "3 way valve." From the check valve, there is one hose that goes directly to the intake manifold port next to the IAT sensor.
I don't see any way that L hose is supposed to work in this case. I've contact 034 but have not heard back yet, we'll see what they say.
If it comes down to it, I could keep that OEM hose and just install the main hose and check valve. I thought I was ordering a complete kit though, which is why I'm a little perturbed.
