You must be logged in to rate content!
14 minute(s) of a 548 minute read
1-18-2013
So OK all you eager Aussies what did you do this sunny Saturday morning? After some running I noticed that two of the priming taps were leaking under compression so I removed the culprits, dismantled them and lapped the conical taps in with some fine grinding paste re-assembled them and returned them to their rightful place in the cylinder head. I then went over the left hand side of the engine and nipped up the umpteen 1/4 inch bolts retaining the water side plate as I had noticed one or two just starting to weep very slightly.
Keep on keeping on
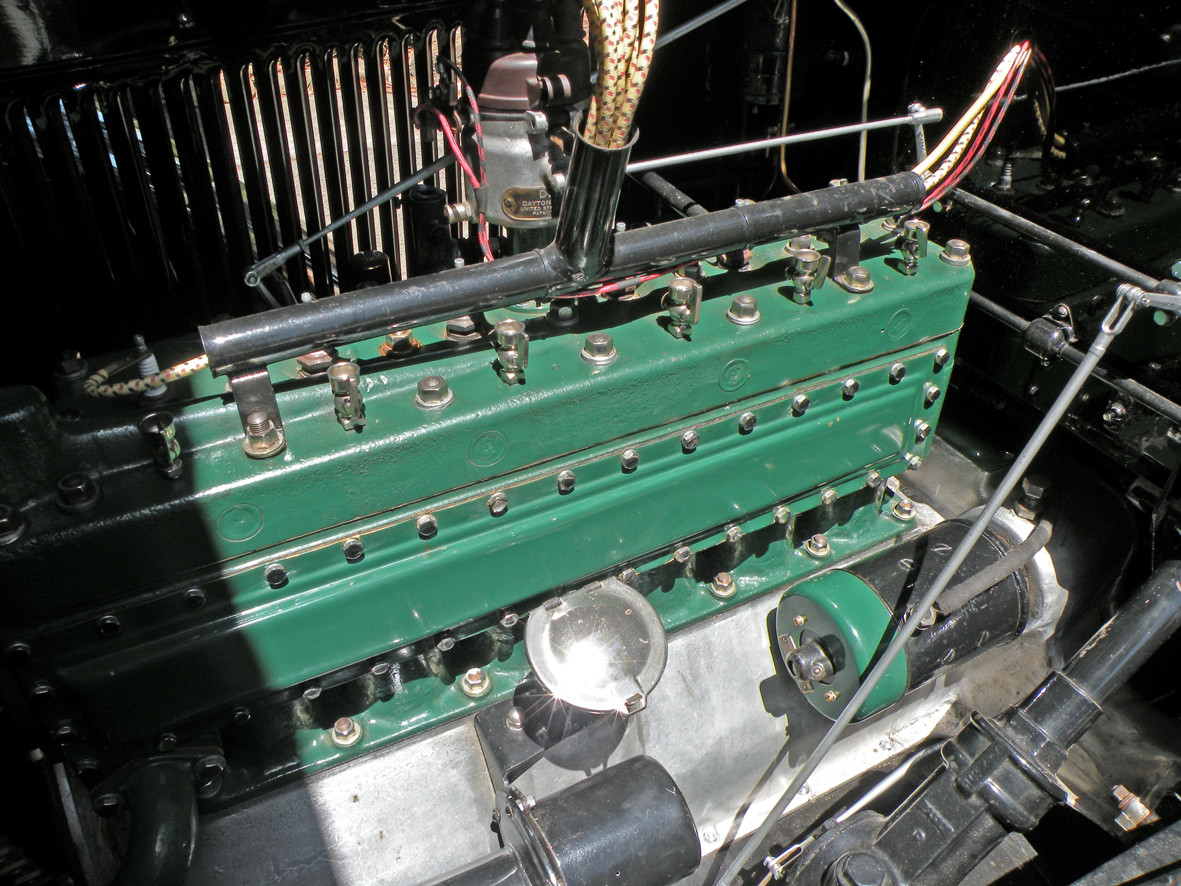
Yes all you super critics. I said bolts, they are of course technically screws. Another point that the perfectionists seem to have missed, my engine paint is not quite precisely the right shade of green for an early 1920s Packard. I believe with use, age, heat, weather etc it will "mellow" to exactly the right colour.
Before you say anything.... I know that I have plain cylinder head retaining nuts. Domed or Acorn nuts were not introduced until 1924/5 at the earliest. Plain nuts are absolutely correct for a Series One, 126 Single Six!
1-20-2013
Hi All
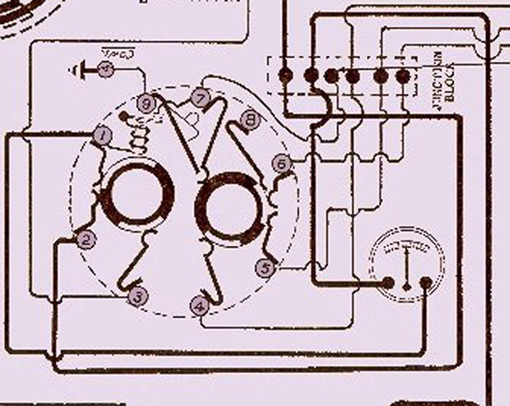
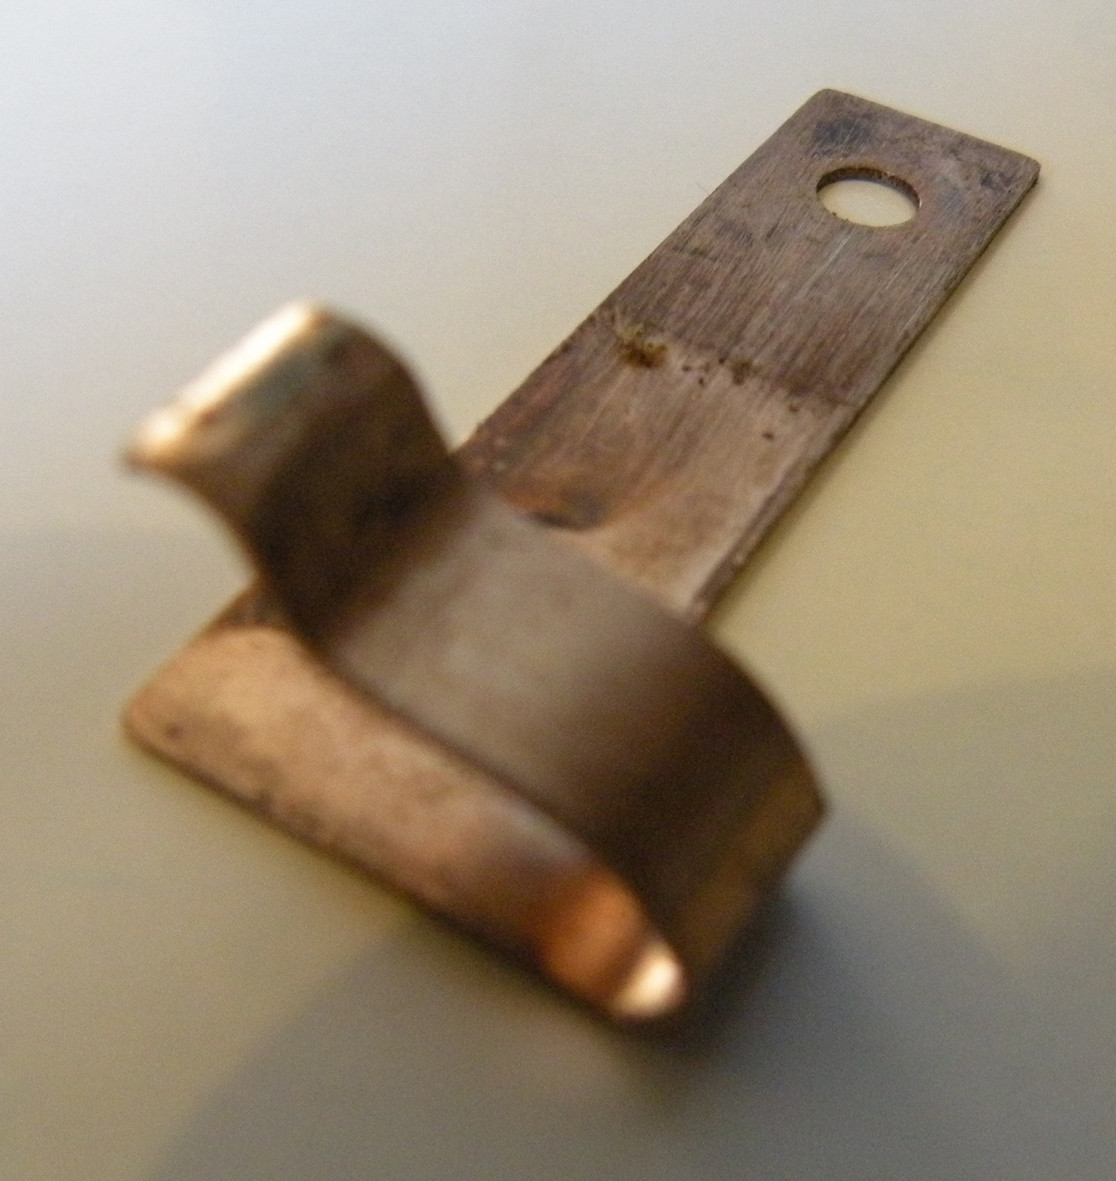
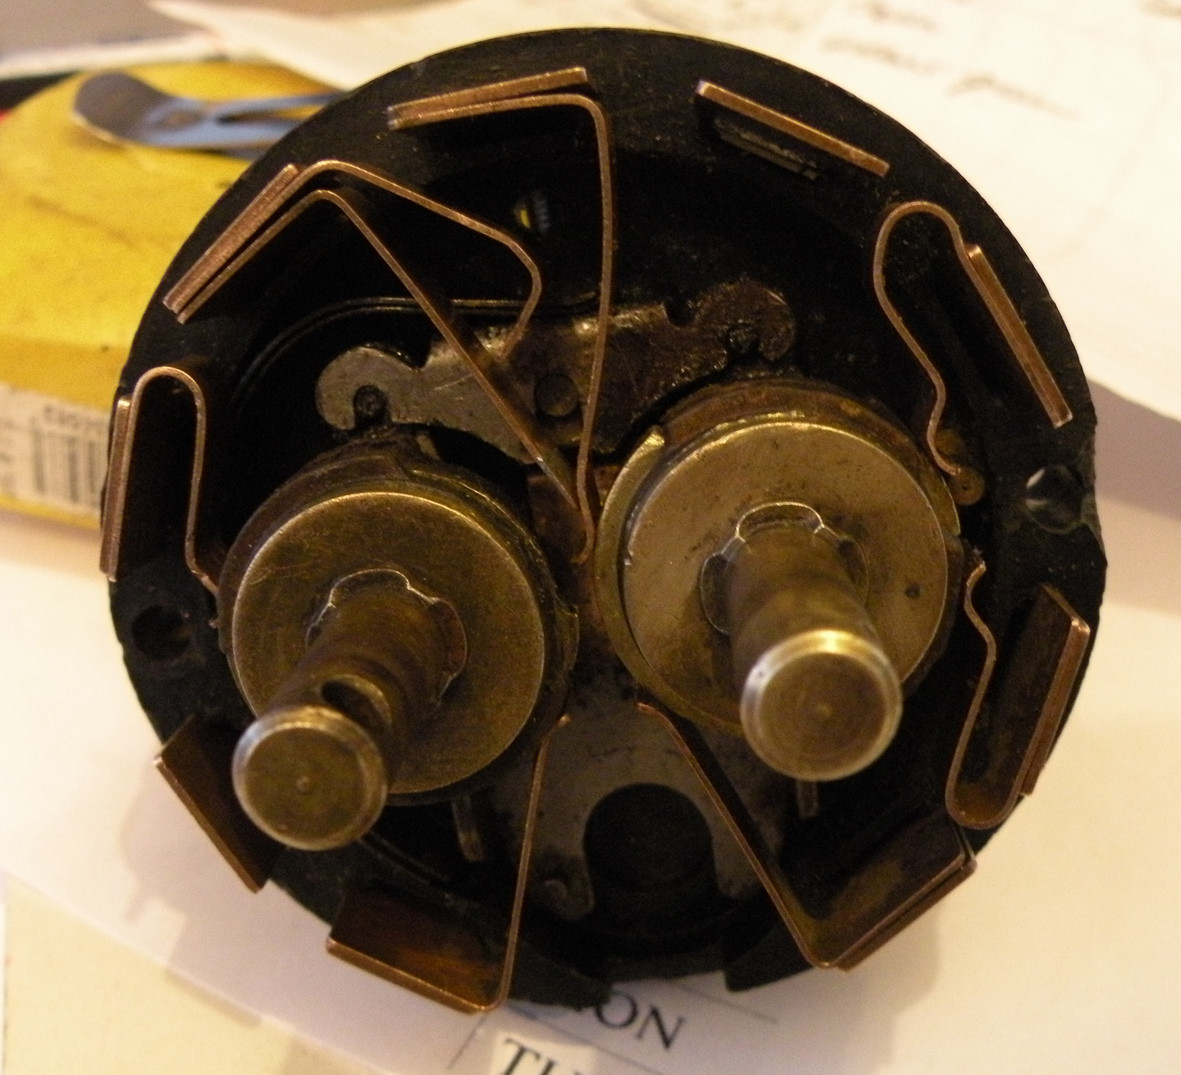
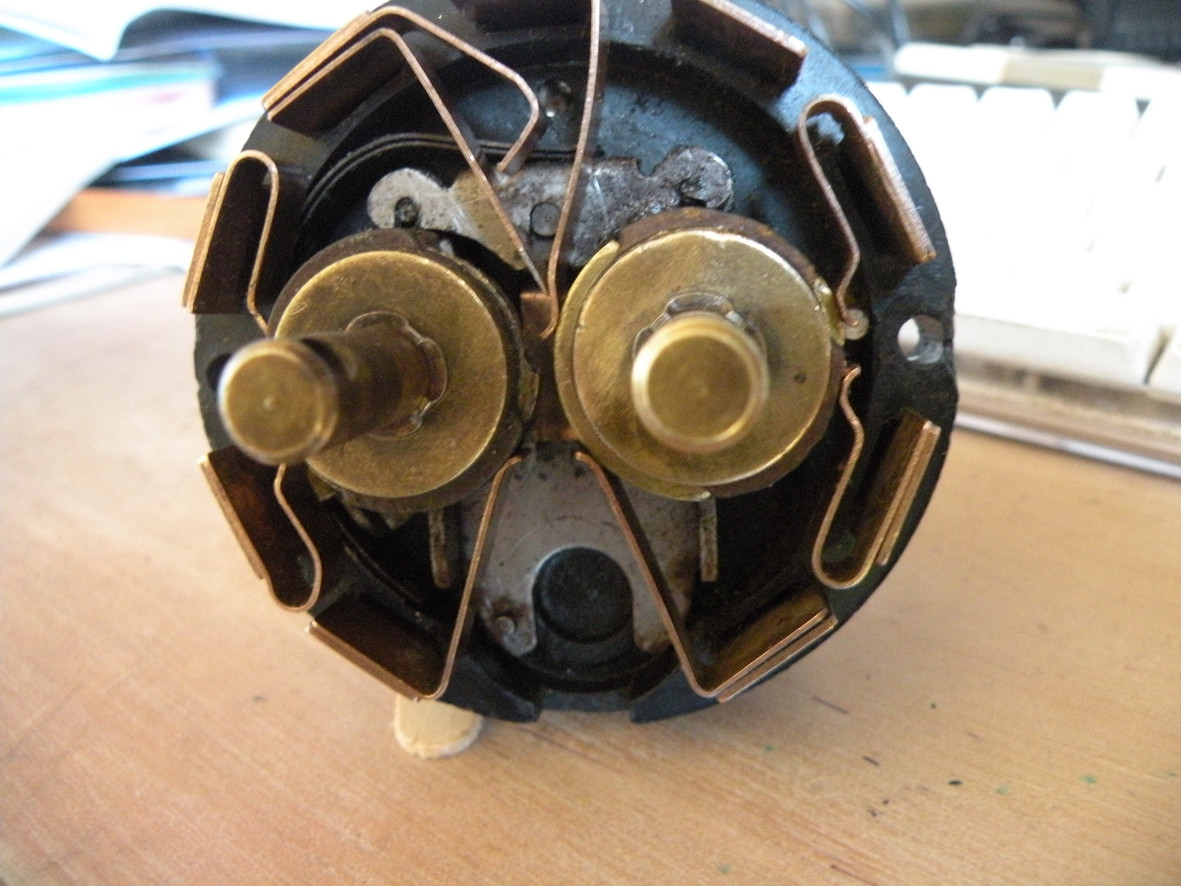
I have just invented a new game for car enthusiasts of all ages. "Find the missing contact" or "I wonder where the current went." Going back a couple of posts I described rebuilding the generator. This is where a little knowledge can be dangerous. When re connecting the generator I discovered that the correct terminal #2, on the back of the switch was "dead" I very cleverly made a little bridge to link this with the ignition circuit #3. This worked fine! Just one problem. Once started I could not turn the ignition off again! Even though disconnected from the battery the engine continued to run "on the generator". Looking again, comparing the actual internals of the switch with the diagram of the internal working of the switch I could easily track the path of the current, the only problem was that one contact was missing from my switch. I phoned my Chief Packard Guru in Sydney David McC. Yes he had the remains of a spare switch he could easily remove the required contact and post it to me. The only problem was that when he looked that contact was missing from his switch too. Fortunately there is another identical contact on the lighting side of the switch so he is able to send that one to me. My only thought is that this contact is the hardest working in the switch passing current each time the ignition is turned on or off. Given that there is a small spark arcing across the contacts, perhaps just this one contact burns slightly each time it is switched on or off, until it needs to be replaced. Fortunately the contacts for terminal #2 and #6 are inter-changable, as are those for #1 and #5. Anyone who actually owns a series one 126 Single Six, perhaps you would like to remove your main switch dismantle it and tell me what you see. Attached are two photographs of the internals of my switch and a copy of the diagram from the 1923 "Operation & Care" book. As I said in an e-mail to David McC, I can and often do take the switch apart in my sleep. Sweet dreams or night-mare?
And now a question that I would welcome some educated replies to:-
Given that my 126 Single Six is pre 1924 and that the body panels (all original) from the windscreen back are aluminium can I assume that this can be correctly described as a Pullman body?
I have carried out a number of searches (Google etc) and have been unable to find a definitive answer.
Keep on keeping on
1-21-2013
Hello Donald
I am also almost convinced that the coupe was a standard Packard production body.
There were a variety of things stopping the car from idling properly. Firstly ignition timing being too far retarded and then the mixture was all over the place. Having gone back and set the timing exactly as detailed in the Operation & Care book and then having done the same thing with the Auxiliary Air Valve I believe that I can get the engine right down to a normal idle. The leaking priming cup/taps on two cylinders would not have helped either. You have to remember that the engine had not run for at least 50 and possibly anything up to 75 years. I had originally left the carburettor settings as I had found them.
Once I finally sort out the mystery of the missing contact in the ignition side of the main switch, it should be ready to drive. I find it much easier to sort out all the inevitable little teething problems at home before dashing off into the wide blue yonder. As I have already said I want/expect the car to be 110% right in every detail.
Keep on keeping on
Bj.
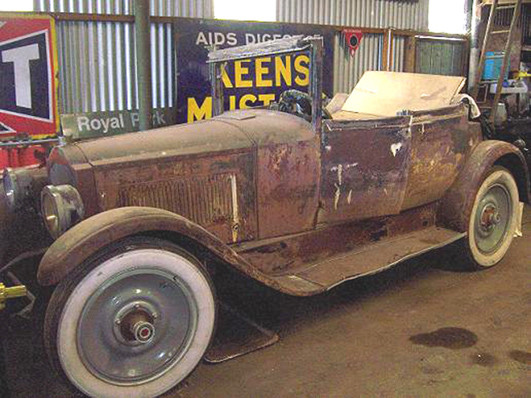
You simply cannot imagine how frustrating I find not having any early history or for that matter ANY history for the car.
After all exactly how many people did export a derelict vintage Packard to Australia any time between 1950 and 1965. If they are having trouble remembering , they or someone close to them chopped the roof off AND fitted four brand new white wall tyres before it left the USA.
Hopefully the attached photograph may help jog their memories.
1-22-2013
Hi David
All that makes interesting reading but unfortunately is not conclusive either way. I have just added my six-penys worth.
I think that as far as this car is concerned the subject has run its course. One thing is sure, that the body left the factory as a Type 222 (4 passenger) Coupe. At least 80/85% of that body still survives on the chassis it left the factory attached to.
Keep on keeping on
1-23-2013
Today has been different, while I am waiting for the post-person do deliver the switch contact that David McC has mailed to me, I filled in the day catching up with all those little jobs that tend to be put off for another time. First I filled up my grease gun and with the aid of the Alemite grease connector adaptor I climbed under the car to grease all 34 grease points mentioned in the Schedule of Lubrication. While I was underneath I checked that every castleated nut actually had a split pin through it. While on the job I adjusted both the hand and foot brakes so that hopefully I can stop the car once it gets out on the road. The main problem with Two Wheel Brake cars is that you can usually stop one or both back wheels from turning but that does not always stop the car. Something to look forward to?
Finally I rescued a nice length of hardwood from the scrap bin. This is just the right length and size to make a dip stick for the petrol tank AND it fits snugly into the drivers door pocket. If the original petrol gauge had still been in the tank it would have been impossible to read as it would be hidden behind the spare wheel mount. One thing about a dip stick is that they are always reliable. I gave up on the dashboard gauge in the Lagonda years ago and now rely exclusively on the dip stick. It does mean getting out of the car to check the fuel level but it is better than being stuck in the middle of no-where because the Petrol gauge was not telling the truth.
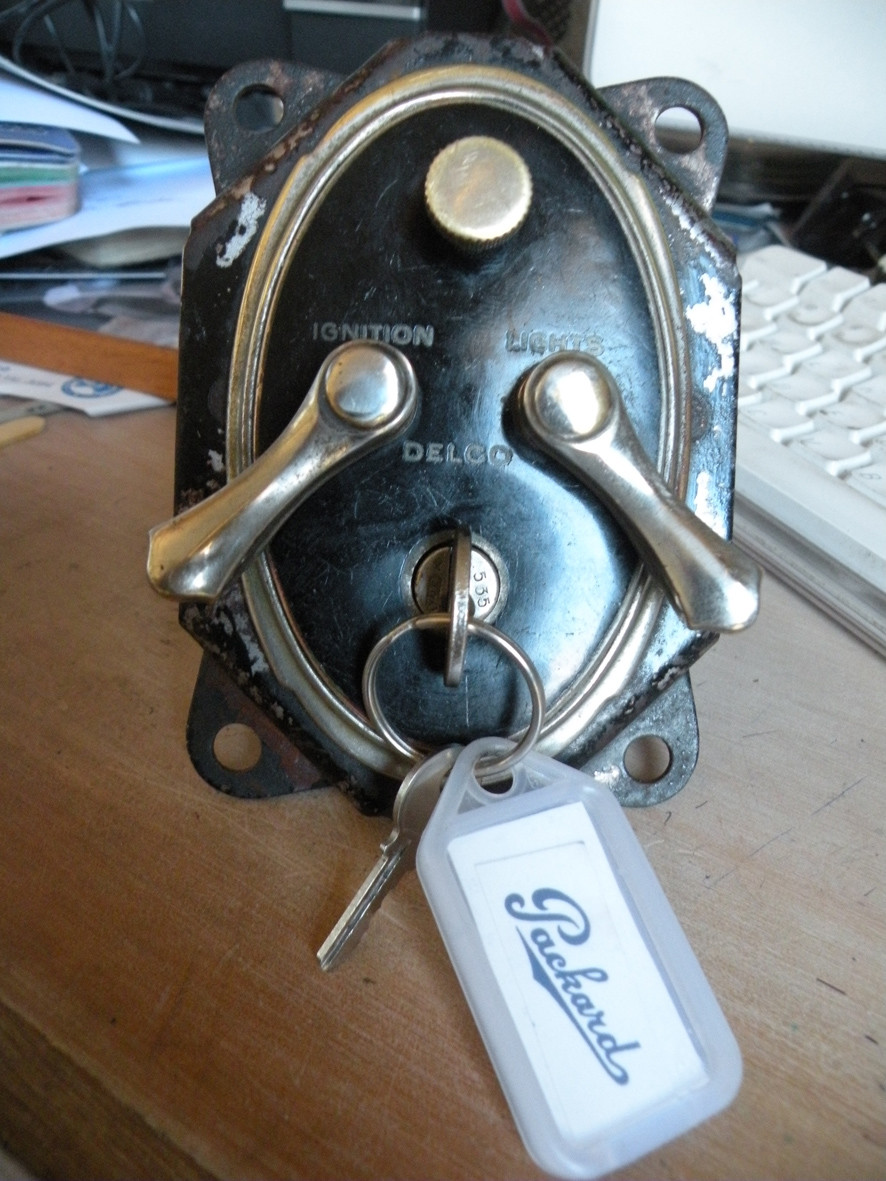
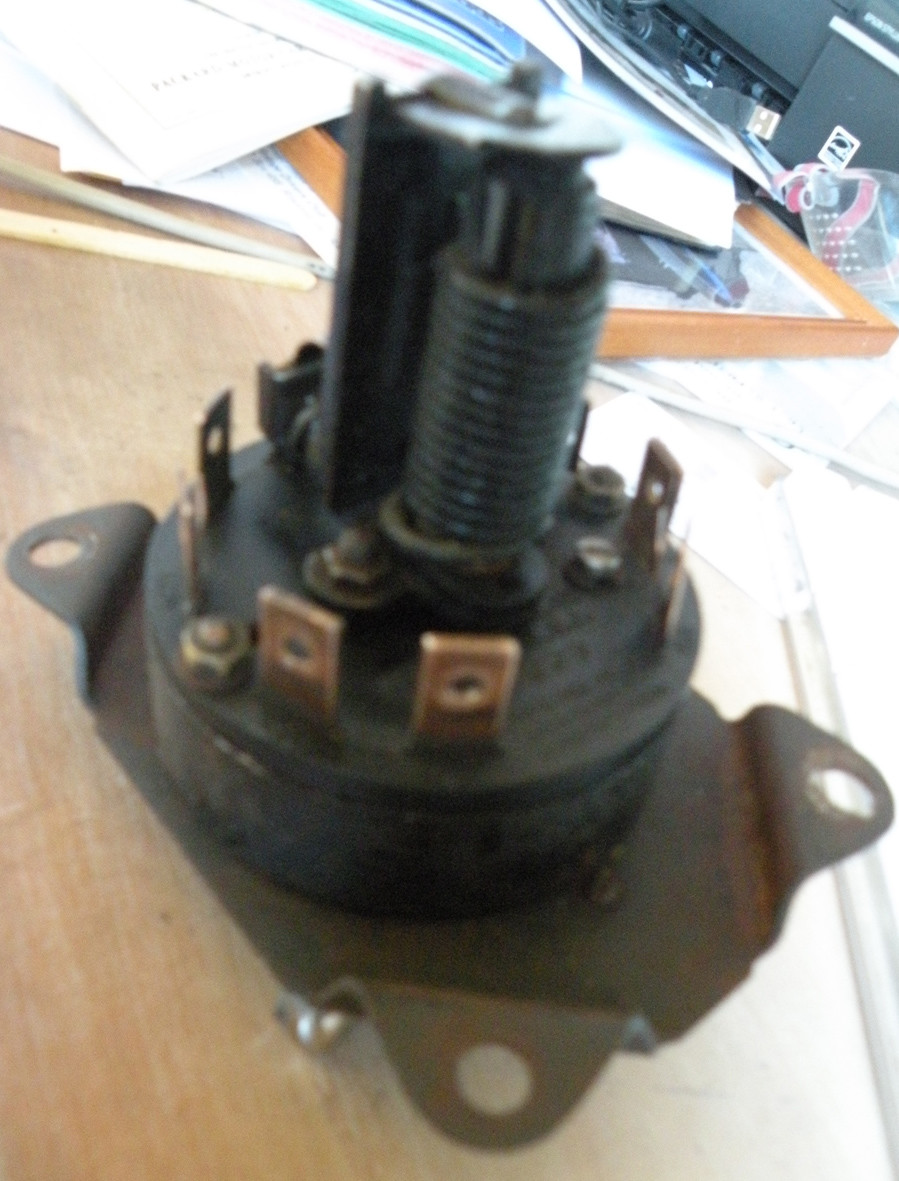
Right on que our trusty post person sped up to our gate around midday. There among the bills and junk mail there was the envelope from David McC bringing the contact for the ignition switch as promised. Lunch over it has been the work of just a few minutes to slip the contact into its position and to close up the switch. All that remains now is to connect up the various wires to their respective terminals. This again should go smoothly in addition to colour coding the wires I have taken the added precaution of tagging each wire with the number terminal it connects to. Attached are photographs of the internals of the switch (for you to compare with the earlier photograph) a rear view. The sharp eyed among you will be able to see the numbers 1 to 9 around the terminals and one from the front with the switch all buttoned up.
Once again a huge thank you to David McC what would we Aussie 126 and early Packard owners without your wisdom, ready assistance and support.
1-25-2013
Hi all
Today has been spent investigating the workings of an Expresso coffee machine for my daughter. I think that in the future I will stick to vintage cars they are so much more fun to work on.
The pursuit of perfection can be a long and arduous journey!
Having got the Packard to a stage that it is starting on the button and idling nicely it seemed to run only as long as the contents of the carburettor float bowl permitted. While the Vacuum tank was full the fuel was not reaching the carb in sufficient quantity to keep the Carb supplied. Back to basics....
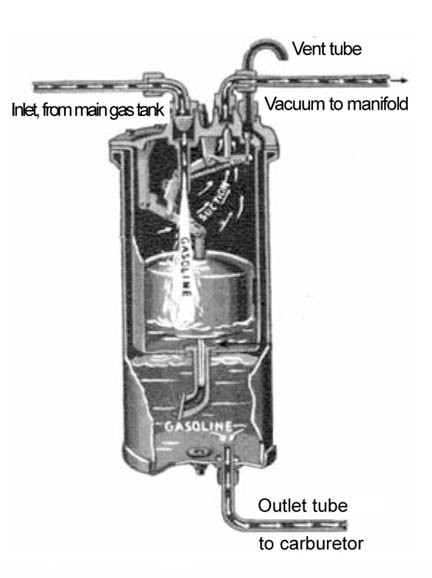
There was sufficient fuel in the Vacuum tank, the pipe from the tank to the carb was free from any obstruction. I could disconnect this pipe from the tank but the fuel was only slowly disgorging from the tap. BUT if you removed the plug from the top of the tank it would flow normally. Probably there are many of you who have never seen a Vacuum tank and even more that have never seen inside one. There are in fact two tanks, one inside the other. One to draw the petrol from the storage tank by means of the vacuum created in the inlet manifold. The other to deliver the petrol to the engine. To do this the second tank must be vented to the atmosphere. Therein lay my problem. The vent for this second tank was almost fully blocked. having removed the top of the tank I could remove the vent pipe and clear it by passing a length of welding wire through it. With the top secured again the petrol could flow in a continuous stream. Problem solved.
1-27-2013
If it ain't one thing it is another......
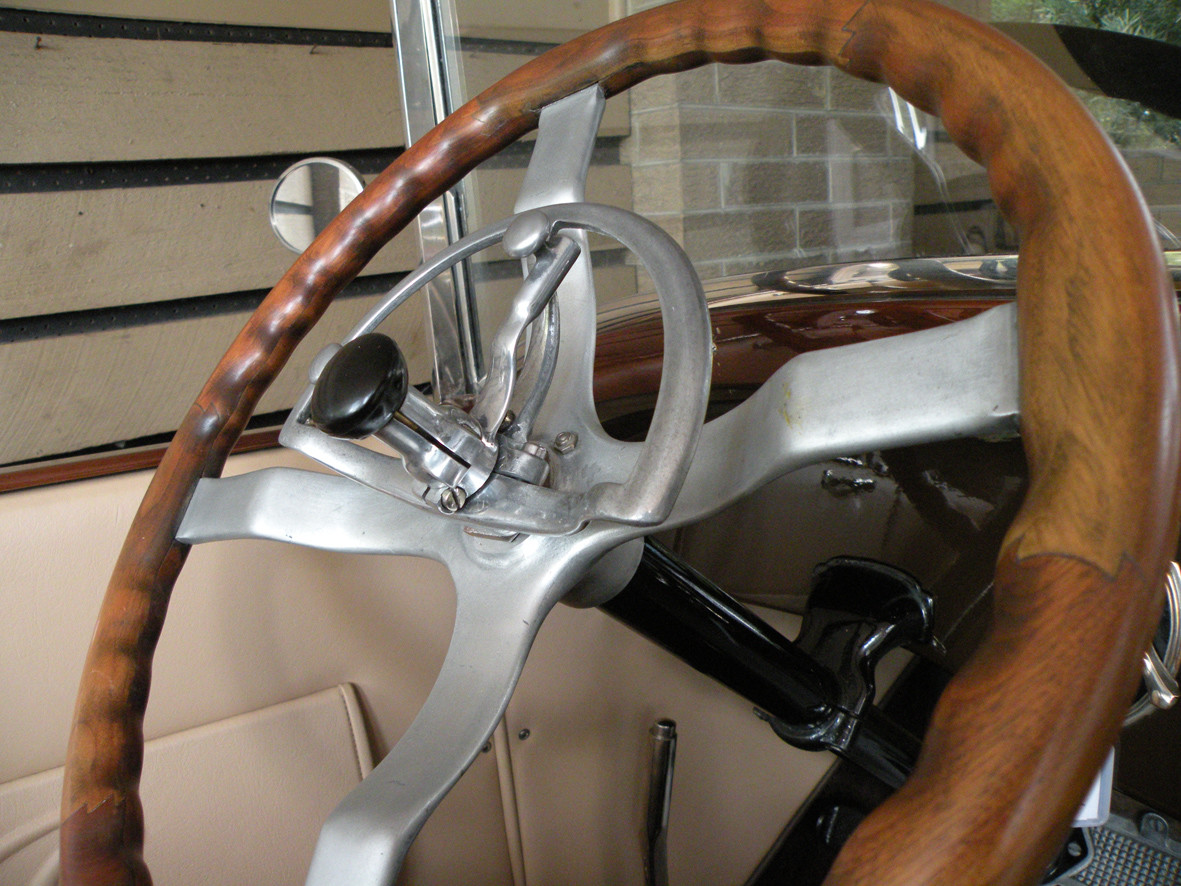
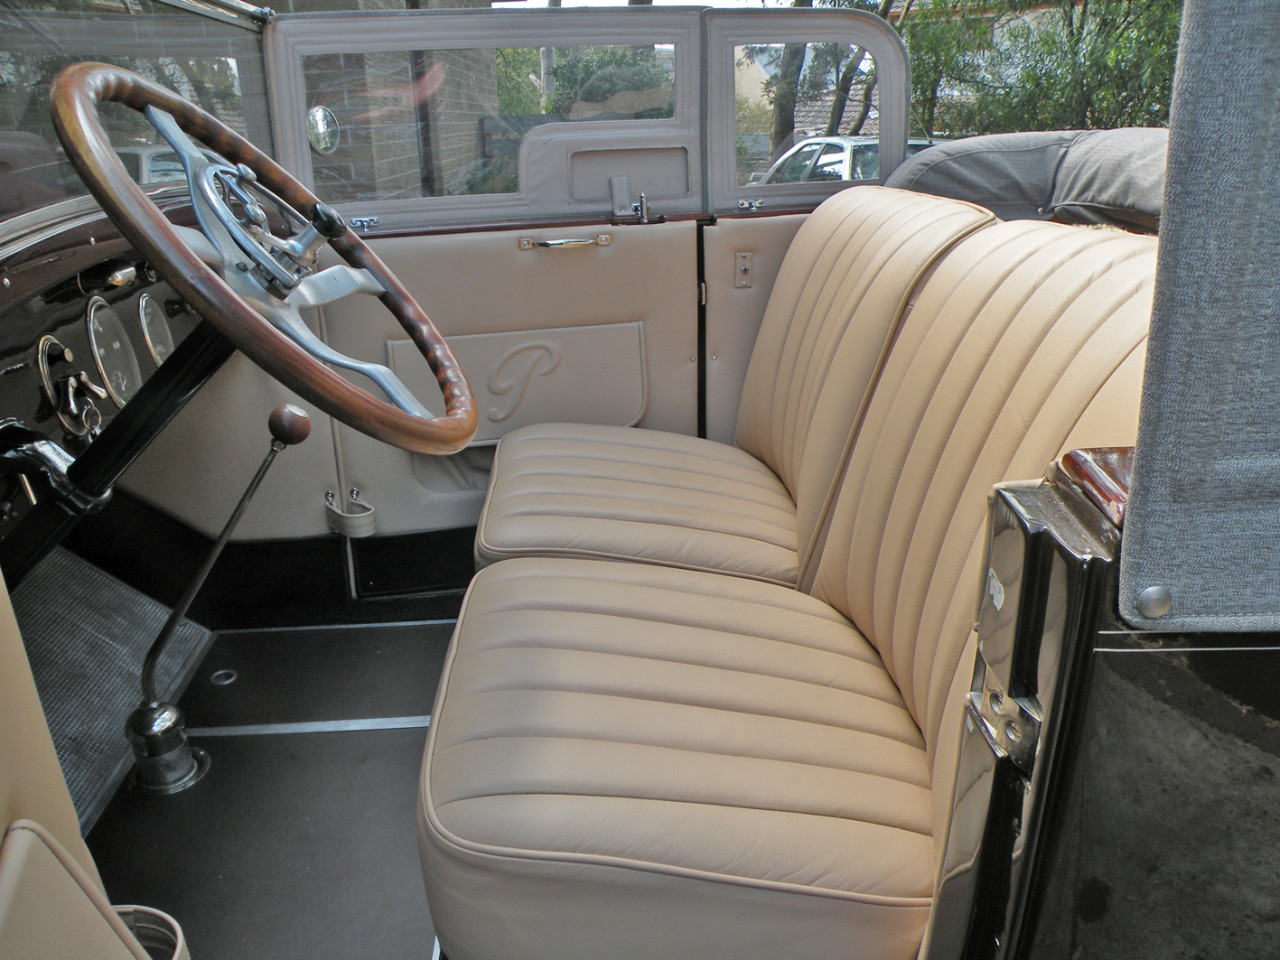
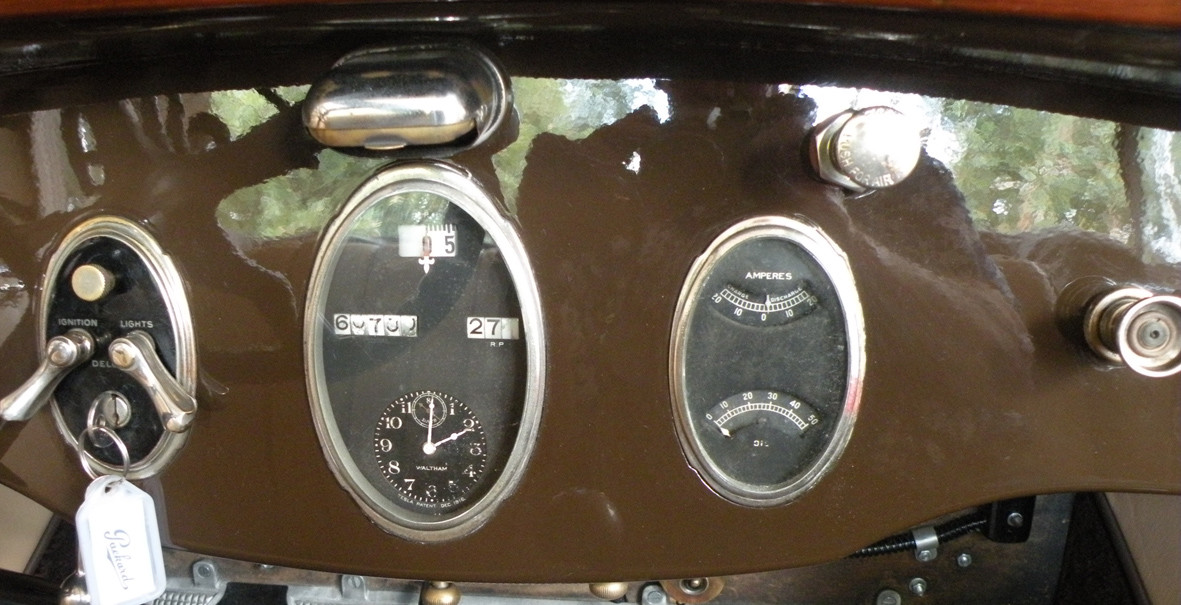
Yesterday while demonstrating to my brother-in-law how easily the Packard started I pressed the horn button. The result? Nothing! now I have something else to check out today..It WILL be 110% perfect!
Hi all
Well that only took a minute, half a turn on the adjustment screw and all is well.
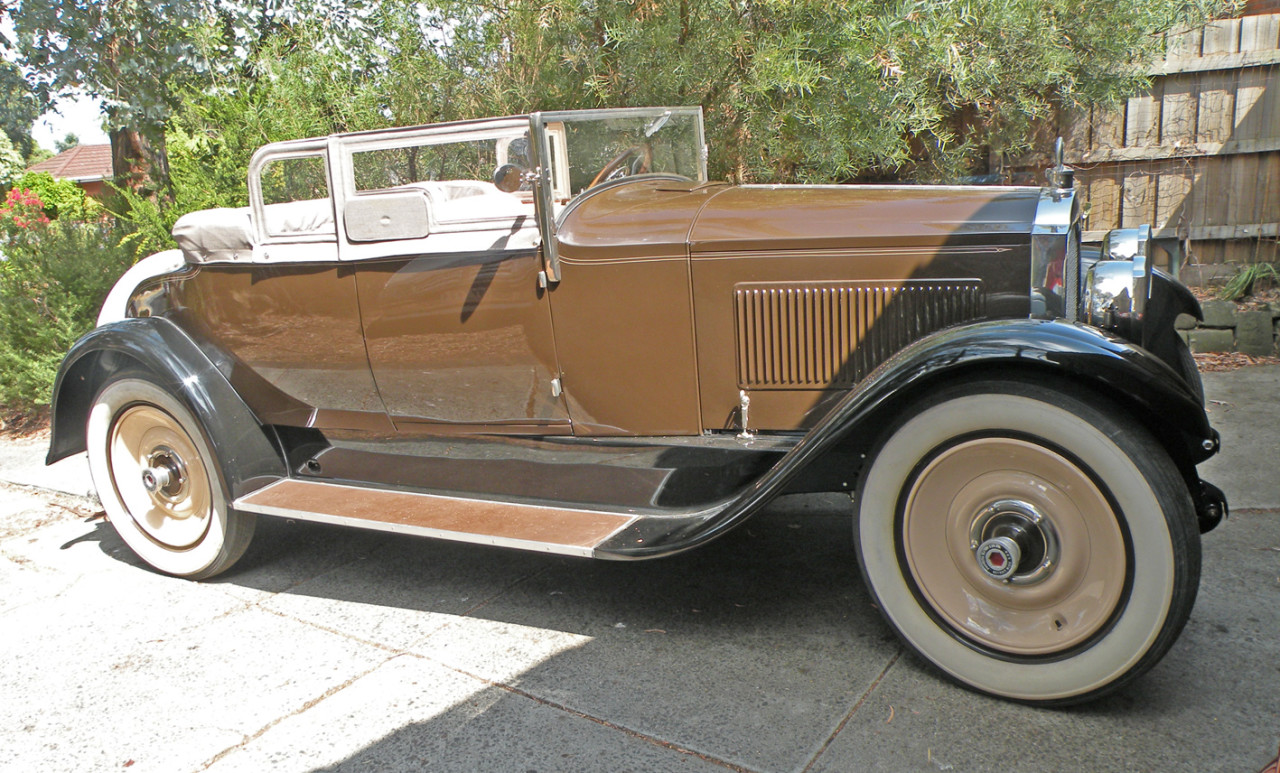
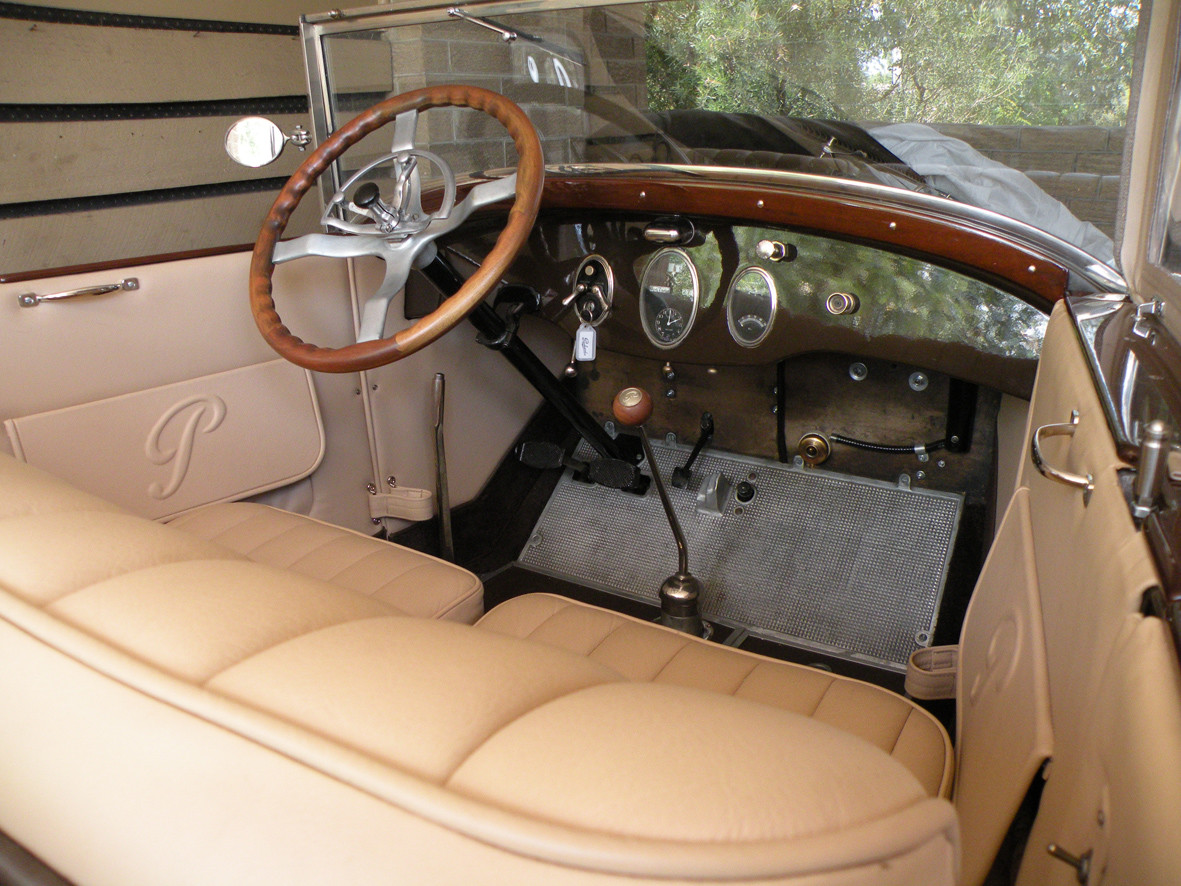
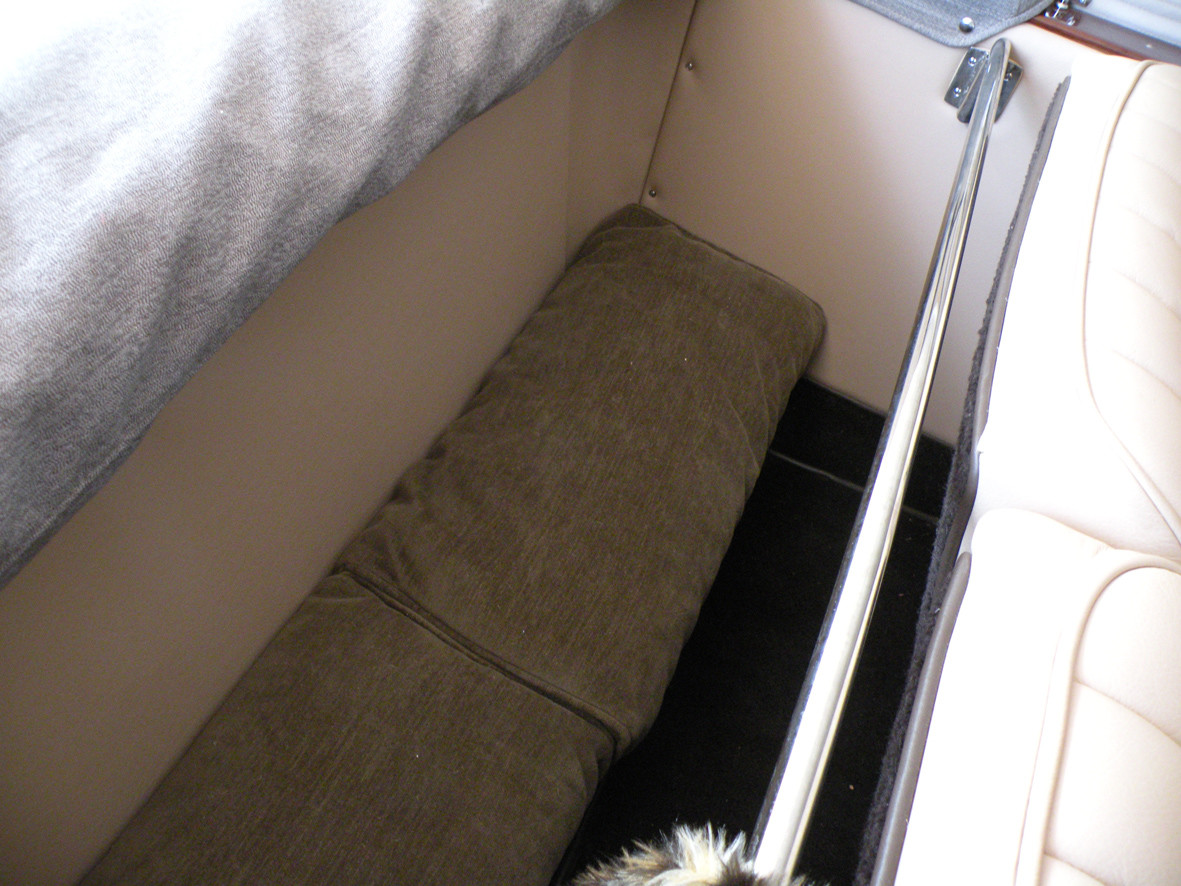
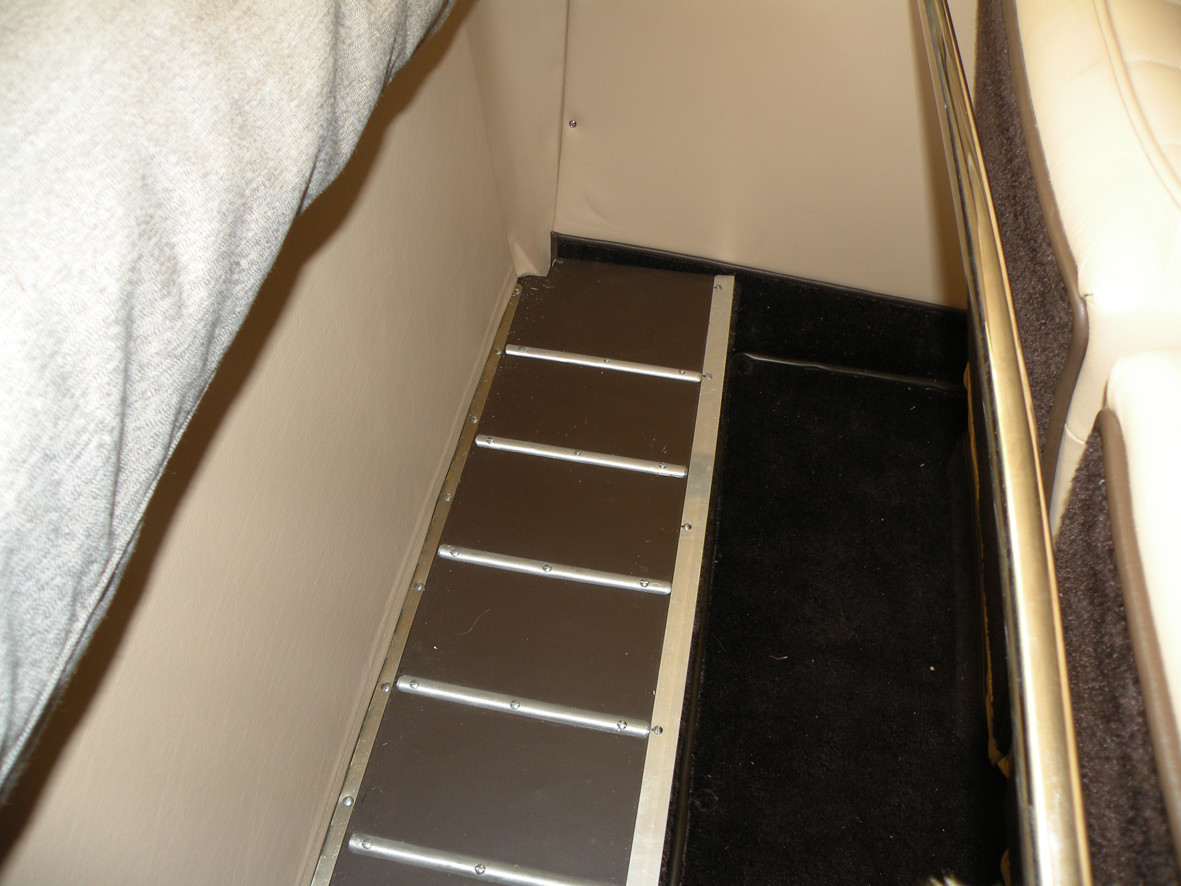
Now I know you all love photographs so here is todays crop.
Keep on keeping on
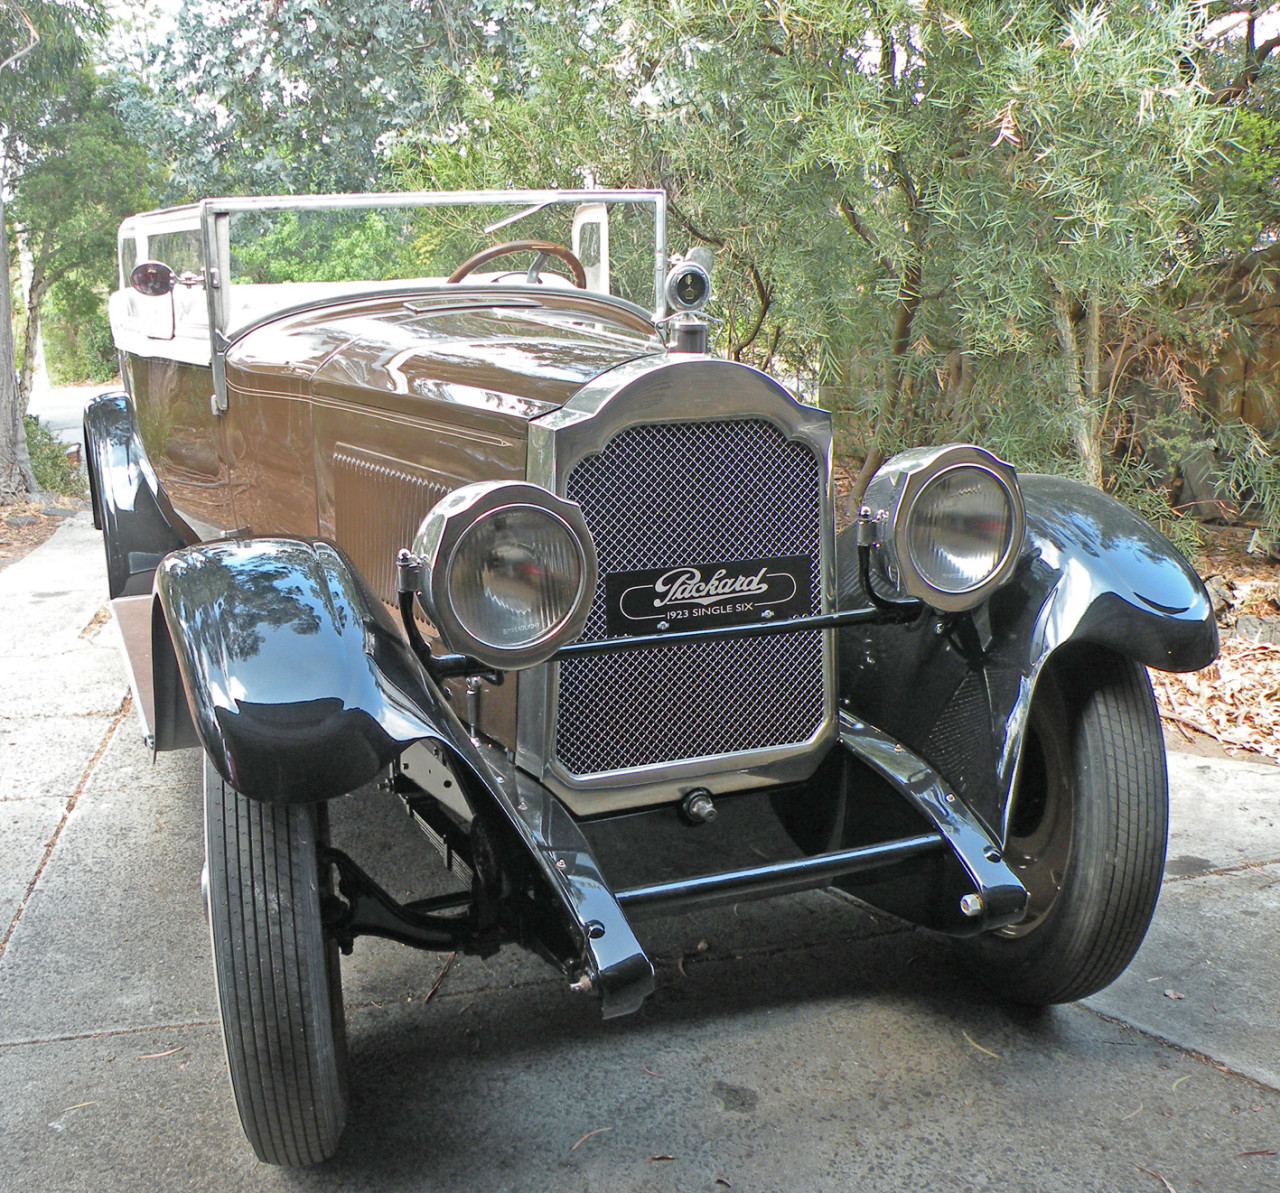
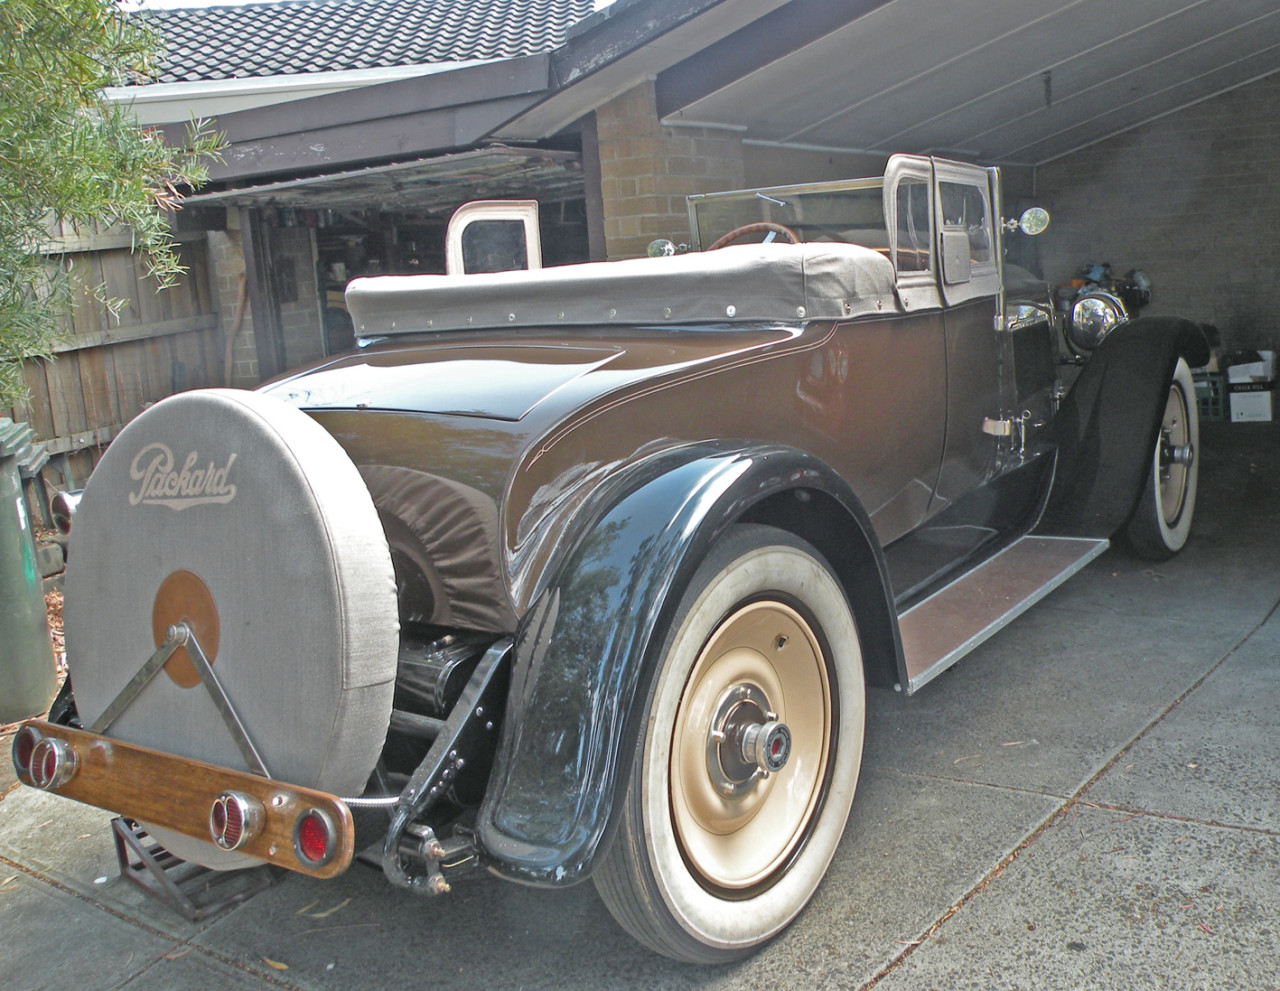
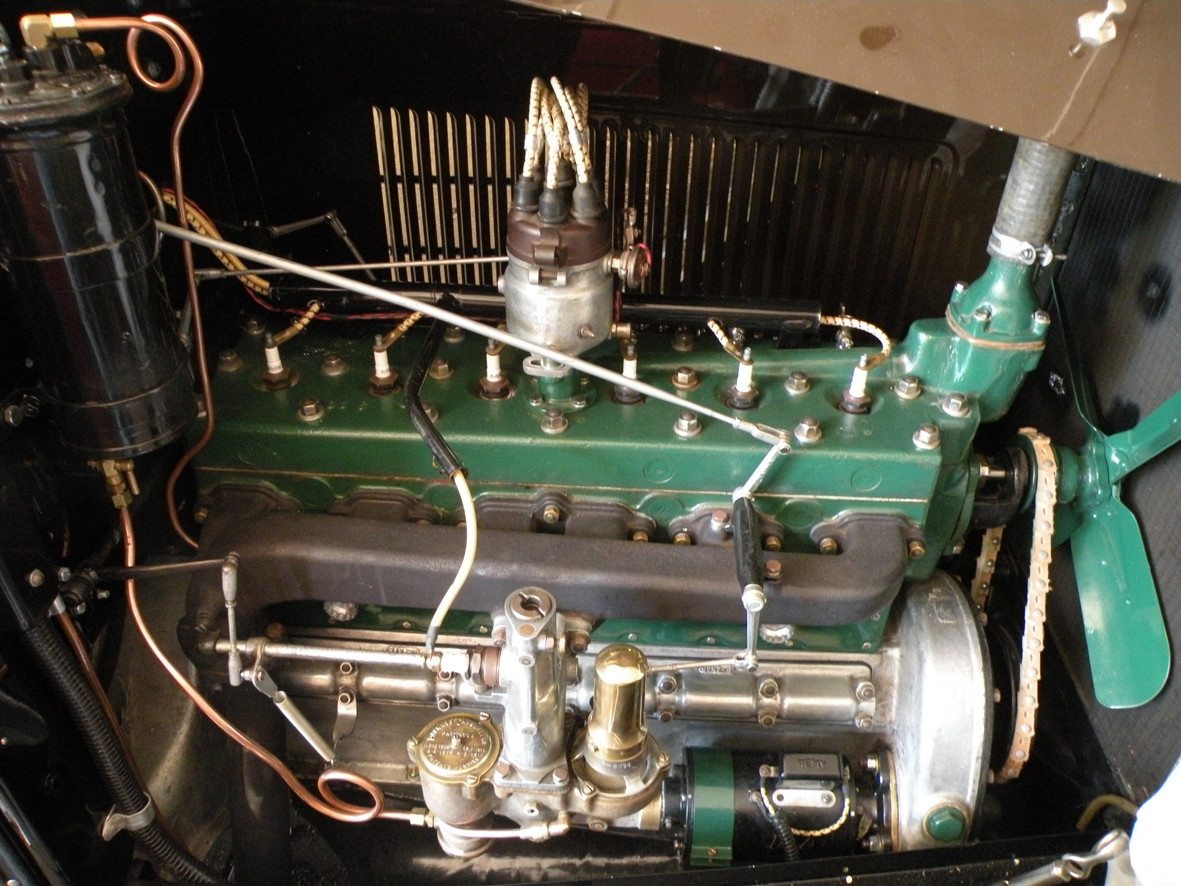
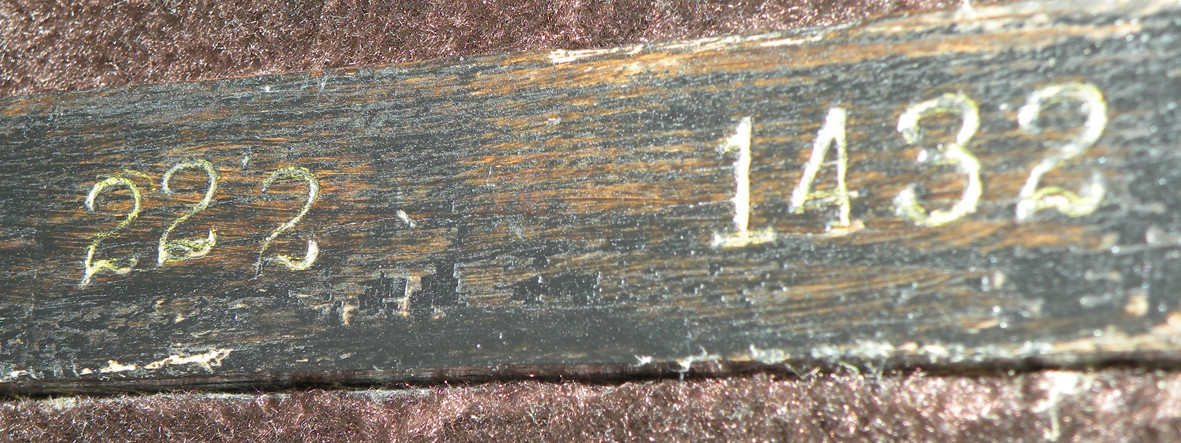
1-29-2013
Hi all
thank you for all the compliments.
Scott, I have already had two and a half years of fun/enjoyment from her! As I have said innumerable times I am a compulsive obsessive restorer of lost causes and basket cases. Once one is finished I can't wait to move onto the next one. Just think of all the fun and all the people I have met chasing parts and information. I now know more about early Packards than many people who may have owned one all their lives. The one problem or perhaps good thing is that due to both financial and space restrictions I can only do one at a time. Having said that by restricting myself to one project car at a time I concentrate on that one car and actually get it finished. Think of all the people that you know with a shed/barn full of cars that will never get restored. I have a "shed full" of marvellous memories. By chance just today I made contact with a Crossley (The English one) that I rebuilt years ago.
As I keep saying
"Keep on keeping on"
Hello all you eager beavers,
I have just returned from my first drive and the Packard's very first time on Australian roads under its own power. Just a couple of observations, the steering is a tad heavier than I expected, I need to take the foot brakes up a notch or two and the gap between second and top gear was wider than perhaps I am used to. Having said that it went up my #1 test hill in top gear effortlessly. The radiator got a wee bit hotter than perhaps I expected but it had been idling in the carport for some time and had quite a bit of manoeuvring back and forth to get out the drive way in reverse*
also the motor is still very new and possibly a little tight still. The main thing is that it has proven that the Vacuum tank is doing its job.
* We have a large tree right on the edge of the driveway which has been known to jump out and bite rear fenders.
Keep on keeping on

bravo!
Posted by CCmyVW on 1/26/20 @ 5:30:36 PM