You must be logged in to rate content!
13 minute(s) of a 548 minute read
10-11-2012
Not a lot to report, I have been doing battle with a recalcitrant two stroke lawn mower! Finally after rebuilding the really nasty (plastic) carburettor, replacing the fuel filter and cleaning and adjusting the spark plug gap it starts first pull of the rope but not before giving me a rather painful inflamed right shoulder.
Meanwhile I am having quite a debate with myself about the rear lighting and/or the need to fit flashing turn indicators. Safety should come first if the car is to be driven on the road but then originality is important if it should become a show car. I could compromise and use quickly demountable indicator lamps using modern (visible) light units but I find them repugnant even as a temporary fitting. I know there are reproduction rear lamps with amber (turn indicator) lenses in lieu of stop lights but they are only half the solution and do not address the problem at the front. The 1923 Single Six did not have separate (small) side lights but an auxiliary globe included in the main headlamps.Going through a couple of hundred period photographs in the Packard Photograph archive it seems that cowl mounted side lamps did not appear as standard fitment on Packards until as late as 1928, even then they were not fitted to every car shown.
As the car is to be sold on completion perhaps I should not even worry but simply leave it completely as original with just a single rear (stop-tail) light. I have run wires for a second (right hand) rear lamp but can simply end them at a hidden junction box, giving a future owner the option to fit a second light. I have yet to run the wires for turn indicators. At this point in time I doubt that the car will stay in Australia, going either back to the USA or to Central Europe.
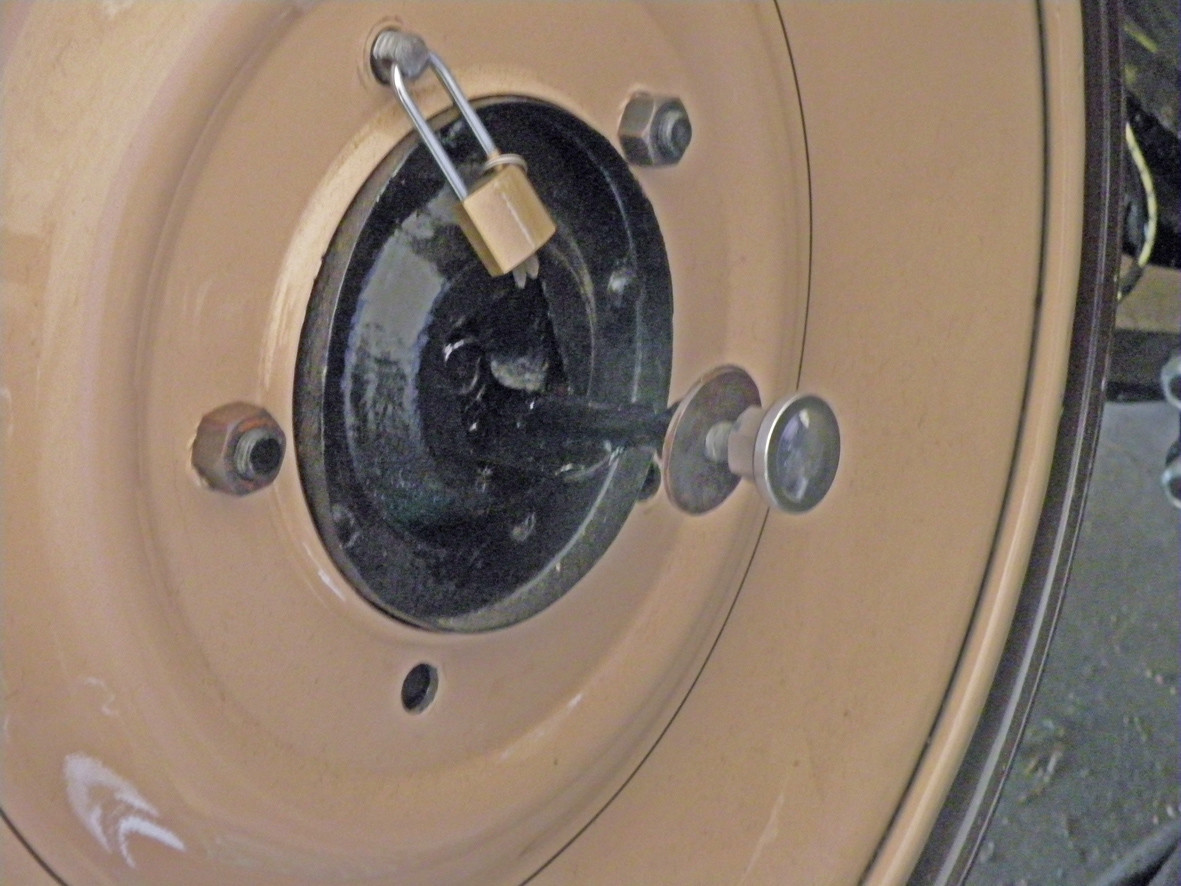
I could use (Ford A Model) reproduction rear lamps mounted off the fenders but Packard seem not to have used this type of tail lamp mounting until the late 20s or early 30s. One other alternative is to use a quickly removable board hung from the centre of the spare wheel.
Your suggestions would be appreciated.
10-12-2012
Thank you both Pat & Roger
My thoughts at present are really a compromise. By using readily demountable modern(trailer) lights mounted from the spare wheel fixing which will be visible at night and at the same time disposable. I can mount turn indicator lights at the front using the shackle pin nuts to locate them. This way will not involve drilling any holes in the car and can be removed without trace.
10-15-2012
Hiya'all.
I am sorry that I really don't have anything scintillating to report.... Just lots of little jobs while I am waiting for Tony to return from his holiday at the end of the month, then the big push towards the finish will (hopefully) happen.
10-18-2012
Hello
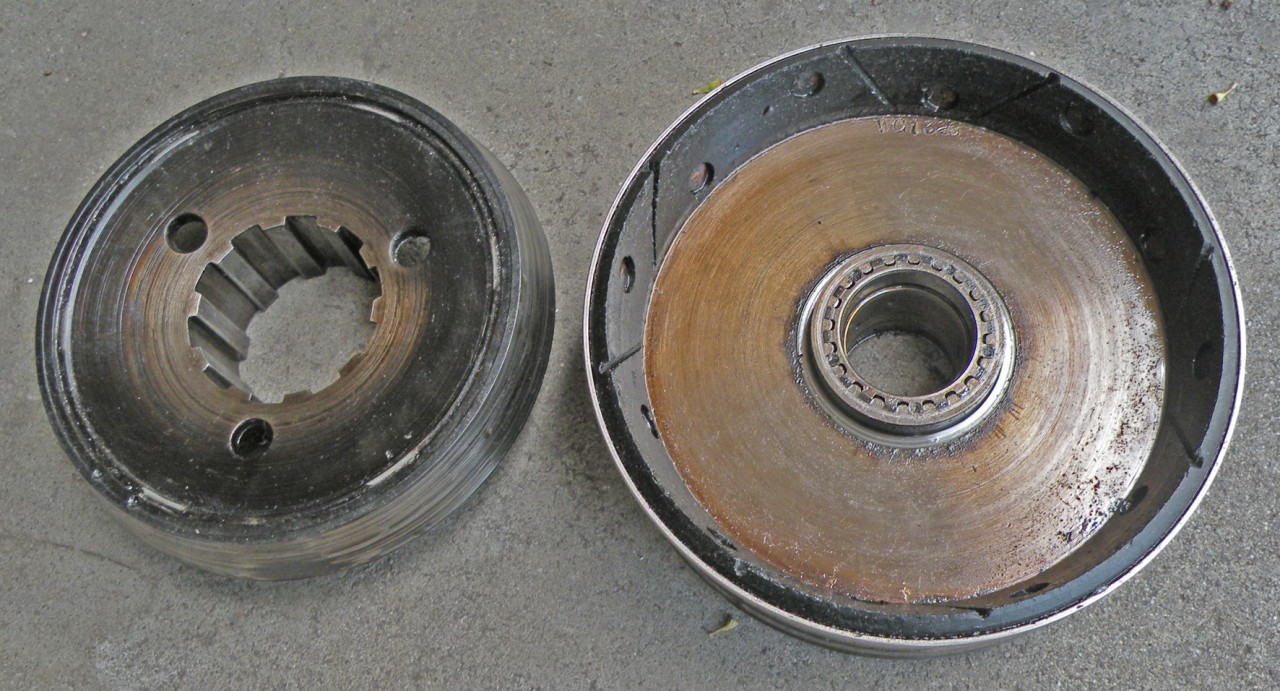
Sorry about the lack of progress on the Packard, sometimes other things require my attention. This time it was top gear in the Lagonda Rapier's ENV Preselector gearbox. This involves removing the gearbox and partially dismantling it to replace the friction lining. Top gear is activated via a cone clutch within the box. This was started on Tuesday, Wednesday was taken up with grandfather duties yesterday I started to replace the box in the car and will finish putting in the last two or three bolts and replacing the front floor this morning (Friday). Next week I should be able to get back to the Packard.
"Keep on keeping on"
10-19-2012
Hi Ben
Thank you for understanding.
Some people will tell you that necessity was the mother of invention. I say that it is the reason for ability. I don't see or look for other people to offer assistance and sure as h#ll I cannot afford the $90/100 per hour the so called experts like to charge.
After all there is only room for one person under my car or at my work bench. No prizes for guessing who that one person is going to be.
You might have noticed I tend to be independent. It is MY car, NO one else drives it, I broke it so I will fix it.
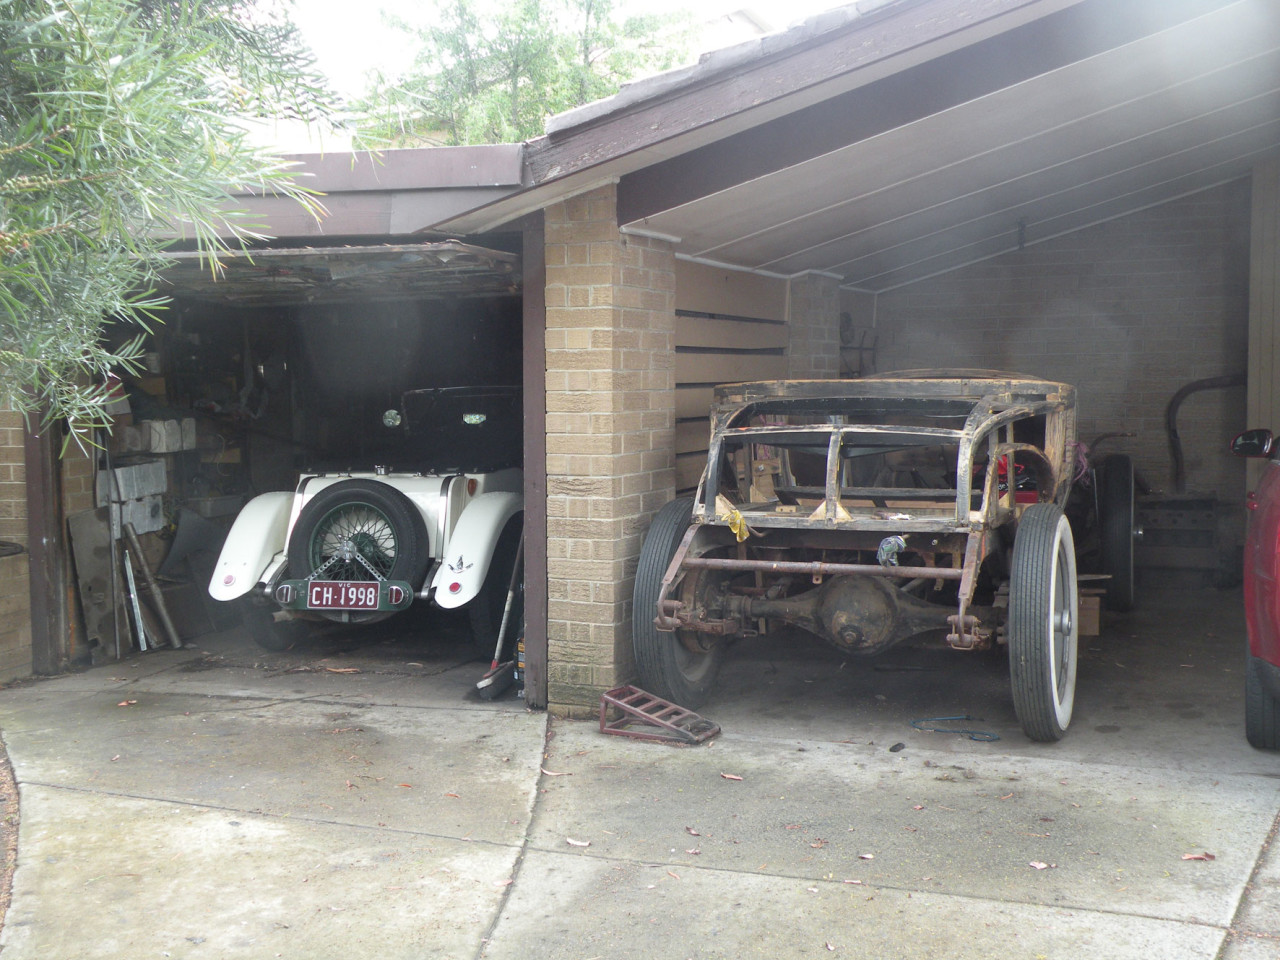
Some times I wish I had a fancy, spacious, and immaculate work shop like some people but then I actually do work in my little shed.
"Keep on keeping on"
10-21-2012
Hello Ben & Roger
The Lagonda Rapier is roughly the size of a MG TC. Like today's Aston Martin Cygnet, it was brought into the range as an answer to the financial climate at the time.
The design brief given to Tim Ashcroft in 1933 was simple "Produce the Best Light Car in the World"!
He exceeded expectations, it is just a pity the company went into receivership (July 1935) just as the Rapier sales were starting to take effect. Sales were almost 300 cars in the first 12 months a Lagonda sales record. If the powers behind the company had just been a little more adventurous and specified a 1500 engine instead of the 1100cc it would have completely re-written the record books.
My car is now, in its 78th year, a one and a half litre and would out sprint, out run and out climb virtually every other pre ww2 un-supercharged Under 1500cc sporting car. It is a super two seater touring car that I would drive anywhere and it will take me anywhere I ask it. Driven carefully it will return around 30 miles per (Imperial) gallon of 100 octane petrol.
Out on the highway it will cruise effortlessly at our 110 Kph legal limit, (hour after hour) .
"Keep on keeping on"
10-22-2012
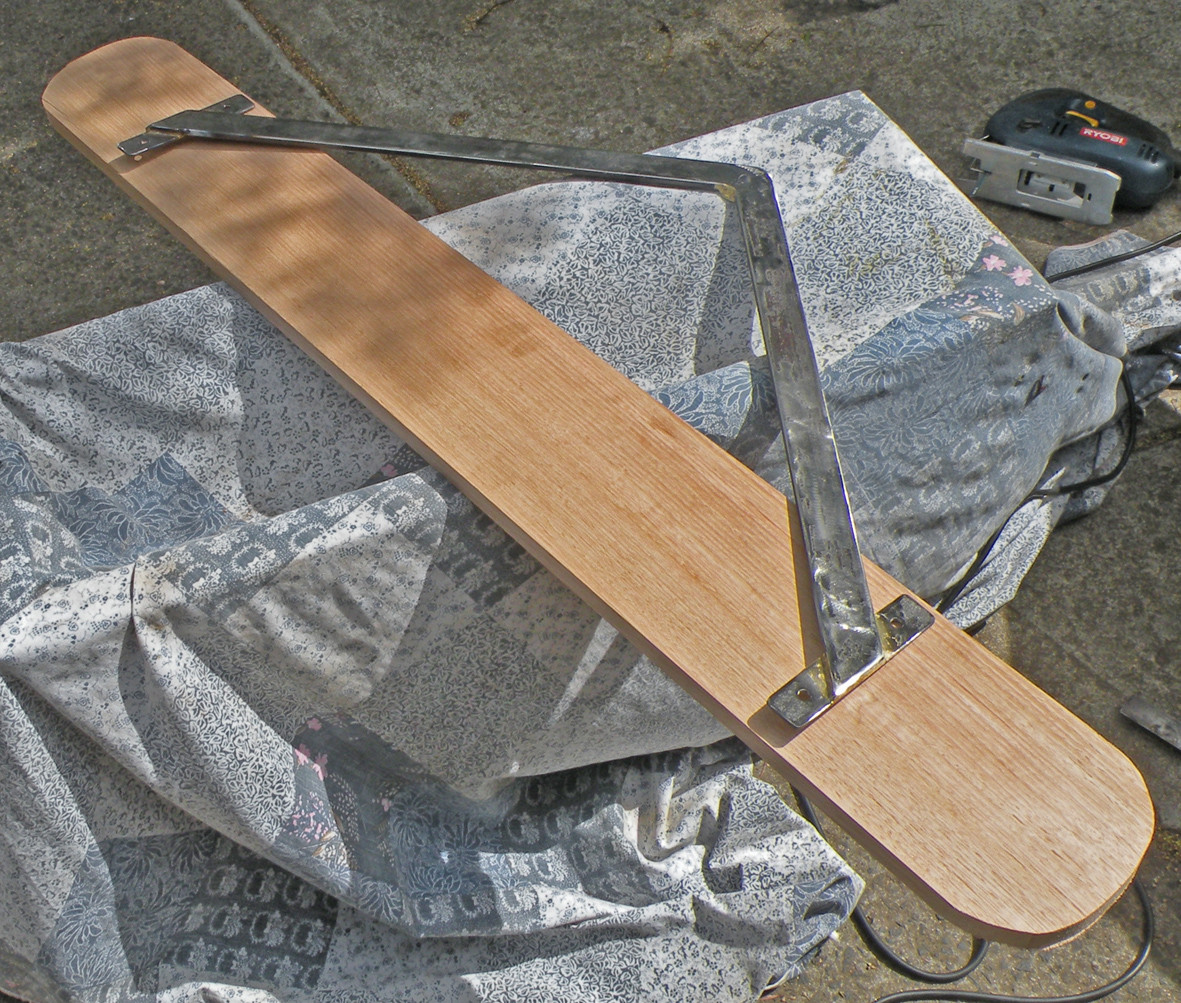
Actually back to work on the Packard! I have bought the steel strip and a length of Kiln Dried hardwood and started work on the rear numberplate/tail-light board. While essentially a temporary fitting I will have the steel component nickel plated. The fittings for the side screens arrived in todays mail so I will have enough to keep me occupied for a day or two.
Two hours later, allowing 30 minutes for lunch, things have progressed. For all those lacking the imagination to conceptualise what I am talking about the attached photograph should help. The top of the "vee" attaches to the bolt projecting through the centre of the spare wheel. The metal work is now ready to go to the platers and I can start preping the wood for the walnut stain and epoxy finish. I still have to obtain suitable tail-lamps but two large red reflectors and a suitable electrical junction box came in the parcel with the side screen fittings.
"Keep on keeping on"
10-25-2012
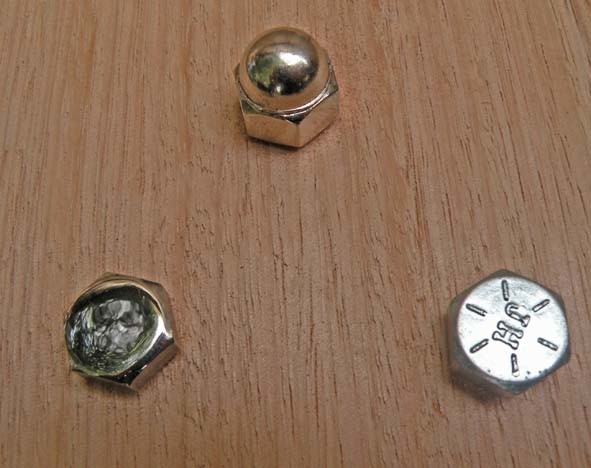
Another day of little jobs, all seemingly meaningless but each important in its own right. Delivered metal Vee section and nut for the numberplate/tail lamp board to the platers, then back in the shed to start drilling and tapping the 16 holes for the side screen fittings. Sorted out a block of some unknown variety of incredibly hard wood for the gear-lever knob. This 3 inch X 3 inch X 3inch piece of timber was sourced from a construction site opposite my sisters house (right at the waters edge of Swan Bay) It was an off cut from the sun-decking along one side of the house. It has a remarkably close grain and should polish up very close to the colour of the American Walnut timber steering-wheel. Our son Steve called in for a coffee and went off with the afore mentioned block of wood and a suitable 7/16 UNF tap so he will turn up the gear-lever knob complete with a brass barrel fixing nut. Finally ground off the manufacturer's marking on the heads of the four stainless 5/16 bolts which will attach the number plate board then polished the heads. I believe that these little things are all important, even though very few people will even notice them.
"Keep on keeping on"
So what is all the fuss about bolt heads. Basically it is just about attaching a piece of board to a strip of metal. No big deal below is a photograph showing three alternatives, a stock hardware bolt straight out of the box, a standard nickel plated dome nut and a stainless bolt with the makers marking removed and the head polished. Which one would you use on your restoration? Which would the judges among you prefer? Click on the photograph to enlarge it. I must apologise about the reflections (not scratches) in the polished bolt head.
10-28-2012
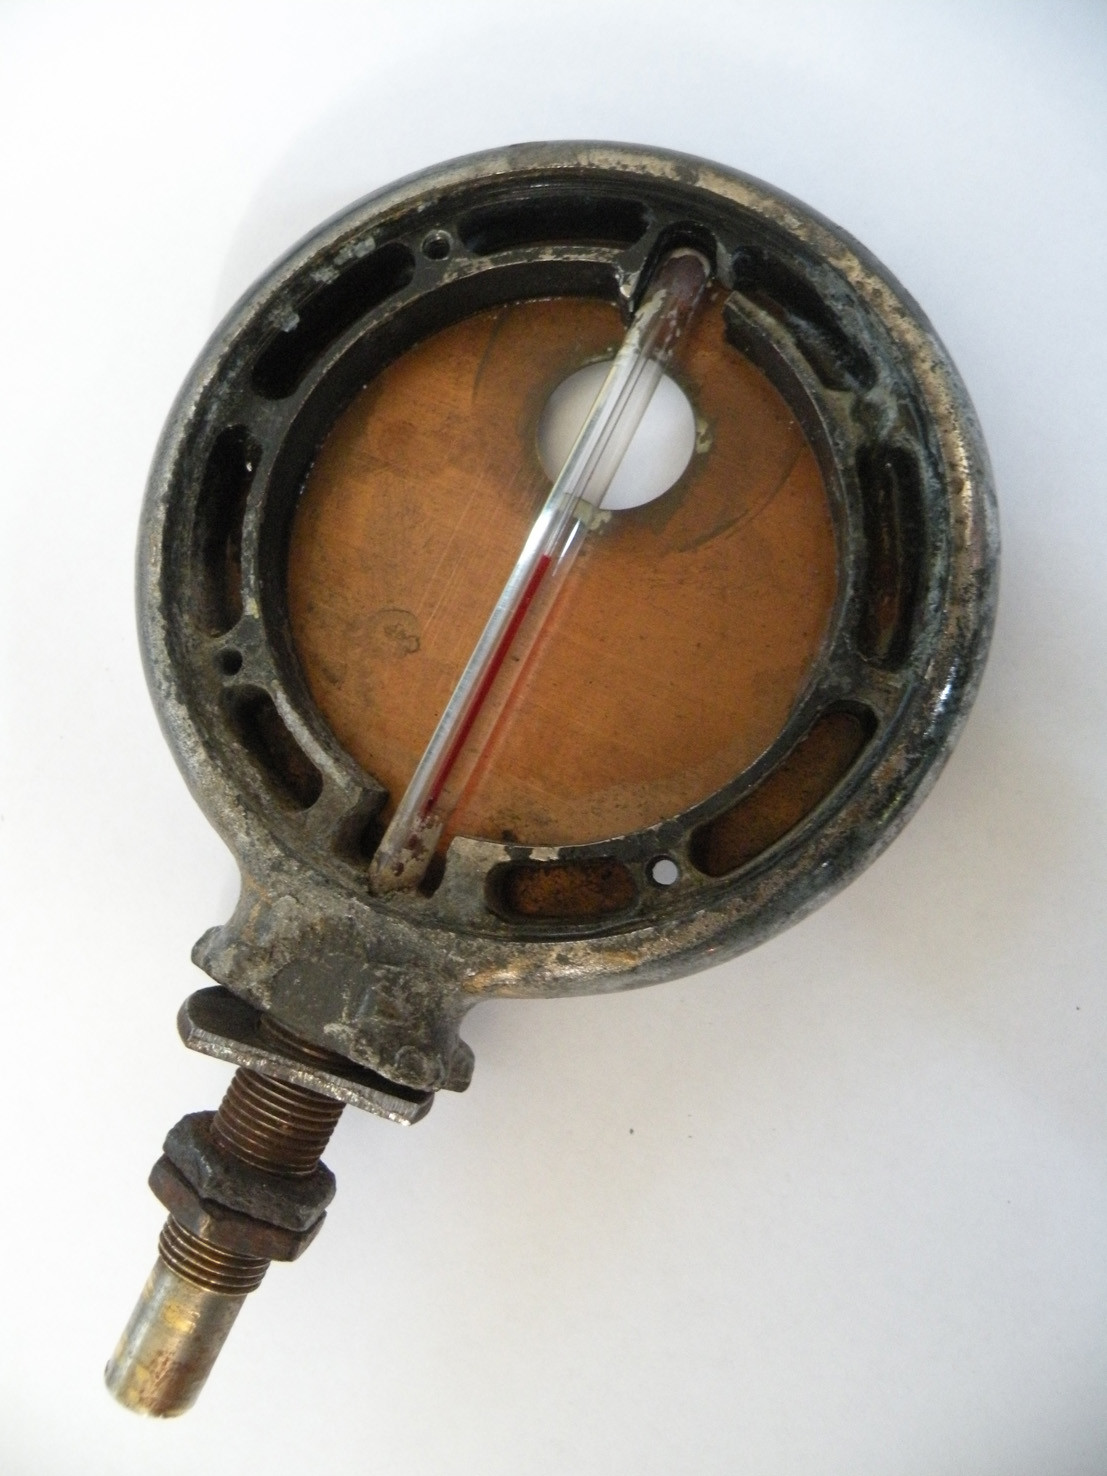
Remarkable! Having stumbled over an Model A forum I could read how to recover the thermometer in my motometer. It seems that if they are left lying down for long periods as mine had been the red dye leaks back along the tube. The cure is simple. First place the bulb into some near boiling water then cool it rapidly under a cold tap. repeat this three or four times then having cooled it, repeatedly bump the base on a firm but malleable surface (Your spare tyre is ideal). This will shake down any bubbles. Presto the thermometer is working. Just don't leave it lying down again.
10-29-2012
Hello John
The attached photo was taken this morning note the position of the red. This has been all the way up ever since I first obtained it almost two years ago. It took all of twenty minutes to correct. and now responds to changes of temperature in the correct manner. I do have the correct Packard face, wreath rims, beveled glasses etc. unfortunately I will not be able to re-plate the main body as it is die-cast and very brittle. I am afraid that any attempt to dismantle it any further could be a disaster.
Ben
In a nutshell so am I but this will not happen until I get a new exhaust fitted which comes slightly out of order after the trim is finished. Right now I am watching my pennies very closely. EG. Having sold a Magneto at the weekend I could order the two rear view mirrors from a supplier in the UK yesterday
"Keep on keeping on"
10-30-2012
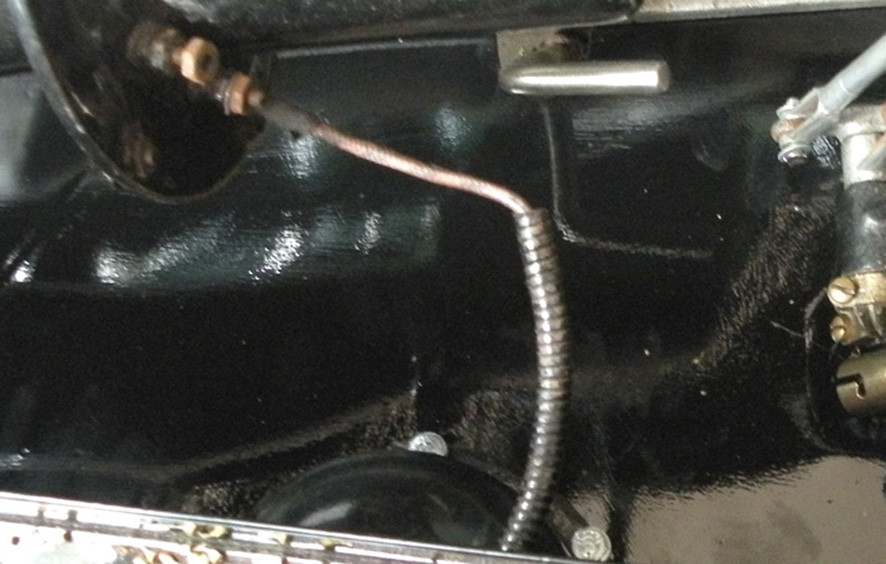
What are you looking at? (Below) The answer is two and a half days work. I already had the right hand side splash shield that came with the car but the left hand side was missing. Making one is just one of a thousand little jobs that I tend to put off. On Monday I decided that the time had come to bite the bullet. Starting with a brown paper pattern which had to be sorted out while lying on my back under the car the next step was to find a suitable piece of sheet steel among the pile of odds and sods. after roughing it out the next step was to trial fit it. I find that no matter how careful I am marking out patterns that these things NEVER fit precisely first time. I have lost count of the number of times I have climbed under the car, marked out the location for the next cut or hole then climbed out. Finally with a fit that I was happy with the next step was to paint the thing. This was left to dry overnight. Then next morning back under the car. This shield is held in place by no less than 18 1/4 inch bolts 3/4 inch long. where these pass through the flange on the side of the crankcase and the bottom flange of the chassis rail they require a first a flat washer under the head then a spring washer under the nut. All that adds up to 18 bolts, 36 washers and 18 nuts. then there are another eight each bolts, nuts and 16 washers securing the domed cover over the spring shackle. 96 pieces altogether! All requiring some time to be spent under the car but many (most) impossible for one person to hold the spanner on both the bolt head and the nut. After working on my own for the last umpteen years I have learnt most of the tricks such as tack welding a length of wire onto the head of an out of reach bolt and have collected a range of vice grip pliers of different sizes and angles. Having bolted the thing into place.... I am now wondering if I really need an "inspection hole" though which to view the outlet of the sump oil level tap? Back to work!
"Keep on keeping on"
10-31-2012
I am now wondering if I really need an "inspection hole" though which to view the outlet of the sump oil level tap?
Another day and having given this matter some thought and in the absence of any information regarding what I am attempting to recreate originally looked like i have decided that it has to come off again in order to make the afore mentioned "inspection hole". No doubt as soon as I do this, someone will come up with the required information.
"Keep on keeping on"
11-1-2012
Hi All
Thank goodness for understanding wives.
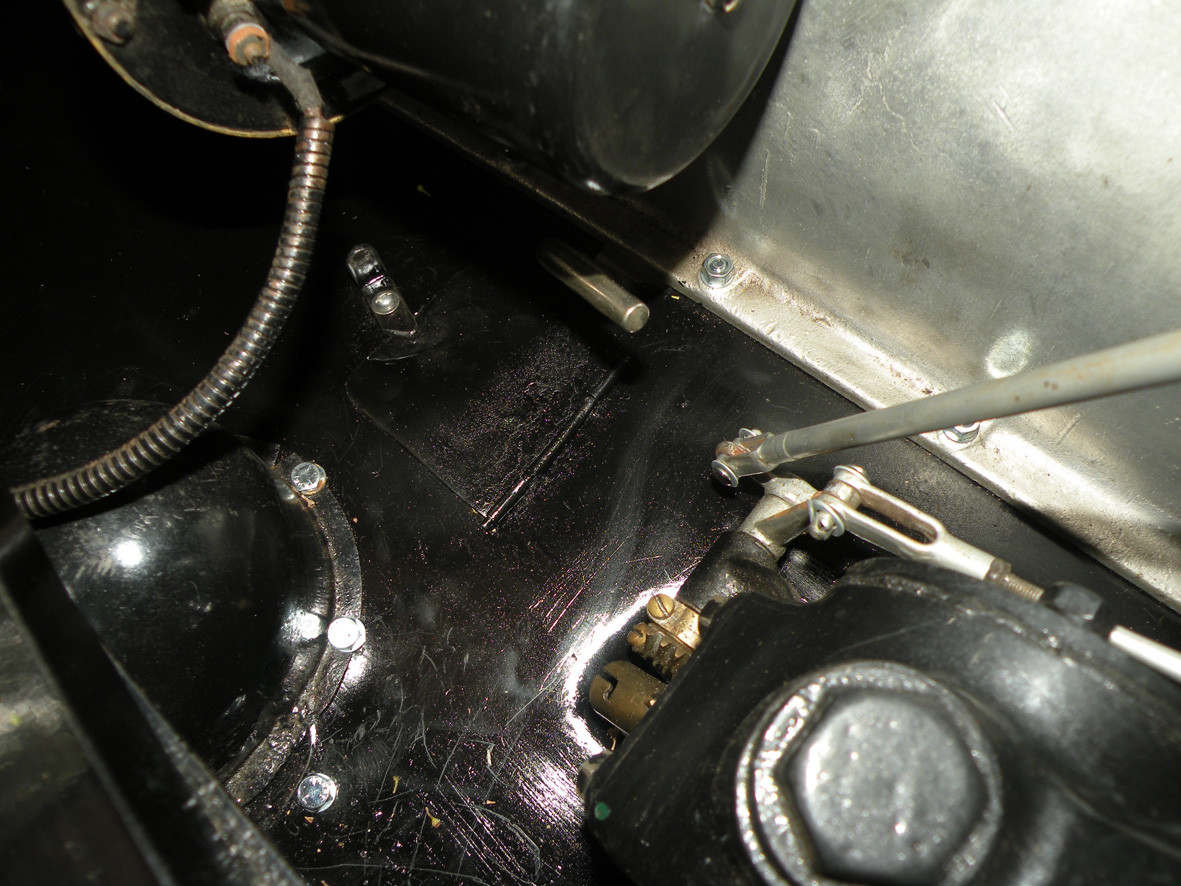
Re the splash shield, no sooner said that done. All back on the car complete with inspection opening with hinged lid and latch.
"Keep on keeping on"
Glad to be of assistance John. That is what I believe the Old Car movement should be all about, helping like minded enthusiasts. That and having FUN in the process.
Chuck, my time-line for completion is probably aimed at a finish around March-April 2013. Once completed the Packard will be offered for sale following a "shake-down" period. I already have my next project in mind but nothing definite only that it will for sure be a much smaller car possibly French. One thing certain is that it will be early 1920s. I can say positively that it will not be an Austin Seven. It probably has not found me yet but I am watching one car that has been in a friend's shed unloved for years.
"Keep on keeping on"

bravo!
Posted by CCmyVW on 1/26/20 @ 5:30:36 PM