You must be logged in to rate content!
12 minute(s) of a 548 minute read
3-14-2012
Hi.
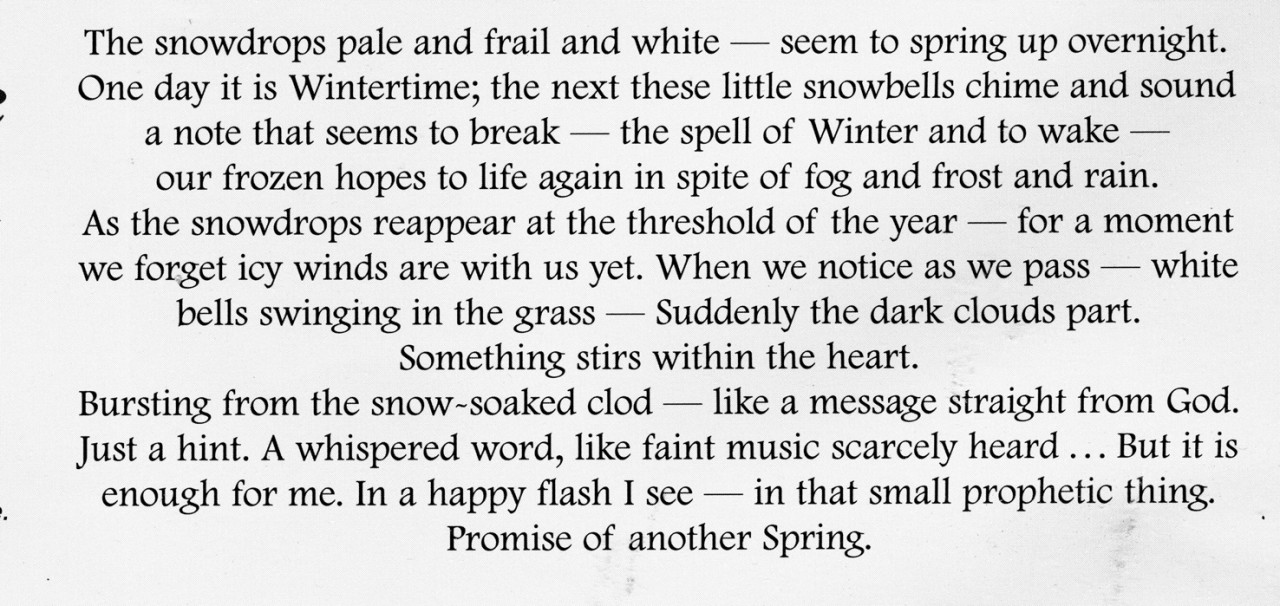
Having collected the valances from Dave yesterday morning, I got back home just in time for lunch, I made a start on fitting the right hand side. By evening I had it about 2/3 fitted, every one of the little 1/4 inch x 1/2inch long bolts has put up a struggle.
Refreshed after a good nights sleep (well, as good as you get at 75) I should finish the first one and be well on the way with the left hand side by lunch time.
Perhaps some photographs then. The postman has delivered the Raised-head stainless 8-32 UNF screws and nuts to hold the aluminium trim on the running boards so they are next in the queue.
Ben
This one is for you.
Hi all
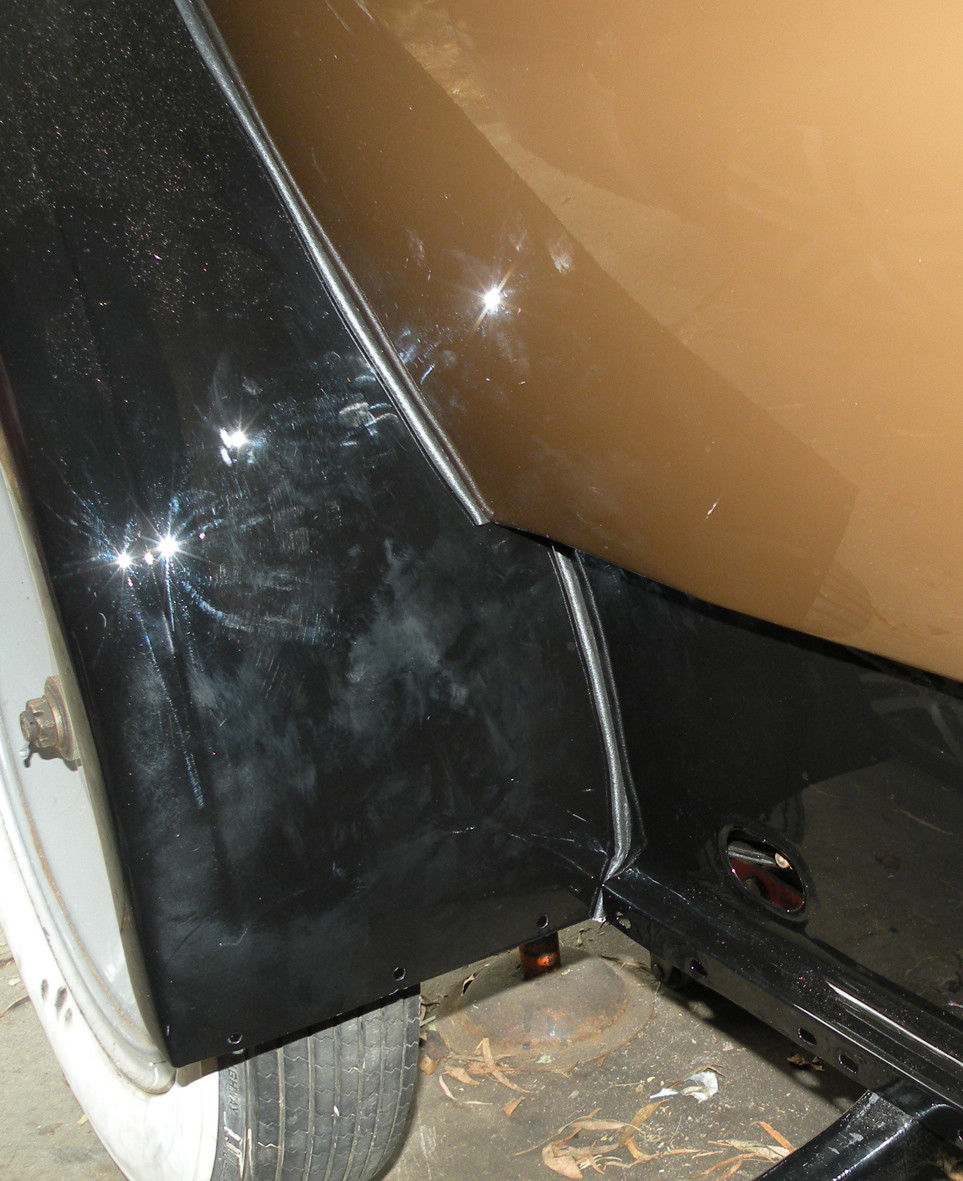
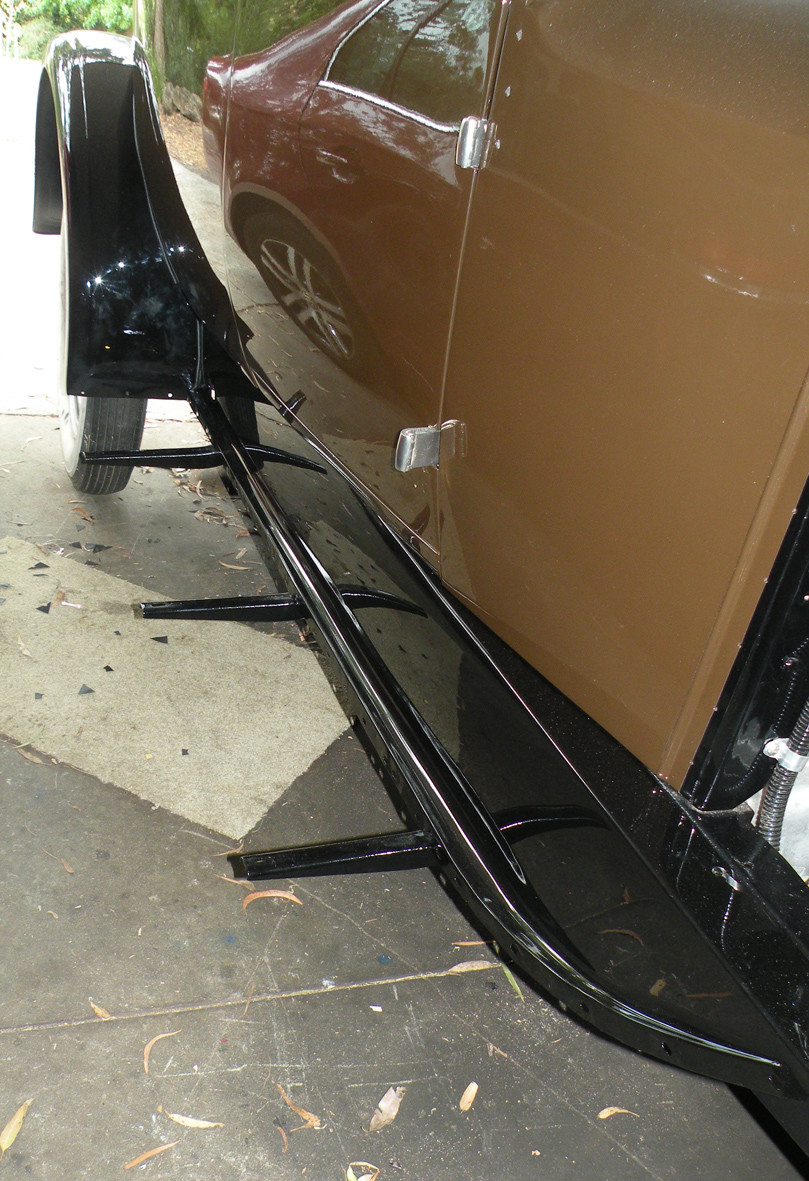
On taget the first of the valances was fitted by late morning despite further battles with recalcitrant nuts and bolts in totally inaccessible places.
Good fun ain't it?
3-15-2012
Quite remarkably the left hand side valance jumped on all by itself! Well almost, having worked out what I was doing wrong, the second side went on with out a problem. Amazing what a good strong cup of black coffee will do. I have booked the running boards in with Tony (the trimmer) for him to spray contact adhesive on for the Linoleum. I believe that this will give me better adhesion and rule out the chance of any bubbles, lifting or uneven finish. Step by step....
I trust that I am not boring you all but some progress is happening.
No The linoleum has not yet been stuck down on the running boards.
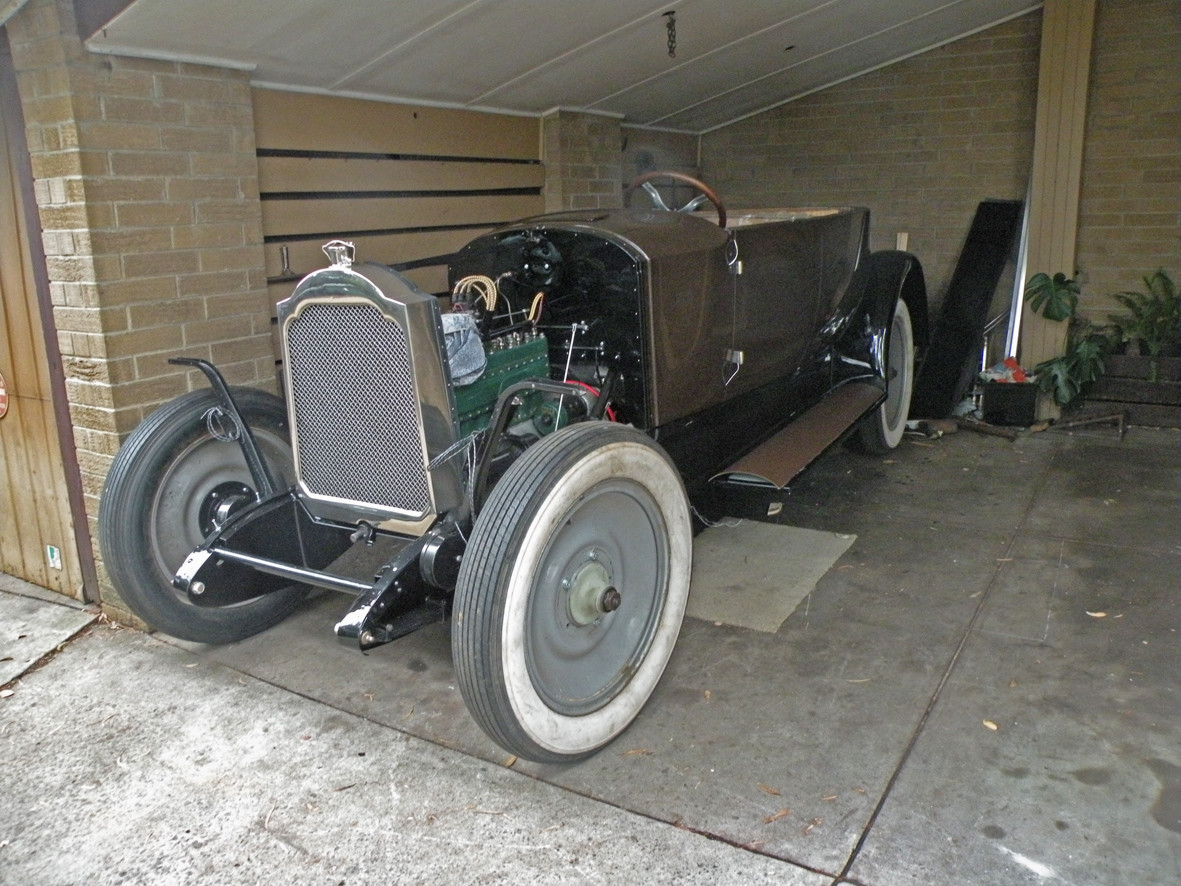
I have not included a rear view as it takes me 10 minutes to turn the car around using a home handyman sized trolley jack.
3-17-2012
Thank you Jeff
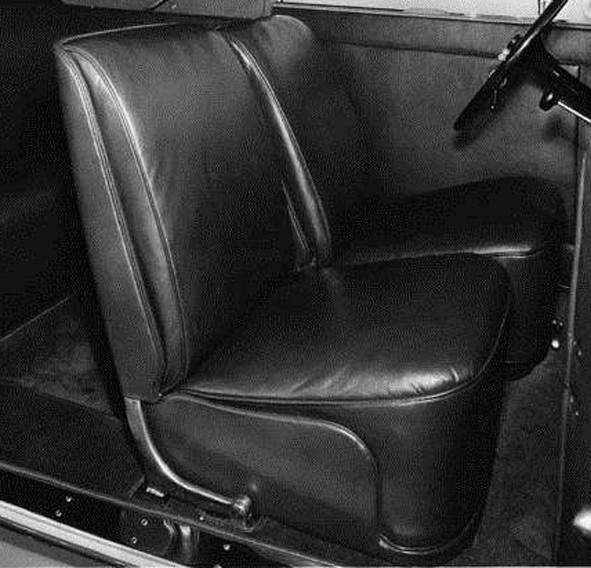
Rolling is probably the correct term as it continues to roll along. Today is more boring stuff. Nothing worth photographing! An hour this morning marking out and cutting the backing boards for the "wings" on the front seats. Then more time setting out and cutting the Aluminium angle trim to edge the running boards. As they taper in width towards the rear, cutting the mitres is not completely straight forward. Just the job for a quiet Saturday afternoon. Attached is a photo borrowed from the Packard Info site of a later 1930s Packard seat of a similar design to the ones I am building. At this stage I plan to have the seat cushion and squab using wide pleats as in the earlier 1920s cars. These are still some little way down the queue.
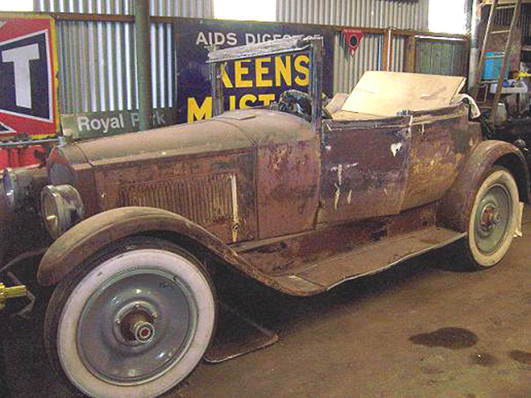
The second photograph most of you have seem before, I just have to keep reminding myself that I am actually making some progress.
3-18-2012
Thank you Mal
If you wait for me it may never occur. Today while waiting for the start of the Grand Prix I have been doing more boring things like cutting out the ply for the two front seat backs.
I hope that you all take time to have a look at the Grand Prix. It is a fantastic day in Melbourne and the TV shots of the city are fabulous. It makes you realise why it is difficult to think why anyone would want to live anywhere else. March is the very best time of the year to visit. The really hot days have gone and we enjoy beautiful sunny days with temperatures in the mid 20C range. The city is blest with wide tree lined streets and spacious parklands such as Albert Park where the Grand Prix is run on what for the rest of the year are public roads.
Thank you Donald
The remnants of the original linoleum that were still on the floor boards and running boards were so grimy and faded it would have been impossible to accurately say what colour they were. Black, brown or grey I doubt that they would have started life as beige.
While I would like the car to be as "Original" as possible without the roof it left the factory with this is in all reality impossible. I have bought, cut and have stuck down the section of floor boards and have cut the material for the running boards, That I did not the easy route and buy the much less expensive ribbed rubber flooring and use that is sufficient to satisfy me. I think that the brown will compliment the car when it is finally finished. I appreciate your interest but in this case I will have to be content with what I already have.
Thank you for your support OCF
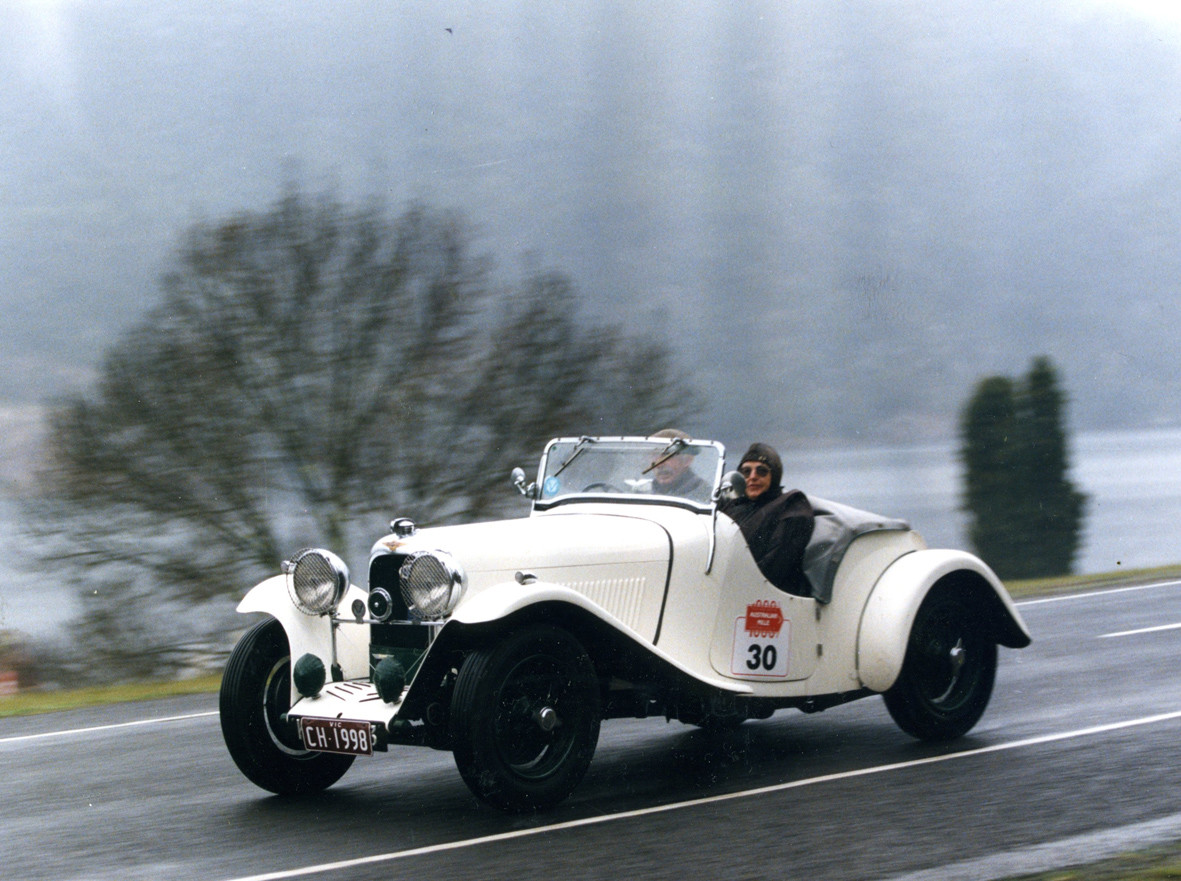
It has been my life long passion, saving basket-cases and lost causes that has kept me perpetually poor! But then again I have become rich in knowledge and attracted a virtual fortune in friends and acquaintances. Added to this I have been blest with a loving and supportive wife who enjoys motoring in old cars and is a great navigator. This is borne out by the fact that this year she won the VSCC of Australia's (Vic) "Most Successful Navigator Award" against a field of very experiences and enthusiastic males.
Thank you for your support OCF
It has been my life long passion, saving basket-cases and lost causes that has kept me perpetually poor! But then again I have become rich in knowledge and attracted a virtual fortune in friends and acquaintances. Added to this I have been blest with a loving and supportive wife who enjoys motoring in old cars and is a great navigator. This is borne out by the fact that this year she won the VSCC of Australia's (Vic) "Most Successful Navigator Award" against a field of very experienced and enthusiastic males. After 50 years she still looks forward to the Clubs competitive events. Our next the "Alpine Trial", three days of hard mountain driving.
3-20-2012
The saga of the running boards continues. The linoleum is attached with the help of Tony my super trimmer. There is no way I could have stuck it down satisfactorily without his assistance. The aluminium trim is cut to size with mitred corners and now the left hand side "board" is almost all bolted up.
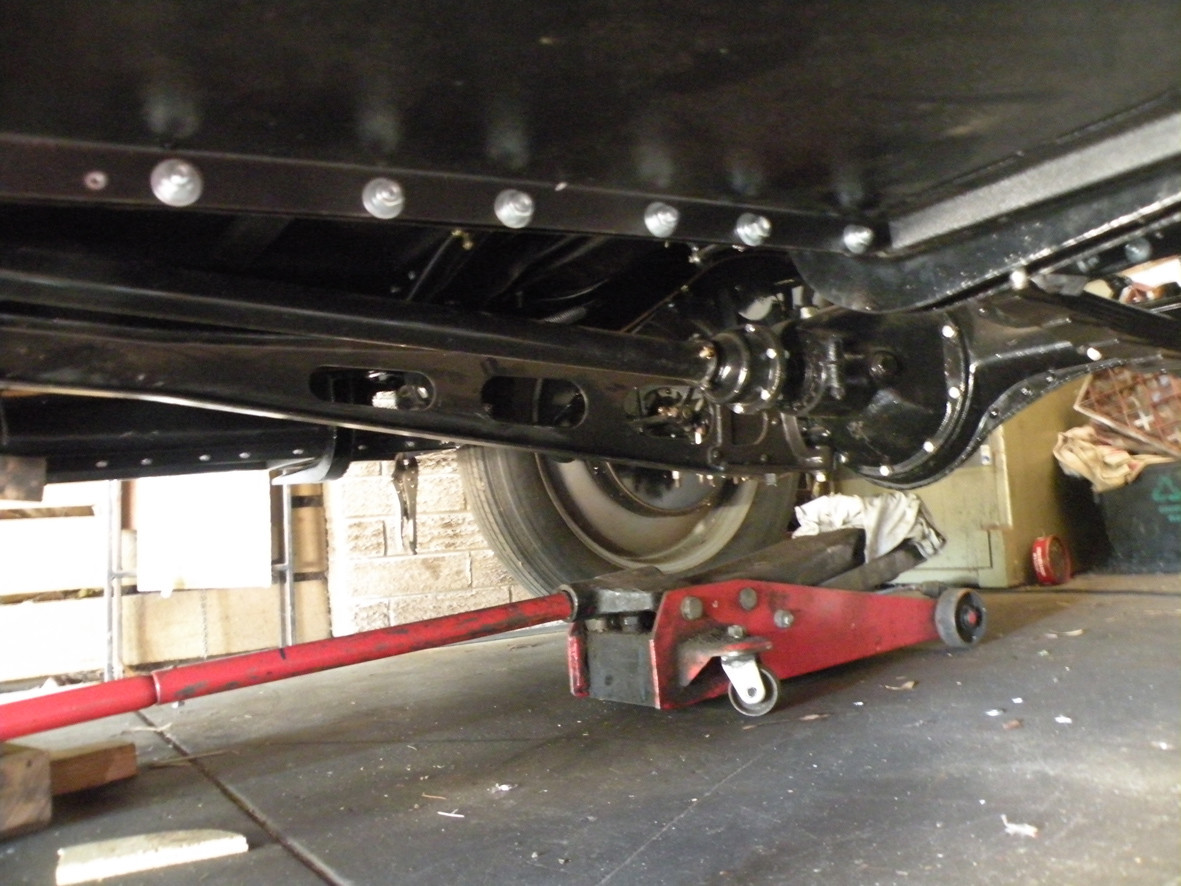
If anyone who has not done a full restoration is wondering why these things take so long and cost so much money the answer is simple. Just look under here. To save you the trouble of bending over, I have taken a couple of photographs. The first the underside of just one section of running board. the other two containers. The plastic pot originally held 100 1/4 inch UNF X 1 inch bolts and nuts, the cardboard box held 200 flat washers and 100 spring washers. Each Valance to running board bolt has two flat washers (one each side of the flange) and a spring washer under the nut. Mr Packard sure did not want any squeaks or rattles! The Aluminium trim on the outer edge of the running board is to be secured by 3/16 UNF Raised head countersunk stainless steel screws and nuts again with flat washers and spring washers on the inside.
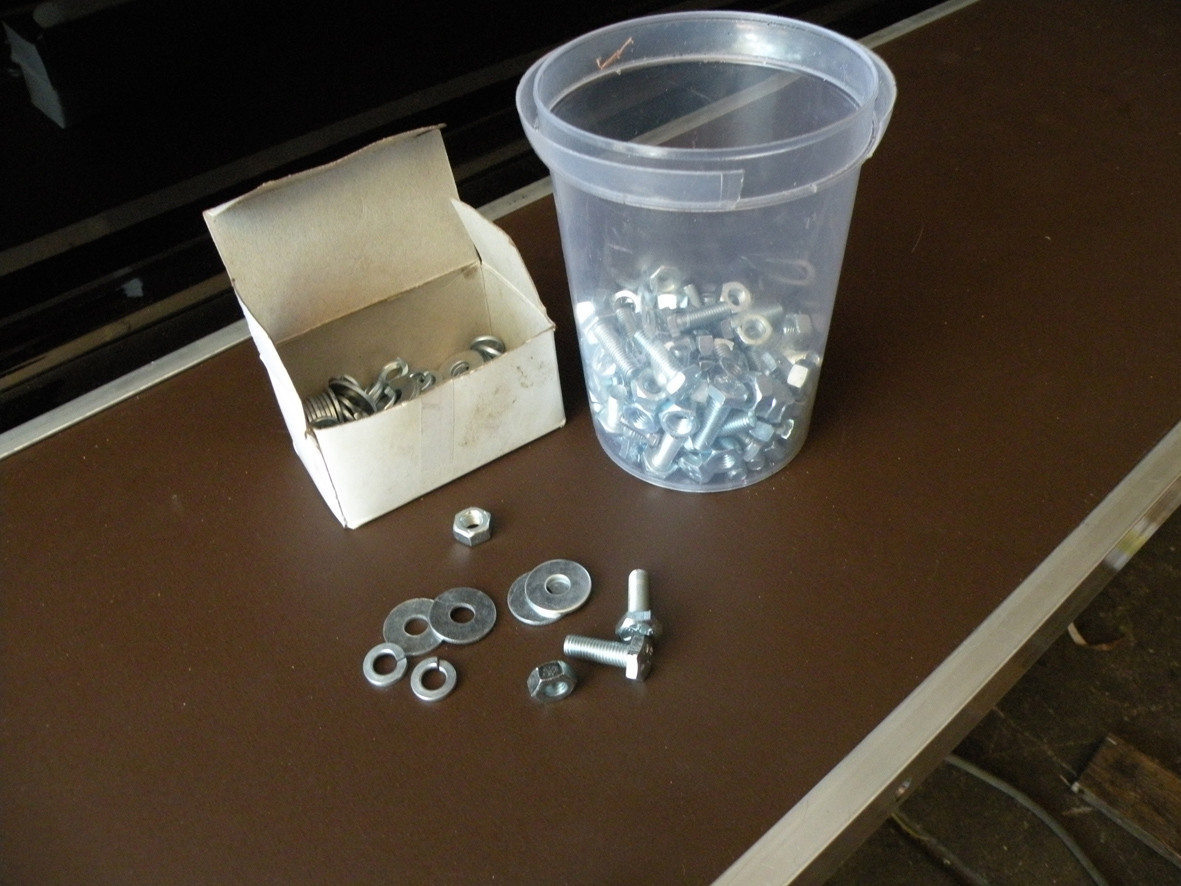
One hour later......
Donald, while it is neither Black or Beige, once the front fenders are fitted I think that my choice of Brown linoleum will be more that justified. I am told that it will actually darken with use. We will just have to wait and see.
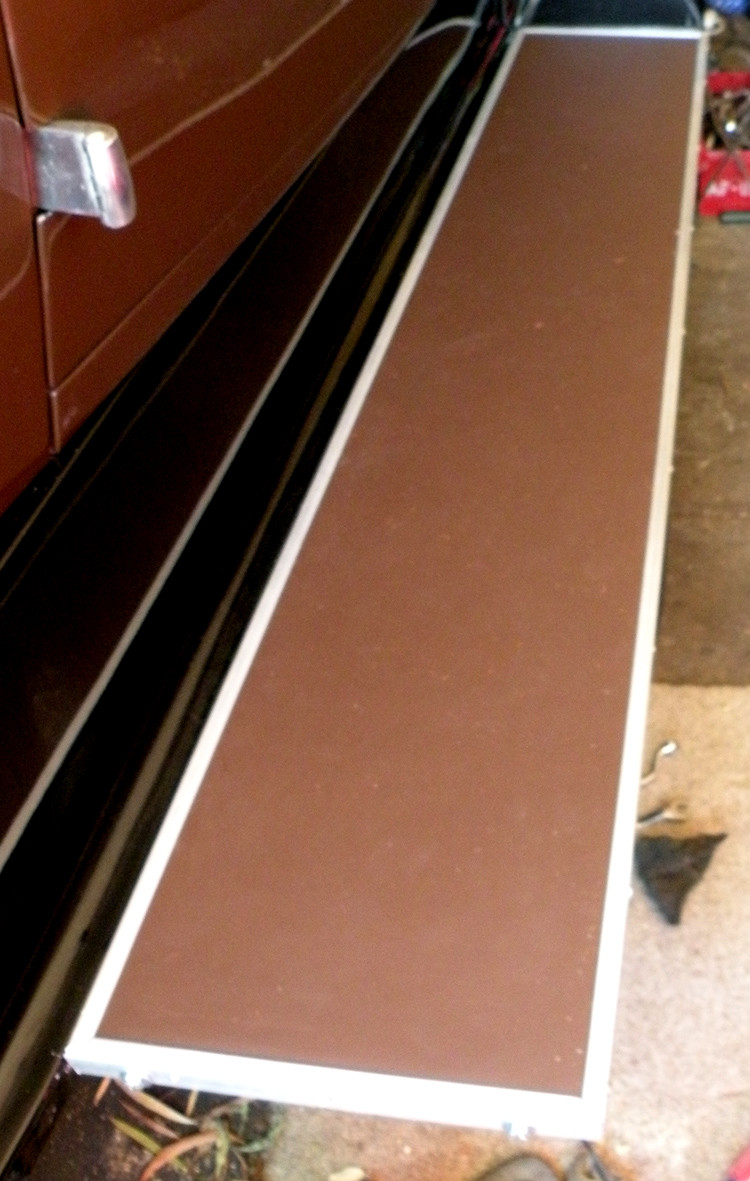
Another day another dollar....
First task to day is to go and collect the door cappings from the French Polisher. Having spoken with the foundry this morning they are pouring the bronze for the windscreen pillars later today so they should be ready to collect on Friday. The next task is to turn the car around so I can fit the right side running board.
3-21-2012
Hi all
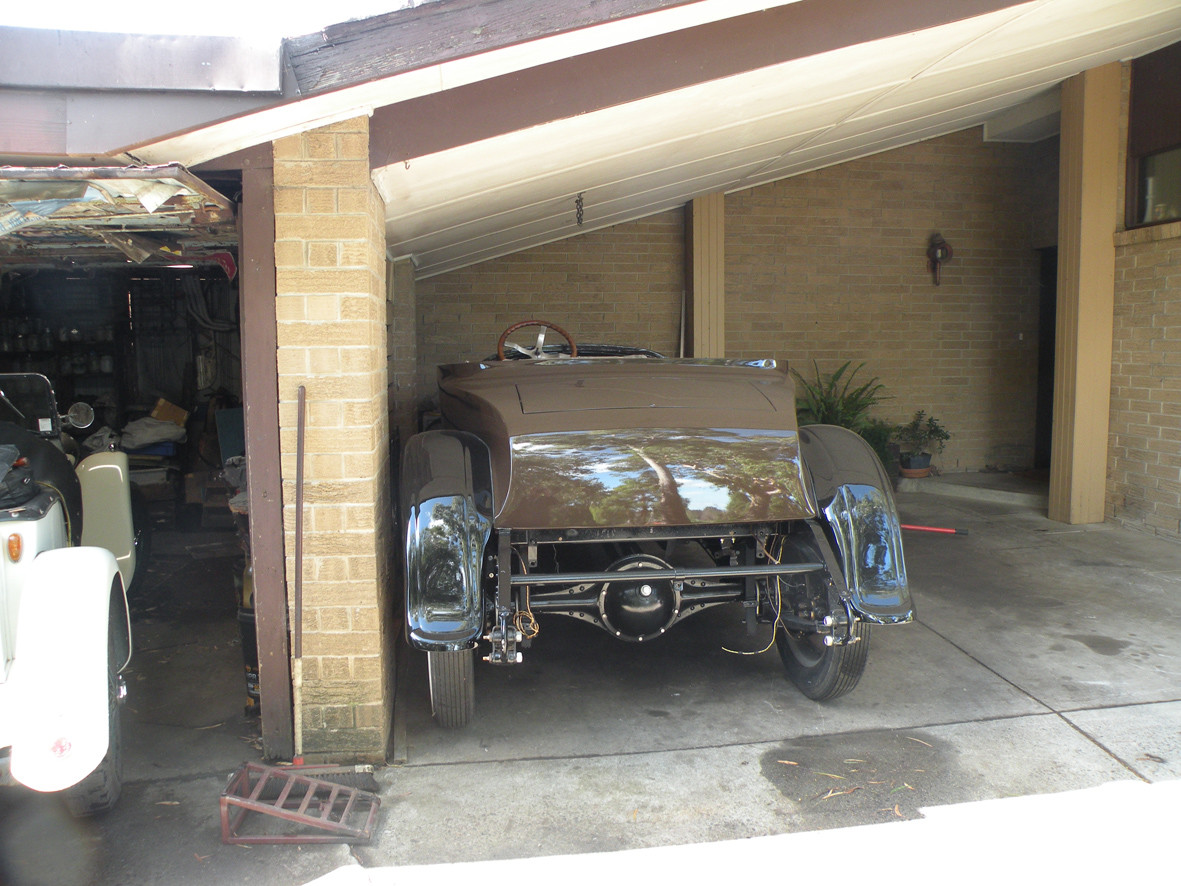
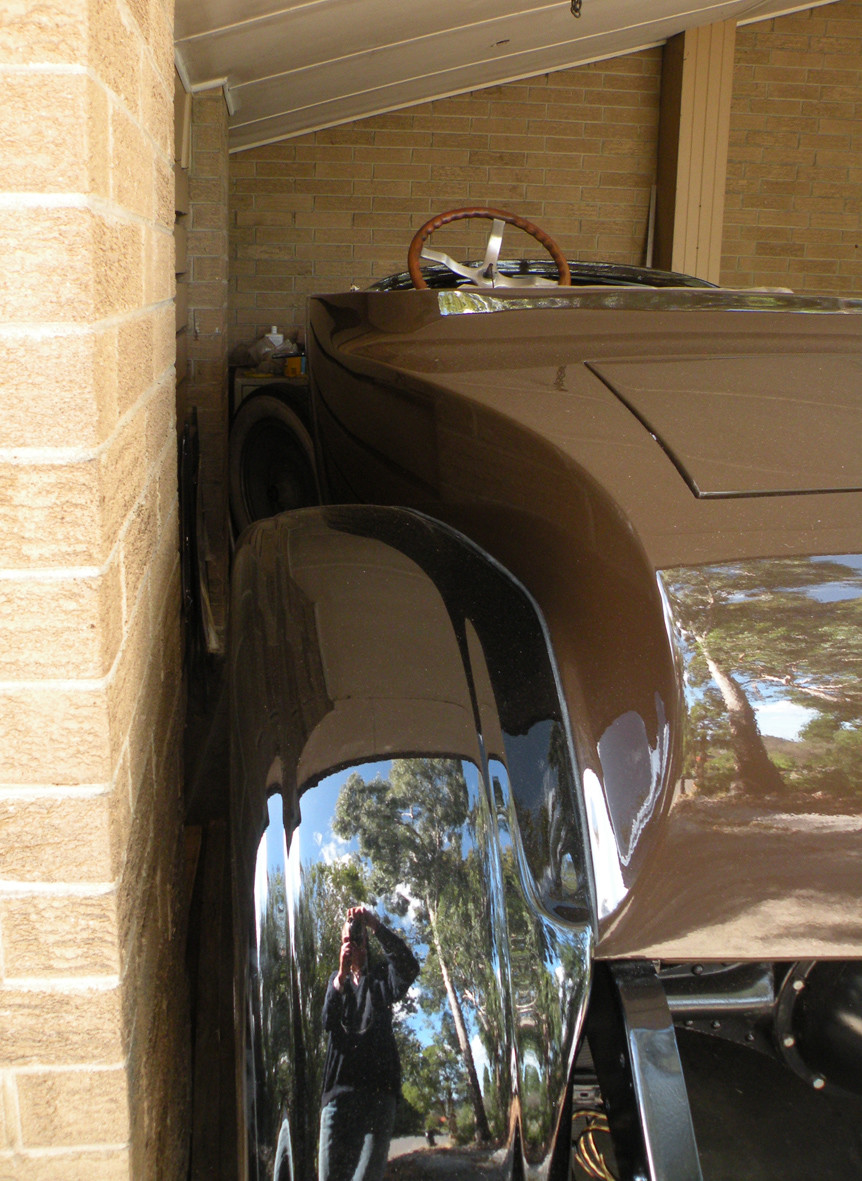
I cannot help thinking that many of you, with your huge barns, fully equipped fancy workshops, acres of land, and unlimited manpower, have absolutely no concept of how I work. When I say that I have to turn the Packard (no light weight) around so that I can work on the other side. I mean exactly that. I can only work on one side of the car at a time! Turning it around means turning it in basically its own length using a small trolley jack and the manpower of one 75 year-old. They say that a single picture tells more than a thousand words. If I take it outside the area of the carport I have a struggle to push it back up the incline in the drive-way........ Regardless, at the end of the day there still has to be sufficient room for the Bosses' VW in the carport too. Now I can get on with fitting up the right-hand side running board.
See below.
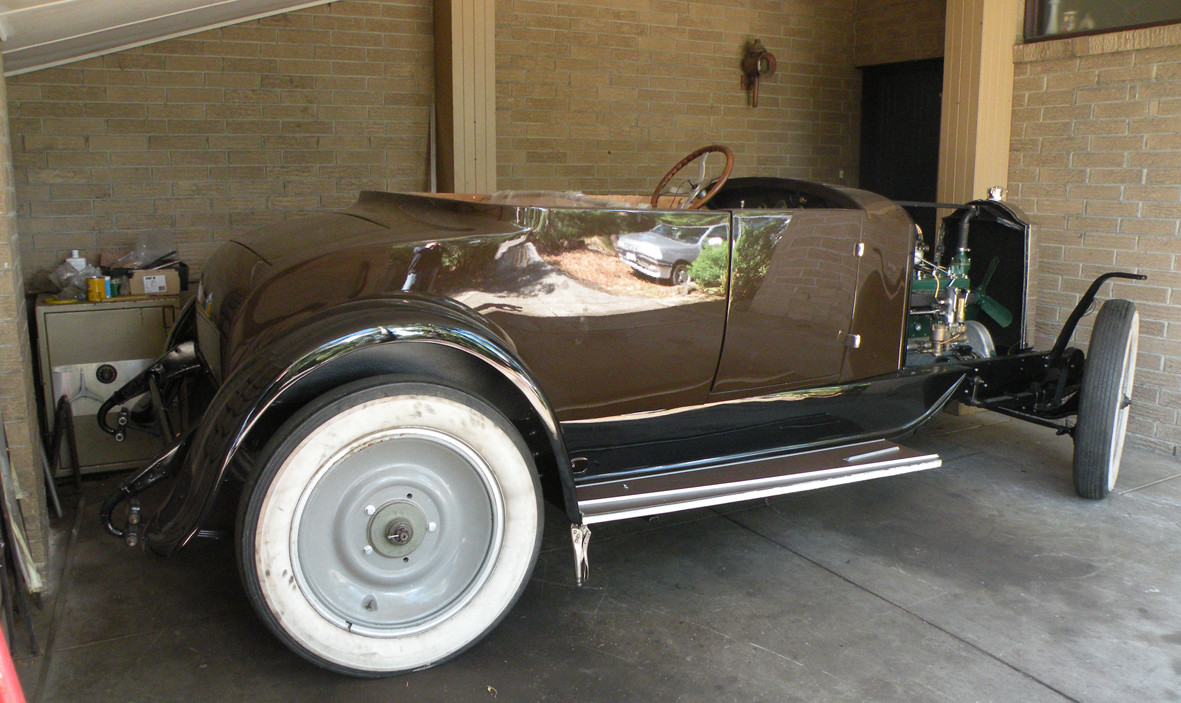
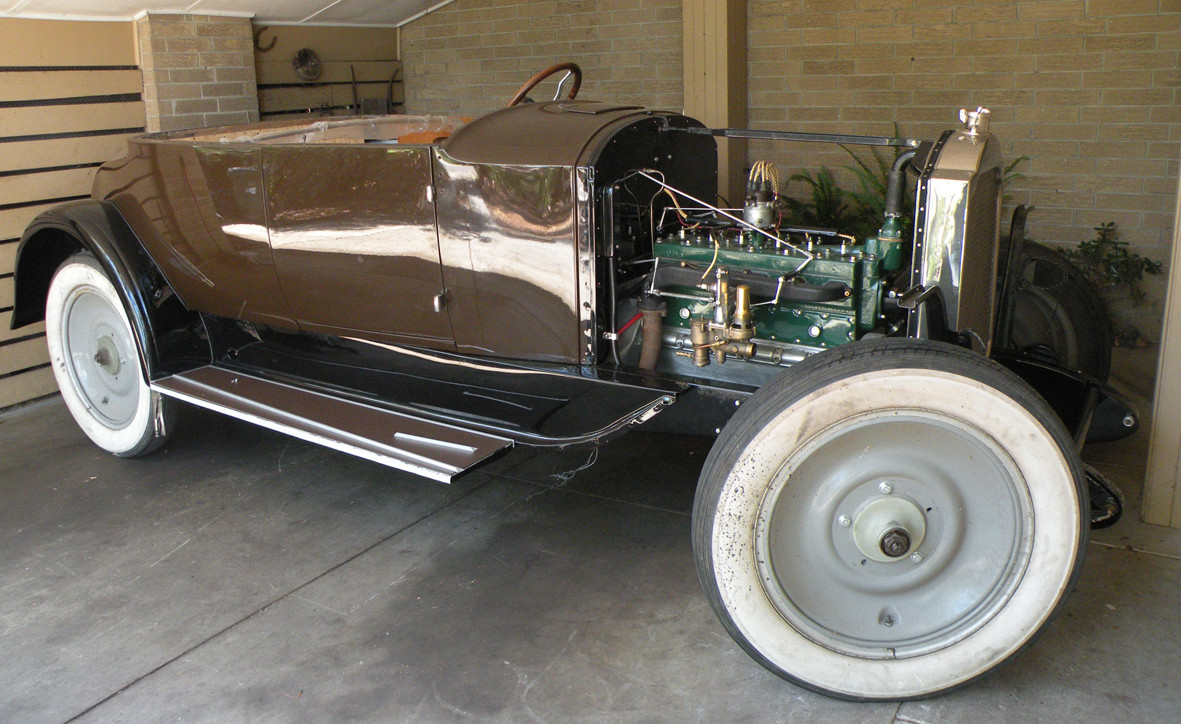
3-22-2012
No more work today!
Helen & I drove the Lagonda Rapier out into the Yarra Vallley for lunch at a winery then home, stopping at our favourite strawberry farm on the way. Round trip of about 60 miles, lovely sunny day, a mild 24 degrees C.
Back to work tomorrow.
3-23-2012
Friday is always a messy day at our house with the weekly marketing to be done and all those things that pile up for the end of the week. This afternoon I finished fitting the petrol tank and having bought the leather it was time to do some more work on the front seat frames. These are just about ready to go off to Tony for him to work his magic on. Sorry nothing worth photographing but with luck next week should see some progress. Only problem is some medical appointments on Tuesday and Wednesday will break up the week yet again.
3-24-2012
All the absolute purists out there had better look away now!
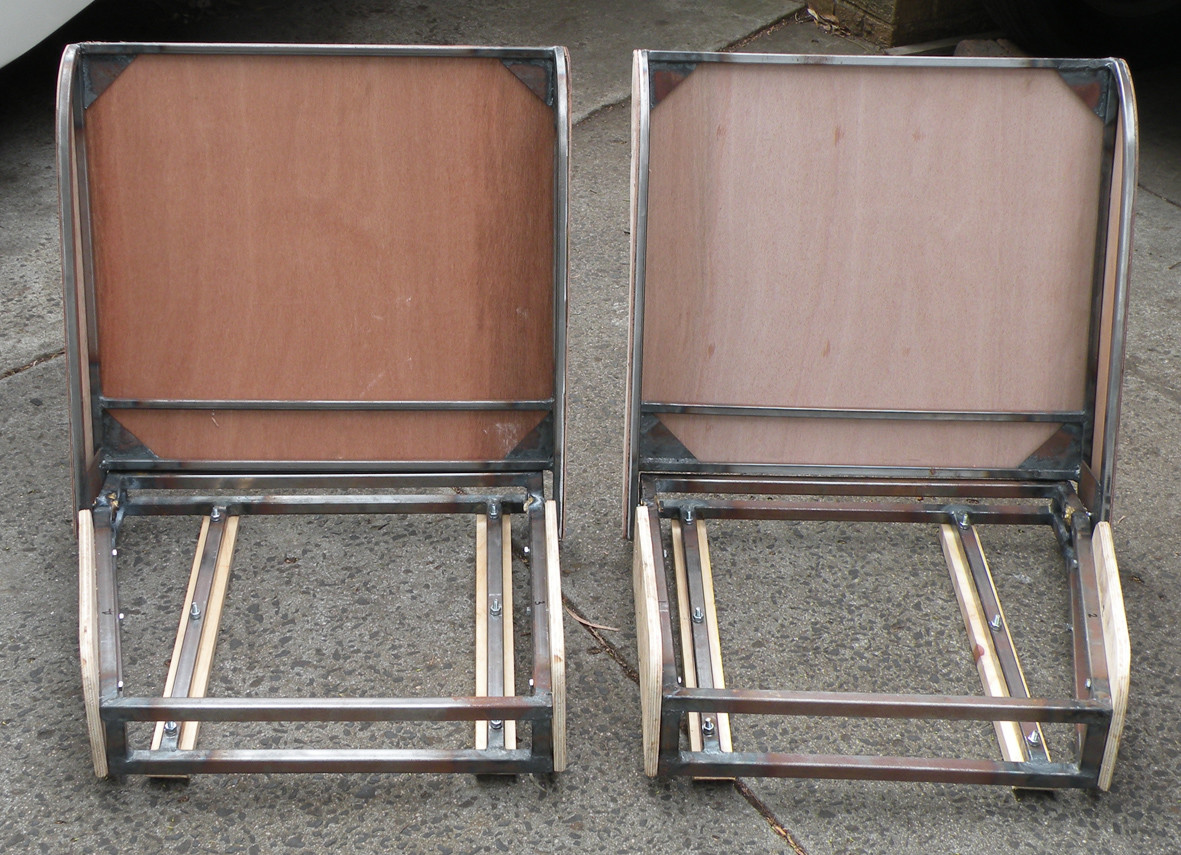
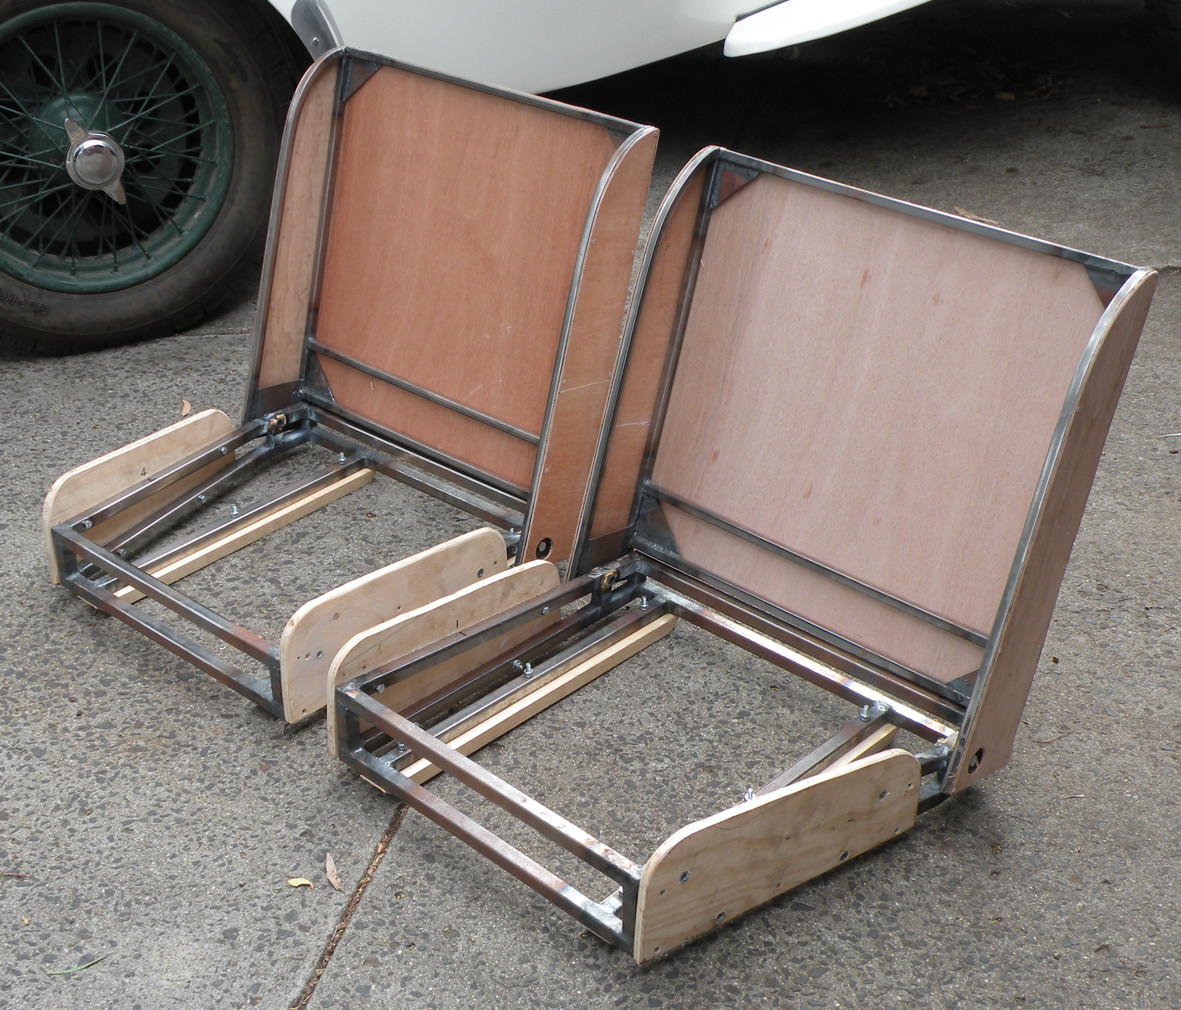
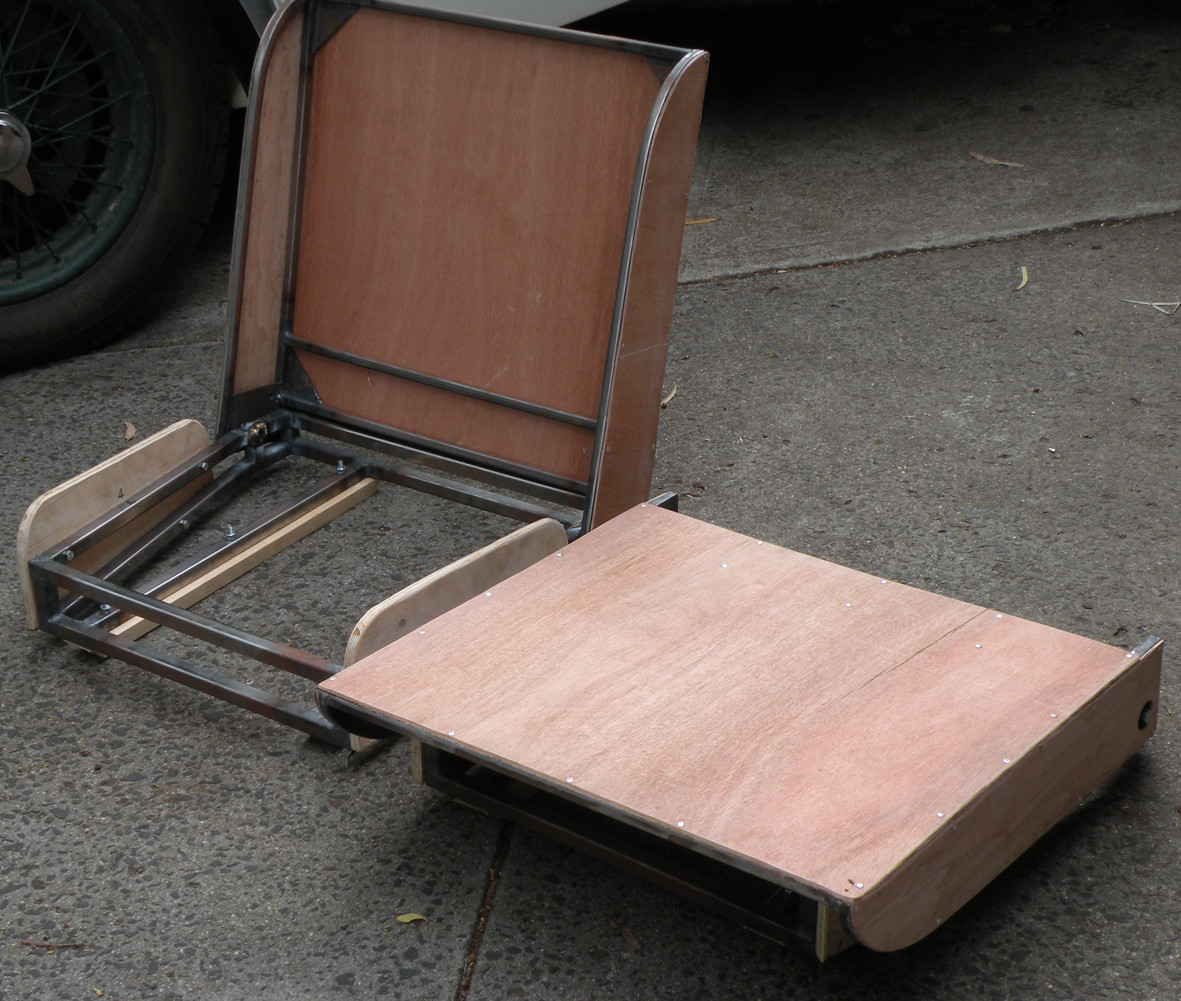
Below are todays photographs of the seat frames ready to go off to Tony for upholstery.
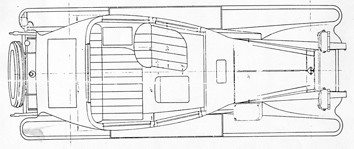
A quick look at the original factory drawing for the Coupe seating plan will explain the apparent strange shape of the seat cushion (the bit you sit on).
With my seats the squab (the back rest) folds forward to permit access to the rear of the passenger compartment.
All I can say to all those people sitting at their computer going "Tut Tut" just wait a week or three and all will be revealed.
I can say positively that they will not be having coil springs and horsehair upholstery but then again I don't go about wearing knickerbockers.... I am not about to make my front seat passenger sit on a little "tin" folding seat as per the original either!
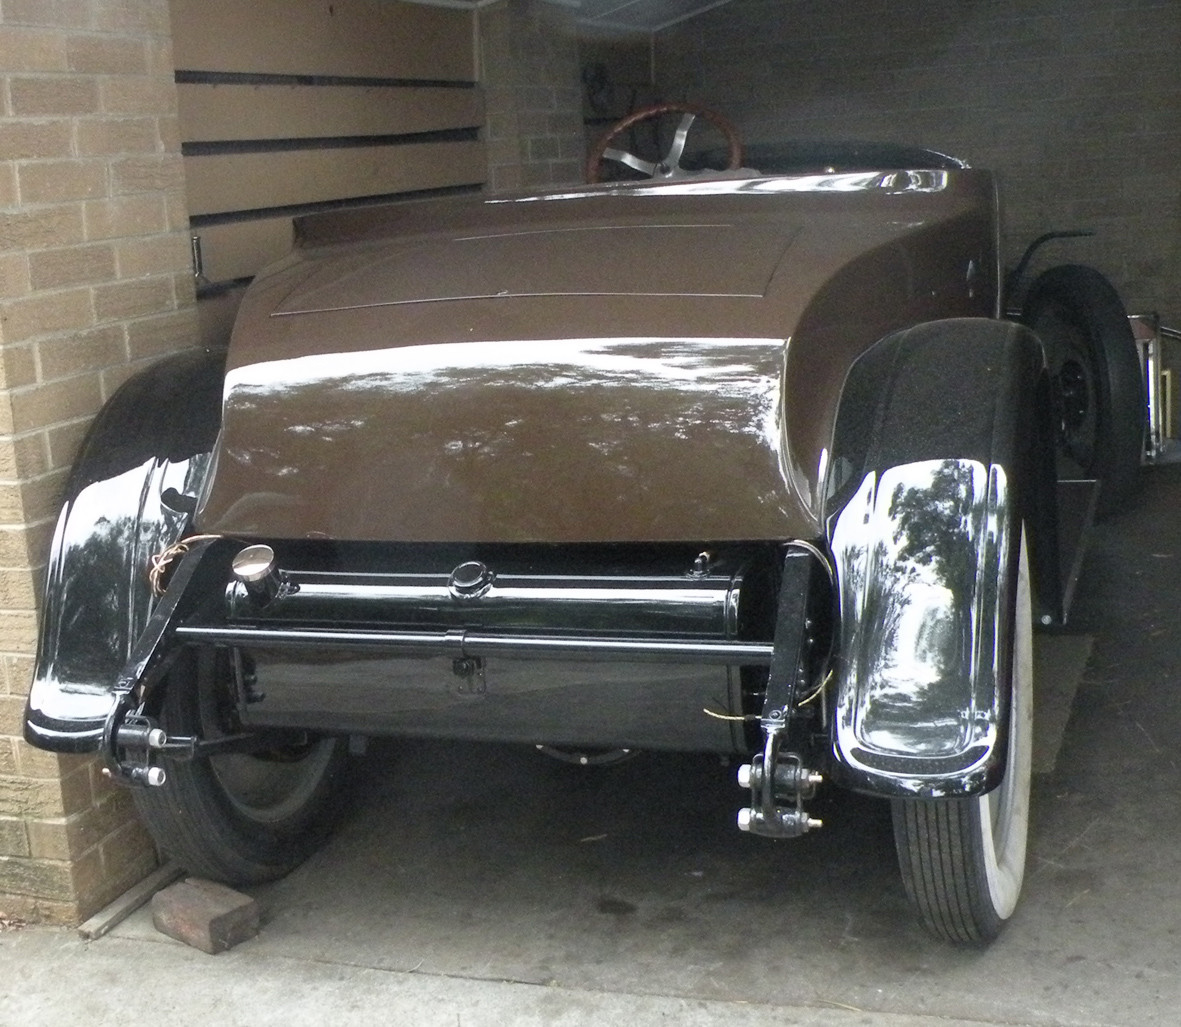
Just one more quick photograph for today, another step towards completion, the petrol tank is now installed and the main petrol pipe connected. What is missing from this photograph?
Apart from the exhaust pipe? My next little job is to fabricate the spare wheel carrier. Please can anyone supply a photo or diagram of a disk wheel spare wheel fitting for an early 1920s Packard.

bravo!
Posted by CCmyVW on 1/26/20 @ 5:30:36 PM