You must be logged in to rate content!
12 minute(s) of a 548 minute read
2-6-2012
Hi Ian
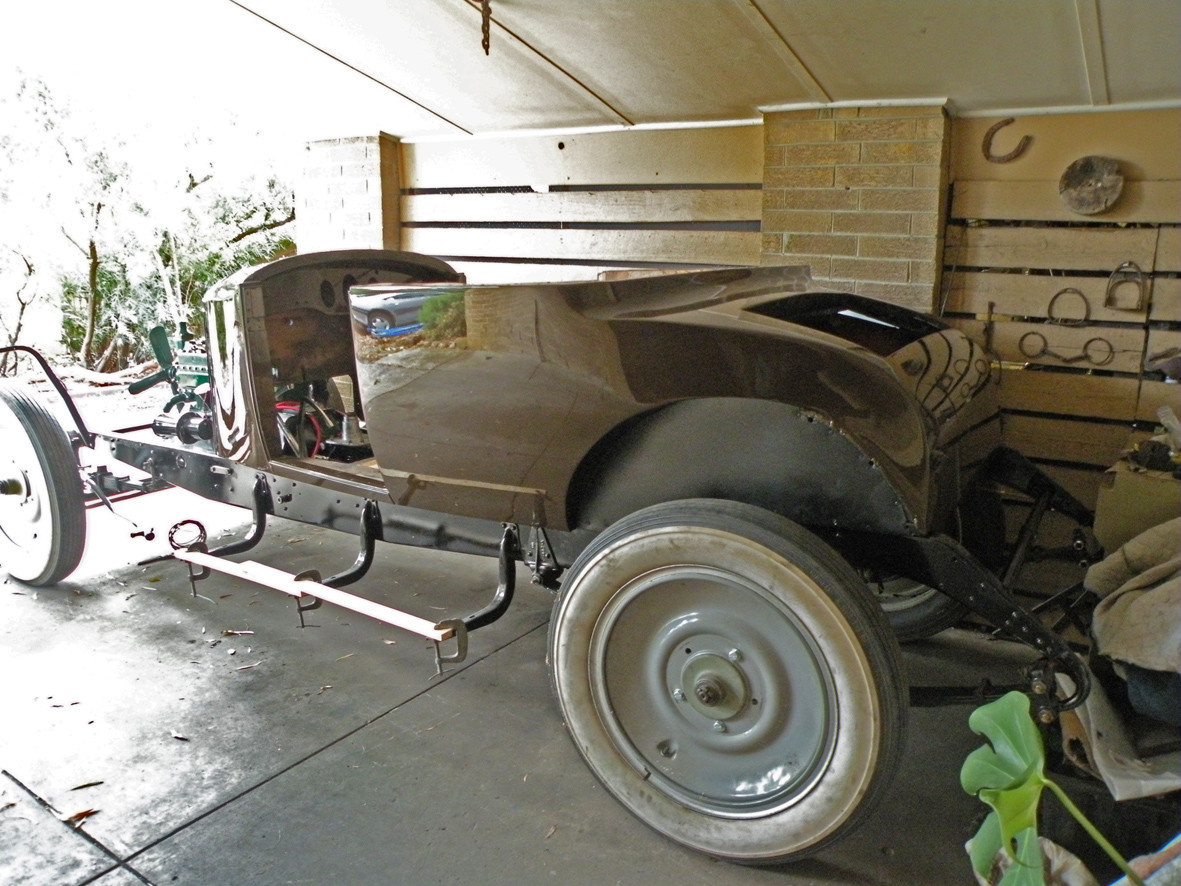
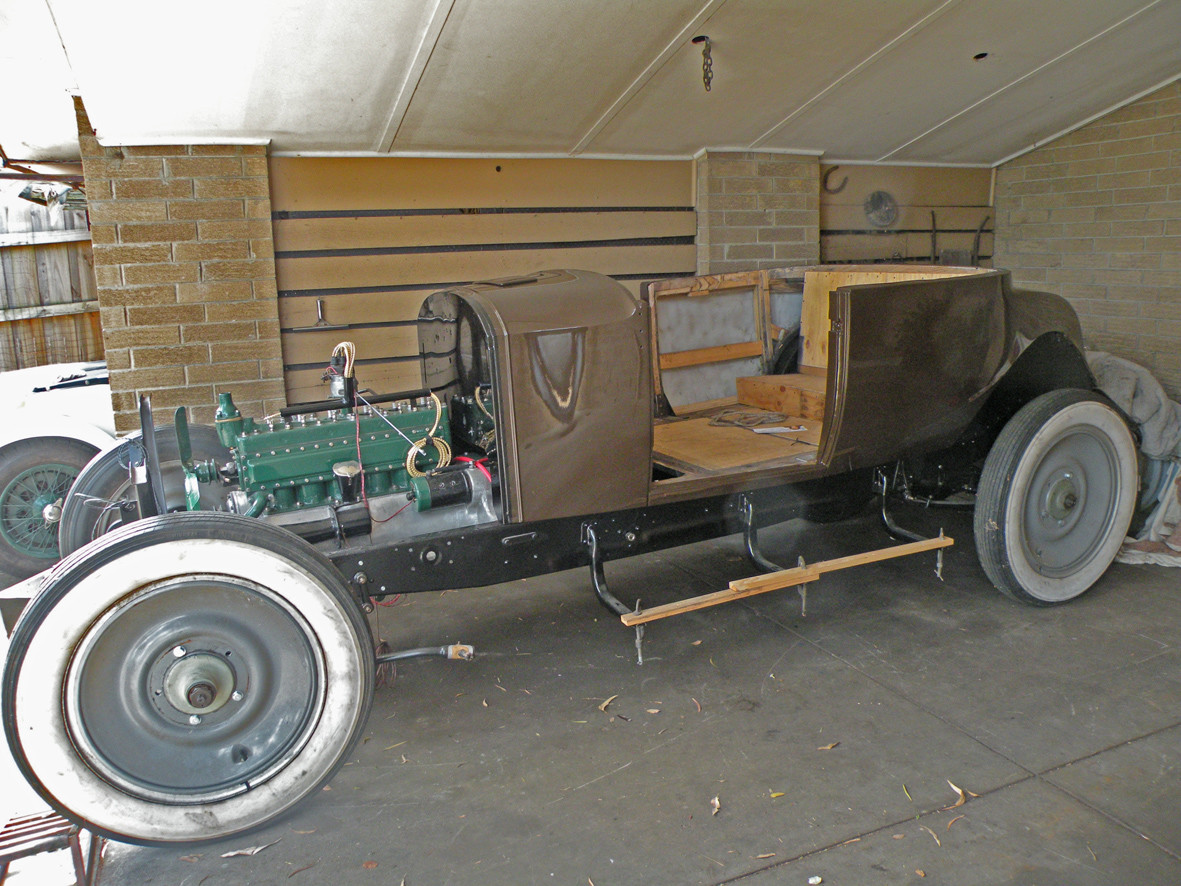
Right now the body is sitting next to the chassis in my carport I hope to lift it into place in the next day or so. To my knowledge with "vintage" cars Dave does not do a clear over but on some modern cars he does. You would have to ask him. Jim my tilt tray man is very reasonable I have just paid him for the last three trips back and forth to Bayswater and out to Lillydale and back and I got change out of $250.00. so you can work it out. What is more important to me is that he is pleasant to deal with, very careful with what he is loading, carrying and unloading and he usually comes when he says he will. I have used quite a number of towing firms over the past 40+ years. I used to own my own Tandem trailer and a big tow car. It is just not worth all the pain. Jim costs less than Trailer hire and makes shifting cars easy.
Ian, this one is for you.
2-7-2012
Hi Keiser31
It took a long time and dozens if not hundreds of bruised shins to work that one out. They also save the doors on Helens VW from lots of nasty little dents and chips. Re the earlier photographs. Being "super-man" I lifted the body back onto the chassis by myself. The little mysterious piece of chain hanging from the carport ceiling tells the whole story. Pun intended.
Hi all
Don't expect any dramatic new photographs today. I am doing boring things like fitting the eight bolts holding the body down. I am using new bolts but to pacify the purists I will grind the brand and grade markings off the heads. I have already done this for the couple of dozen 1/4 inch bolts that will secure the valances and most of the other new bolts that I use. I use a part worn flap wheel on the angle grinder(clamped in the vice) as this is quick and less aggressive. I know that once the seats and trim, carpet etc go in these won't be seen but at least I know that they will look "right"...
Tomorrow my son Steve (who is good at these things) is coming to help me hang the doors and set up the gaps correctly.
2-8-2012
Hi Roger
Fear not
The bulk of the windscreen is already in hand. Most of the basics were done quite some time ago. All we now need to do is to confirm the angle where the pillars mount onto the side of the scuttle. This could not be calculated until the body was back on the chassis. The paint will be well protected during this operation. In some ways it would be better if this final calculation were done after the radiator is mounted, something that is still a little way down the track. My completion date is not until early 2014 so we still have a little time in hand. In fact the windscreen could be the second last thing to be fitted.
Hello Again
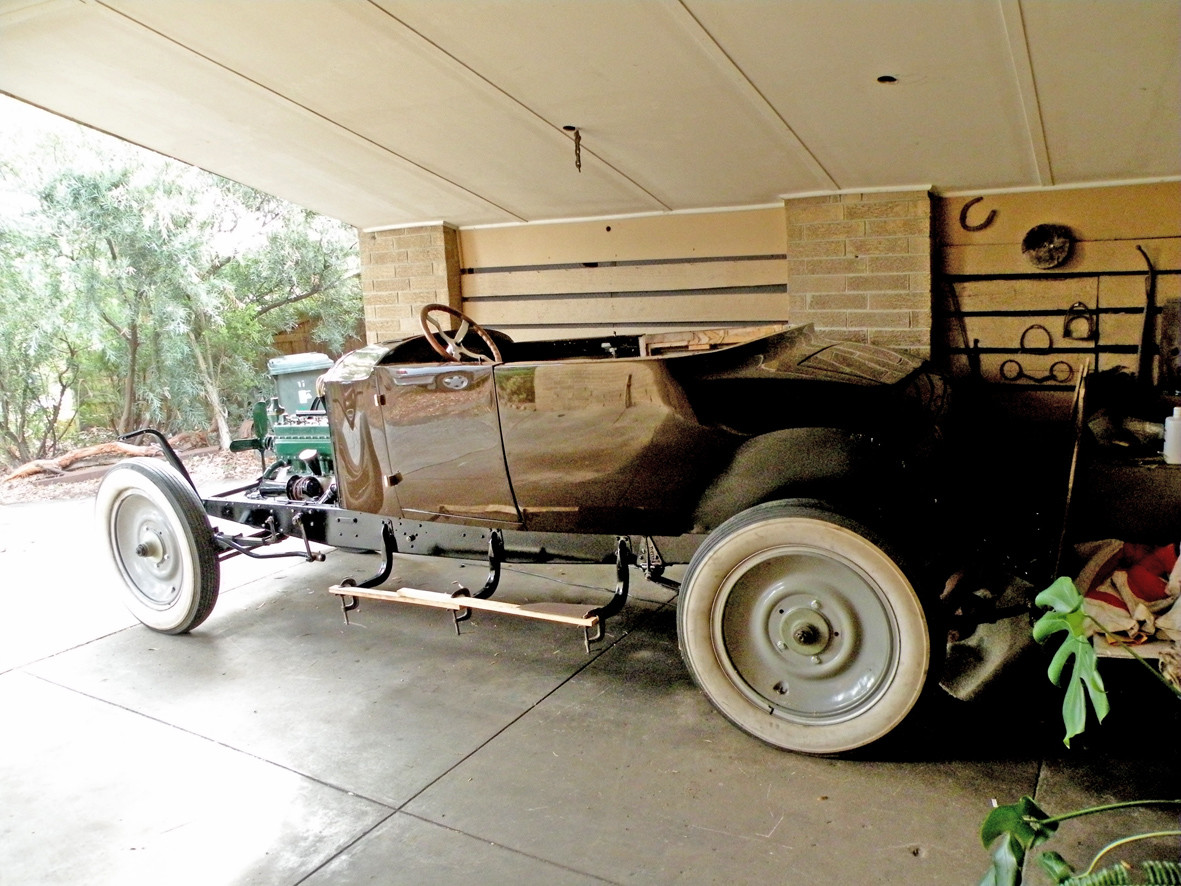
Again another fruitful day with Steve's invaluable assistance we have got both doors and the luggage trunk lid fitted and the gaps adjusted. Unfortunately by the time we finished the sun was in exactly the wrong place for good photography. so one below standard photograph. I will try for some more in the morning.
Hi Vern
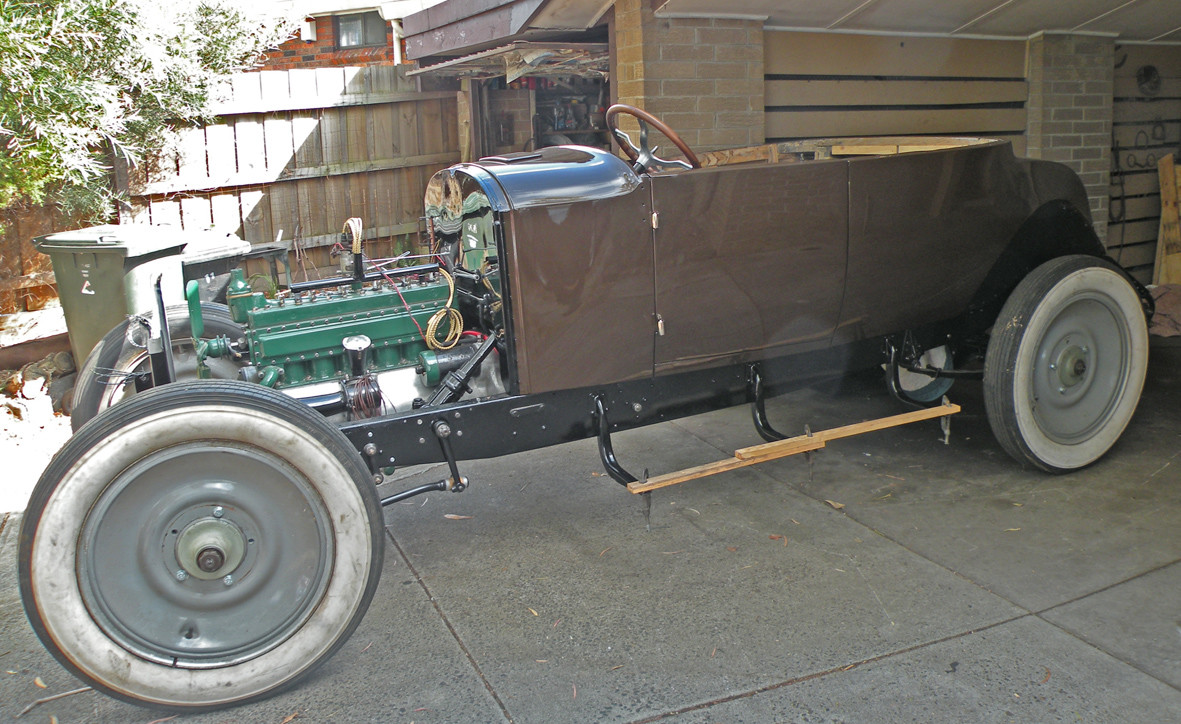
Good to hear from you. I an afraid that I am just a bit too conservative for orange wheels. My choice is to match the interior trim and top which will be biscuit. with biscuit pin-stripeing. Brown pin-stripes on the wheels This will be kept to a single line along the waistline and high-lightng each louvre on the hood. All very understated.
Another photograph I still cannot get the lighting right. Too many darned reflections.
2-10-2012
Not a lot of action on the Packard today. Fitted the amp meter/oil gauge into the dash and screwed down the rear floor etc again. This was removed to give easier access to the body hold down bolts. Rest of the day given to preparing the Lagonda for the VSCC Night Navigation Trial this evening. This amounted to checking the oil and water levels, both OK, wiping off the dust and cleaning the windshield. Finally a fresh coat of "Rain-ex" on the outside of the windshield. The forecast is for rain followed by storms. Hopefully we will be home by about 2.am.
2-11-2012
Hi Ian
It is 1.29a.m. and we have just come in from a very damp night's motoring. We cannot believe that from all appearances we have had no rain at all in East Doncaster. It absolutely poured out the other side of town especially in the hills between Werribee and Bacchus Marsh. I will check in the morning but we must have done about 150 miles over dark, narrow, country roads. Great fun!! Average speeds about 45mph so most of the time sitting on 55-60mph. Didn't see any Kangaroos but one Fox.
Hello
Re last nights motoring epic. In fact we covered exactly 180 miles door to door. Not a bad nights drive. Pity about the wind & rain.
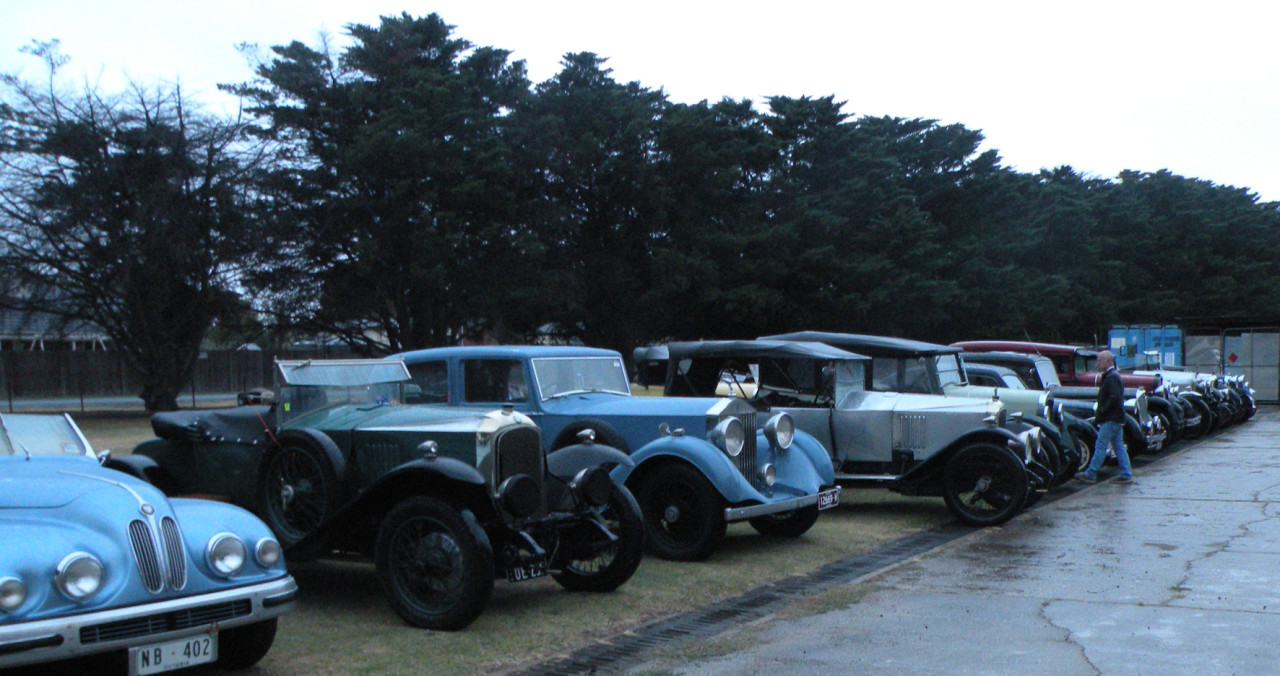
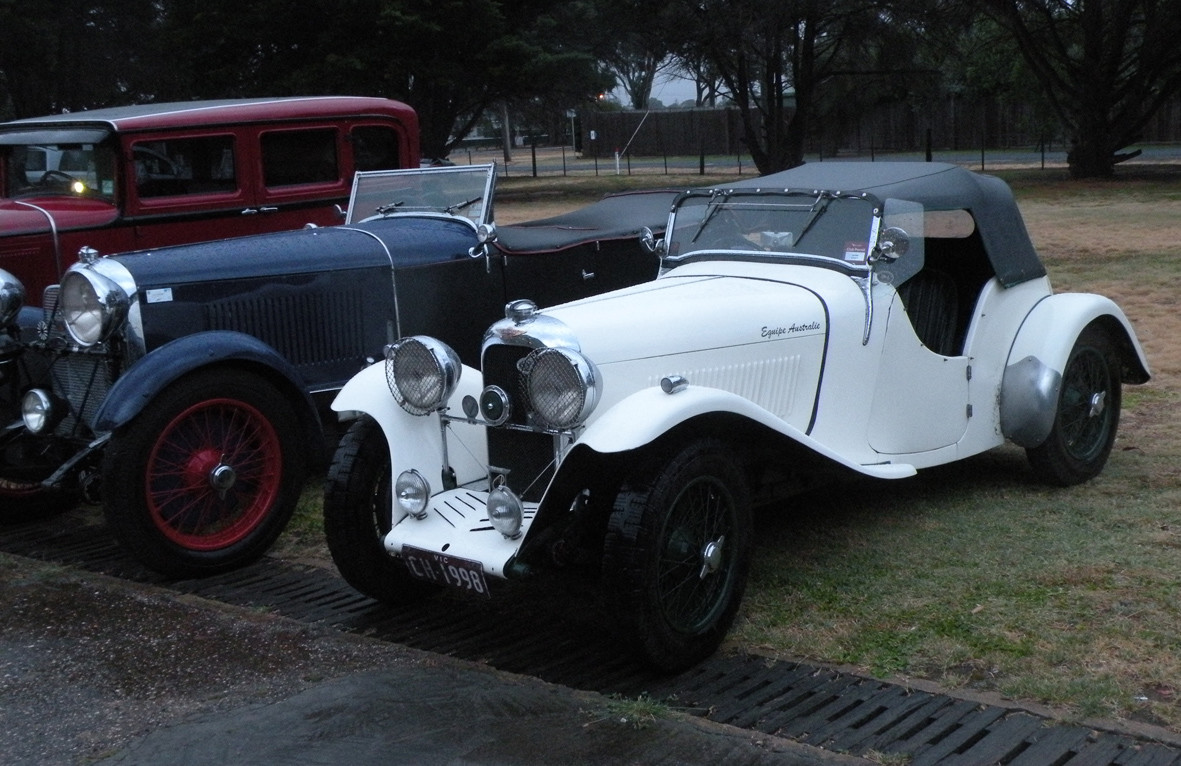
Attached is a photograph of some of our fellow masochists cars. Also one of the Rapier with the top erected something that is only rarely seen. Parked here with a friends Lagonda 3 Litre Tourer. It should be explained that he is a British expatriate, hence the open top.
2-13-2012
Hi
Is my face red? Today I have spent possibly half an hour rectifying what was a very basic error on my part.
Going back two weeks to my post #830, I talked about the split nut steering box.
What I did not realise when assembling the steering box was that I had inadvertently transposed the position of the two halves of the "nut". While this may seem a minor mistake, it has serious ramifications. Doing this reverses the direction of the steering so that when the steering wheel is turned to the left the front wheels turn to the right! Fortunately correcting this problem does not require a total strip down of the "box", All that had to be done was to remove the outer column together with the top half of the thrust bearing. The inner column together with the two halves of the nut could then be withdrawn and the nut turned over. The complete box could then be re- assembled, the outer column replaced and the thrust bearing re- adjusted. Job done in about the time it has taken to write this. A final check and if anything the steering is slightly lighter and slightly more precise. AND the front wheels turn in the right direction.....
2-14-2012
Hi All
As Ben can tell us "Time flies when you are having fun"
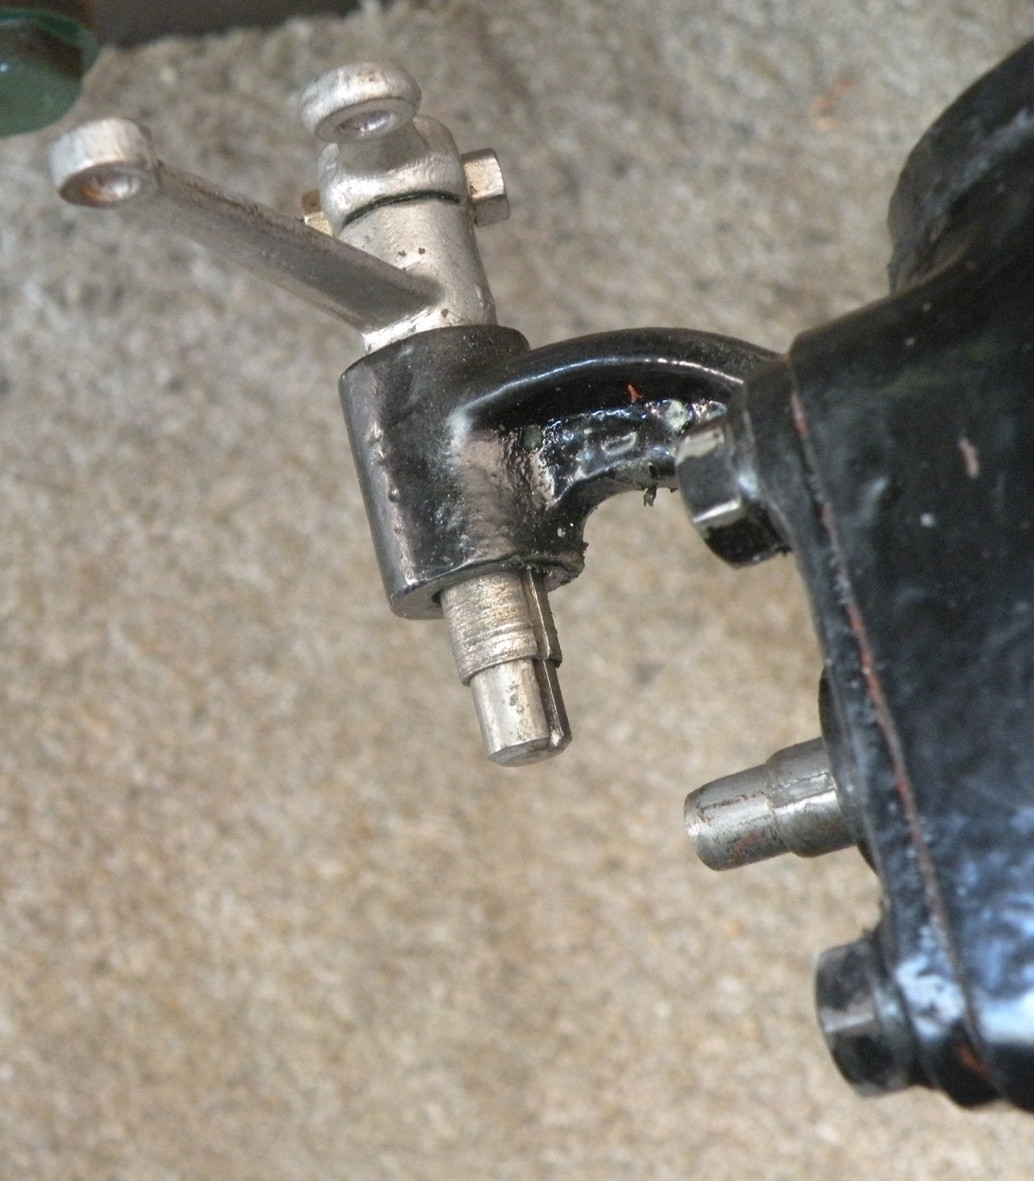
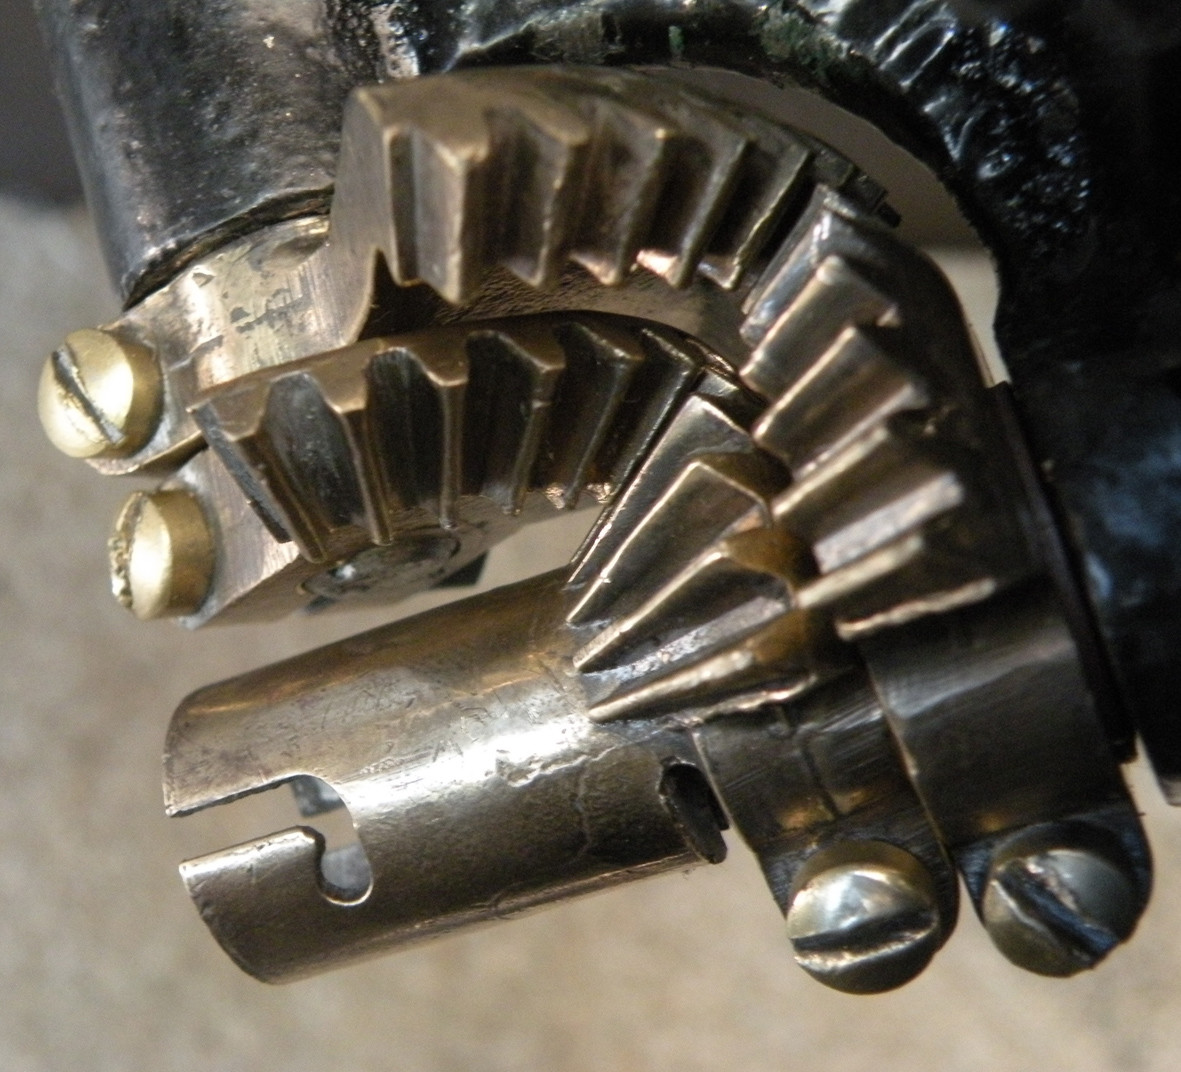
Todays fun centred around the brass bevel gears at the base of the steering box operated by the the hand controls in the centre of the steering wheel for the spark & gas.
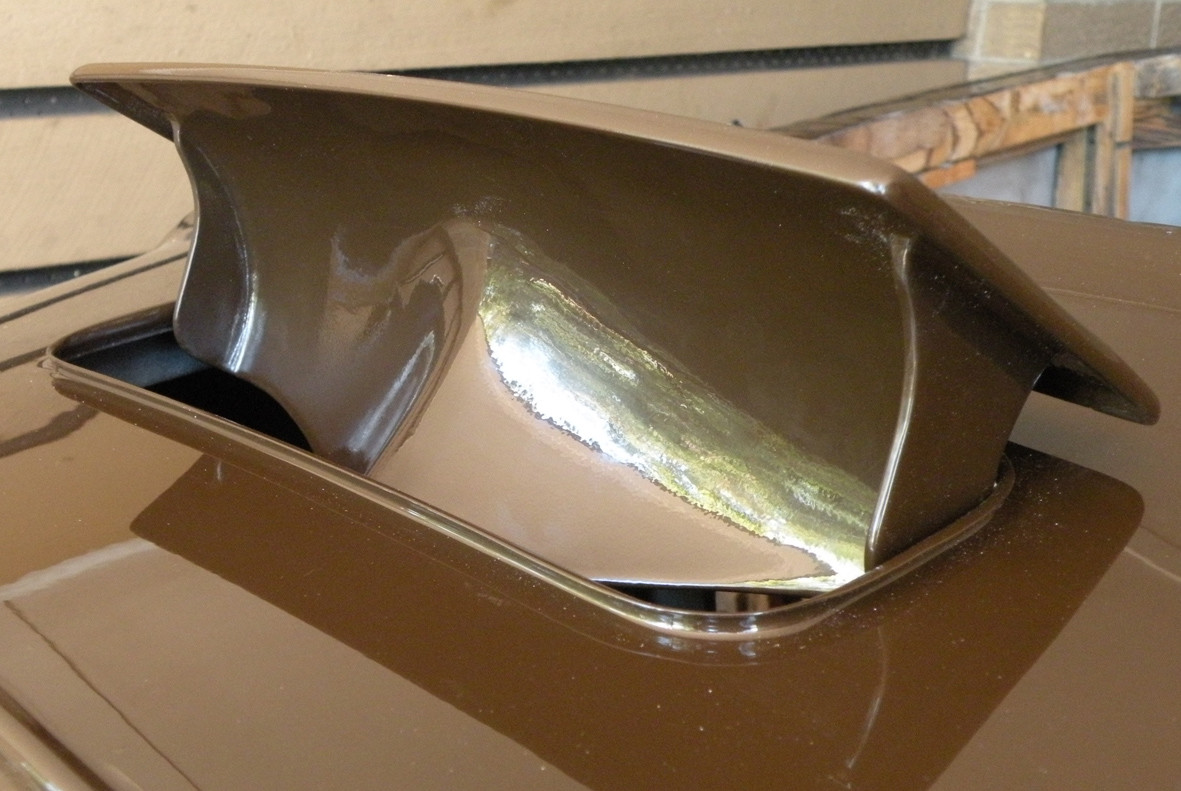
First task was to remove the square plate on the end of the steering box this has the pedestal for the cross shaft as part of the casting. Of course I had put it on 180 degrees out of position. Next step was to sort out which gear went with which and in what position. That done the next step was to sort out the spacing so the gears meshed correctly. "Easy peasey" I hear you say? Well not for me, I spent an hour or so doing trial assemblies trying different combinations of shim washers until I got a passable mesh. Right now I cannot complete the task of fitting the quadrant and hand levers until I get made a suitable "barrel" nut to secure the steering wheel. That may take a week or two. I am also waiting (impatiently) for some mail order slotted countersunk head 1/4 inch bolts to secure the toe board. I also need a second pair of hands to assist in fitting the split rivets locating the webbing around the top of the bulkhead. However on the plus side I now have the cowl vent installed and working well. Tomorrow's task will be starting to trim the various electrical cables to length and soldering on the ends.
While on the subject of electrical fittings I am still looking for one of the pressed metal junction box covers for the engine side of the bulkhead.
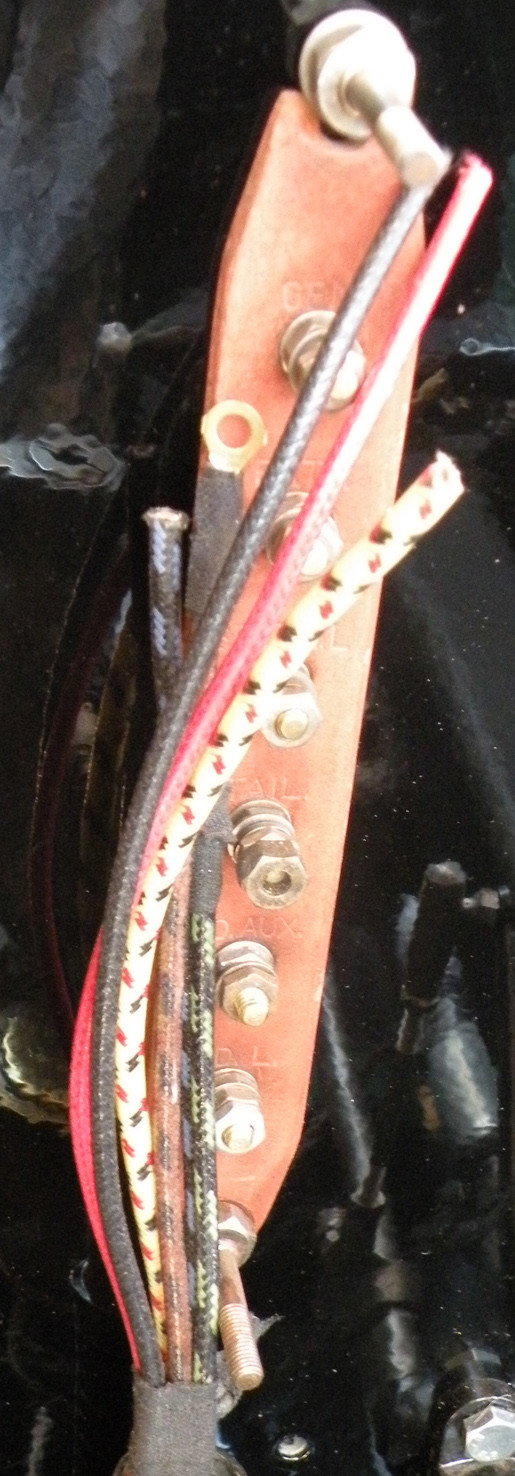
If you take enough little steps you will eventually arrive at your destination. Every restoration is the culmination of lots & lots of little steps.
This morning I have been busy with my soldering iron. As shown here I have decided to use the junction box cover from inside the bulkhead on the under hood side and to fabricate a new cover for the the inside. This afternoon I will make a start on the cables from the bulkhead to the switch etc,
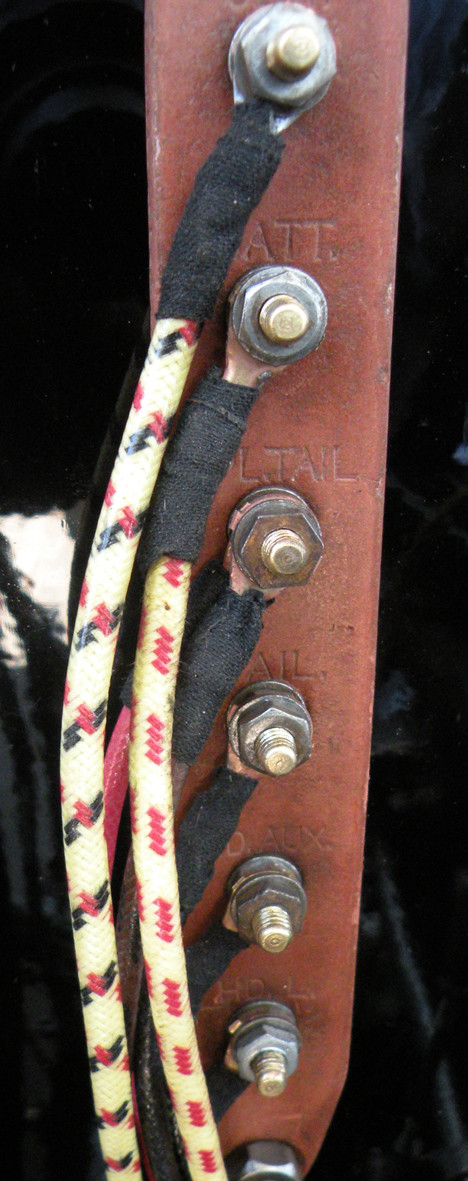
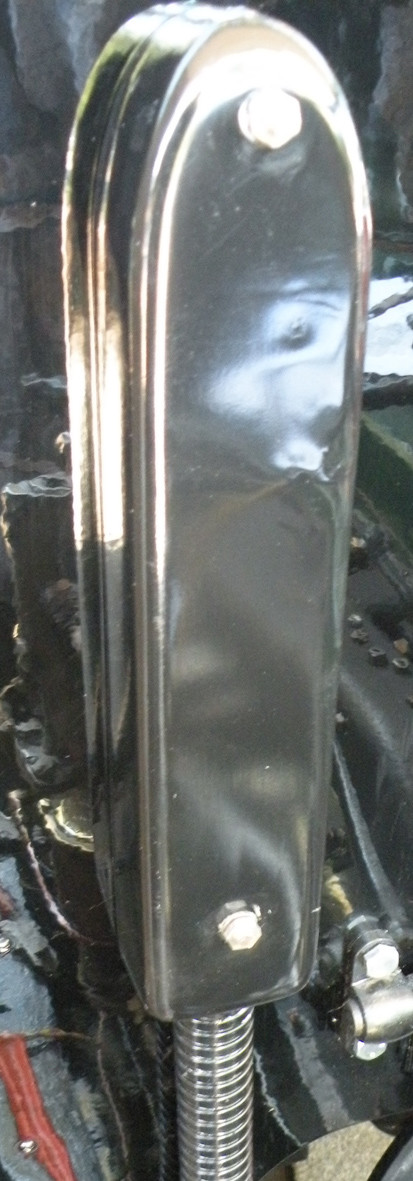
2-15-2012
Hi Roger
I have thought about using shrink tube but rejected it as not within the period.
The tape I use is correct bitumen backed cotton tape. Just like auto electricians would have used in the 1920s. The same way that I use cotton braided cable instead of PVC covered wires. I solder on terminal ends rather than using crimp on "ends". Much slower and time consuming but they look right because they are right.
I must be getting too old to change. I have just received my membership renewal from the RAC(Victoria) for the 56th time. Helen and I celebrate our 50th Wedding Anniversary in two months time. Another thing that I am not looking to change, I still drive the Peugeot 405SRi that we bought in 1996.
I have no plans to change the Packard wheels to "Mags" with 15 X 10 low profile tires either. That way I won't have to bother about fitting Power Steering.
Every so often I take one of my 120+ P G Wodehouse (Pronounced Woodhouse) books off the shelf, I still manage to get a chuckle even after reading some of them four or five times.
You don't have to be mad but it sure as hell helps.......
2-16-2012
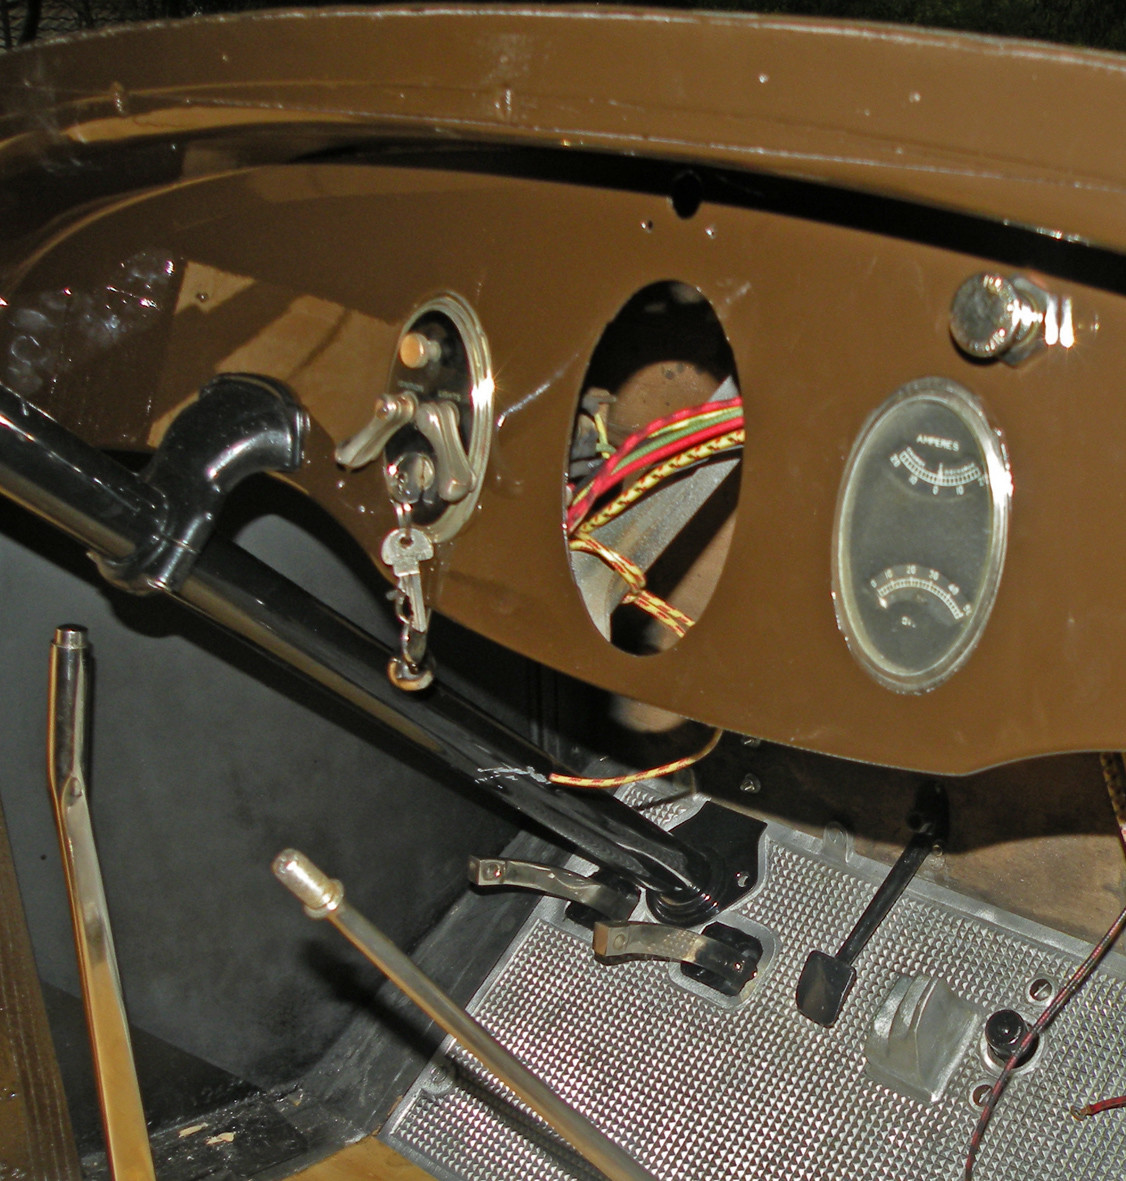
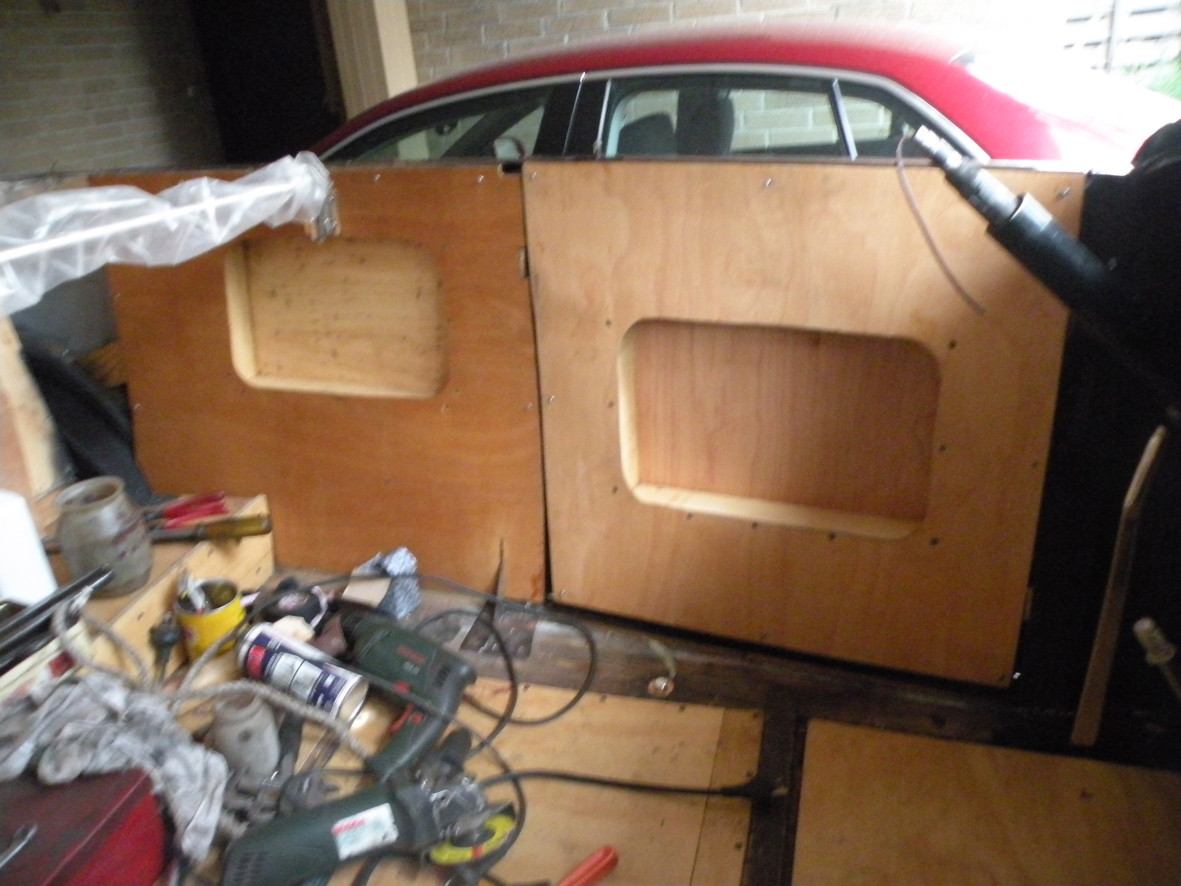
Meanwhile work continues with the trim panels trial fitted and the switch and amp meter/oil gauge installed into the dash. This part of the wiring is now complete except for the dash light and the cigar lighter. When these were last seen they were in a shed somewhere in Maine.
Thanks Ben
I had noted the slot for the cable but not having found a cable yet had not realised how tight the fit was. There are just eight 1/4 inch screws securing the cast aluminium toe-board so it is not too much of a problem. By contrast we are still having days in the mid 30s C. Last night we had our first decent rain (10mm) since New Year. It is amazing how quickly plants in the garden respond. I will send you an e-mail re your dash light and cigar lighter.
2-17-2012
Hi Ben
Fortunately for me the ones in my Single Six are all new and have only been fitted for the first time this week so hopefully they should still be relatively easy to unscrew. Better still while new countersunk head 1/4 UNF they did not have makers or grade marking on the head so they could be put straight in. No need to grind off brands or to polish the heads although depending on available time, if they have to come out again I might just polish the heads, or perhaps better still take then and get them nickel plated. What do you think would be more desirable?
Oh hum, life does get boring at times.......

bravo!
Posted by CCmyVW on 1/26/20 @ 5:30:36 PM