You must be logged in to rate content!
16 minute(s) of a 548 minute read
1-24-2012
While all the above has been distracting you, I have been hard at work and now have both windscreen pillar patterns ready to take the the foundry on Monday.
Next task is to drill all the mounting holes for the running boards to bolt up to the valances before they go to Dave for painting.
Hello
It is now 7.07 a.m. Having just heard the weather forecast I may have to re-think what I am doing today. The present outside temperature is 26degrees C. and the forecast maximum is 38 Degrees C. First thing I will b doing is giving the Lagonda Rapier a clean and service ready for the VSCC Club Morning Run followed by the Annual Presentation Lunch tomorrow. Then maybe I will think about drilling those holes in the Packard running boards.
2-25-2012
Hi Ian
It is now 4 p.m. I have just put the Lagonda Rapier away having given it a through chassis grease (we were driving through torrential rain last Saturday night/early Sunday morning), checked the gear box and engine oil levels, checked the radiator water level, adjusted the brakes and given it a good wash after last week's VSCC Night Navigation Trial. I have dried it off with a chamois leather and cleaned the windscreen etc. Dusted off the seats and checked the petrol level. All I need to do in the morning is fill the petrol tank and check the tire pressures and we are ready to be at the Service Station at the foot of the Westgate Bridge at 9.30 in the morning for the start of another day of excellent (competitive) motoring. What is the point of a brilliant motor car if you don't use it.
Ian, if you would like to have a look at some interesting cars we will be at the Veneto Club in Bulleen Road for Lunch.
I am afraid I am not into hosting "Garage Tea Parties". If my friends want to look at my car they have to catch it first.
2-26-2012
All in all quite a successful day. Two Lagonda Rapiers after todays Vintage Sports Car Club's Annual Awards Luncheon. Ted and Fran Geermans (Blue) PVT Cup (Post Vintage Throughbred) and Atlanta Cup (Most Successful Lady Driver) Helen & Bernie J.(White) Navigators Trophy (Most Successful Navigator) and Crossley Trophy (Best overall performance in club competition)
As they say in the classics "You have to be in it to win it" The VSCC has an intense programme of highly competitive road events over the year.
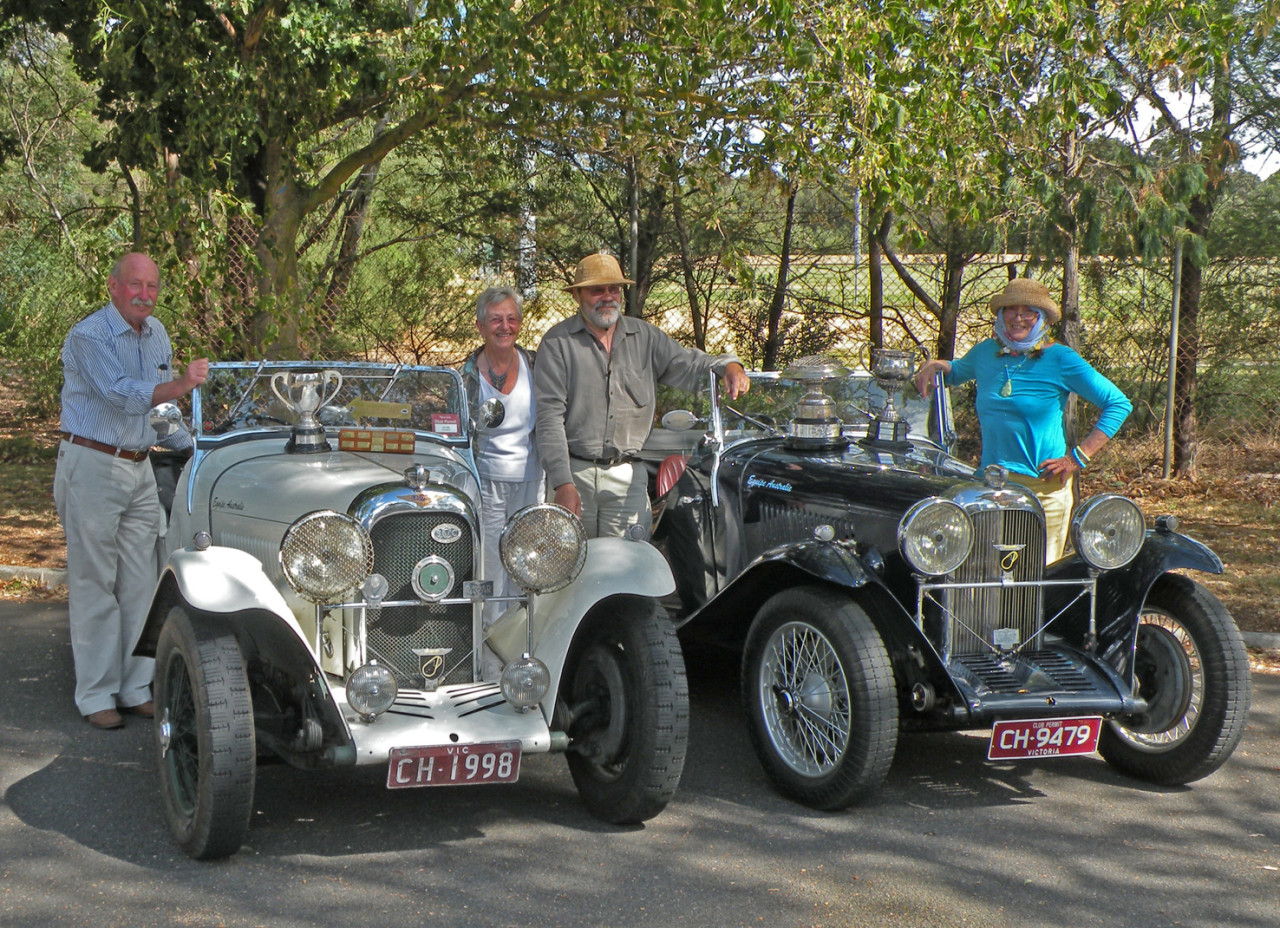
What a crazy place weather-wise Melbourne is after yesterdays scorching today is much cooler and drizzling rain. Mondays always seem messy days, a hangover from the weekend. I really must get motivated to drill those holes in the running boards.
2-27-2012
Finally the unpteen holes are drilled in the running boards so they can go back to Dave to be painted.
I have finally found a local (Australian) source of 3/16 X 1/2 inch, effective length, clevis pins, they are only available in stainless but they will suffice for the linkages from the hand controls so have ordered them. The seem to carry a huge stock of obscure small parts. I have been waiting for three weeks for my usual nut & bolt supplier to tell me that they were unable to supply these.
2-28-2012
This afternoon I took the running boards back to Dave He tells me he should have the valances and rear fenders painted and ready to collect early next week. While out I also took the patterns for the windscreen pillars to the foundry. They should be ready in two or three weeks so things continue to move along albeit slowly.
I don't know about the rest of the world but talking to Peter and Andrew who run the small foundry that I use, life is getting more difficult for foundry operators with almost constant harassment from EPA and Workplace Health & Safety inspectors. They tell me that another foundry shuts it doors every month. One local firm now sends all their work to India. What with the threat of solvent free paint only and all sorts of restrictions on noise, dust, soil contamination etc etc it is becoming harder and harder to find tradespeople who are allowed to work. I know of two chrome plating firms who have been forced to close their doors in recent times. Certainly not from a lack of work.
Now that the postman has delivered the 3/16 Clevis pins I have been able to complete the setting up of the hand control links. The next little task that while relatively unimportant is still one that had to be done. Mounting the new switch and a secondhand light fitting for the courtesy light in the luggage trunk. This involved removing one of the side trim boards. Nice job for a quiet afternoon. Removing and replacing about 12 screws mainly out of sight and all requiring using a screwdriver in my left hand. Rather than risk having the light left switched on inadvertently, I am linking it into the tail light circuit so that it can only be switched on while the tail lights are turned on. This is replacing the original switch and lamp which were beyond repair. As the Doctors Coupe was a relatively low production unit this does not appear on the original wiring diagram.
I don't know if the Roadster (runabout) had a similar lamp inside the rear luggage compartment. Perhaps if someone has restored one they could tell me. It seems a very advanced feature for 1923.
2-29-2012
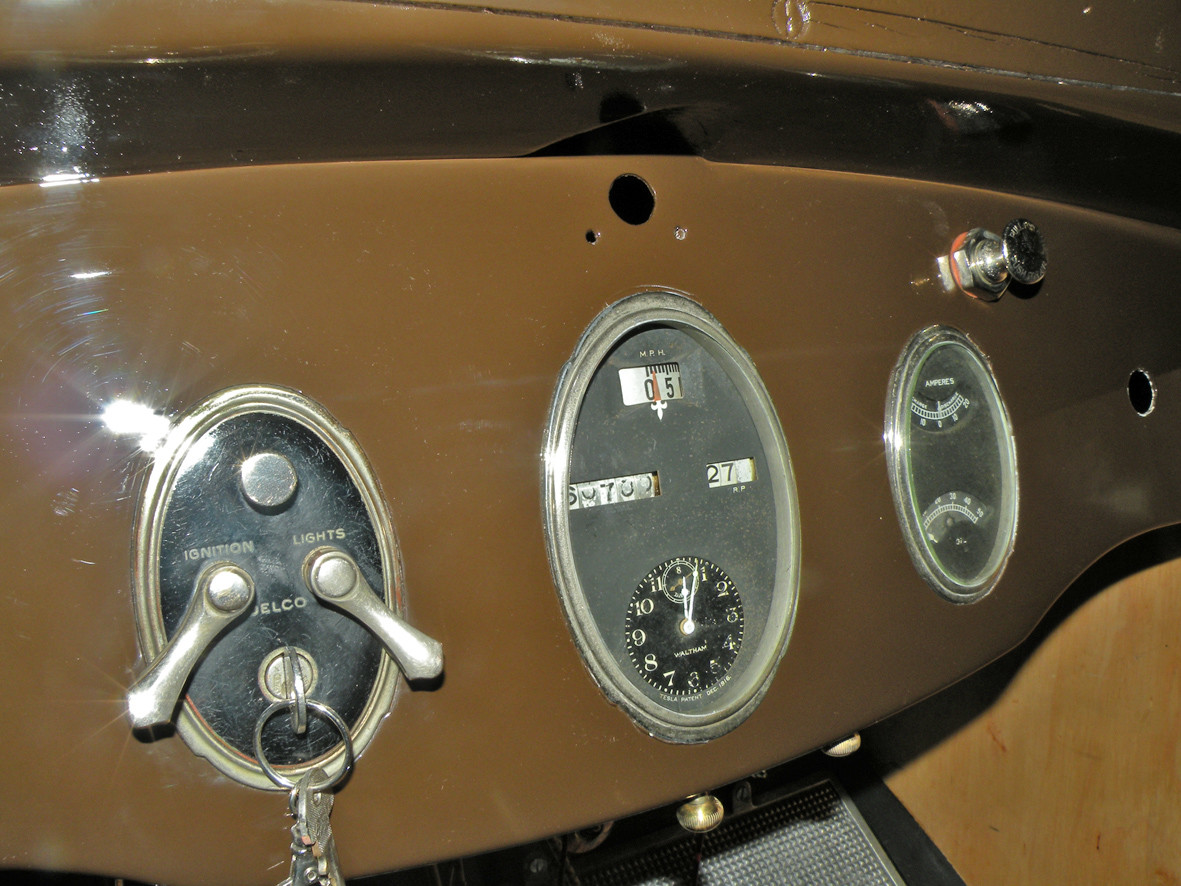
I have commented before about Melbourne's changeable weather. Today is cool and rather damp, not a good day to be outdoors. Hence the flash-light photograph. So there will not be a great deal of progress on the Packard. Todays photograph is for Ben. It shows the now restored instruments and switches. I have used some liquid silver on the rims and switch levers with mixed success. It works extremely well on polished brass but not so good on die-cast (zinc) The two holes are, in the centre top, the dash lamp and the one to the extreme right I believe would have originally held the cigar lighter. If you go right back to the beginning of this thread you will see that the switches and speedo were missing and the small gauges left a lot to be desired. Ben supplied the replacements and I hope that he is still holding the dash lamp and cigar lighter for me. David McC very kindly sent me the correct clock. A local locksmith was able to cut the correct code ignition key to fit the switch.
Thank you Jim
You really need to reserve your judgement until it is finished.
If you go right back through the whole 38 pages you will see that I have received a lot of help and encouragement from my friends. I still have some way and quite a few challenges to go....
Possibly another 38 pages?
3-1-2012
Thank you David
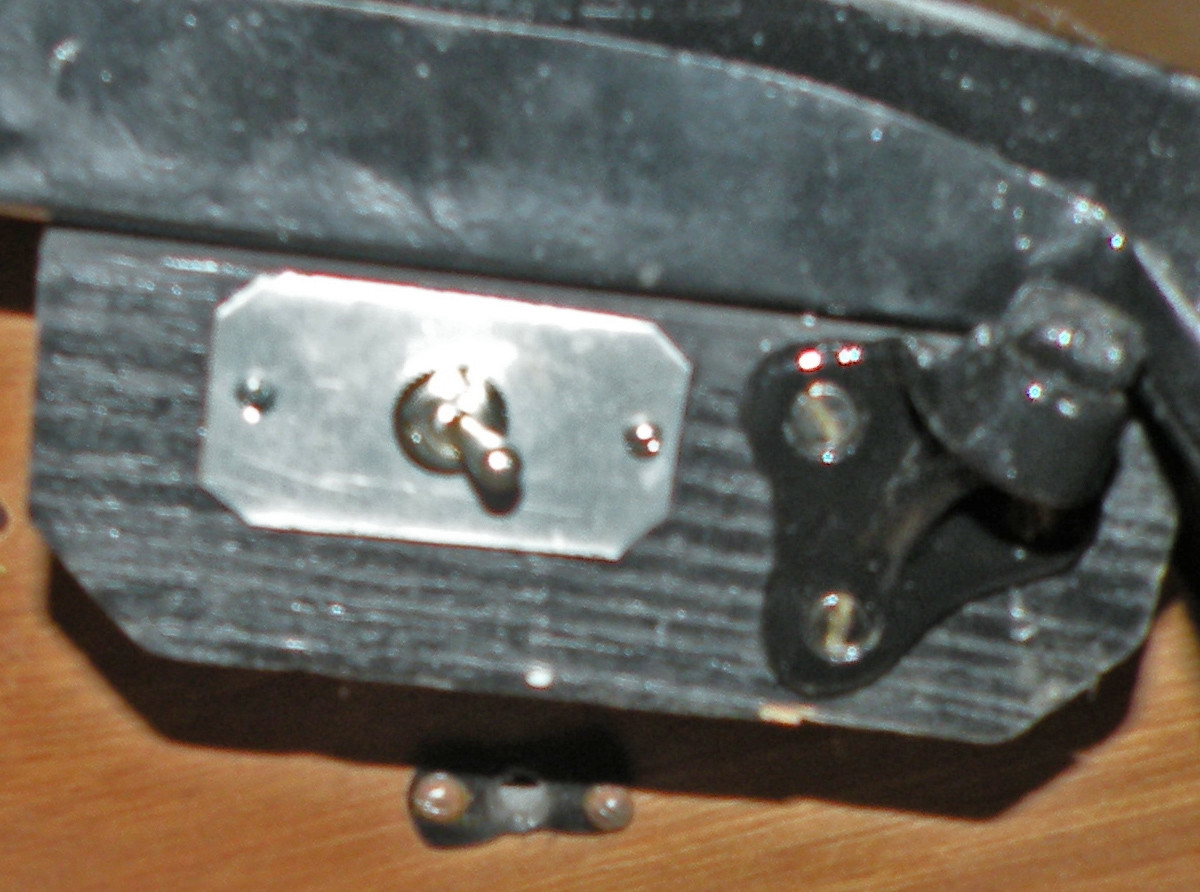
Below is a photograph of my replacement switch which fits into the original location next to the luggage trunk lid bump-stop.
I have replaced the separate boards lining the trunk with ply which will ultimately be covered with carpet. Perhaps not totally as original but in keeping with the quality of the car and today's expectations. How would the judges see this? The timber mounting block and bump stop are the originals, as is the rain gutter.
Hi Mal
I thought that we had lost you. Welcome back. Sorry you have photographed the wrong trunk
I use using the American nomenclature for what we Aussies refer to as the Luggage Boot. Not the Box on the luggage rack.
A common problem but thanks for your interest.
Are you still there Ben, desperately clutching onto the end of that 80ft chain?
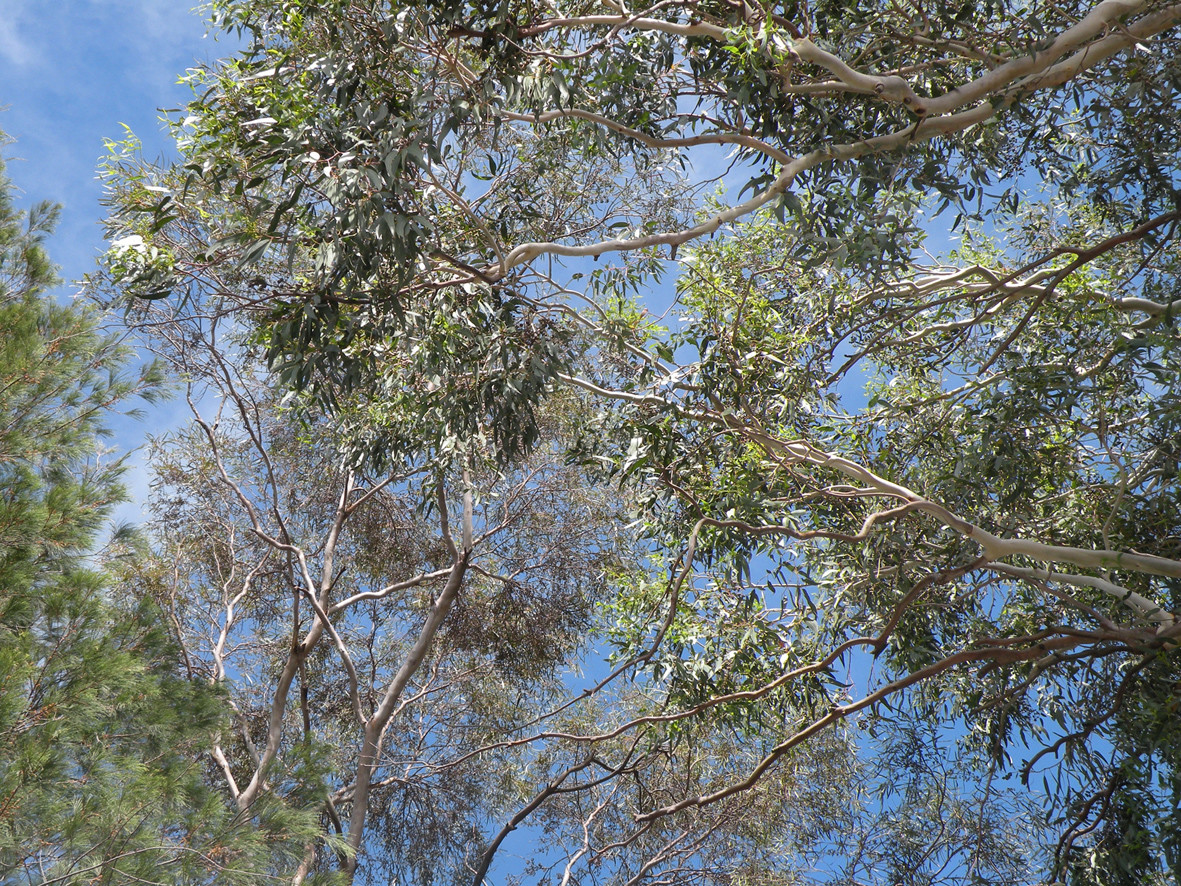
This photo taken just one minute ago from outside my front door.
It shows the clear blue Australian sky with just a suggestion of light puffy clouds. Seen through the branches and leaves of good old Aussie Gum trees (Eucalyptus). Thought that you may enjoy actually seeing the sky.
One problem in living in "Gods own country". You forget how the rest of the world have to survive.
3-2-2012
Thanks Mal
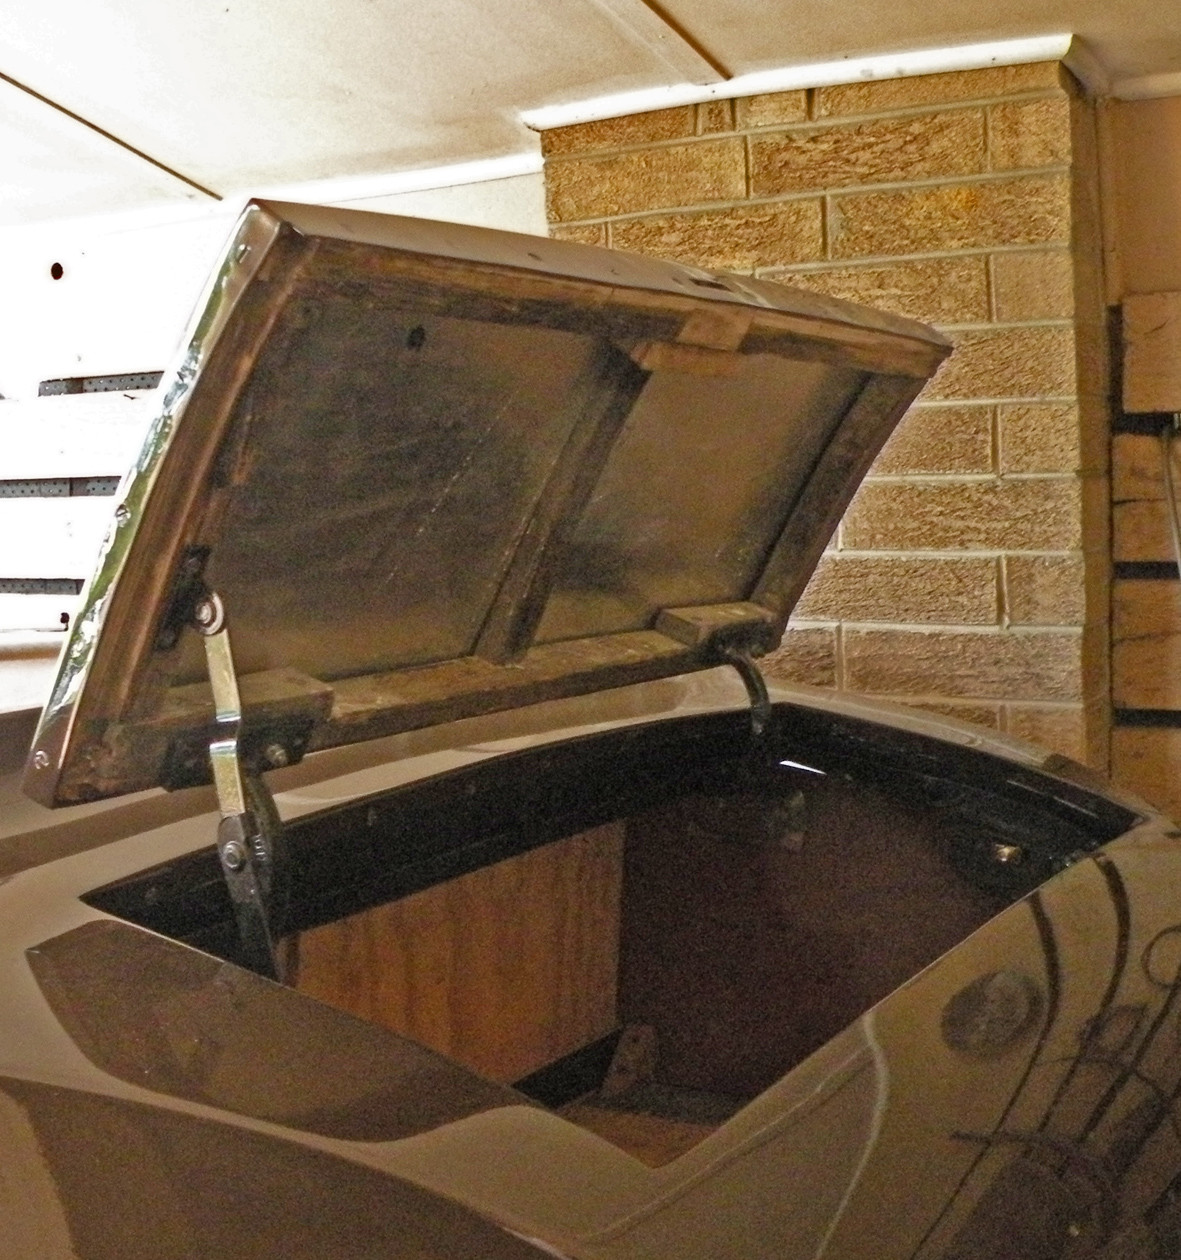
I have attached a brand new photograph of my car's luggage trunk.
Ahead of its time in 1923 the Body style 222 Doctors Coupe included an enclosed luggage storage space within the main body. Certainly never intended as a rumble seat, the lid hinged from the front and the actual space would never accommodate a person. This was possibly one of the first examples of purely luggage storage incorporated within the main body structure.
The hinges, stay and other associated hardware is all original. The body number and the style code are stamped down the central rib in the lid as well as on the bottom rails of both doors. How much more original can it get? I still have to attach the trim board to the underside of the lid and detail finish inside the trunk. Paint frame etc.
Hi Keiser31
Thanks, but as I said in my e-mail "you ain't seen nothin' yet"
I should get the rear fenders and valances back ready to fit early next week.
Watch this space....
Hi all
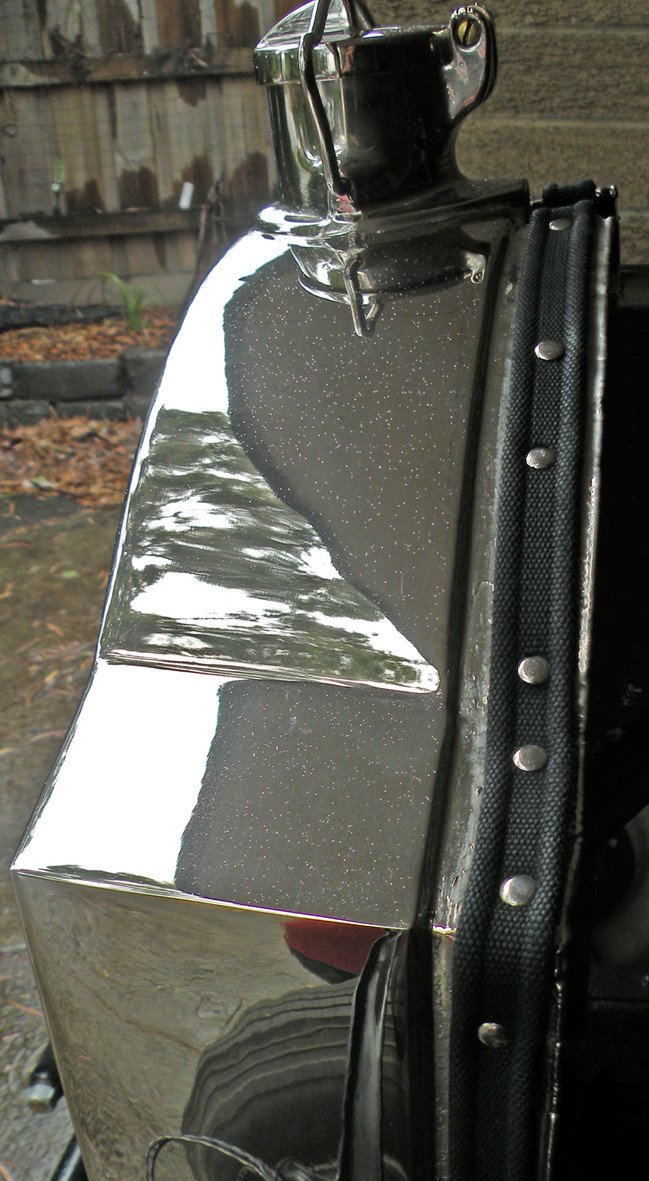
A little job but one that had to be done and ideal for a drizzly Saturday morning.
Riveting the hood lacing onto the radiator surround.
The cowl will be a little more tricky as I will need a second pair of hands. One pair inside to spread the rivets while the other pair tap them down from outside.
3-3-2012
Good Morning
Here in sunny if slightly damp Australia, it is now 9.00am Sunday Morning. If it seemed that I had not done a great deal of work yesterday I apologise. Most of the afternoon I spent indoors while there I finished and sent off two magazine articles one of 1550 words the other just short of 2,000 words so my time was not entirely wasted. This morning may be a good opportunity to have a clean up out in the garage. Things tend not to get put away so today is the day. I may even find the nut that secures the steering wheel.
3-5-2012
Hi All
This afternoon I collected the front apron and a couple of small parts from Dave. Due to a misunderstanding there is still a little bit to do on the valances. I should collect the rear fenders tomorrow. Hope to have some photographs then.
Don't go away....
3-6-2012
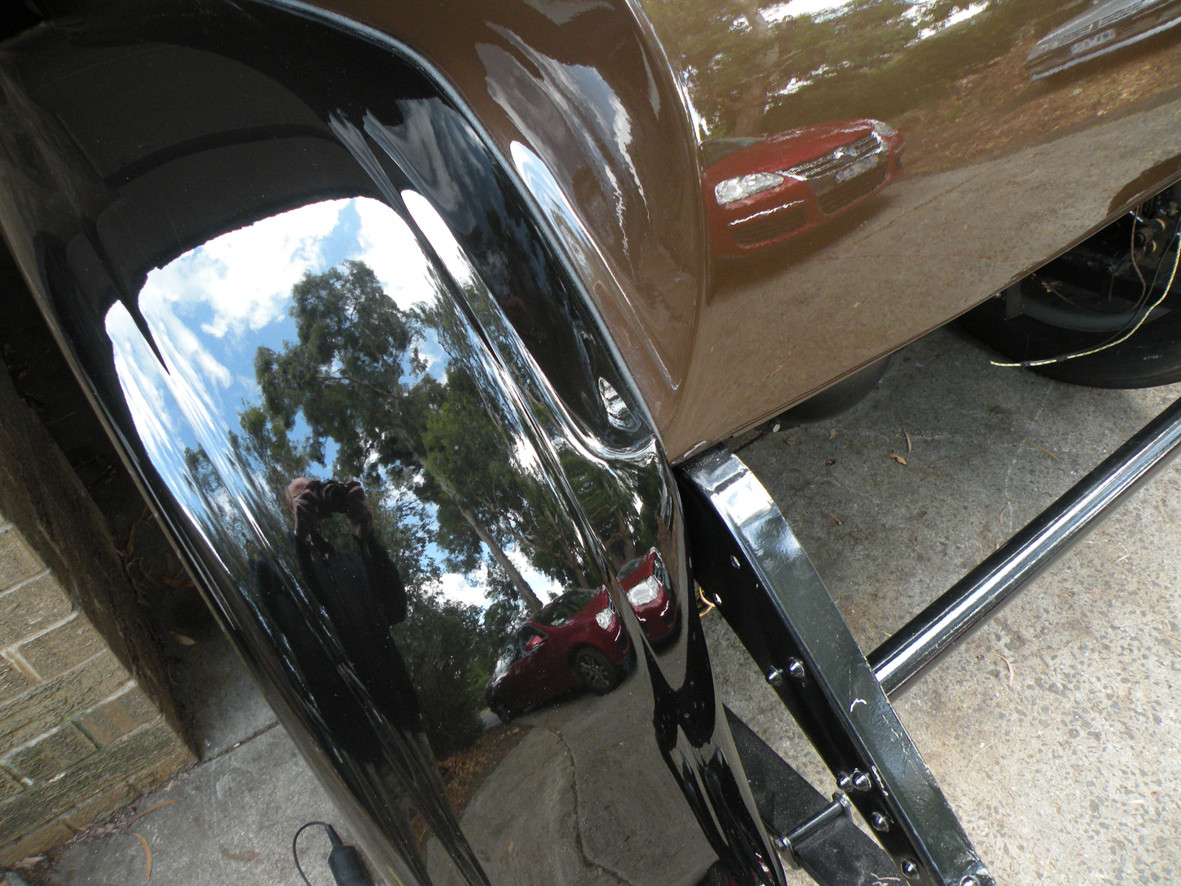
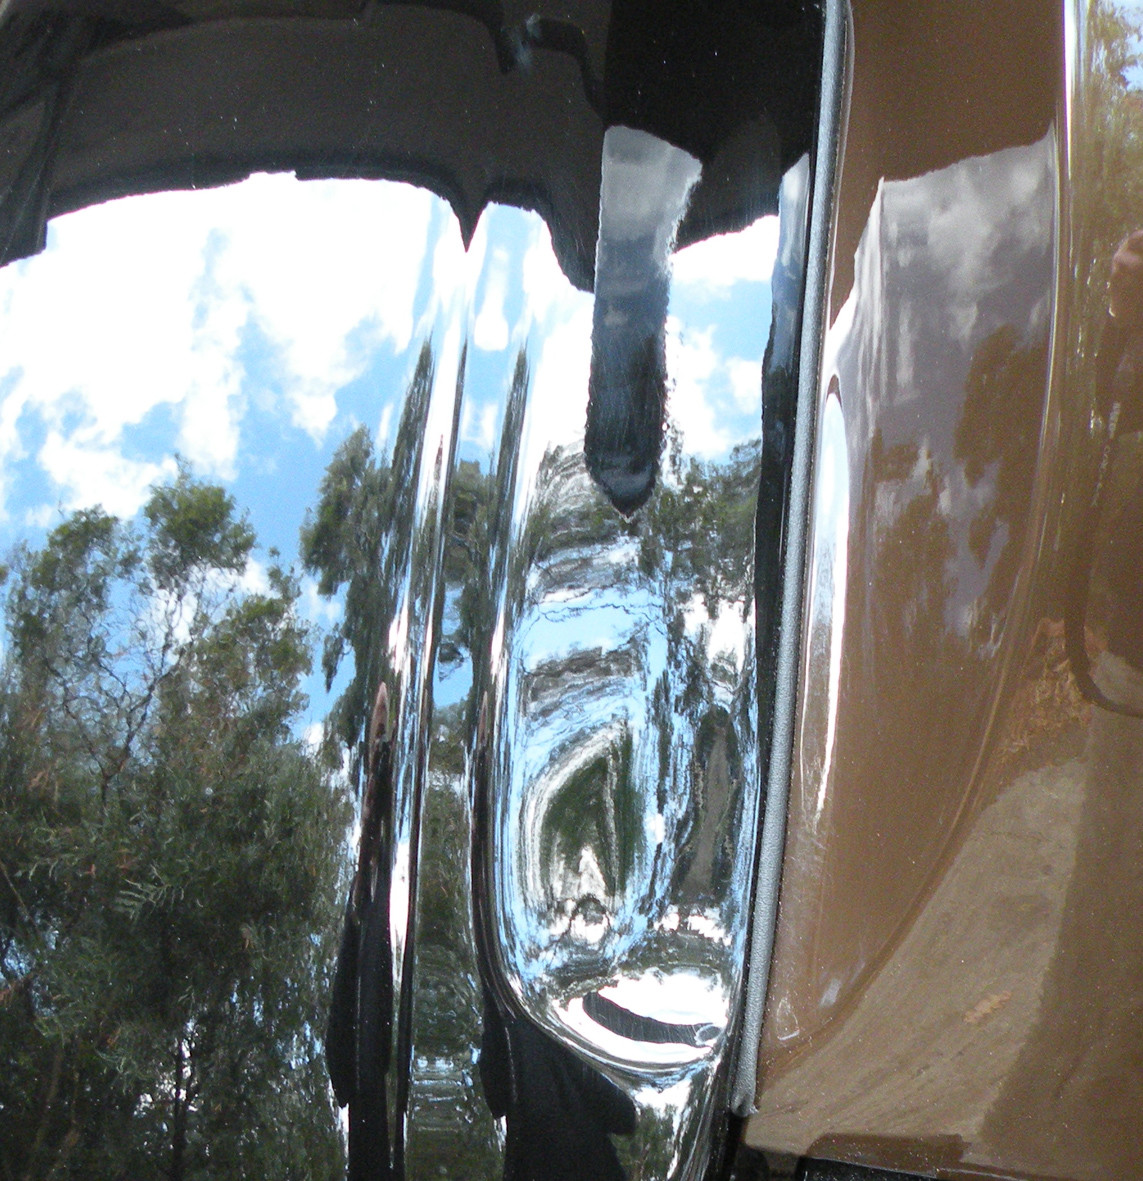
After a busy morning running all over town it seems I have managed to do a trial fit-up of the first of the fenders. The LH Rear.
I still need to adjust the welting and tighten up the mounting bolts. But at least I have the one on the way and the others in the pipeline.
Sorry about all the reflections. I will try for some better photographs tomorrow.
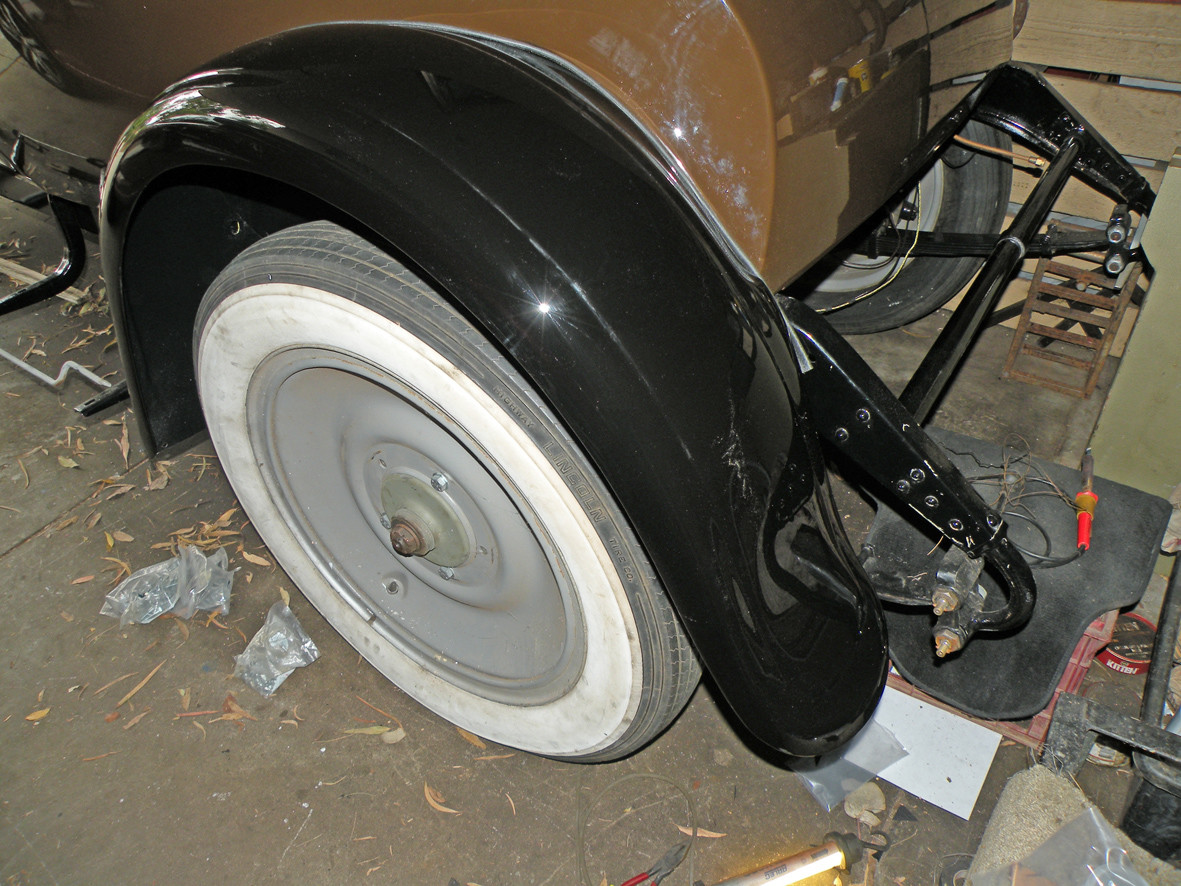
One of the things that I really like about the Packard is the elegant shaping in the rear fender and body section.
3-7-2012
Next step, if you will excuse the pun, is to buy the Brown Linoleum for the running boards and the drivers floor. I have located a source of the plain brown linoleum used on laboratory bench tops, which I think will be suitable. Then I will have to find some aluminium unequal, 1 X 1/2 inch, angle for the edges. I have some of the original for the drivers floor but not sufficient for the section over the battery box so this one, 3/4 x 1/4 inch, may prove more of a problem to source. Do any of the Aussies watching this have a suggestion? Other than milling down some of the larger stock.
3-8-2012
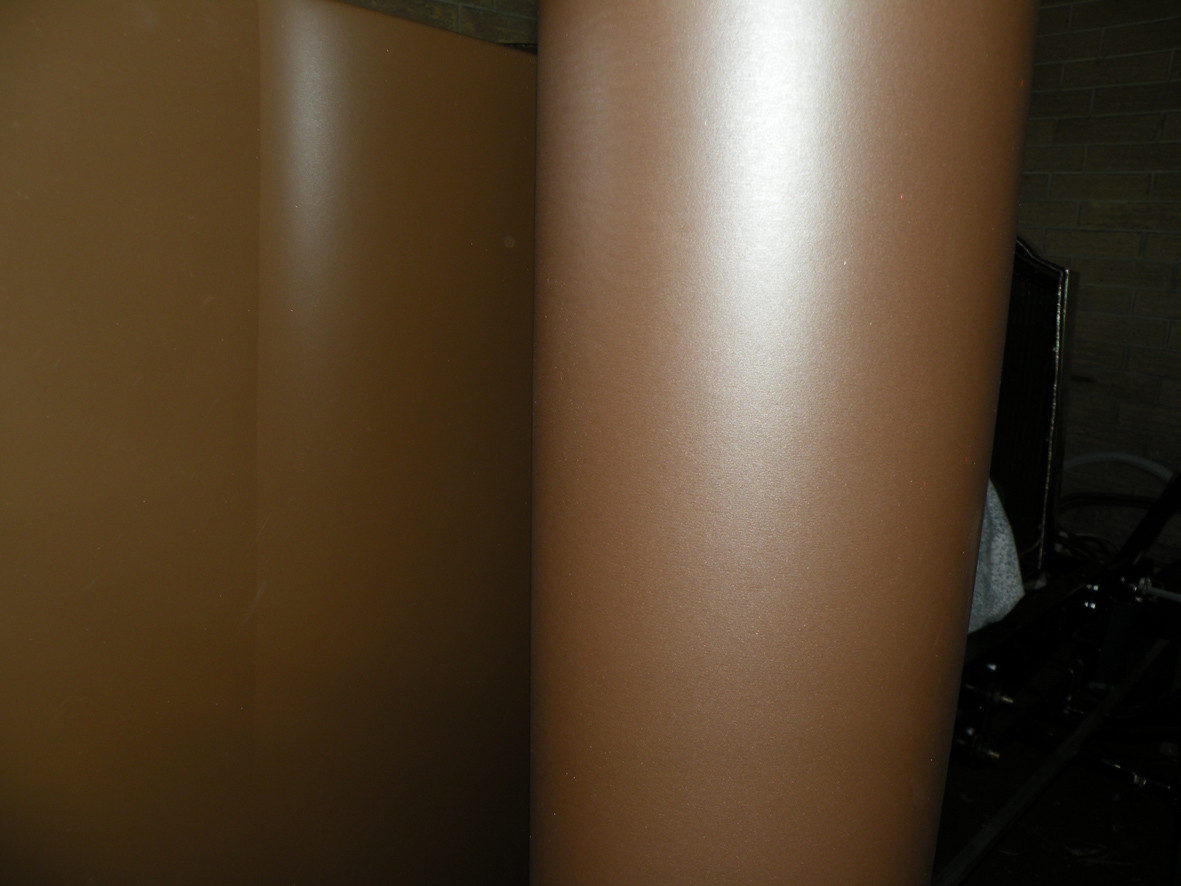
Not a lot to tell you so far today however I thought that those interested in these things may like to see the match up of the running board linoleum and the body colour.
I should be able to make a start on cutting out and attaching the linoleum to the running boards this afternoon. I have some housekeeping chores to do this morning
3-9-2012
Hi-y'all
Another Saturday morning and another week past. Where do they all go. Yesterday afternoon I cut out the running board shapes and they are currently rolled back to front to remove the natural tendency for the linoleum to roll back as formed on the original roll. Next step is to give the top surface of the running boards a light sand to create a key for the adhesive.
More later.
3-10-2012
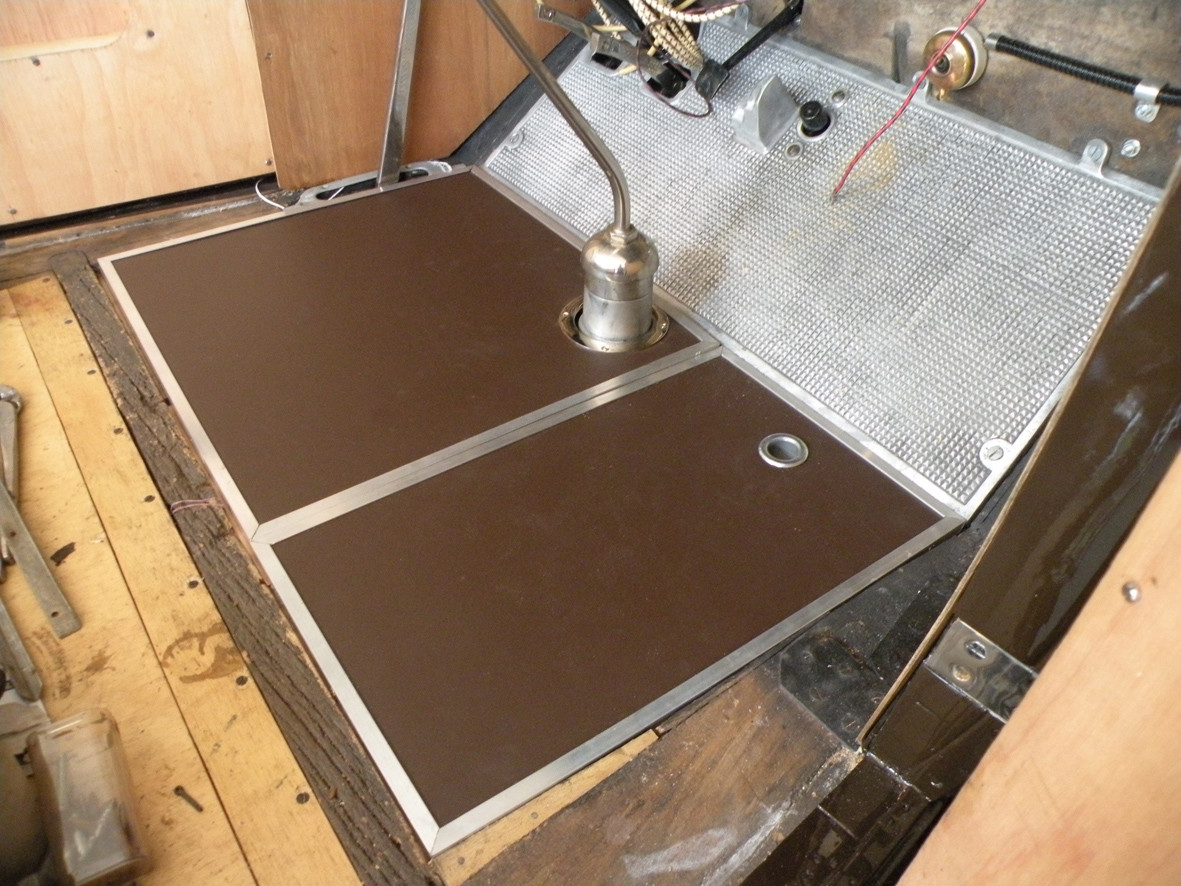
While cutting the linoleum for the running boards I decided that I should cut out that for the front floor boards at the same time. While I still have to stick down the running boards I have done the floorboards and now have decided that I should complete cutting the aluminium edging and finish them first. I have ordered 100 slotted head counter sunk nickel plated screws to complete the job.
Just a quick one and further to the above; the front floor has now had its first trial fit. There is still some "adjustment" required around the gear-lever boss.
This is a remarkably tight fit! Even the original factory floor boards were "relieved" over the heads of the bolts holding the lid of the gearbox. As I have commented before "Just one step at a time".....
The nickel rim around the gear-lever opening and the aluminium finger "lift" in the section over the battery box are from the remains of the original floor.
3-11-2012
Hi Pat
At present my thinking is the same treatment using the brown Linoleun with the aluminium edging, The alternative is the brown carpet that will cover the rest of the floor, with the edges bound with leather. This second option is attractive as the floor surface does not have to be perfect (requiring some wood filling) as is necessary for the linoleum. Remember the bulk of the wood in the car is 90 years old.
I guess that we will both have to wait and see. The running boards logically are the next step.
3-12-2012
Hi Pat
Going back to your comment about your friends Hudson cast aluminium foot board. I am lucky the one in the Packard is the original. It is one of the many things that show absolutely no signs of wear.
Ed
I will let you into a secret. My posts on this site are all part of my self motivation plan. If I don't have something new every day (well almost) I feel guilty that I am letting you down. To day being a holiday Monday in Aust I have spent the day in the garden with Helen. The only time I went into the garage was to get a power extension lead so that I could operate the "Chipper-chopper" turning all the bits that Helen was snipping off into mulch. While our garden is basically all Australian Native plants they still need cutting back from time to time. Otherwise we may end up having trouble getting to the front door. One good thing Lawns are kept to an absolute minimum, the only problem is that the mower needs a major engine tune every time I want to start it.
Hi all
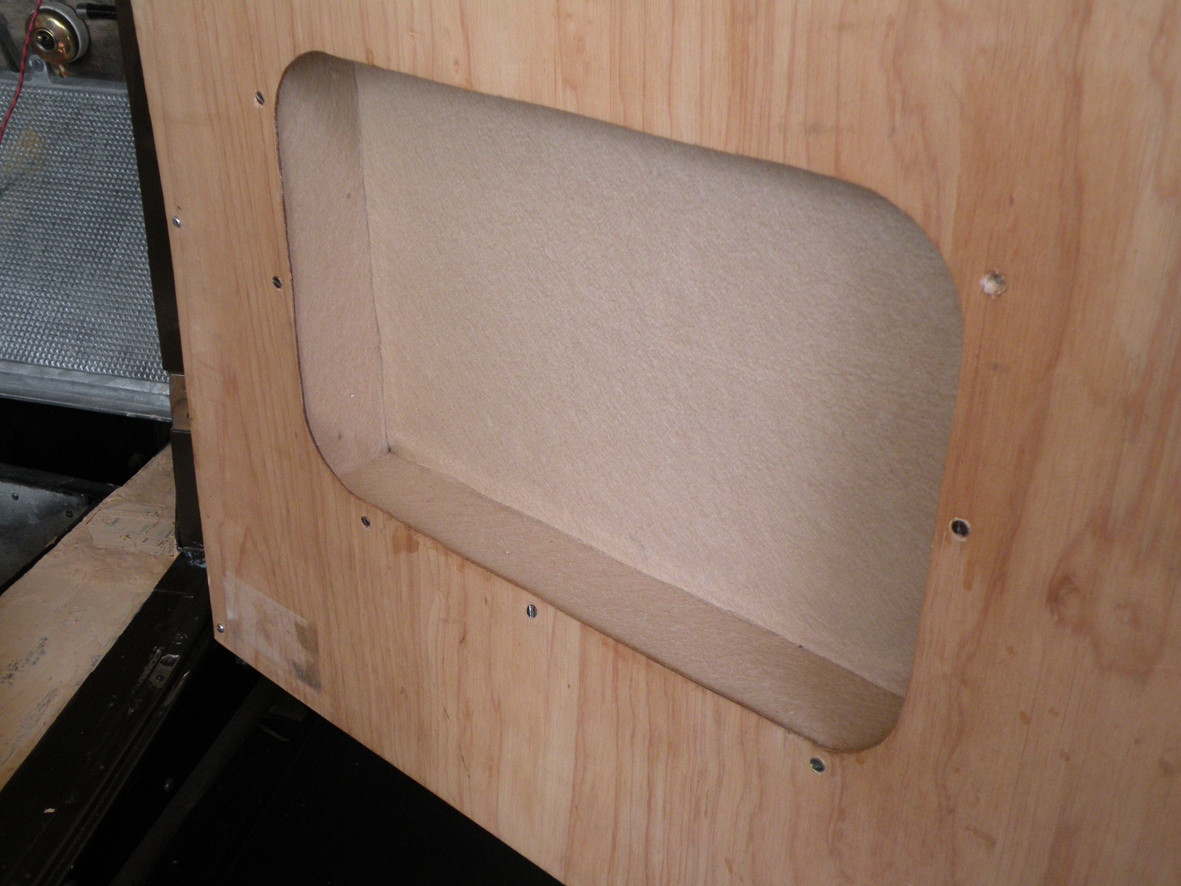
While I am waiting for the next lot of painted panels to be finished (perhaps tomorrow). I am doing another one of those little jobs for which there does not seem to be the "right time". I am doing the felt interior for the door pockets. Not particularly exciting but just another something that has to be done "sometime". Prior to starting this I put some wood filler into the timber alongside the aluminium toe board. Hopefully it will finish up smooth enough for me to use some of the off-cuts of linoleum, from the floor boards and running boards as, I believe, would have been originally done.
3-13-2012
A picture is worth a thousand words or so some people say.
Below is a photograph of the first of todays effort in lining the door pocket, (One of four). In the bottom corner of the photograph you can just see the unfinished wood filler on the rail running along side the battery box lid.
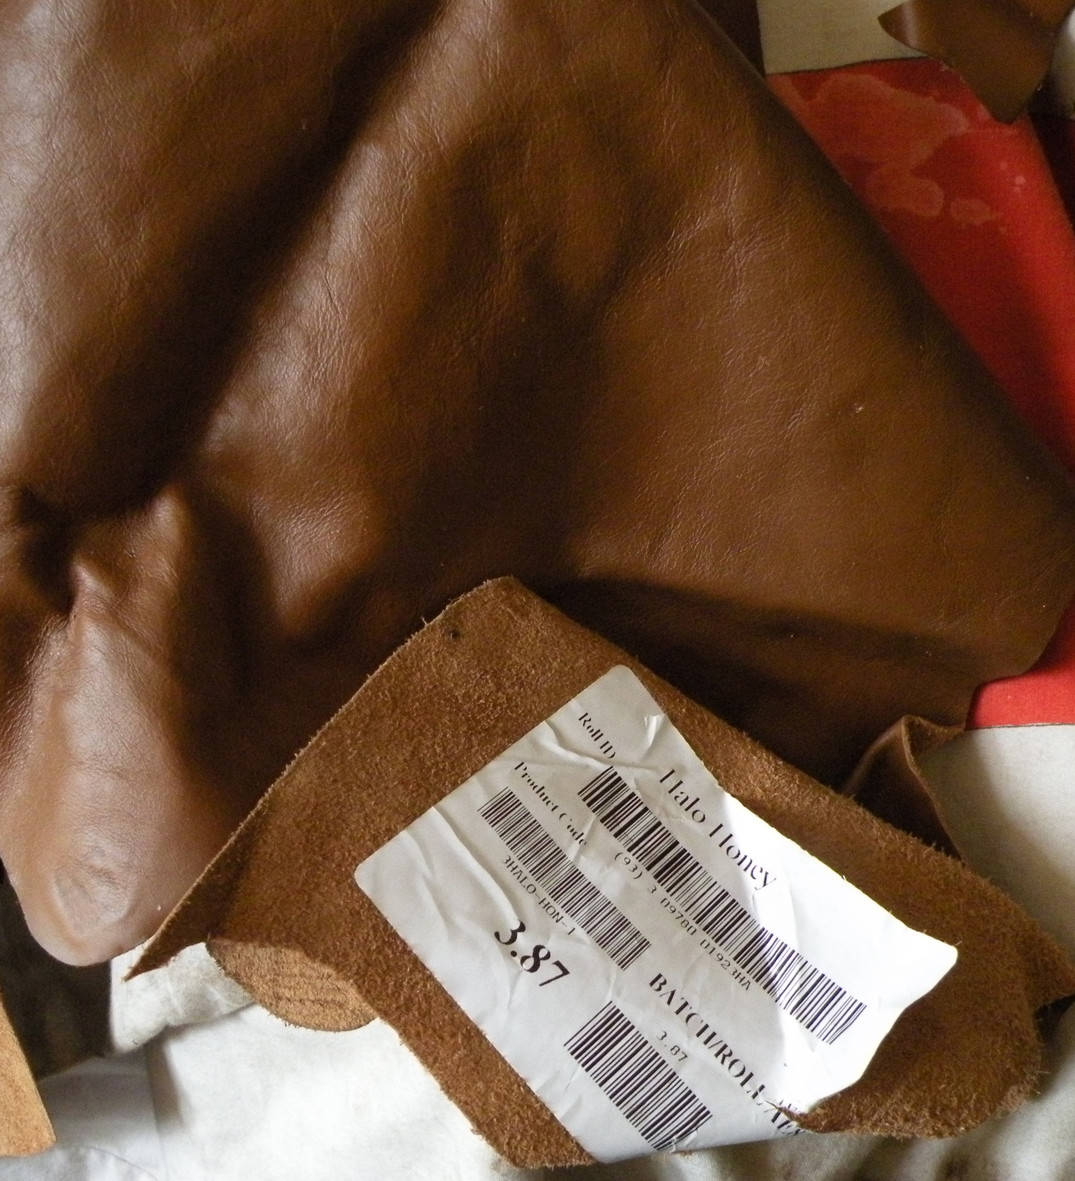
The other photograph of some left over hide from an earlier restoration (a 1927 Morris Cowley called "Buttercup). While not the "Biscuit" I have been talking about it is a really nice mid (London) tan which goes extremely well against the dark brown paint. For those interested you can see the Leather merchants tag which tells us that this colour is called "Halo Honey". Personally I think that, despite the name, it is a much more "Vintage" colour and the one that I will probably use for the Packard. All the (automotive) interior decorators among you (professional or amateur) may care to express an opinion.

bravo!
Posted by CCmyVW on 1/26/20 @ 5:30:36 PM