You must be logged in to rate content!
11 minute(s) of a 548 minute read
1-23-2012
Hi Larry
Interesting road Larry, what other Vintage & Classic car events do they have in Bolivia? It is a long way to ship the Lagonda to just drive up the one road. Did you take any photographs of you in the Corvette while you were there?
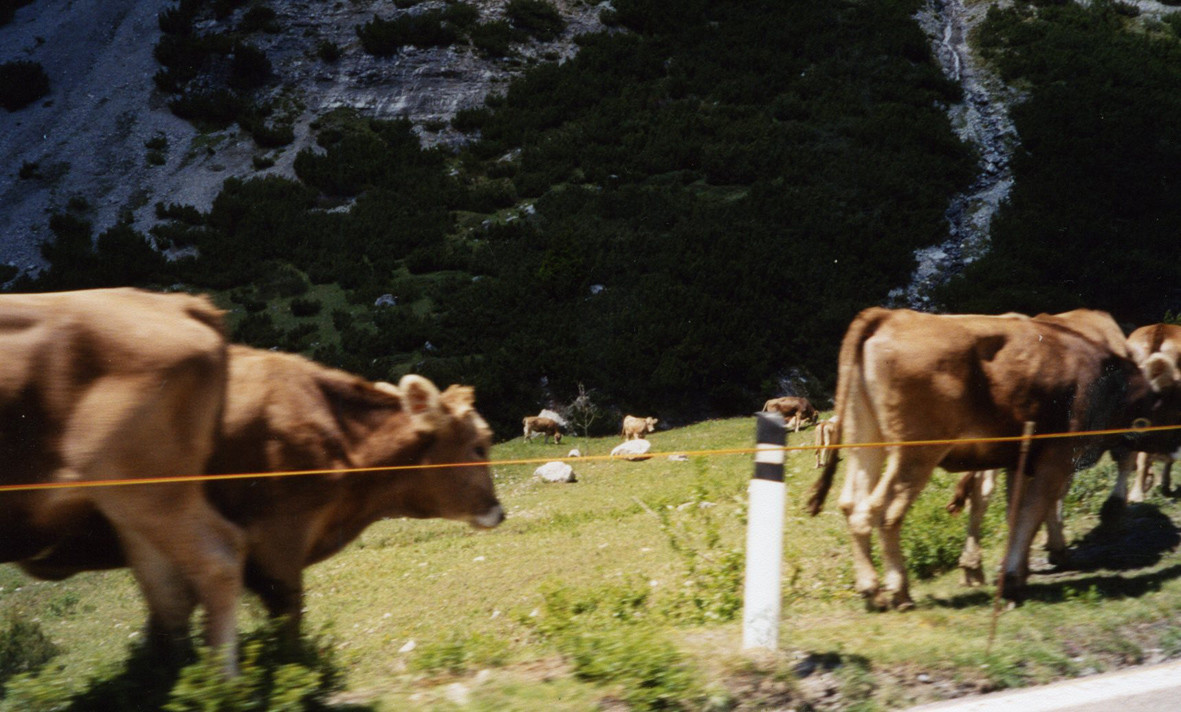
Looking at the recent video of the Gavia Pass they certainly seem to have done some much needed work,although I note that it is still a single lane road with just enough room for the motorcycles to squeeze past oncoming cars, not really enough for a Cadillac. The photo below shows the extent of guard rails when we last drove up it in 2004......
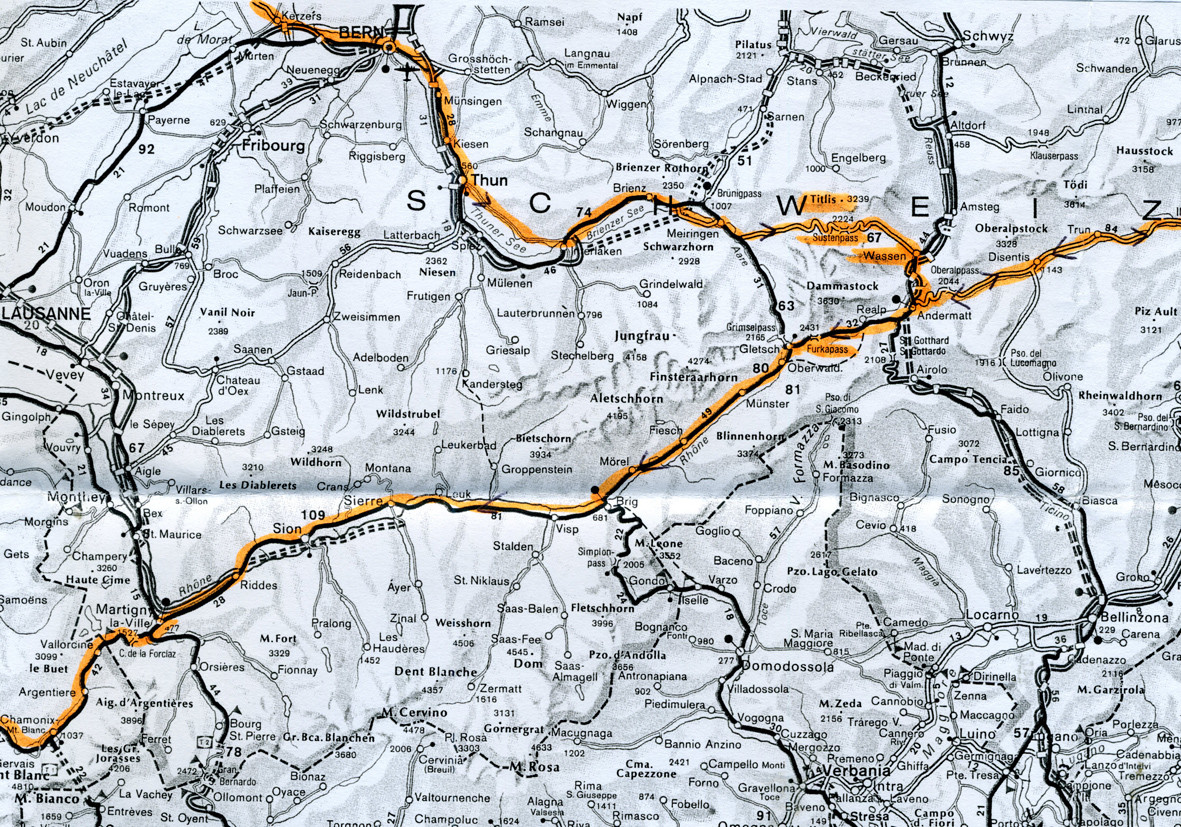
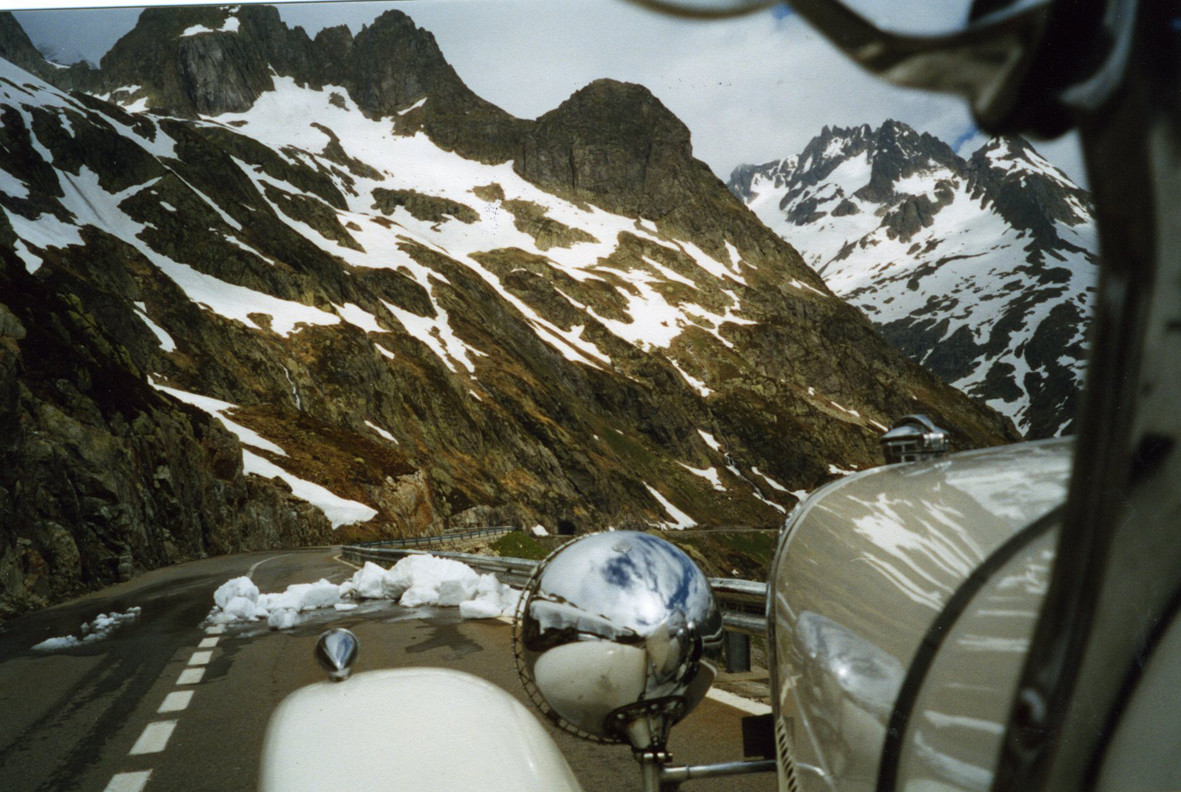
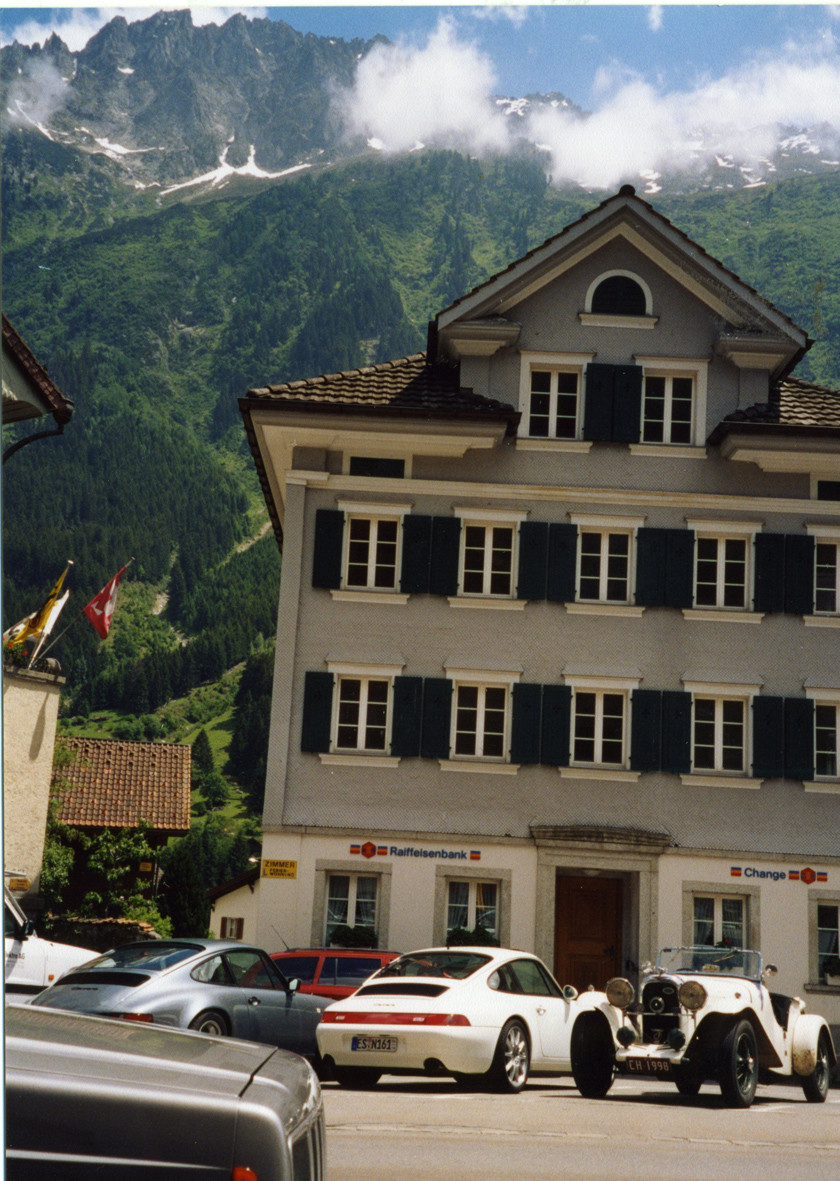
For Roger, is the corner of the map for some of our travels through Switzerland Our route highlighted, and one photo taken on the descent of the Susten Pass (only 2259 Metres) and another taken shortly after during our lunch stop in Wessen with a couple of our "playmates". again taken in 2004. On our last trip in 2009 we concentrated on the Alps in the Savoie (South east France). The Col du Galibier (2556 Metres) etc......... The funny white car in the photographs is our 1934 Lagonda Rapier.
Larry, It is one thing to watch videos from the comfort of your lounge chair, another to ship your car across the world and go out and actually do it.....
Perhaps you would care to come along on our next visit to Europe in 2014. The only proviso is that you bring your pre-WW2 car to drive, all the way, every day. There is no place for "Trailer Queens" on these trips. Usually lasting 3 to 4 months, driving every day. (10 to 15,000 miles total) Sorry! No "sag wagon" or service crew wearing white overalls in a 4wd towing a tandem trailer. Just you, your wife/partner in your car, carrying all your own luggage.
1-24-2012
Hi Everybody
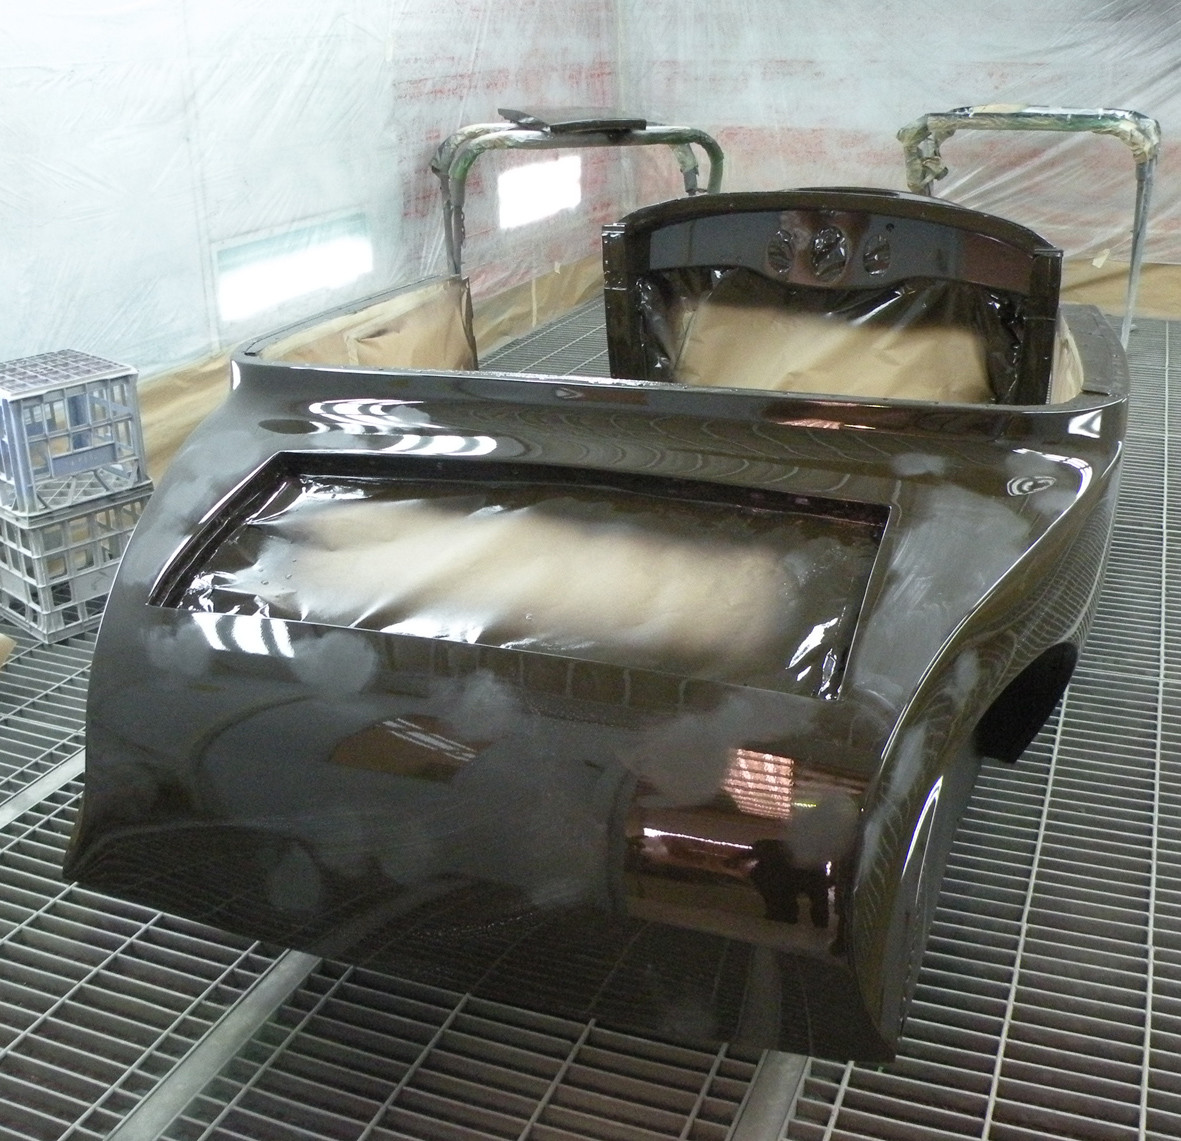
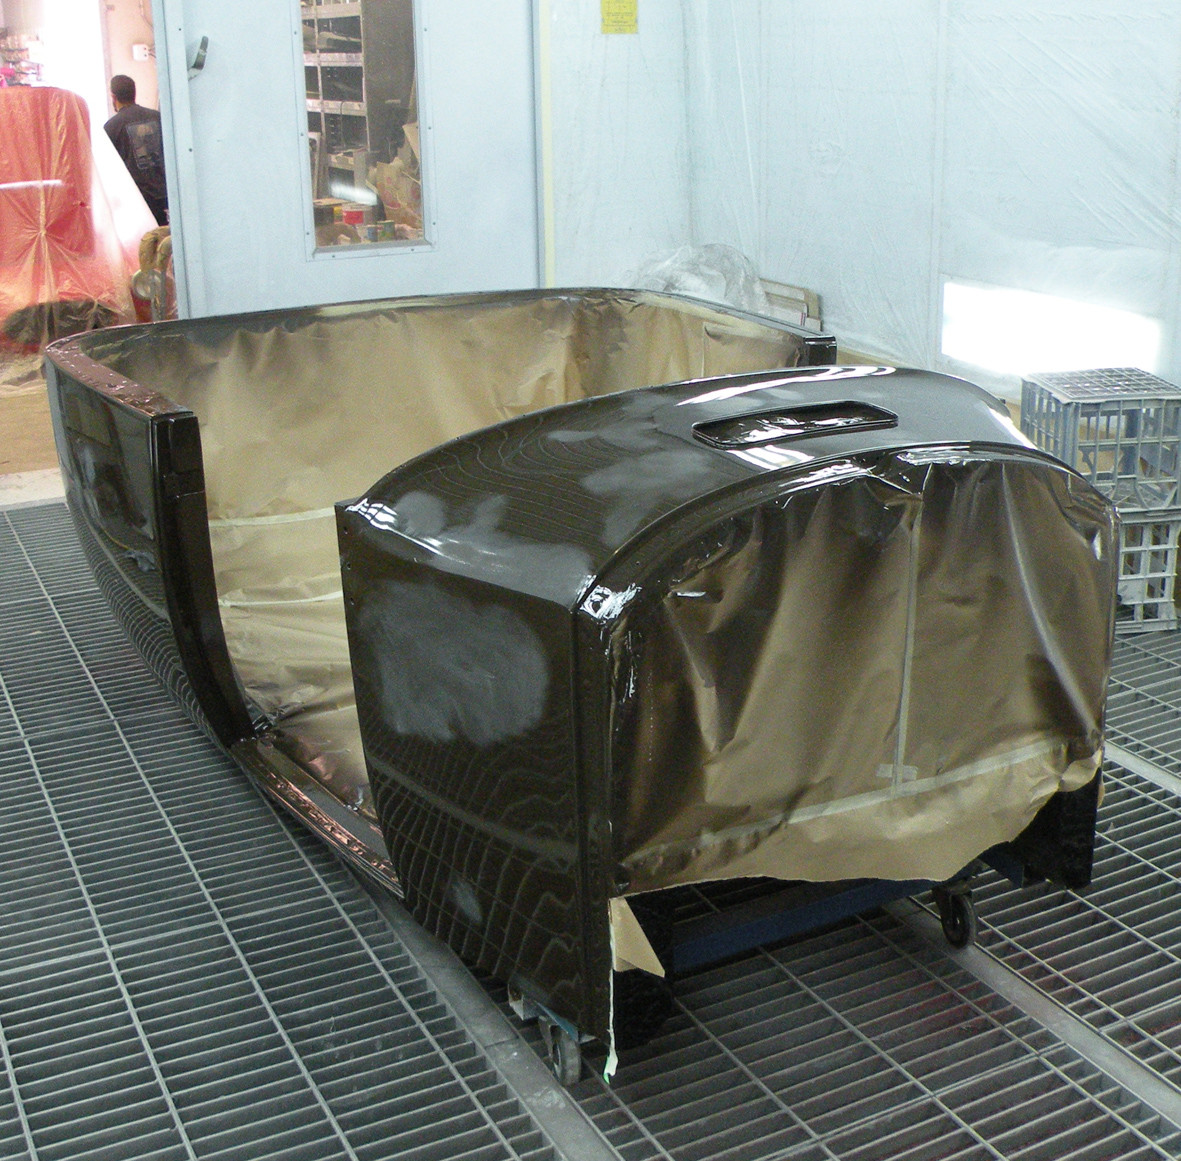
Dave (the Painter) tells me that he will be spraying the Packard before the end of this week and I should be able to start re-assembly some time next week.
STAND BACK....
1-28-2012
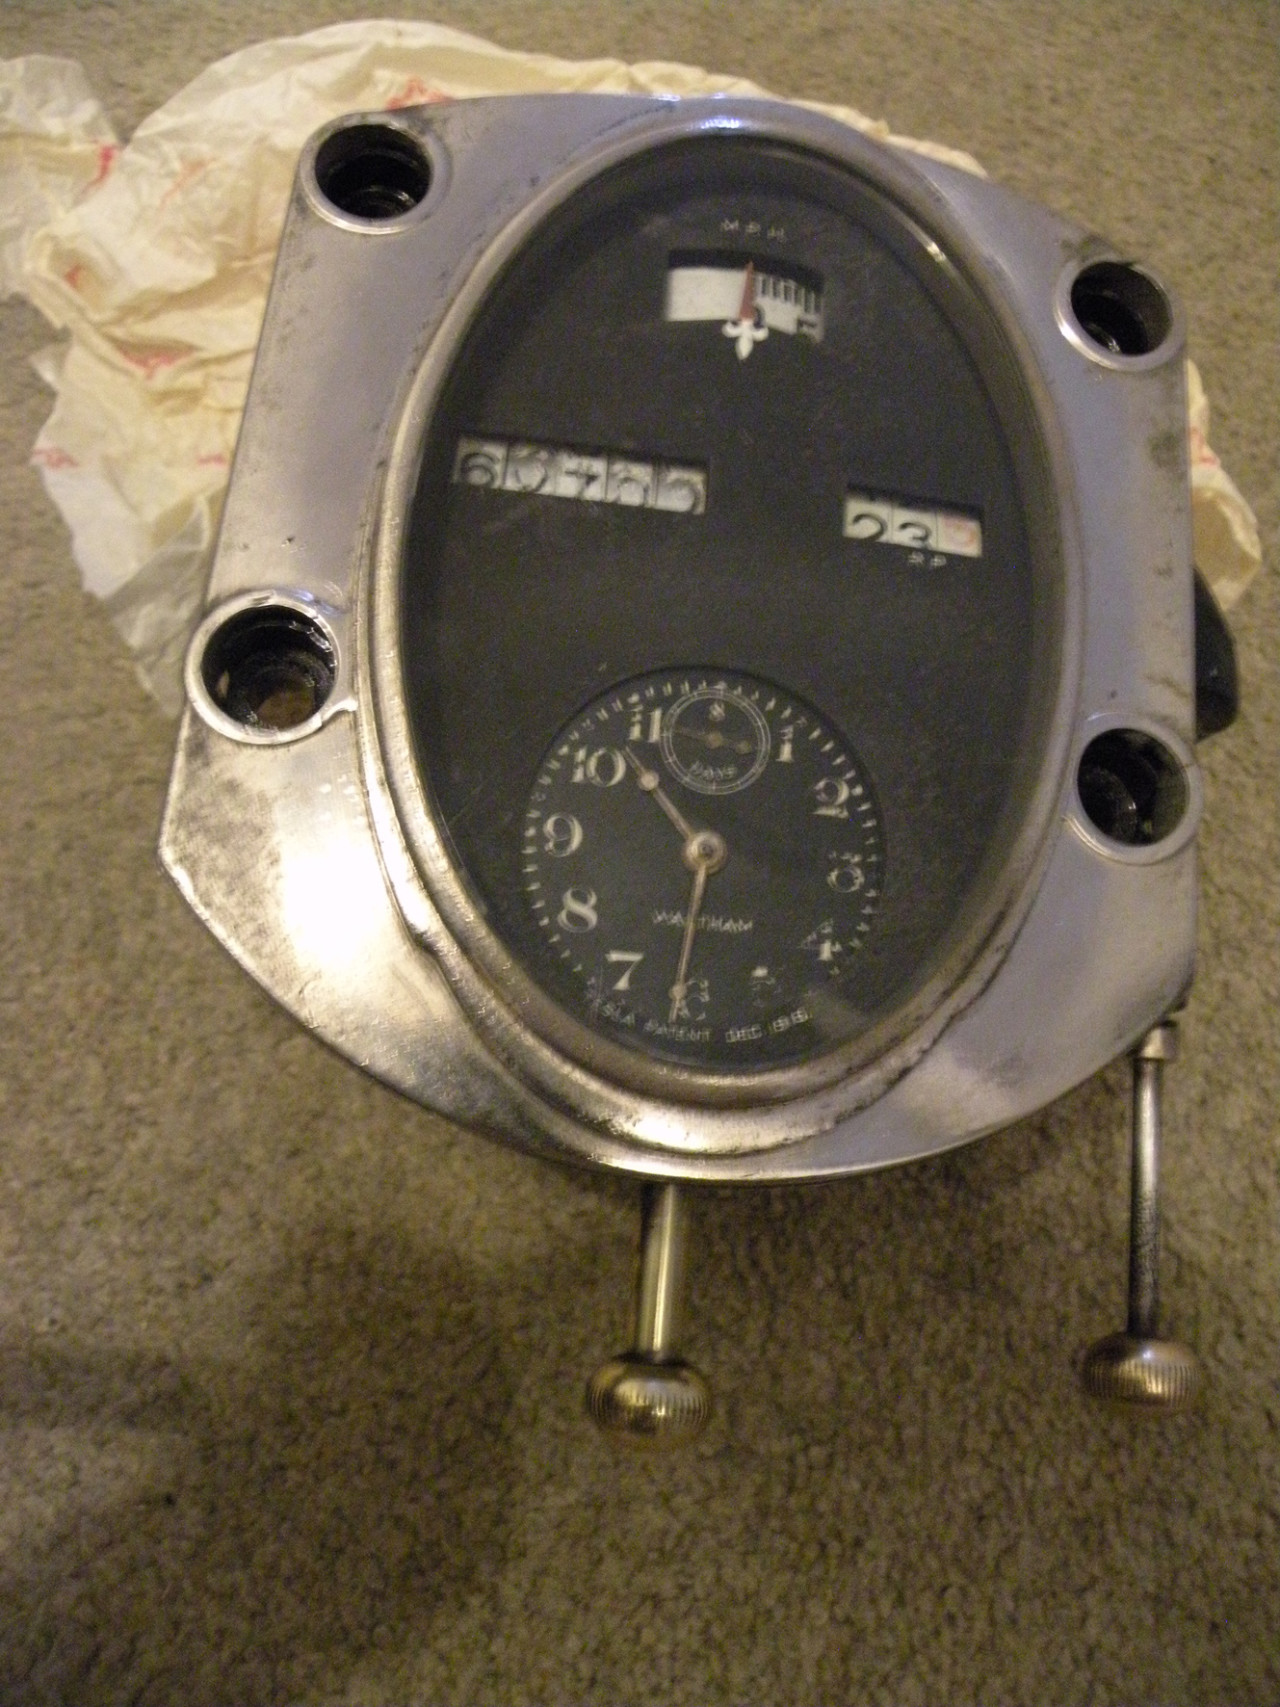
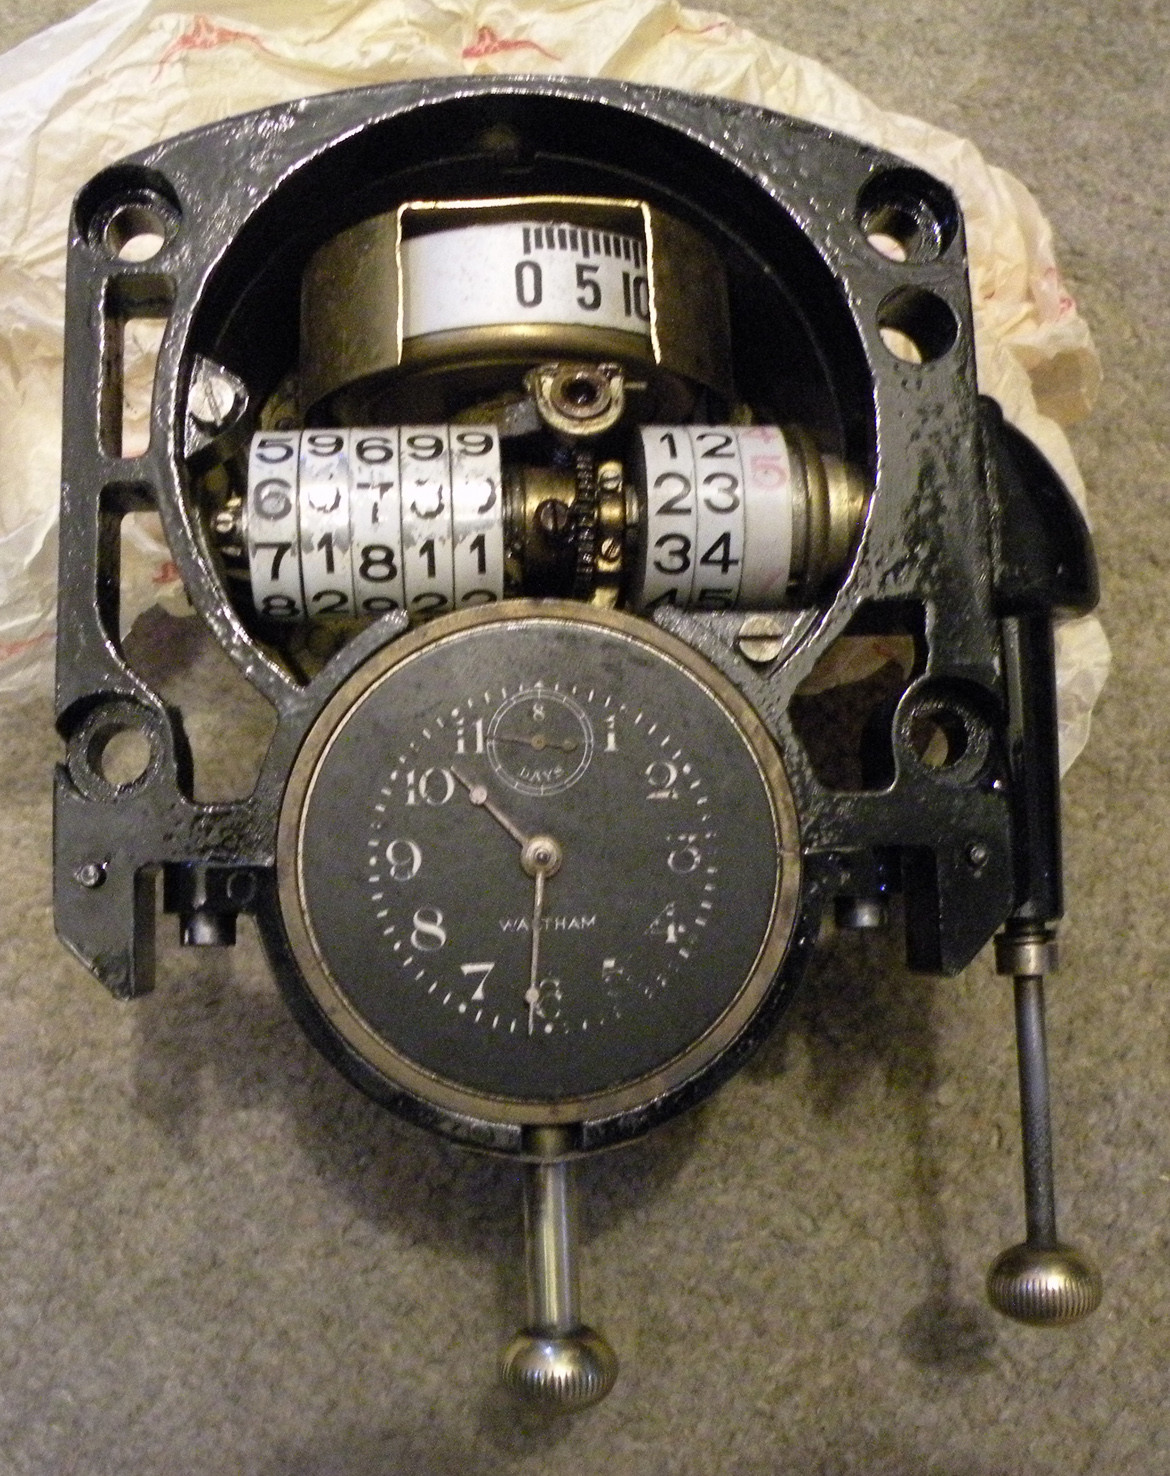
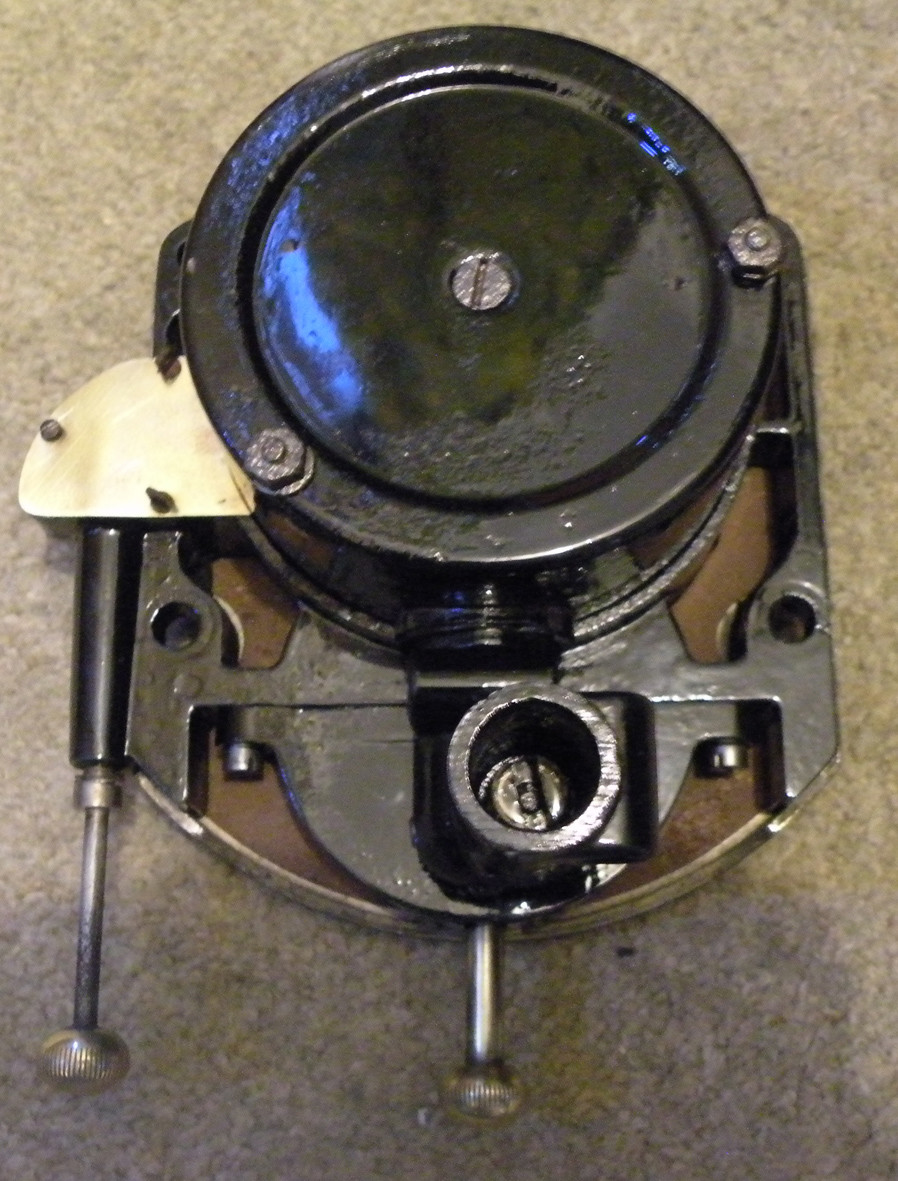
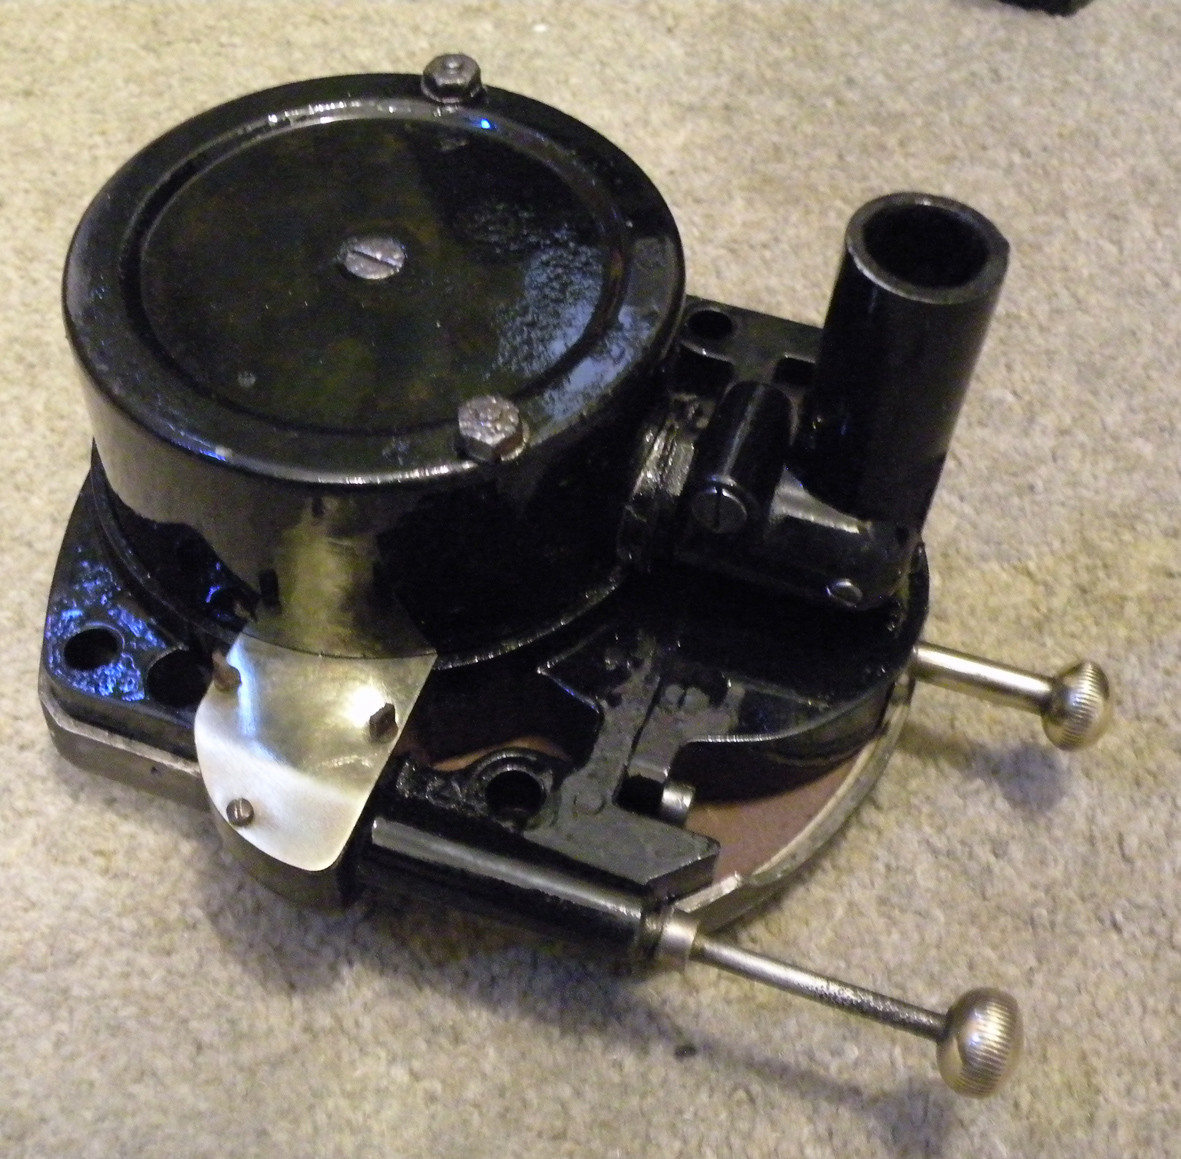
So today it reached 36.5 degrees C. what better day to round up all the bits of the speedo that Ben (C Benson) sent to me all those months ago. Having cleaned up the case and all the bits and painted the parts that would have been originally been painted I decided that today was as good as any to put it all back together again. I have not done anything about re doing the numerals on the odometer as once you start on those things where do you stop. All that aside I like things to look their age. I have yet to see the 90 year old lady with the figure and skin of a twenty year old. In the same way I did not attempt to remove the original bevelled edge glass for fear of breaking it. I have simply hand polished the speedo surround with a not too aggressive metal polish.
1-29-2012
Following my policy of picking one job and following it through to its conclusion and having re assembled the speedo yesterday todays job was the steering box.
I had previously cleaned up the ninety odd years of gunk and could now dismantle it in relatively pristine if not surgically clean conditions.
I should add at this point I have absolutely no higher qualifications except a degree from the School of Hard Knocks. Having said that over the years I have dismantled most forms of steering box found in British cars. Worm & Wheel, Bishop Cam, Rack & Pinion you name it but I had never before worked on a Worm and SPLIT NUT. I had looked at the photocopied Single Six Information book that David McC had very kindly sent to me some time ago.
Now I am sure that dozens of you with vastly more experience in all things Packard, than I, are sitting back saying "So What! Piece of cake" Now that IT is all back together I tend to agree except that it must be said "What a brilliant piece of engineering!"
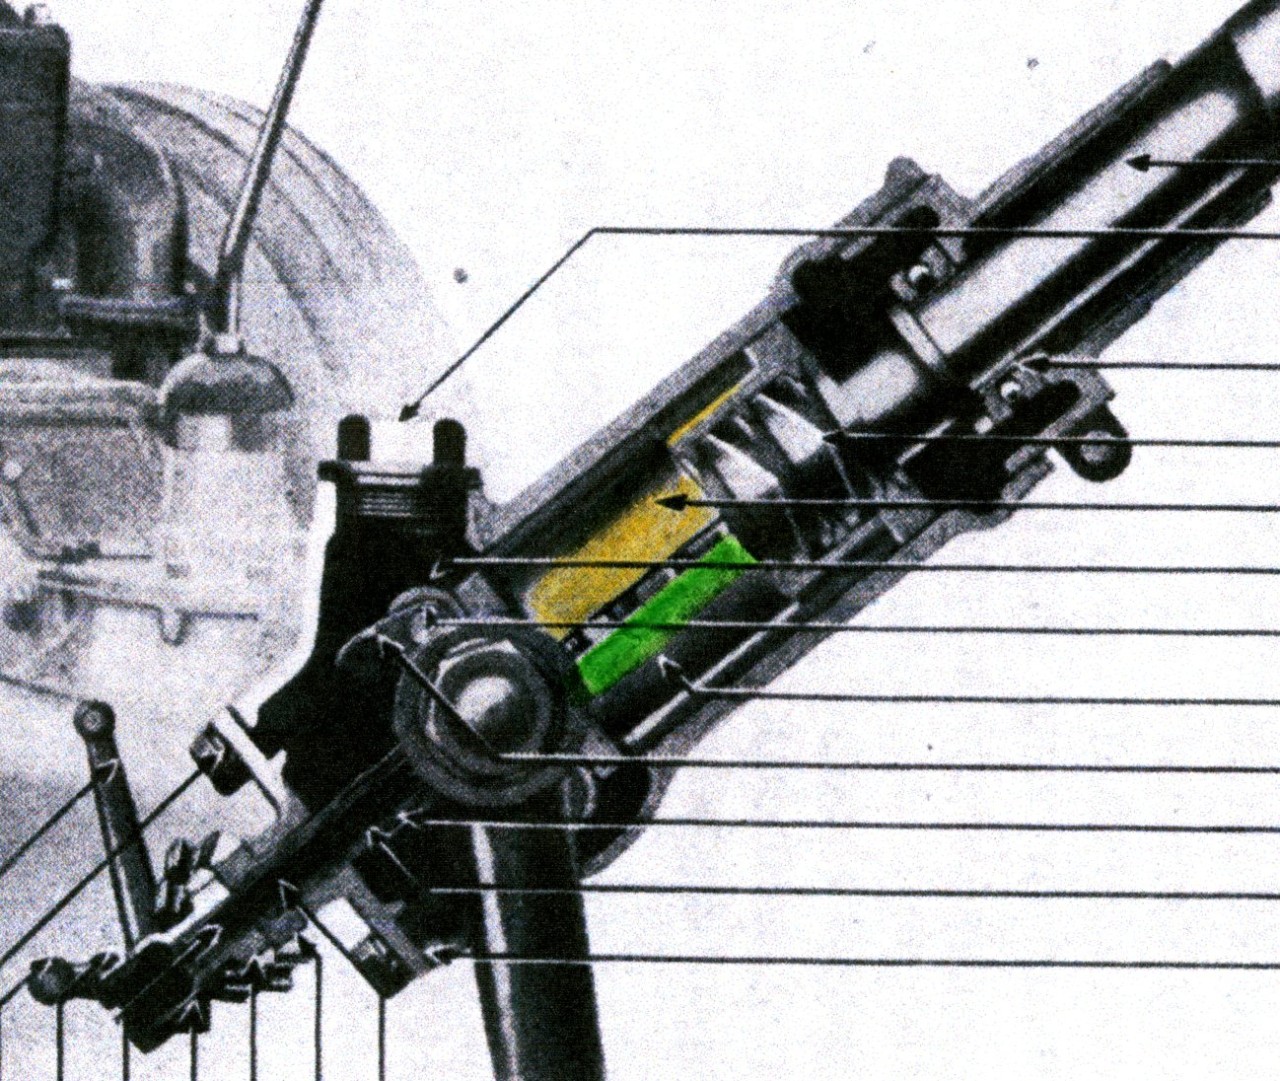
I (being basically ignorant about Packards) don't know when this form of steering box was introduced or for how long it was current. In extreme lay-man's terms it is brilliant in its simplicity. The worm (thread) on the end of the steering column is cut with a right hand thread interposed over a left hand thread. Sliding inside the steering box are the two halves of the "nut", one half has a right hand thread the other half has a left hand thread. (Are you still with me?) As the steering wheel is turned the worm is rotated causing half the nut to travel in one direction (up) and the other half in the opposite direction (down) Turn the steering wheel in the other direction and the travel of the two halves of the nut are reversed (all very simple)
The half of the nut moving downwards bears onto a rocker which in turn causes the cross shaft to rotate. The steering arm is attached to the end of this cross shaft, and working directly on the drag link, which in turn, turns the front wheels in the desired direction.
The precision of this all depends firstly on the accuracy of machining the components and the degree of wear in the box.
The main adjustment controls the degree of end float in the worm (Steering column) Fortunately as with virtually everything that I have looked at there was no perceptible wear and it was a simple matter of cleaning the internals lubricating and re-assembling.
For all the technically minded people out there I am including the drawing out of the March 1922 Information Book. for your convenience I have coloured the two halves of the "nut" in contrasting colours.
Bernie J.
N.B. There is no provision for "power" assistance.
The words of the song say "little things mean a lot...." in our hobby this often translates into a "lot of time". Today I have been working on the control tubes that go down through the centre of the steering column. These are swaged at the bottom end to accommodate the bevel gears that operate the control rods to the Mixture (gas) and Ignition timing (spark). With the Packards long spell sitting in a customs "bond store" on the docks these had fairly successfully rusted together. I had managed to separate them some time ago but had inflicted some extra damage in the process. The result of all this, despite being cleaned of all rust inside and out, they would not go back together, so todays task has been rectifying this. The outer of the three tubes had been slightly crushed. Even after I had "panel beaten" the tube out, heating it to red heat and then carefully driving a piece of 1/2 inch rod down inside the length of the tube. Because of the swage in the other (bottom) end all this had to be done from the top. After doing this the rod would go "all the way" but the control tubes steadfastly baulked about 3/4 of the way down due to a high spot. Having tried everything else including bronze welding a 1/2 inch drill bit onto the end of the rod I am now attempting to grind the hi-spot out with valve grinding paste on the end of the rod. Very slow but I will get there eventually. Once done I can complete assembling controls at the bottom of the steering box. I cannot install this onto the chassis until the body is replaced hopefully in 7 to 10 days time. Slow-slow-quick-quick-slow or something like that.
I am sure that the smart people would have an expanding 1/2'' diam ream with a 4 foot long handle This of course would be less than 1/2 inch in outside diameter so that it could be pushed down the tube.
I understand that this arrangement was changed for the next series cars along with the introduction of the eight cylinder cars. I wonder why?
1-30-2012
It is amazing just how quickly three hours go and on the other hand, how much you can do in the same three hours.
The control tubes are in and working nicely and having some time to spare I decided that the steering box and column were looking decidedly second hand.
I had painted them previously when I first cleaned up the exterior of the box so that they would not go rusty while waiting for me to give them some TLC.
Having sanded down the steering box and stripped all the paint off the column. The box now has a new coat of shinny black. The dash is to be the body colour, a very dark brown. The hand brake, gear lever, brake and clutch pedals are nickel plated. Steering wheel spokes and small hand controls are polished aluminium, all as original. The question is do I take the outer tube of the column and have it nickel plated or paint it black.
1-31-2012
Thank you Ian
Today I took a step backwards. Having painted the steering column yesterday and had it looking almost perfect when I went to take it down from where it was hanging from a nail in a beam in the garage roof, of course I bumped it! With a resulting scratch about four inches long. No Problem I thought I will just give that area a light sand and touch it up. Oh dear! Wrong, the bl**dy paint has "fried up". Now I have the choice of waiting a week and giving it another light sand AFTER it has dried properly or strip the whole lot off and start again. I think I will sleep on that one.
2-3-2012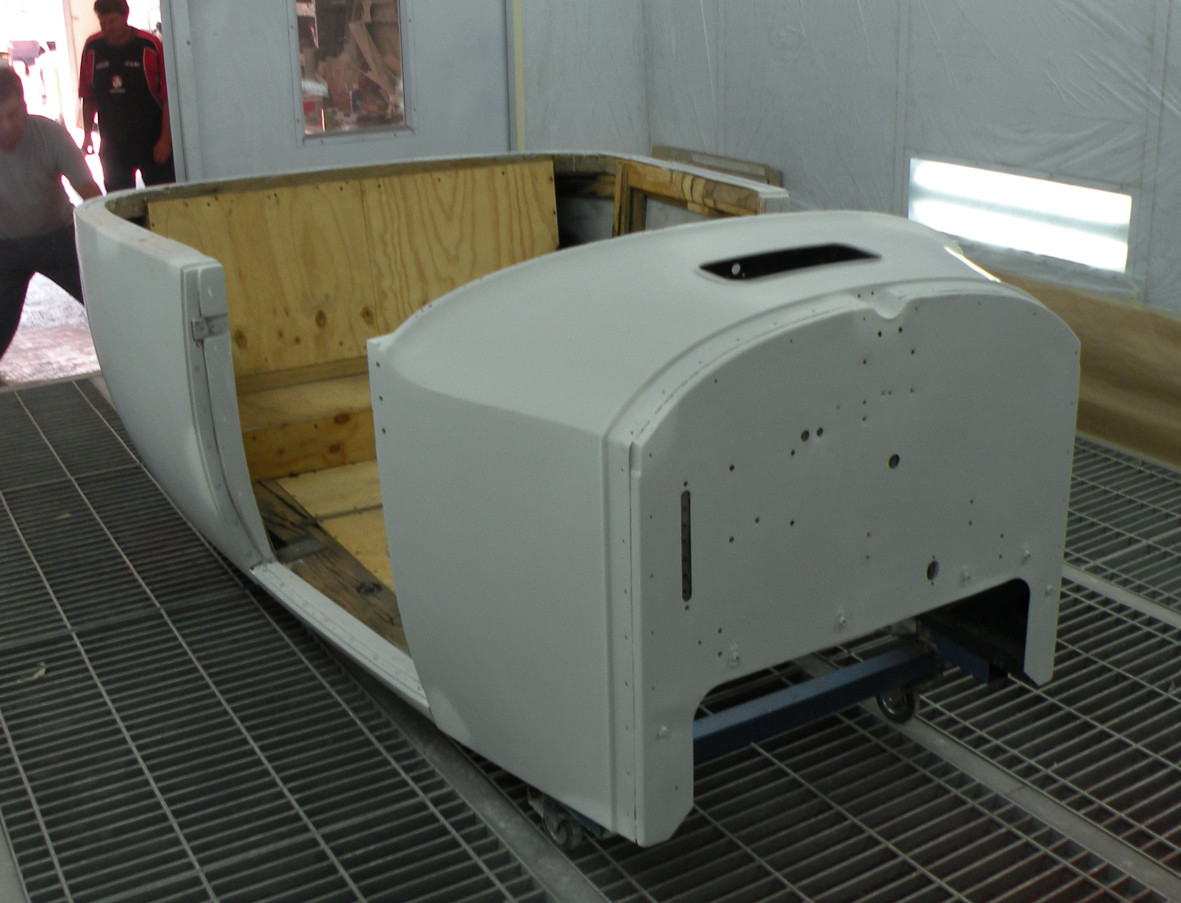
2-4-2012
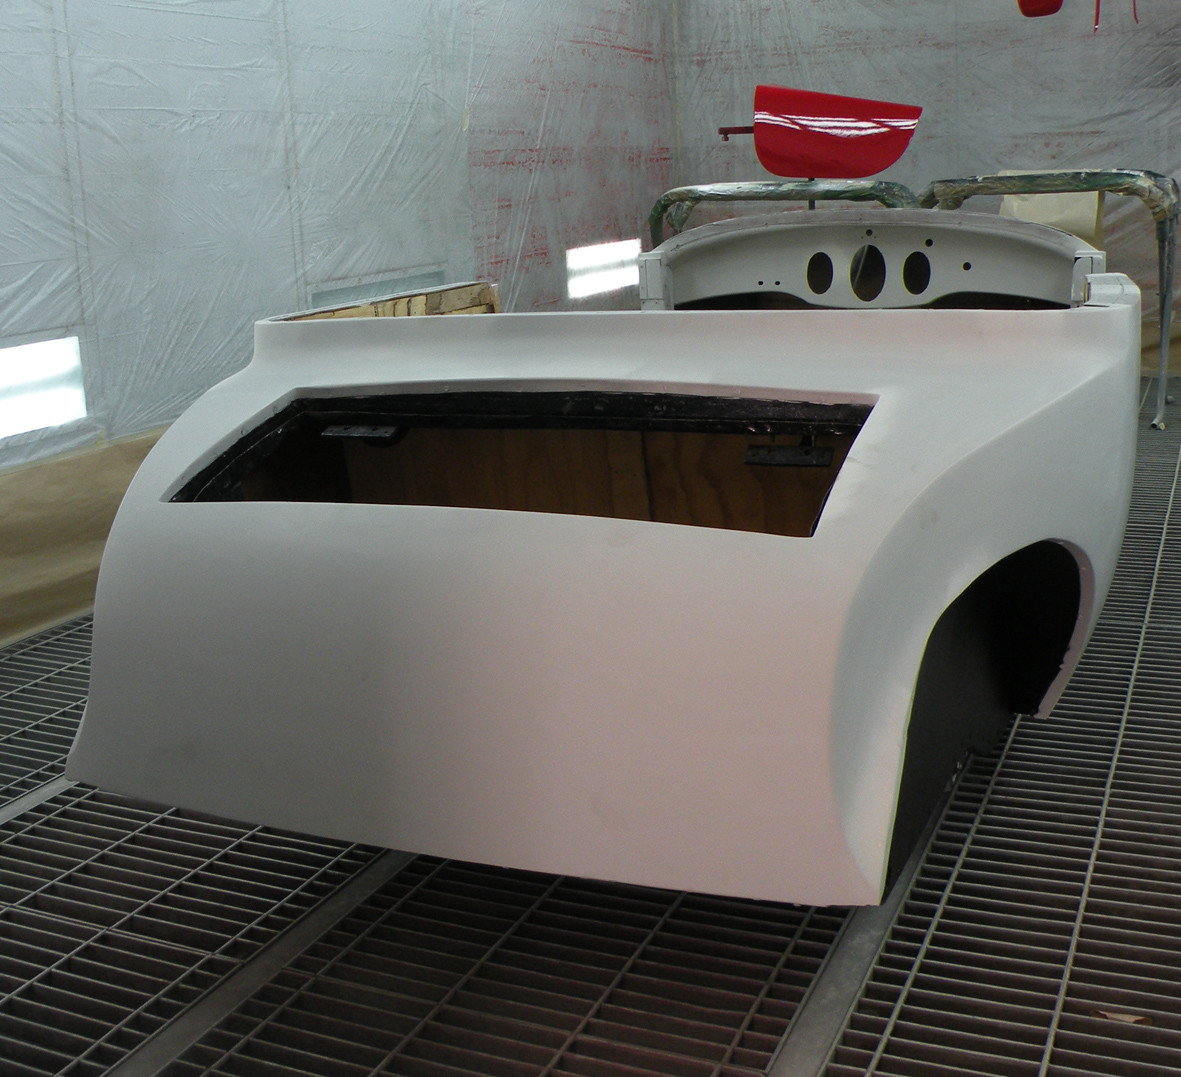
What better job for a Sunday morning? The perfectionists out there will be pleased to learn that this morning I have stripped that pesky steering column back to bare metal and have started over again. Meanwhile the body will have received its new coat of dark chocolate brown and will be sitting in the booth gently baking. It should be ready for its journey back to East Doncaster and be ready to be refitted back onto the chassis frame. Anybody feeling strong? It has to be lifted (carefully) purely by man power.
2-5-2012
Hi 'B'
I will meet you at the station at about quarter to nine! Chatanooga Choo Choo.
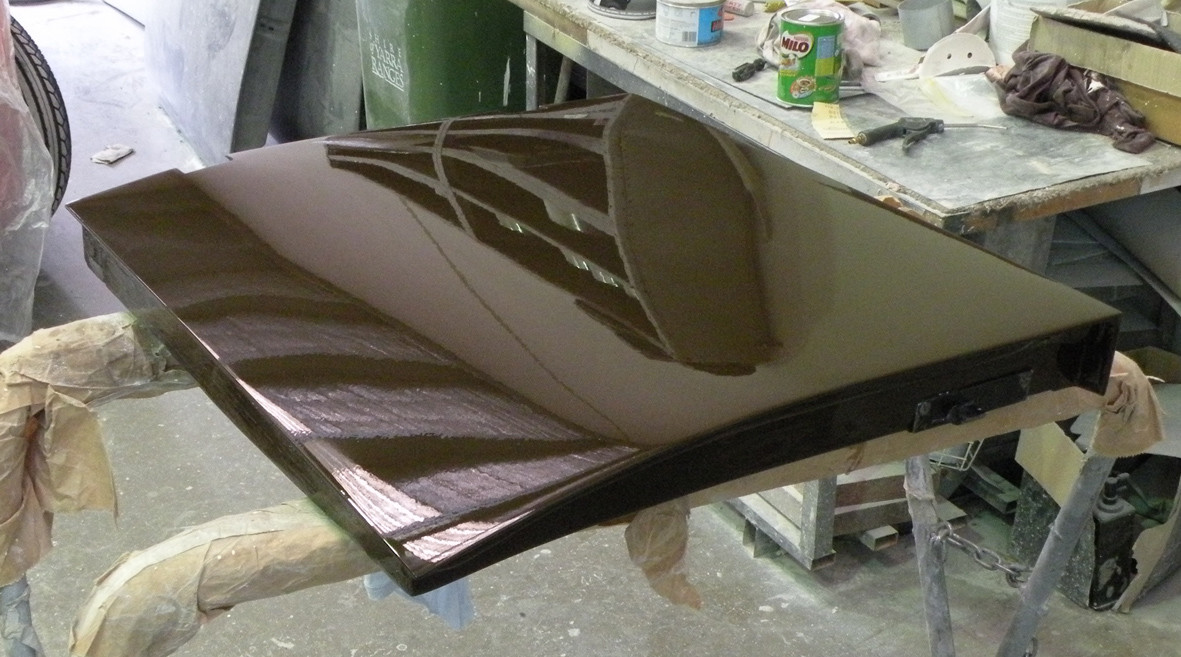
On a more serious note I have just returned from Dave's workshop with the two doors the luggage trunk lid and the cowl vent. The body tub comes on a tilt tray tomorrow. meanwhile some more photographs. Sorry about the traces of polish and the reflections. You can check for ripples in the one of the door on a stand.

bravo!
Posted by CCmyVW on 1/26/20 @ 5:30:36 PM