You must be logged in to rate content!
9 minute(s) of a 548 minute read
10-3-2011
Hi y'all
At last the tied seems to be turning and I am starting to put things back together. While I am unable, due to space constraints, to mount the front springs and axle back onto the chassis I have assembled the steering arms and front stub axles back onto the axle beam and replaced the U'bolts holding the springs to the axle. Next step was to washout and repack the front wheel bearings and lock up their retaining nuts and lock plates.
As my good friend "Ben" has mentioned these do not require a great deal of tightening and I could use my version of Ben"s favourite tool (a monkey wrench) that would open sufficiently to fit onto the 2" a/f nuts. With typical Packard thoroughness the left hand thread nuts are clearly marked "L".
Attached are some photographs that I hope are sufficiently clear to show the simple locking plate arrangement.
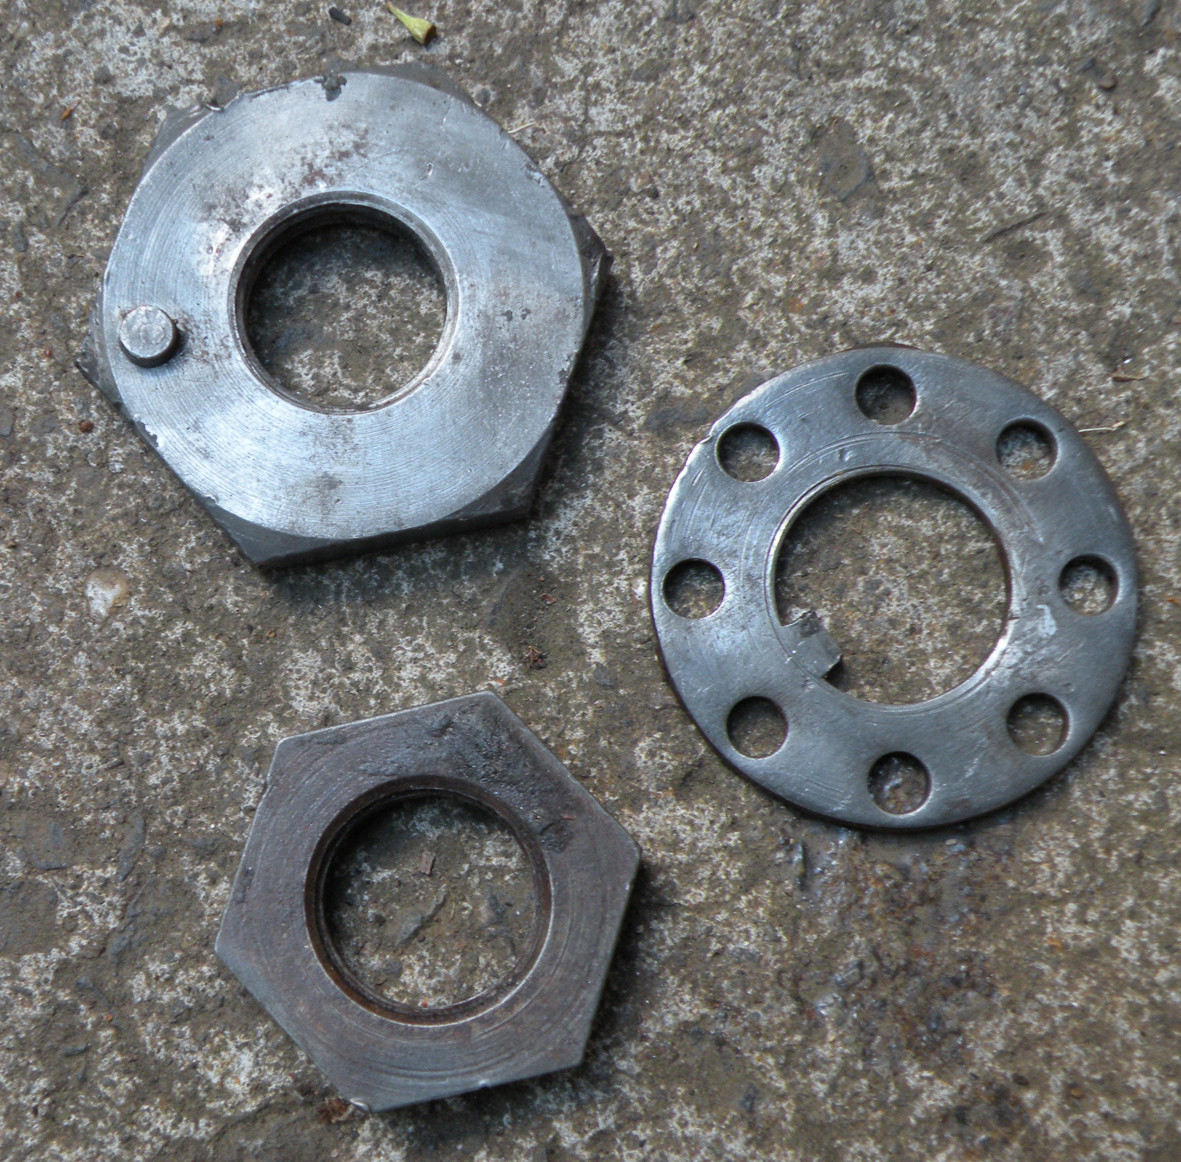
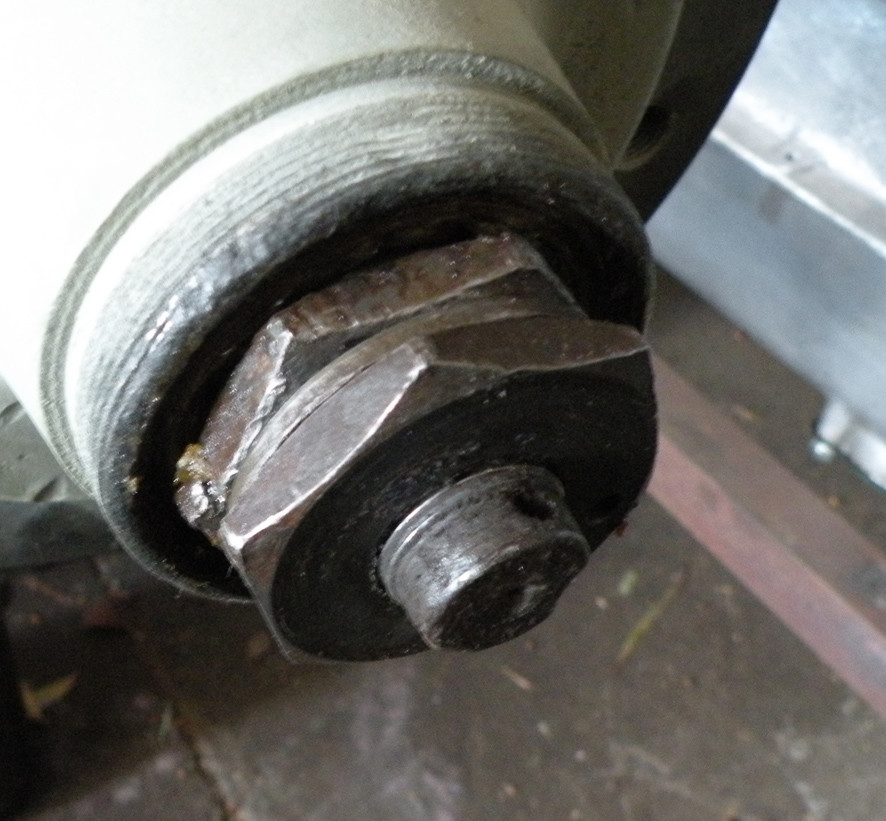
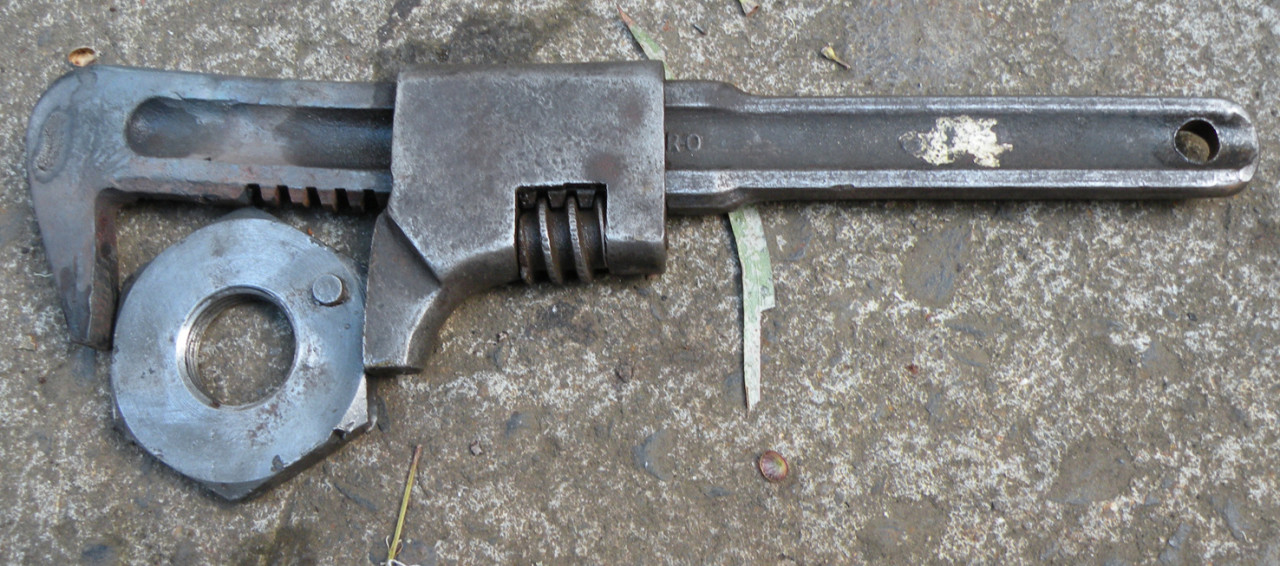
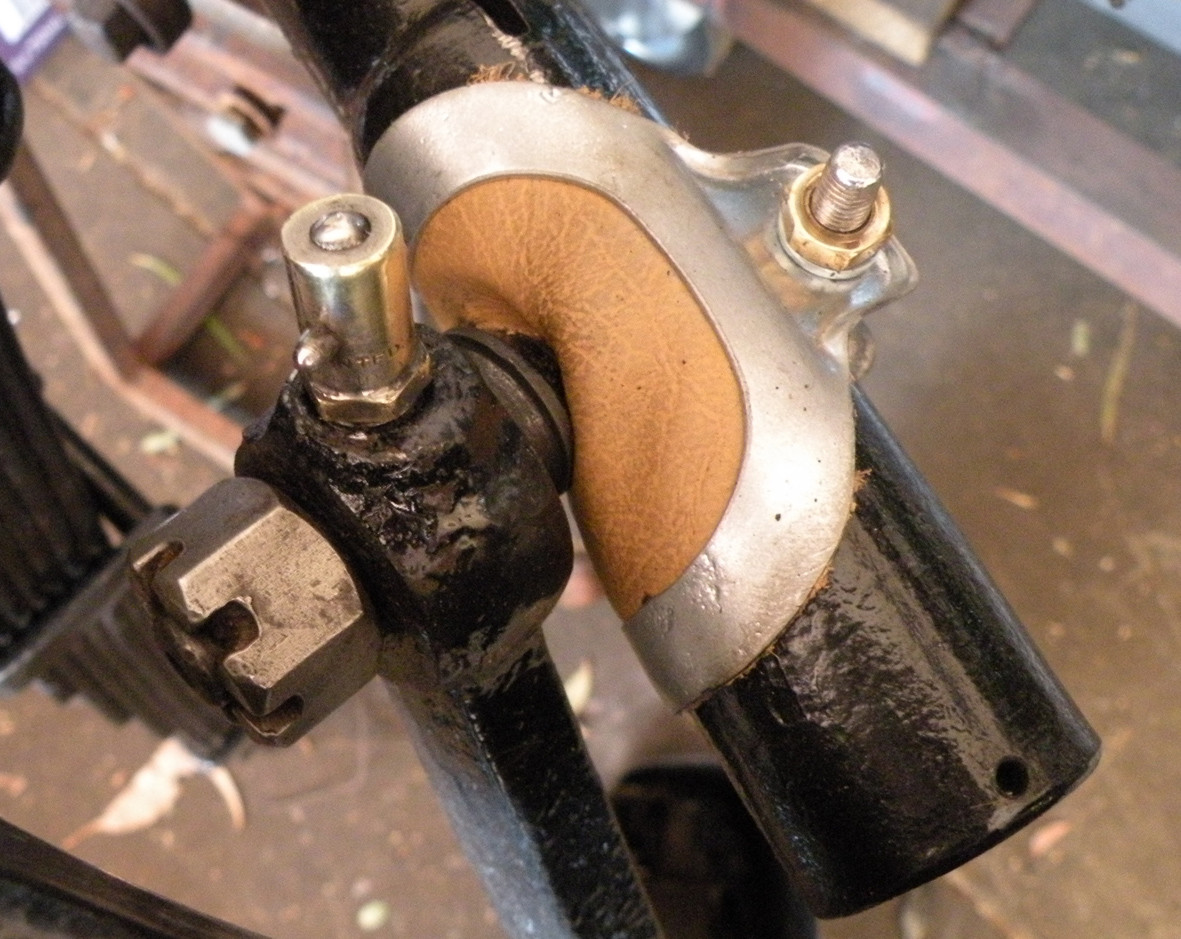
One more photograph of the front end showing the drag link end with its new leather grease retaining boot. and one of David's Alemite grease "connectors". The clip for the leather boot is the original.
Hello Ben et al
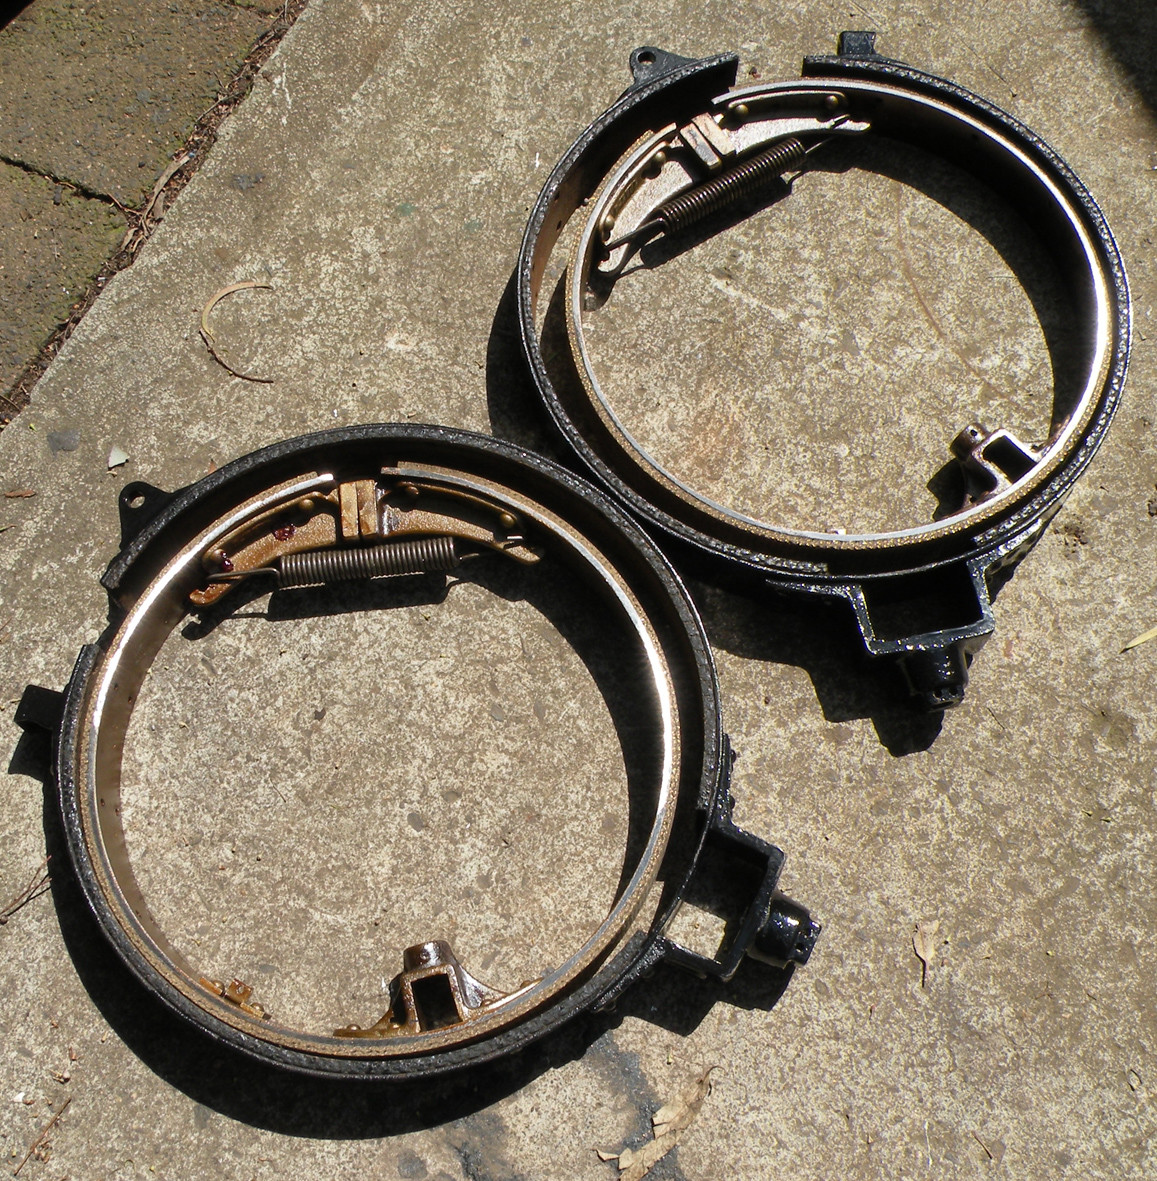
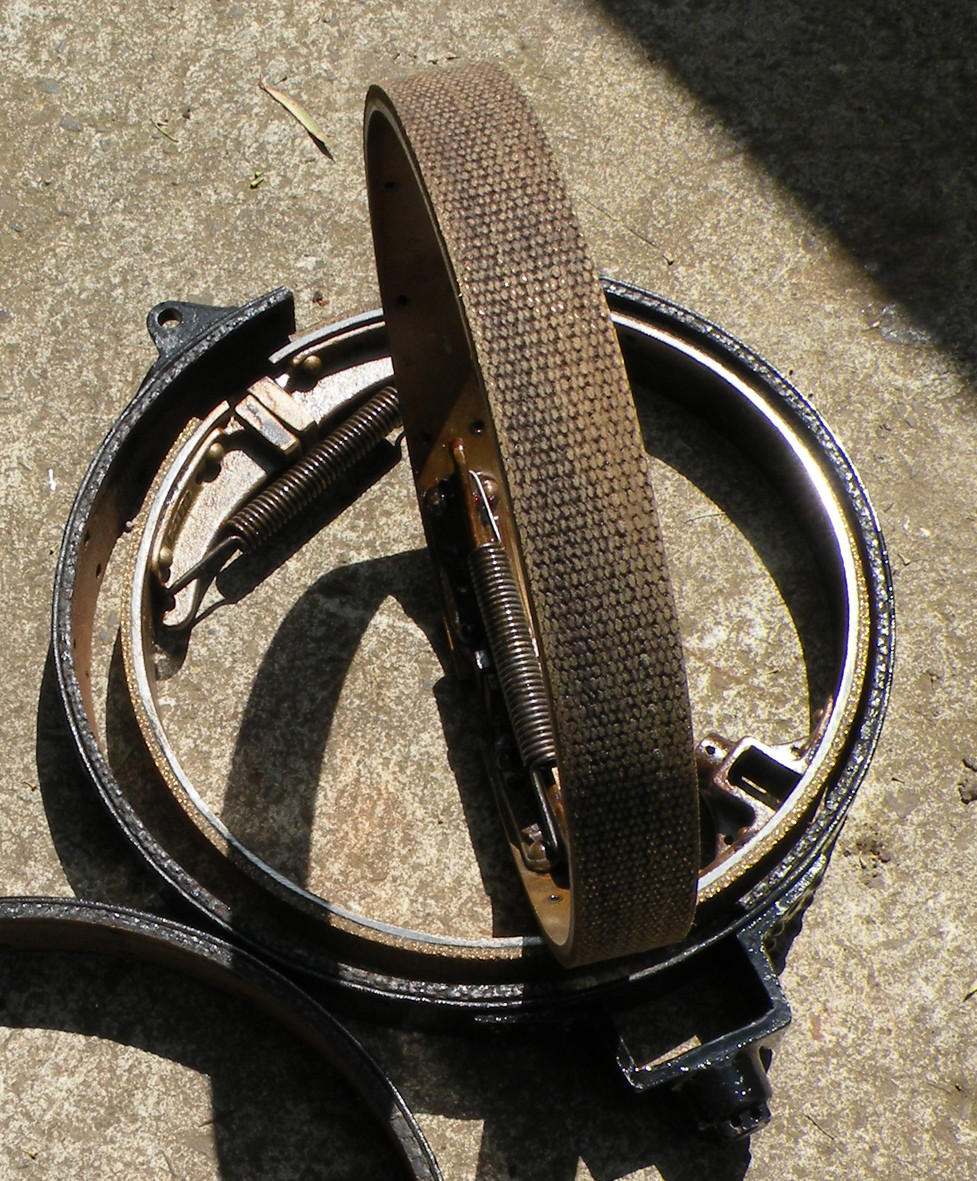
You are 100% correct Ben this in effect gives a vernier adjustment of 16:1. If you cannot get the adjustment within this range it is time to give up. Meanwhile at last I can say that there is nothing more to take apart from here on it should be all re-assembly. I have just this morning collected the relined hand brake bands. I decided to leave the existing lining material on the foot brake bands as they were almost totally unworn woven lining material. With what it has cost to have the handbrake bands done I am sure that this was the right decision...
If it turns out that they have to be relined, it is not a big drama to remove the external bands.
10-4-2011
Today I am into the rear axle further dismantling and cleaning mode. This has unearthed the fact that one rear wheel bearing had been loose on the axle halfshaft and will need to be replaced. This is potentially expensive however to offset this I have discovered that all the oil seals in the rear axle including the pinion seal are the felt ring variety and should represent a considerable saving over the leather lip seal type. So I loose on one and win on the others. Peter, my contact at "Blast-off", tells me that I should have the rear axle housing back ready to paint tomorrow. Once it is re-assembled I can start to seriously think about putting a rolling chassis together and back on its wheels. I still have one rear spring to dismantle, clean and paint but I have been putting it off as all the wire brushing has been not doing my right arm muscles a lot of good.
I really must be getting old!
10-6-2011
Hello
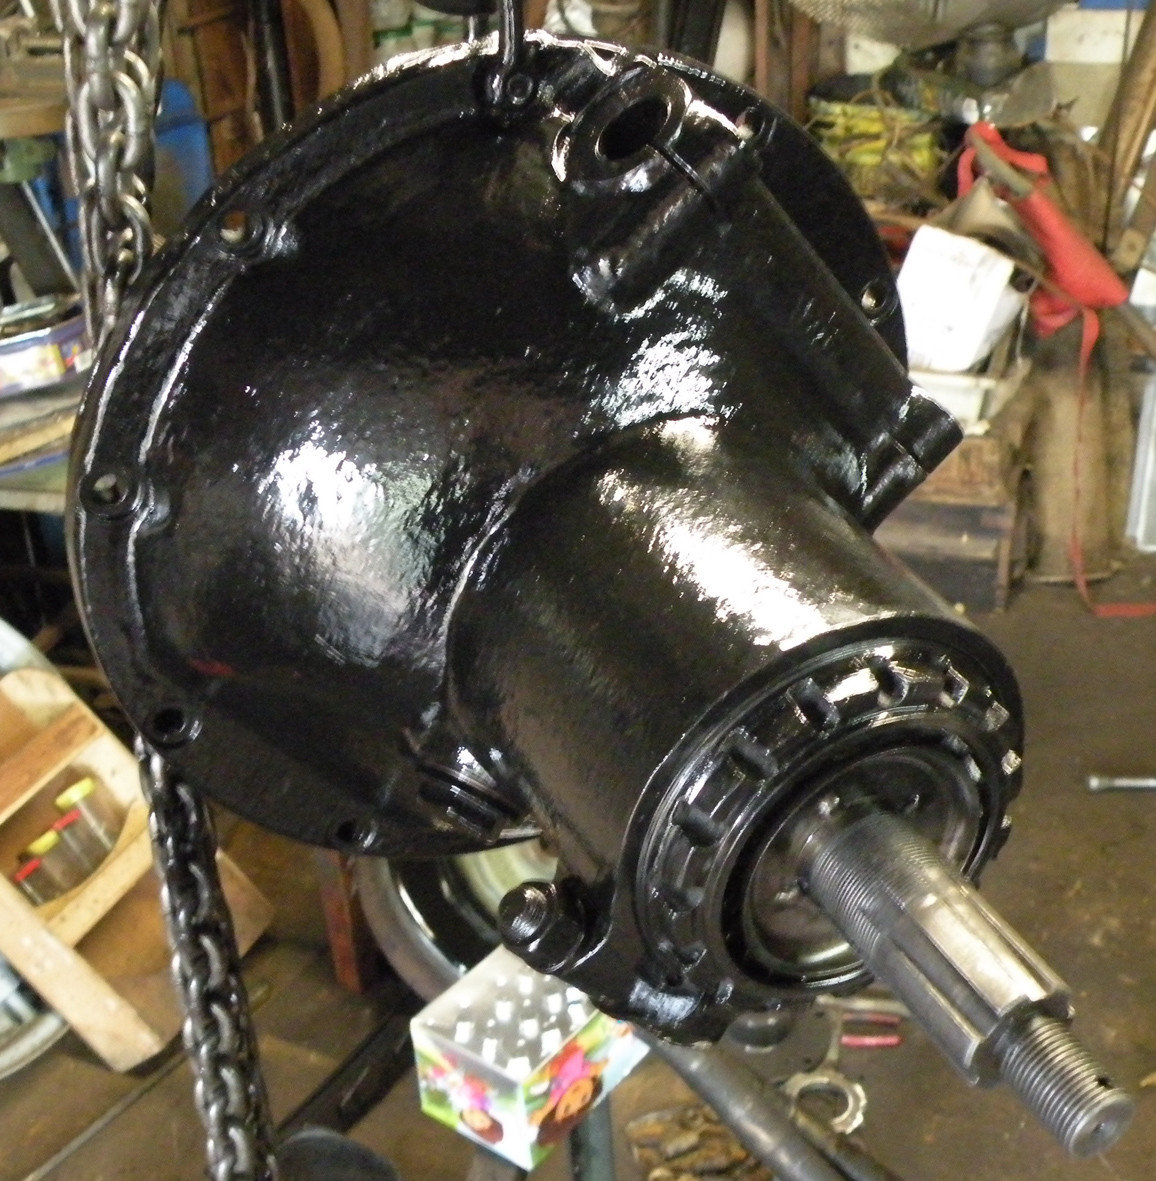
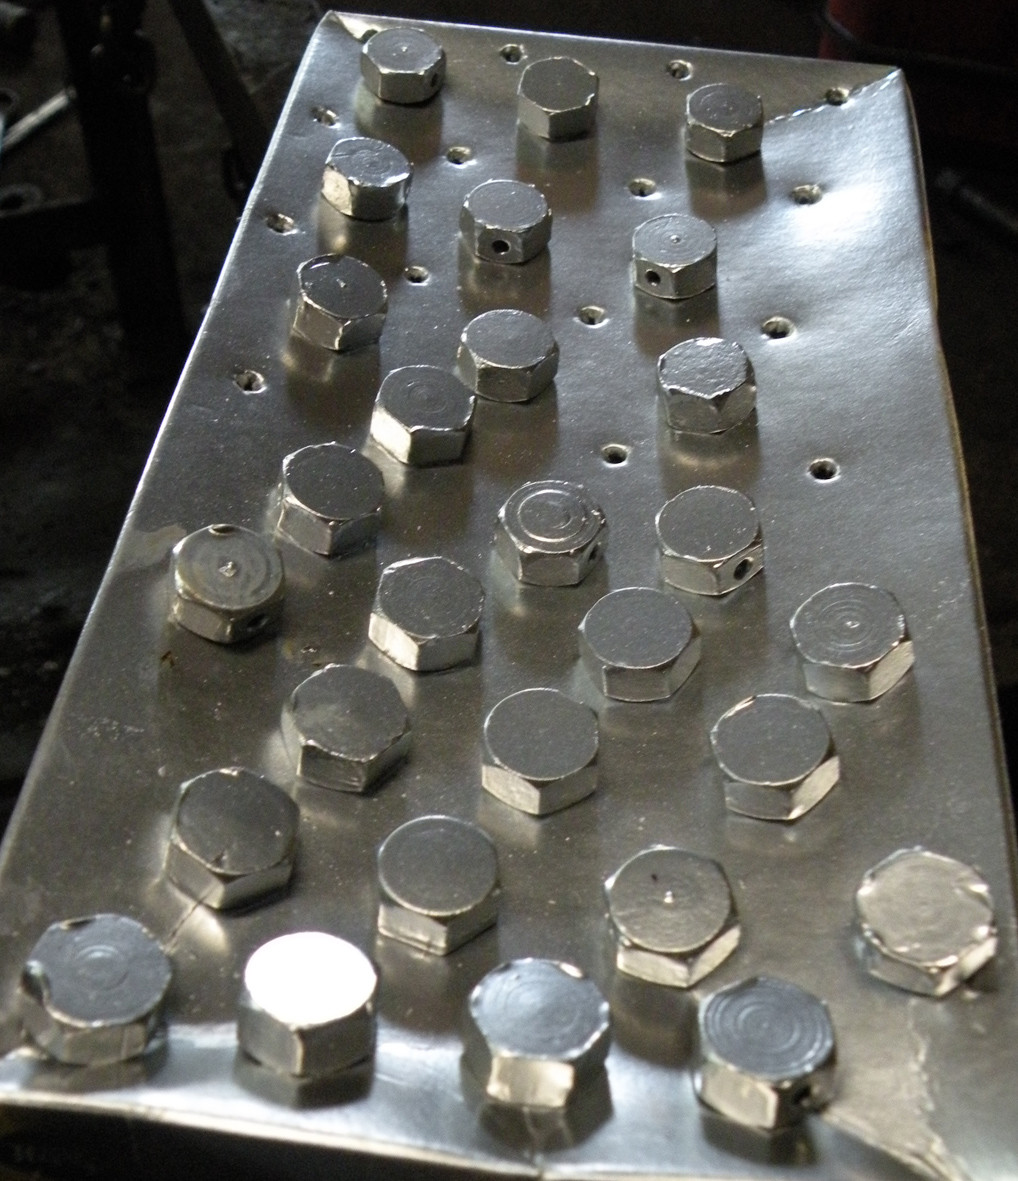
Slowly ever so slowly I am approaching the stage where things can be put back together again. with the bearings and felt seals under control all I need to do now is to buy a sheet of gasket cork to cut the gaskets for the diff centre and the rear cover. Last job yesterday was to paint the diff centre and hang it up to dry. For this one a length of welding wire was just not going to do the job. While in the mood I also painted the heads of the securing bolts. I have had this can of spray silver paint for years so I don't use it a lot and then only for small jobs. The finished job looks very like cold galvanising and is quite durable. If they look too "in ya face" when in place I can always paint them black.
10-8-2011
Progress in a number of directions today. Son Steve came to lend some expertise in putting the various sections of the windscreen frame together. Unfortunately we ran out of time so he has taken all the various pieces of brass extrusion home to complete silver soldering them. Having come to a halt in that direction I completed cutting down the felt seals to fit the rear wheel bearing retaining housings. A little job but none the less one that had to be done and one that is now crossed off the list. Unfortunately my friends at Blast-off failed to return the diff housing on Friday so the rear axle assembly is still on the "to do" list. Next week!
With all the wheel bolts (lugs) and rings still at the platers it will be a couple of more weeks before I can put the chassis back on its wheels anyway....
10-10-2011
Hello Again
Sorry about that, I have been extremely busy in a number of directions over the past two or three days although I have managed to do some more work on the windscreen frame and have cleaned, re-assembled and painted the last of the springs. I am still waiting for the rear axle housing to return from the sand blaster, once this is back I can start in ernest on re-erecting the chassis. Hopefully by the end of this week.
10-11-2011
Packard32 is held up by the rain and lots of people have taken time-out to visit Hershey. I just get sick of being held up by un-reliable out-workers. Just how long does it take to sand -blast a rear axle housing??????
Meanwhile I bought a new piano-hinge for the top of the windscreen and filled in the afternoon yesterday drilling 3/32 holes and taping them out to 1/8 unc. I have 20 more to do this morning. At least once they are done I will not have to do them again. Then I can start shortening 40 1/8 X 1/2 inch long c/s metal thread screws.
Hey! this is meant to be fun???
10-12-2011
Its back. The rear axle housing has just been delivered. It is now 6.15pm so no more work to-day. First job in the morning will be to thoroughly clean every last grain of sand out of the interior!
I remember being on a rally some years ago when a newly restored Vauxhall 30/98 started making very expensive noises from the rear end. It turned out that the "professional" restorer had sand blasted the entire rear axle assembly without dismantling anything. Gave it a beautiful coat of paint and said "It is all a top job".
"Just sign the cheque (for many thousands of dollars) and you can drive it away."
Problem was that despite the rear axle assembly being all "buttoned up" about half a cup of sand had creeped in and after a very few short miles had ruined bearings, crown wheel and pinion, everything.
I think that I will continue to do things the hard way....
Hi Ben
It is always good to hear from you. I am not sure if my e-mail to you went or not so I will repeat it here.
I am sure that you will probably have heard this before but it is worth telling again.
To "assume" is to make an ASS of U & ME.
Cheers
Bernie J.
Crankshaft Rebuilders who do all my engine machining always state on their invoice
It is the customers responsibility to clean everything before assembly. They don't mean that you have to polish the hood before you shut it!
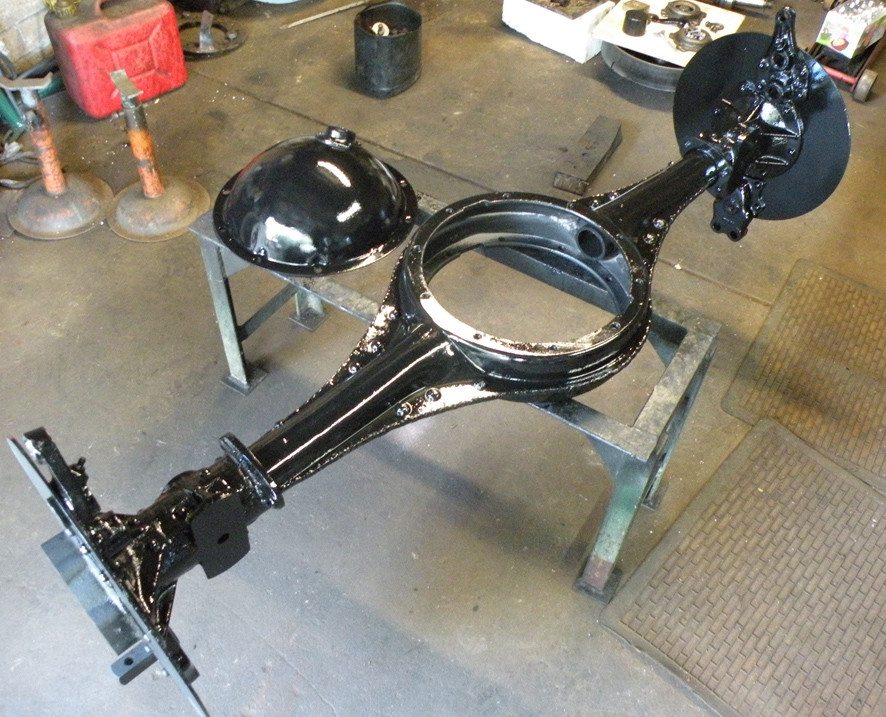
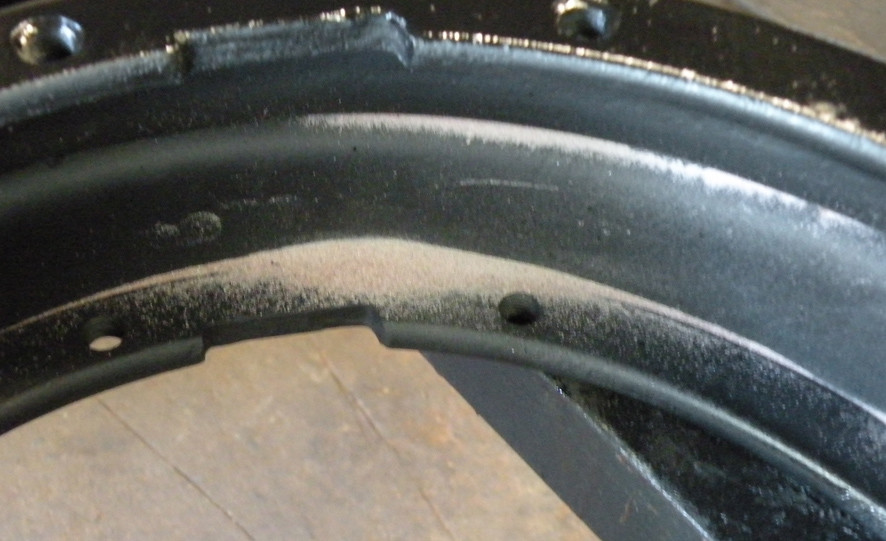
To illustrate my comments above the attached photographs tell the story. Beautifully painted on the exterior but look at what is lurking inside.
10-13-2011
I am amazed just how much sand I have extracted from that "clean" rear axle housing. It took the whole morning, sucking with a vacuum cleaner, brushing, even using a dentist's probe and blowing the stuff out of all sorts of nooks and crannies. I now have the diff centre bolted in and the half-shafts fitted to both sides. The brake bands are set up on one side and the hub/drum ready to go on. I am exhausted! Those parts are really heavy, I could just manage lifting the diff centre by myself and the main axle housing is almost as heavy especially when you are turning it end for end and over and over. I have learnt in the past that you cannot wash that sand out, wet it and it just sticks to everything that it comes in contact with.
It is now 11.15 pm and bed time.
11-14-2011
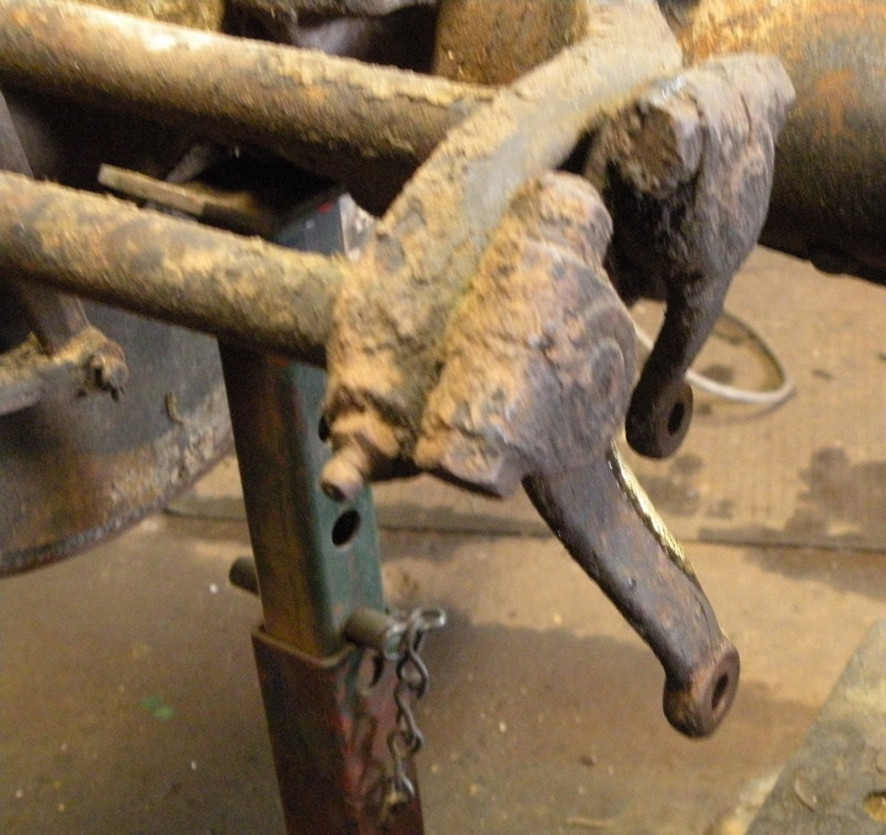
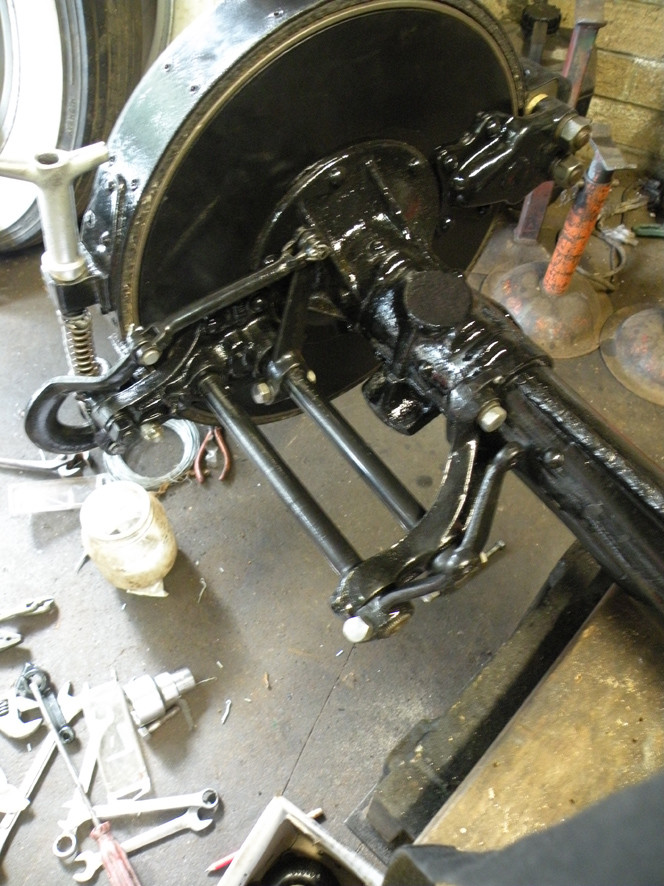
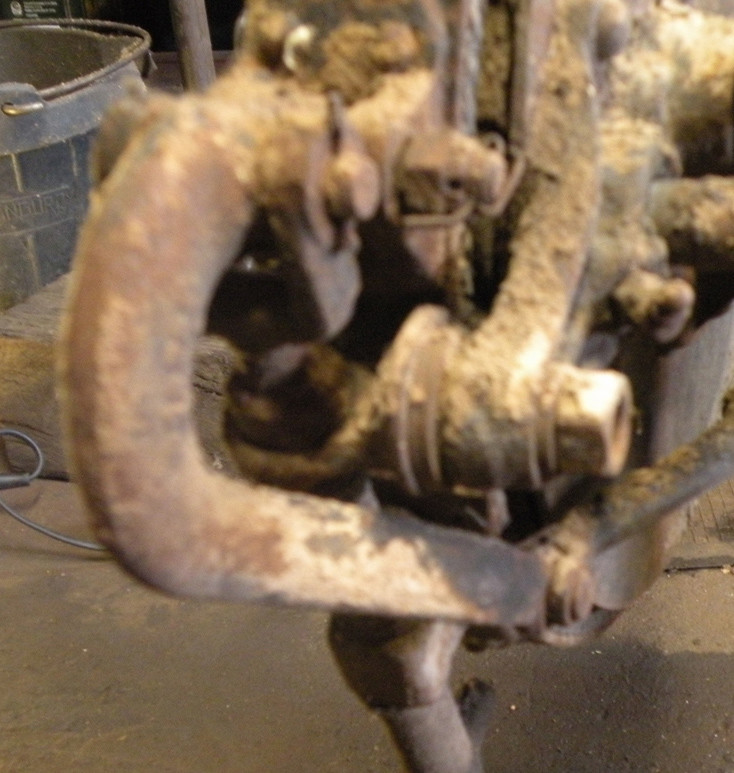
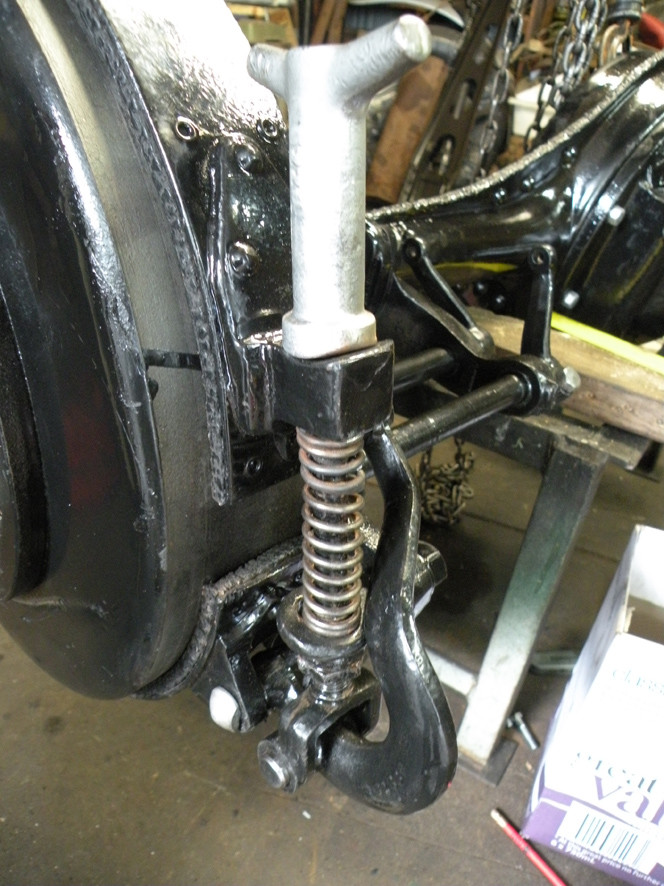
Some real progress today. I have one side of the rear axle & brake assembly put together. Time for some before and after photographs. Living and working in comparative isolation I am not sure what is AACA Show Standard. I am trying to achieve something akin to how the car would have looked when it left the factory.

bravo!
Posted by CCmyVW on 1/26/20 @ 5:30:36 PM