You must be logged in to rate content!
14 minute(s) of a 548 minute read
9-6-2011
Hello Larry,
Your lucky, it was just a teenager (13) when I came along... I have seen photographs of the Packard plant as it is today and almost cry.
Hi Ben, Good to have you drop in..
As you will see from the photograph of the front axle a couple of posts back(#553) I have unravelled the mysteries of the front wheel bearing retaining nuts. As you say they are not excessively tight and a "monkey wrench" does the job just fine.
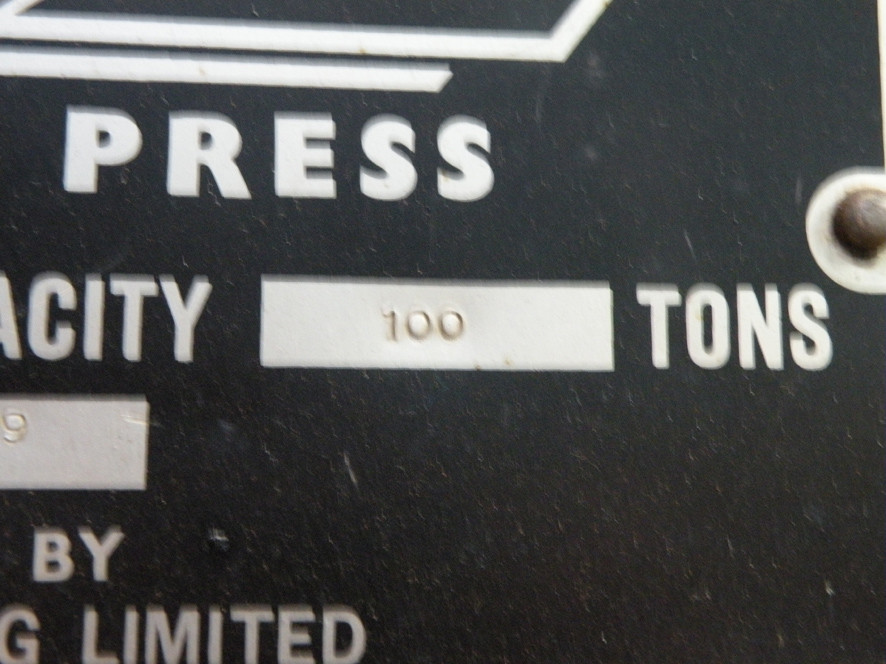
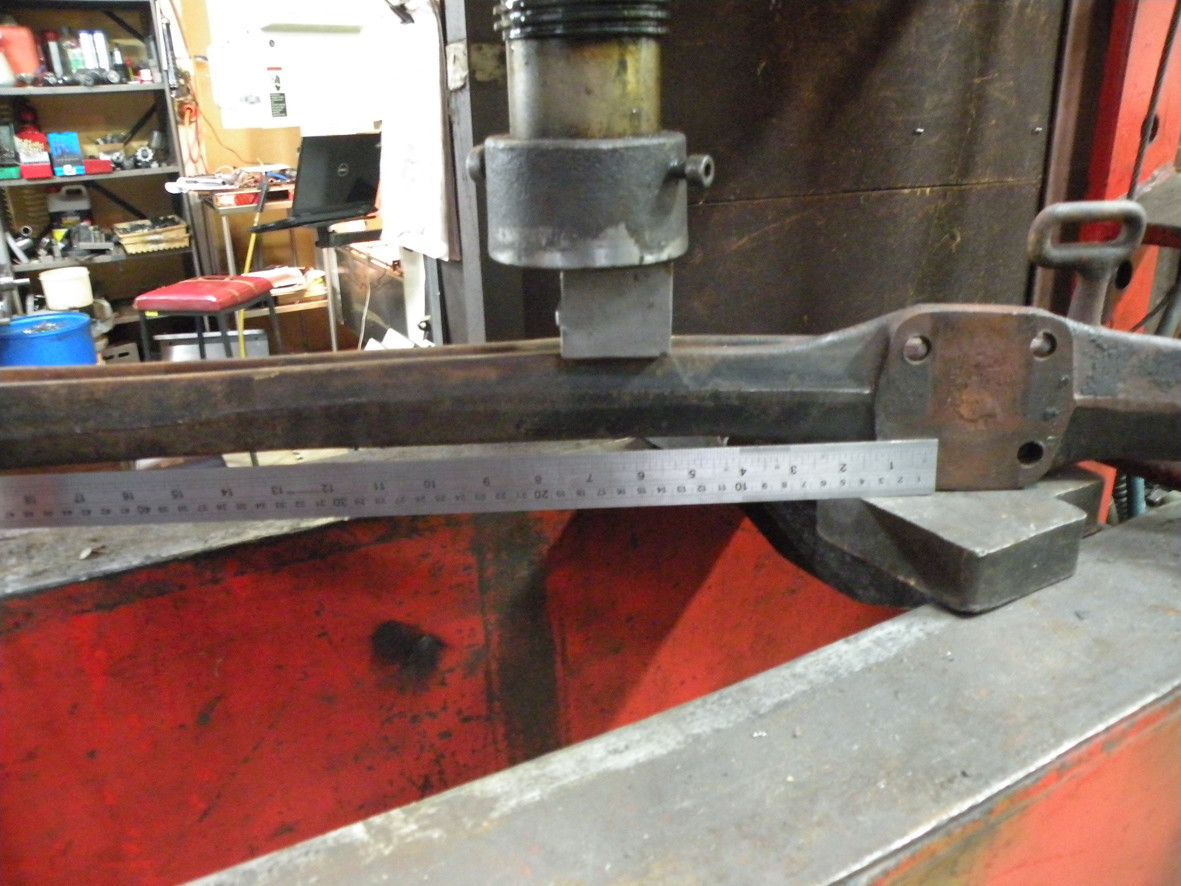
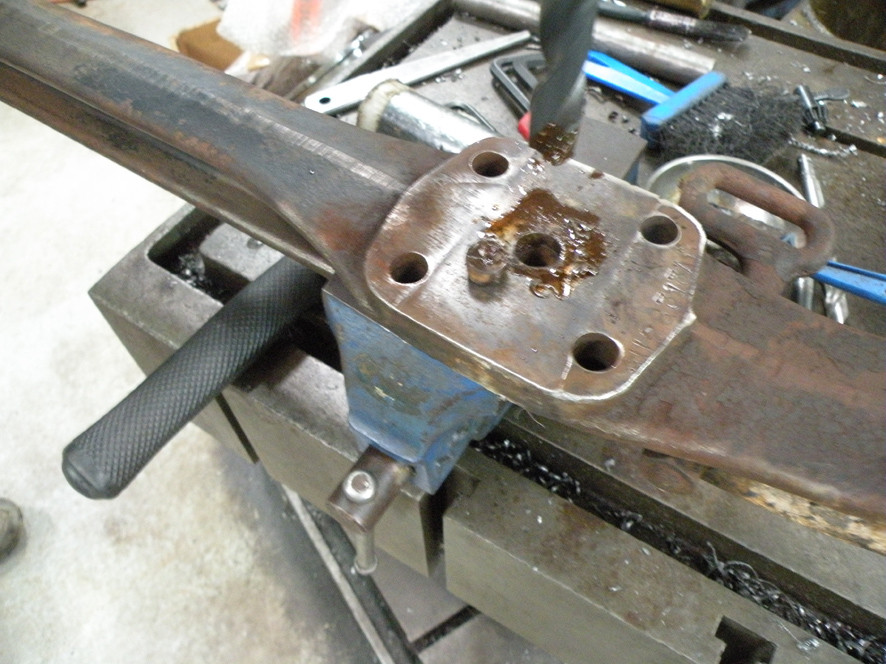
To-day I have been out to visit my son Steve who had offered to exert a little more pressure on the bend in the front axle than I could rustle up. About a 100 tons more. It just goes to show any job is easy if you have the right equipment and the know how to go with it. The first two photographs should be self explanatory. Looking at the second photograph you can see the spring pad with the remains of the centre bolt well and truly rusted into the location hole. Just above the end of the "straight edge".
The last photograph shows the sheared off head of the spring centre bolt and the hole after it was cleaned out. Of course I was wearing my "$2 Shop" safety glasses while operating the press!
Mal.
Defying all logic it was probably easier in this case to remove and completely strip the front axle than to take the car anywhere. I would have to find all the bits first... AND this way it fitted into the trunk of the Peugeot just fine.
Ben
In reply to your question. If I knew the answer to that one I would probably know who was driving it at the time. All I know is that it sure was driven down some rough roads.
Country Doctors during the twenties certainly had to earn their keep. Making after hours emergency house calls down rutted unmade roads in the dark anything could have happened. At least that is what the car seems to be telling me. It was originally a "Doctor's Coupe". I just wish someone could confirm the story!
It may not look much but it is the original 80+ year old stop light switch. It has been totally apart restored to working condition and re-assembled. Probably a total of three hours work but how much satisfaction?
9-7-2011
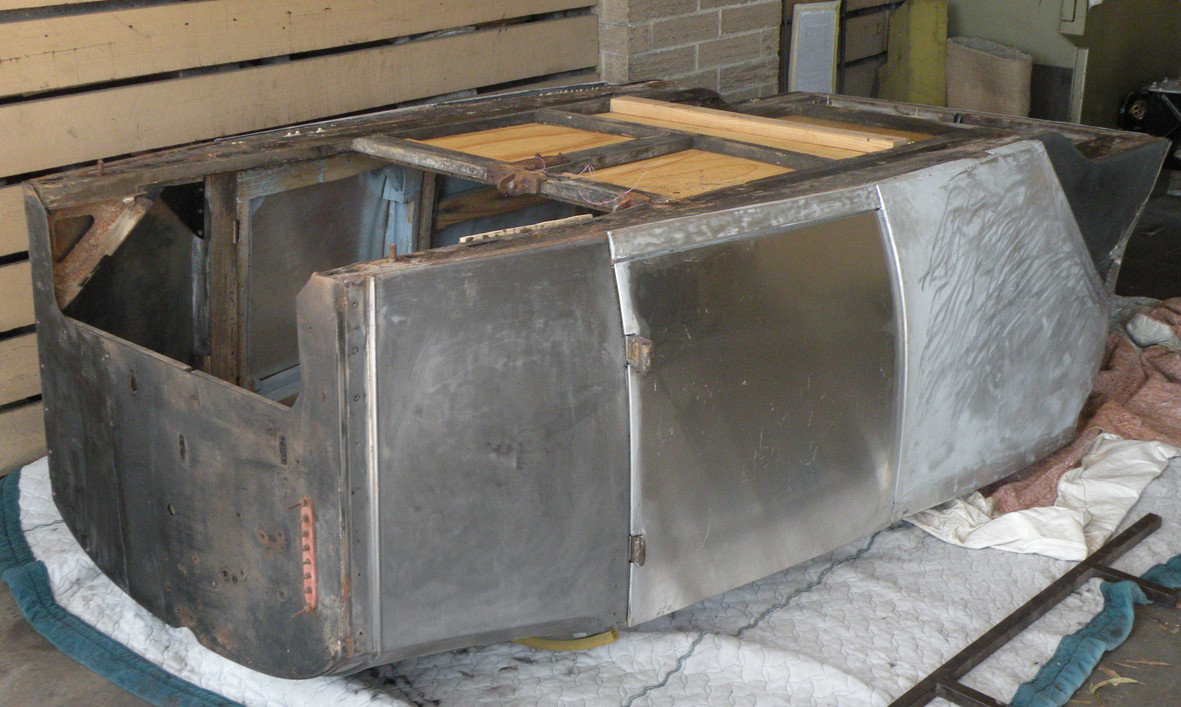
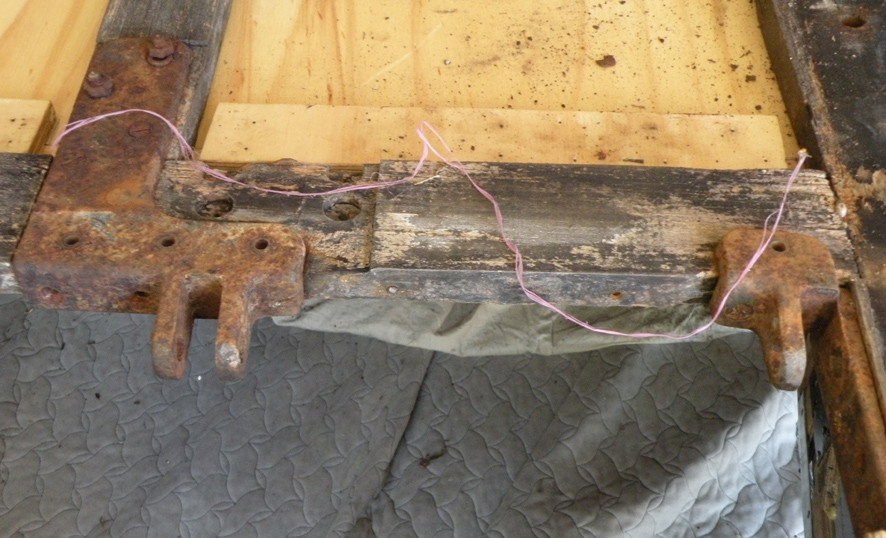
Don't Look now you may be deceived into thinking that i have had a dreadful accident. Not so with son Paul's help we turned the body over so that I can screw the remaining sections of panel back onto the timber frame. This also revealed the fixing for the pivot points for the little fold down seat beside the driver confirming without doubt that the car had indeed been a factory Doctor's Coupe. These have now been removed and timber corner blocks screwed and glued into the corners to further stiffen up the original timber frame.
Time now to clean up and get ready for tea. First task after washing and changing out of my work clothes is to pour two glasses of excellent south eastern Australian red (wine). Strictly for medicinal purposes
Sorry about that but for some reason I could not attach the photographs so here they are now. The close up shows the pivot points for the folding front passenger "jump" seat.
9-9-2011
Being a cold and wet Friday in Melbourne Australia there has not been a lot happening.
I have given the underside of the body another coat of matt black paint. Was that 80+ year old timber hungry? I have given it three coats of paint and first two went straight in. Once this final coat is fully dry I should be able to turn it over again. I can then make a start on fabricating the windscreen frame. The chassis has been returned by the sand blaster and he should have all the front axle bits done by mid next week so I can start painting them.
Question,
I plan to paint the fenders, valances etc a very dark brown. Should I paint the chassis and axles etc the same or black?
9-10-2011
Thanks "B" that is my thinking too. It certainly makes it easier when it comes to painting springs,axles and the rest of the running gear.
With the fenders valances etc in place you don't get to see all that much of the chassis unless you are crawling about under the car.
This morning I have spent almost the whole three or four hours undoing the eight nuts on the rear axle 'U' bolts. I don't think that they have ever been undone before. I ended up with a length of tube over the end of the spanner to give me a little extra leverage. Either they were extraordinarily tight and or well rusted into place or I am growing weaker in my old age. I tried everything lots of penetrating oil and a little heat but I was not prepared to sacrifice either the nuts or the 'U'bolts. Either way I managed to remove the second spring just before lunch time.
Hi Ben
You are right about the 3/4(AF) spanner. running the nut back to help the distribution of the penetrating oil also certainly helps. Not too sure about the grinding paste. If I had a die-nut the correct size and pitch that would have helped clean up the thread but sadly my collection of taps and dies are mainly "Imperial" (BSF and Whit). One of the problems created by coming to American cars later in life. Like many Australian enthusiasts I started out as a younger person on early Austin Sevens (that is rated horsepower not the number of cylinders) When I was a kid you could buy one for £5 ($10) if it was not going or £7.50 ($15) if it ran. That was in the days before decimal currency in Aust. I remember my first pay envelop contained £3/7/6 ($7.50) You could just about fill the petrol tank for 10/- ($1.)
When do you stop buying more tools and equipment?
9-11-2011
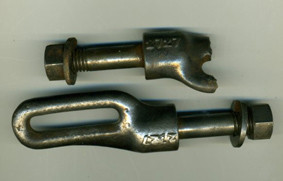


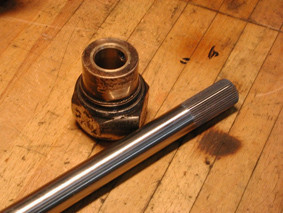
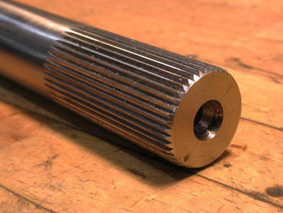
Meanwhile our son Steve has been managed to fit in some more work on the water pump into his busy schedule. He has made a new shaft and re-bushed the bronze bearing. Cutting the 28 splines for the pulley end of the shaft. With the pulley pressed onto the shaft it is now almost ready for final assembly.
9-13-2011
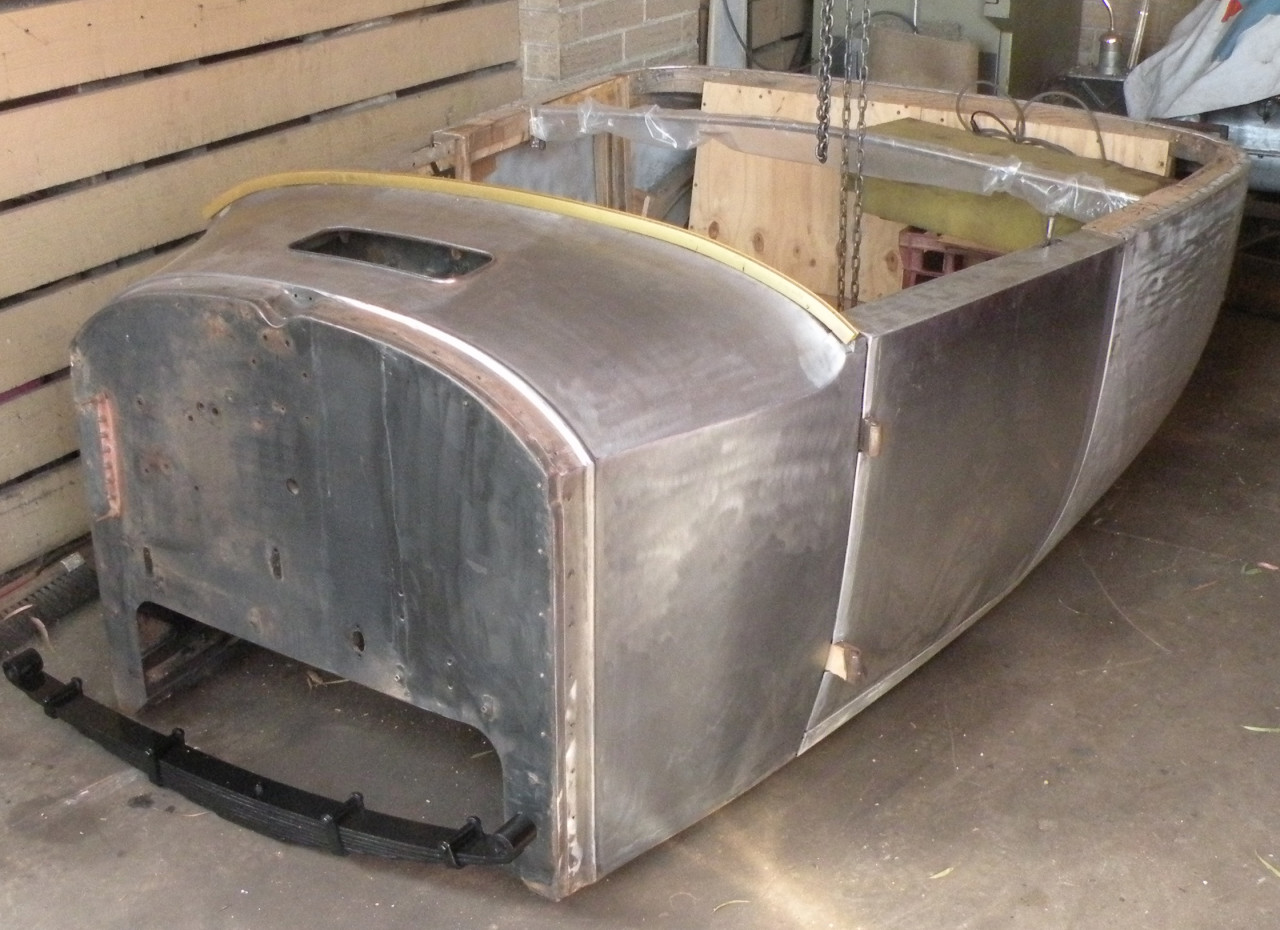
Not a great deal happening today. I have been to the other side of town, 35 kilometres each way according to the Peugeot's trip-meter, to collect the roll of Top fabric from the good people who did the laminating for me. Oh yes, the other thing that I did was to turn the body over to its right side again, with the aid of my trusty chain block (hoist) but otherwise no outside help needed.
Next task is to sort out the windscreen frame. You will just see the first piece of brass channel mounted across the top of the cowl.
With the body off the chassis frame it is amazing just how small it looks for what is after all quite a large car.
Unimogjohn
I missed out on the Alemite grease "connectors"on e-bay but with the ones that Joe is very kindly sending to me along with the ones I already have I will nearly have sufficient. I will possibly need just one or two more.
9-14-2011
Hi Folks
Now that the rest of the front axle assembly has come back from being sand blasted the first thing that became apparent is that, now it has all the rust and grot cleaned off it, the tie-rod also has a nice (non standard) bend towards one end. I think that with the aid of some gentle heat I should be able to pull it straight. So that can be first job for the morning. Of course with the bend in the axle it could only be expected that the tie-rod would have suffered a similar fate. Right now it is 6,00pm which can only mean one thing. Time for our pre-dinner drinks........
9-15-2011
Hi all
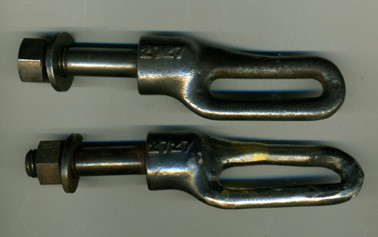
While most of today has been given over to domestic duties I did manage an hour or two in the garage this afternoon. Having had the oxy-acetylene going to straighten the tie rod I thought that before closing it down I should have a try at repairing the broken snubber strap anchor from the back axle.
Having found a suitable piece of 3/8th rod this was bent, cut to length and the ends ground to a "V" the broken ends on the original anchor were also ground to a matching "V" then by using one of my magnetic "welders friends" could hold the two pieces while I tacked them together. finally I filled the V's with bronze and filed the resulting joins into some semblance of shape. While still not perfect (as my English friends would say it still requires some "fettling") if a replacement fails to appear it will do the job.
9-17-2011
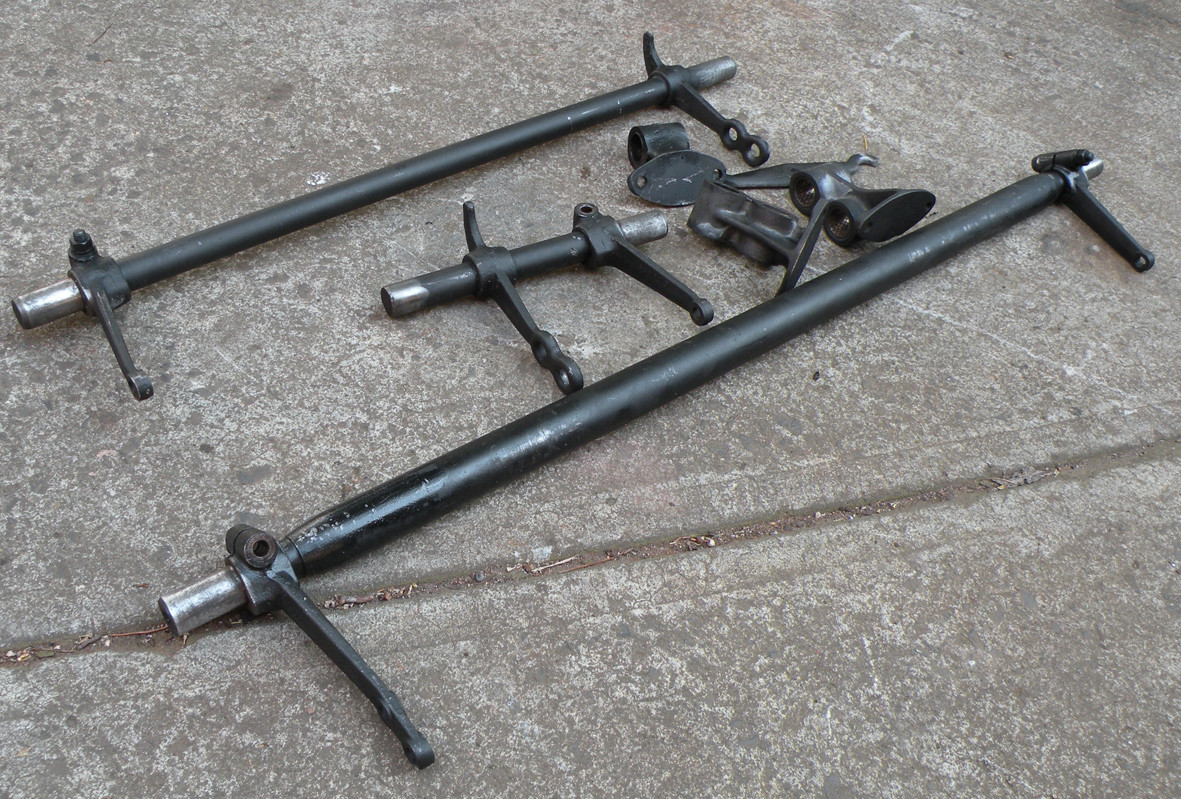
Having done my "good deed for the day" this afternoon I was free to return to the Packard. It had been bugging me for some time that the brake cross shafts were both, hand brake and foot brake, frozen in their carrier bearings. These bolt to the third crossmember and permit some degree of balance for the foot brake. However ever since I bought the car I have been working away (without success) to free them. This afternoon I thought "This is it! Finally after applying a considerable amount of heat, penetrating oil (the good stuff) and not a little gentle persuasion, one by one I managed to get some movement and finally got the things apart. Again there is no perceptible wear on any of the shafts or their bronze bearings. This is really remarkable as there is no provision for lubricating the bronze bushes after they were put together. The bushes are the self lubricating type and probably would not have received any attention since the car was first assembled.(88 years ago). The First Series Single Six had rear wheel only, external contracting band, brakes so one would imagine that if the car was driven, regardless of the sort of conditions, that these bearings would have been working fairly hard. If only over a short segment of rotation. In practice with the brakes properly adjusted, the shaft would have barely rotated at all.
What is the experience of other Single Six owners?
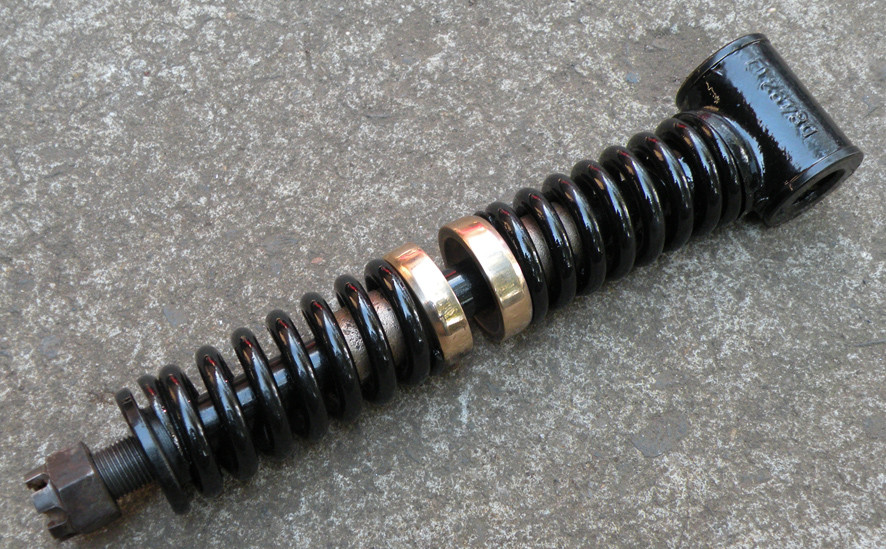
The other photograph shows the anchor pin and springs for the front end of the torque arm.
9-18-2011
Hi-ya-all
Right now my little workshop/garage is looking a like a Chinese laundry with bits and pieces all hung out to dry. Next task is to tackle painting the main chassis frame. then finally the rear axle assembly & brakes. I had a very nervous and tentative look into the inner workings of the rear axle and am relieved to say that apart from a very light dusting of surface rust, the crown wheel and pinion do not have a single chipped tooth or any signs of wear.
What a relief!
9-20-2011
Hi David
First your Alemite "connectors" arrived safely and two are already in place.
Thank you.
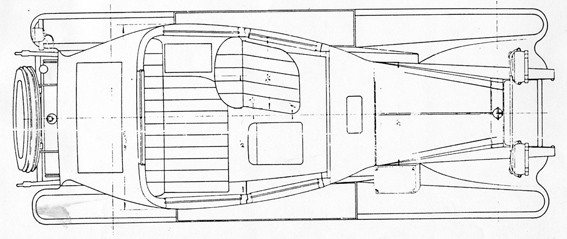
The production figures are interesting. Given the impracticable seating layout (see below) it is hard to imagine Packard finding 1550 buyers for the so-called 4 Passenger Coupe. I would have hated to be the fourth passenger sitting either crowded part way behind the driver's (fixed) seat or on the terrible little (hard) folding seat. Having said that the driver must have been glad when the journey was over! Sitting on an awkward angle on a non-adjustable seat could not have been a lot of fun either.
Hopefully my proposed, more conventional, seating arrangement, as in a convertible victoria, with two matching full sizes adjustable front seats with "occasional" seating for two (children) in the rear will be more appealing.
Oops! Sorry that one does not work so I will try another.
9-21-2011
Hello
Yesterday was another productive day. Having decided that hand (brush) painting was simply not going to deliver the sort of result that has become my standard for the Packard. I delivered it out to Dave my "super spray painter" with the aid of a Bentley owing friend who also has in his collection a handy 1 ton pick-up. That took up most of the morning.
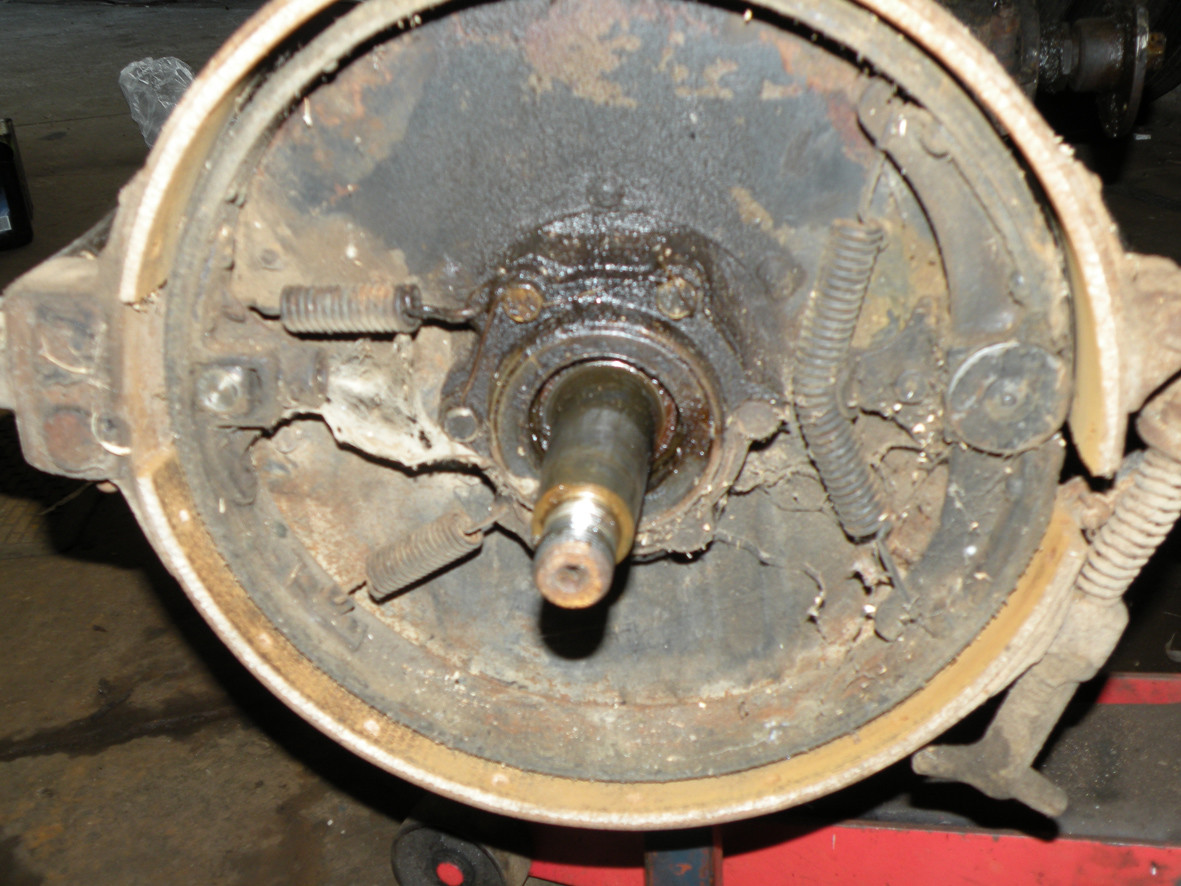
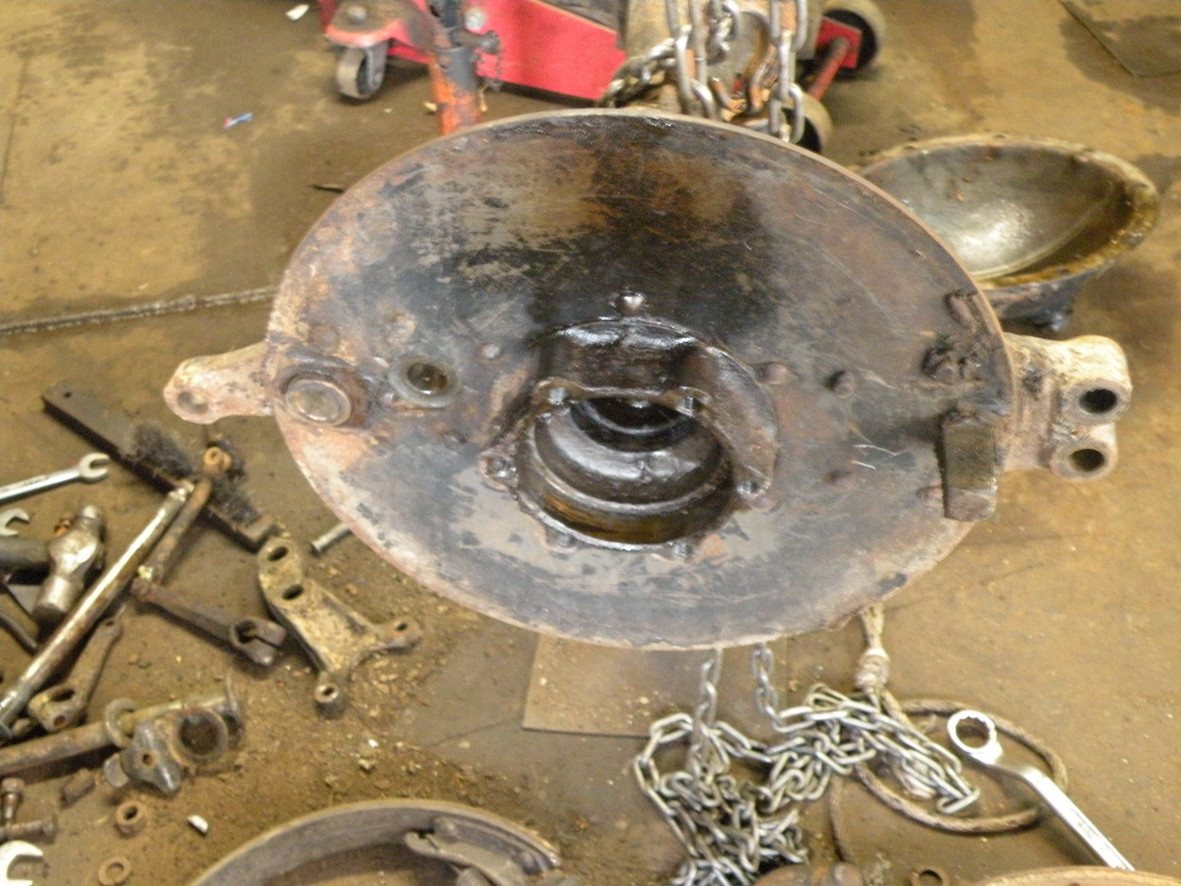
After lunch I decided that the time had come to tackle the last remaining component. The rear axle assembly. I had had a tentative look inside to confirm that all was well with the crown-wheel and pinion but now with the garage floor almost clear I could put it up on some axle stands and start work.After removing the brake drums It was clear how it all went together. First thing was to remove the brake band and internal shoe. Next step was to remove the bolts retaining the rear wheel bearing and oil seal. Then by loosely replacing the hub/brake drum and screwing on the retaining nut part way I could use the hub as a "slide hammer" to with draw the half shaft.
This went well until the bearing was clear of the housing but the splines on the inner end had not yet cleared the "diff centre"when all movement came to a stop!
Somewhat puzzled I wondered if there was something that I had over looked. A quick phone call to David McC (my Packard help-line) convinced me that there was nothing that I had missed and that there was probably some slight build up of hardened grease that was restricting any further movement.
Finally after some more "slide hammering" the half-shaft came out.
All that remains now is to remove the bolts retaining "centre piece" and the the rear axle housing can go to the sand blasters. While there is plenty of lining left on the foot brake bands those on the hand brake shoes are worn down to the rivets and well soaked with oil & grease and will require relining. At the same time the rear axle and pinion oil seals will need to be replaced.
Back to work...

bravo!
Posted by CCmyVW on 1/26/20 @ 5:30:36 PM