You must be logged in to rate content!
8 minute(s) of a 242 minute read
2-22-2013
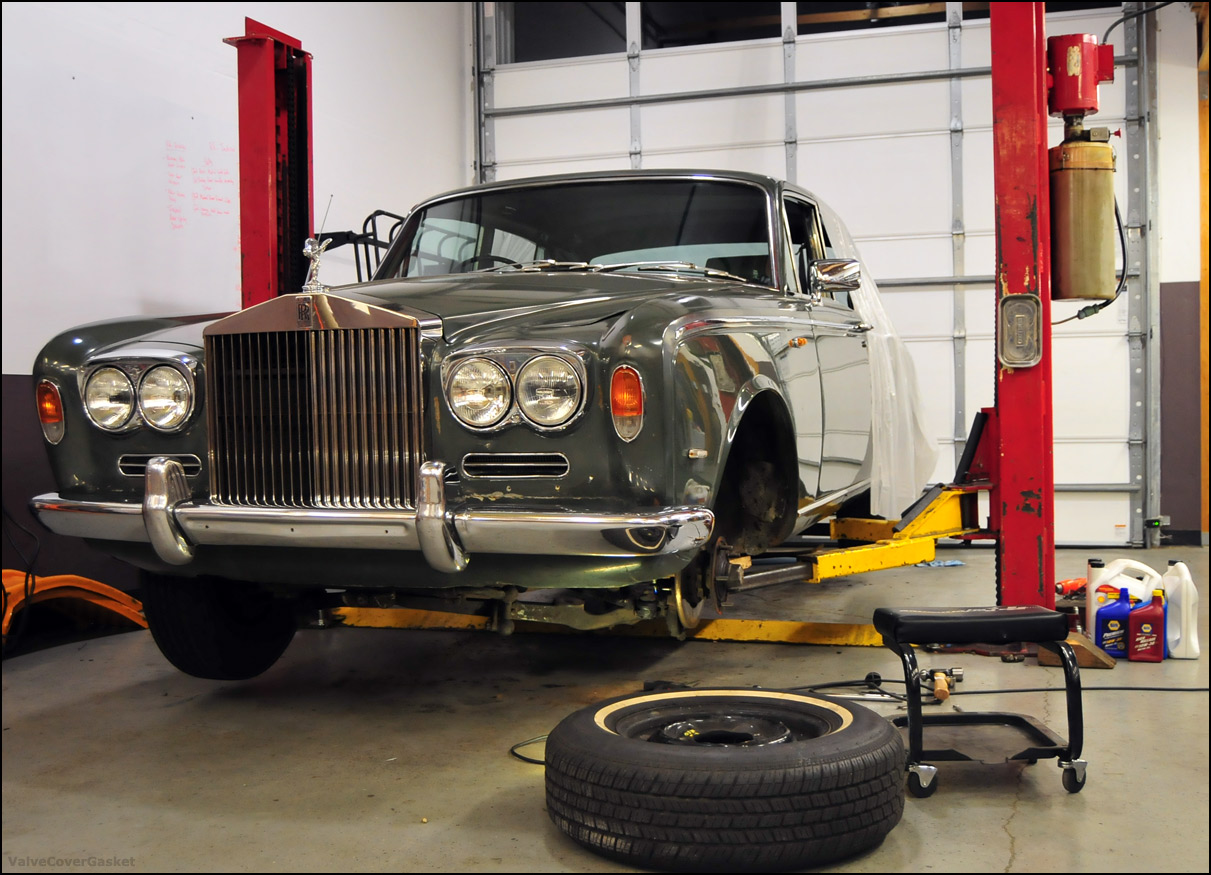
my plan this weekend was to get all the brake calipers off the car and boxed up, but it looks like the AN caps i need to finish that job wont be here until sometime next week... so this weekend (if i have enough time off work) will be a painting and polishing weekend... to hopefully take care of that rear section thats showing primer, and repaint the fuel door to get rid of some scratches.
we'll see how it goes
a blessing and a curse IMO...
after dealing with the throttle/trans/choke linkage, and seeing all the various semi-wear items in the trans gear selector linkage, i dont think its always the best. very cool in its period correctness, but if i were making a "new" silver shadow id avoid as much of that as possible
it does make for good positive feedback what with the clunking and locking things into place when you interact with the various inputs, but from a packaging, durability and service/adjustment standpoint... electronics are a hands down winner in my book.
now, if youre talking about a much more simple car, that they didnt try to pack full of "comfort" features, id agree wholeheartedly
2-27-2013
now for some pictures of my least favorite automotive activity... paint/bodywork
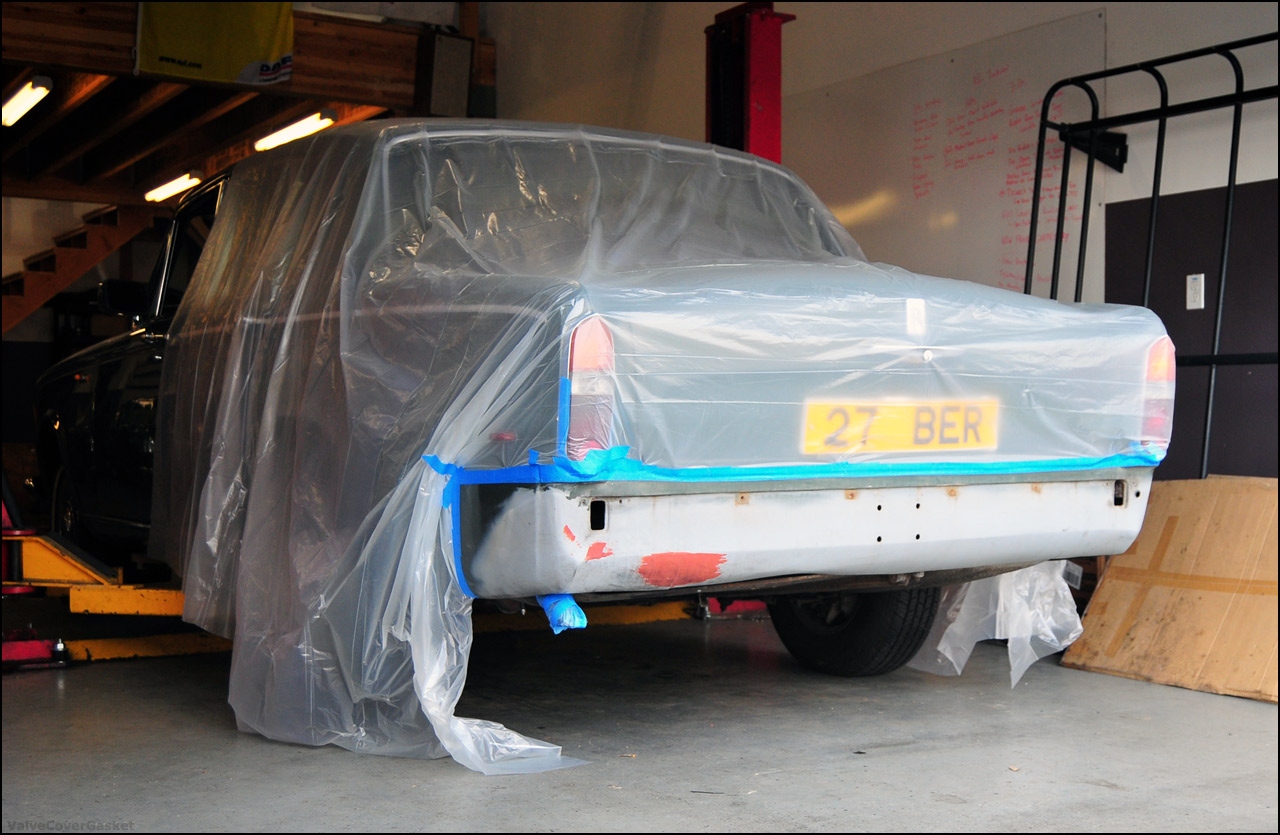
this has been on my list for quite a while but we finally had a nice break in the weather last weekend. the goal was to do something, anything, about the exposed primer layers under the rear bumper. so, heres my best attempt... not quite done (needs a few more layers of paint, some more wet sanding and a good buffing to match the shiny-ness of the rest of the car, but its close enough)
right after masking
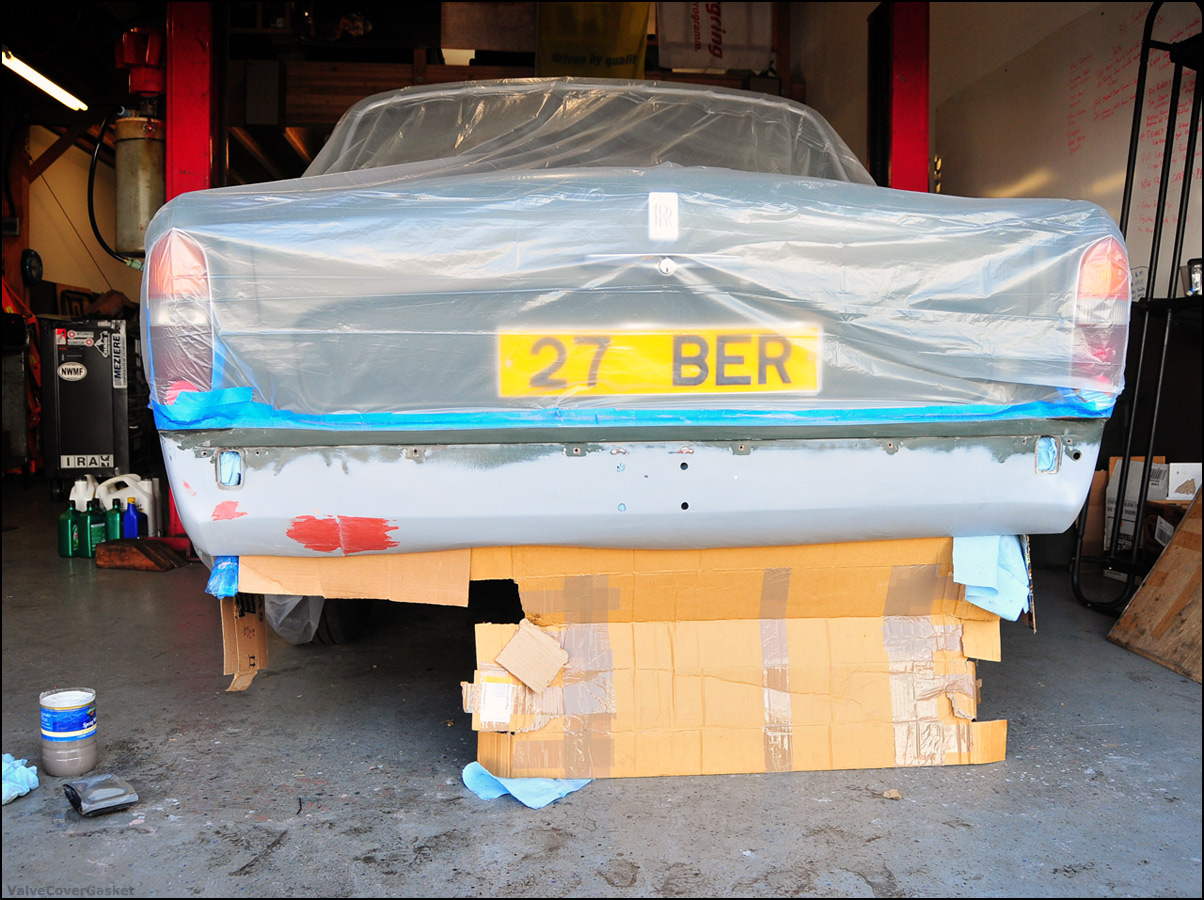
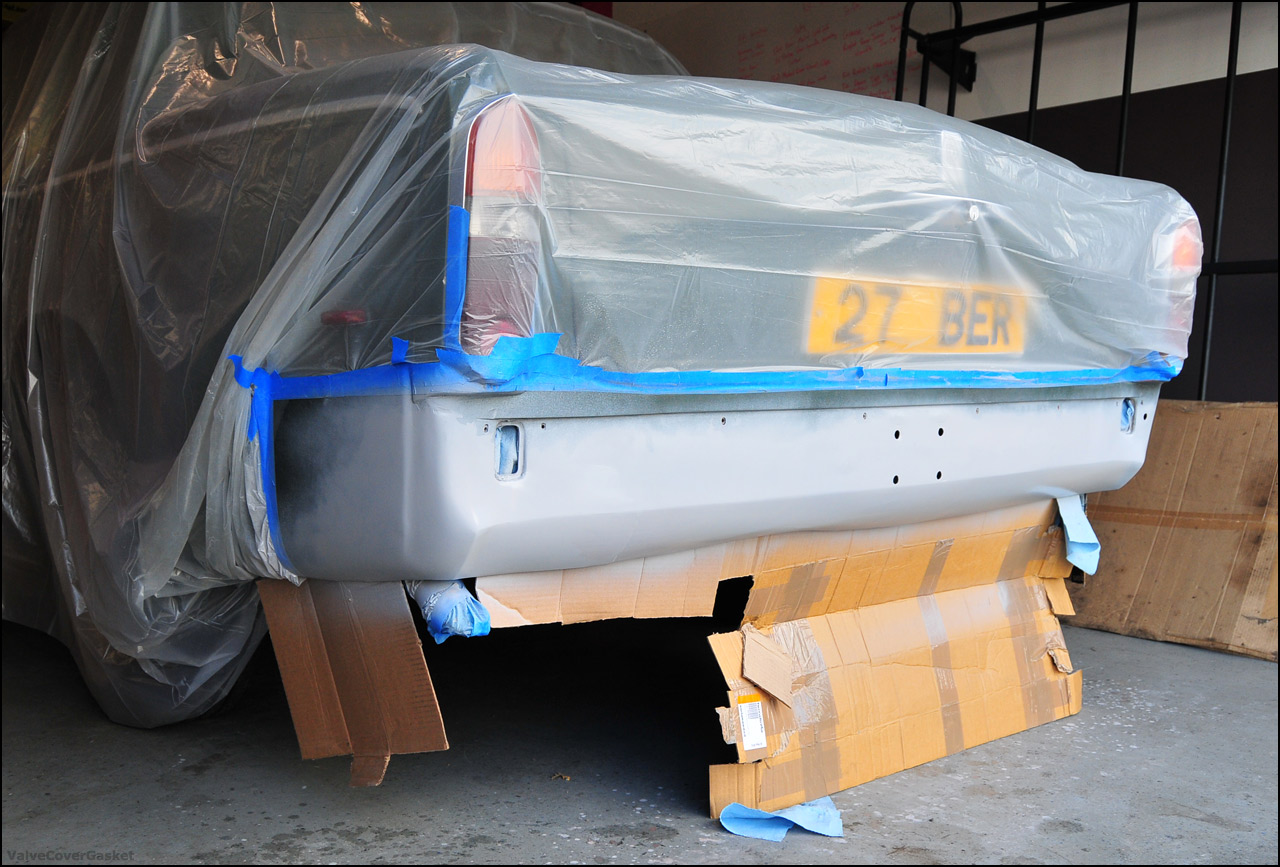
a little bit of wet sanding and cleaning and its ready to get some primer...
after a couple base layers of color...
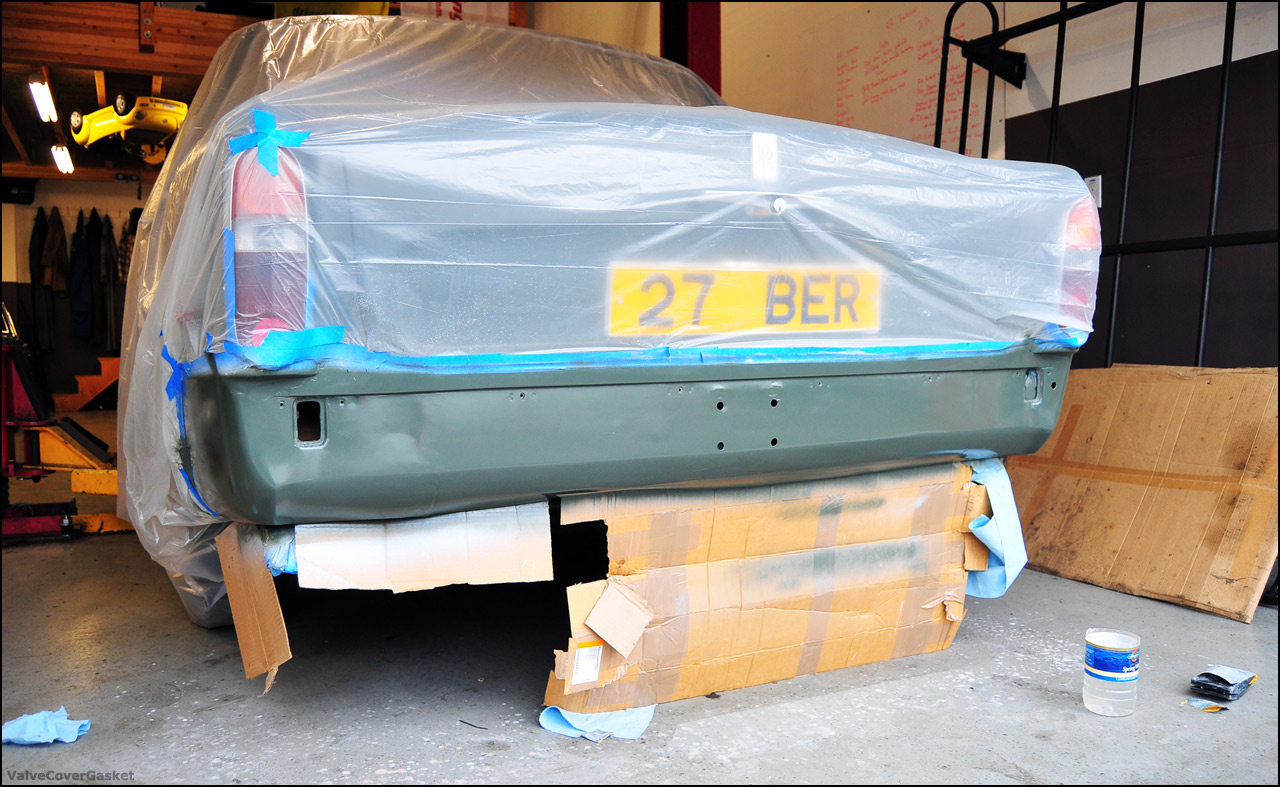
the color match is pretty close, just a hair lighter than whats there. itll be close enough for the location though, so far so good... well see how it all buffs out and whatnot but im happy thus far.
i test fit the bumper the other night also and i think with how shiny the parts around it are, your eyes wont be drawn to the paint work so much, and anything will be an upgrade from that primer!
while the interior is out i also wanted to take care of the last bit of the brakes that needed attention - the stuck front passenger caliper. doing some research it seemed to make sense to get them all redone at once, so... onto pulling the calipers.
only got through the fronts tonight (didnt have a lot of time) but everything went really smoothly. hoping to tackle the rear two this weekend, then theyre all off to canada to get redone (along with the ignition switch).
i had a couple brief flashbacks to feb '12...
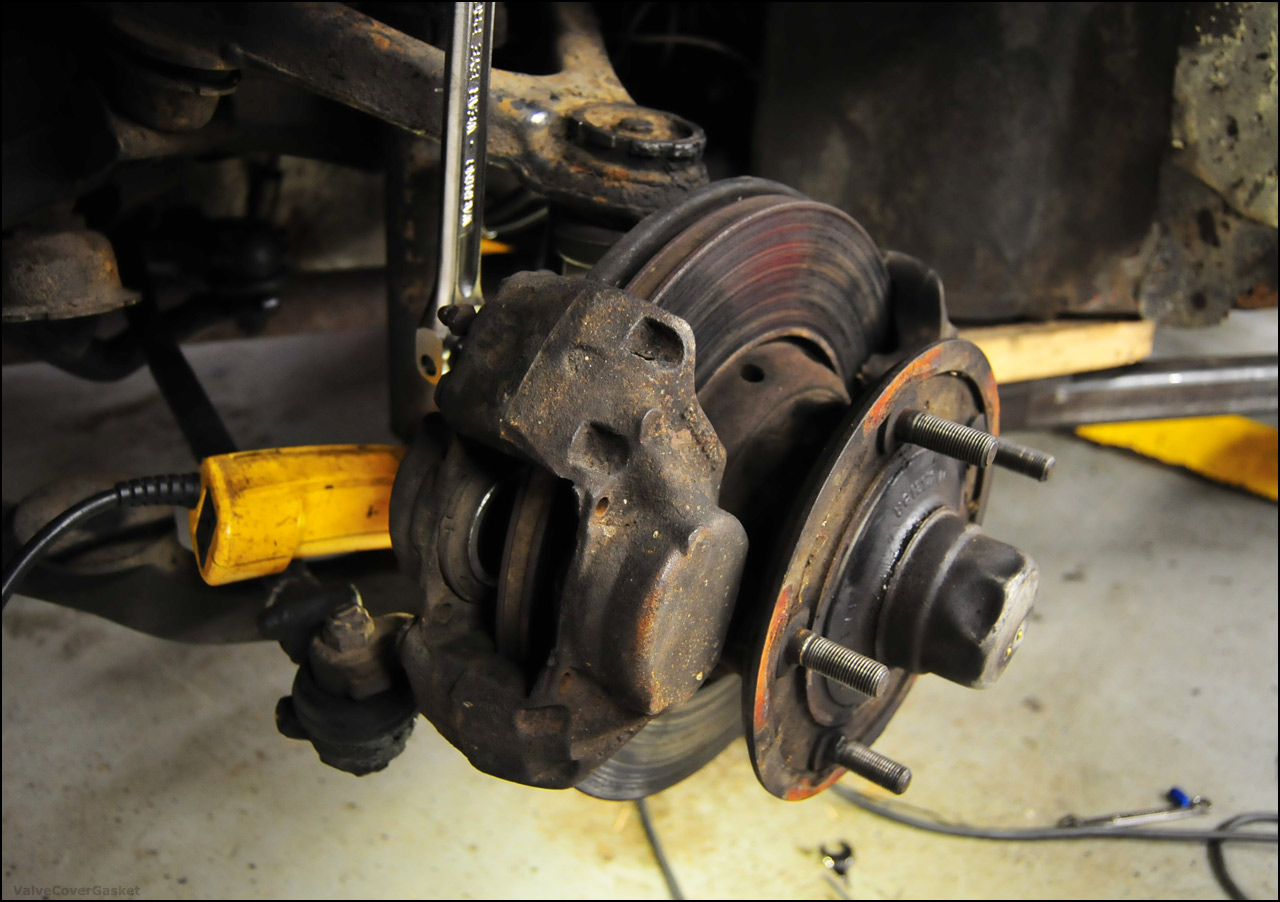
thankfully both front rotors look like they're still true, none of the dragging on the one side seems to have warped anything. the pads probably needed replacing anyway from sitting around for decades - leaving some of those oddly colored markings after use - but no ridges or weird grooves in the rotors
from what ive read replacing them is rather a chore, and i havent been brave enough to look up prices ha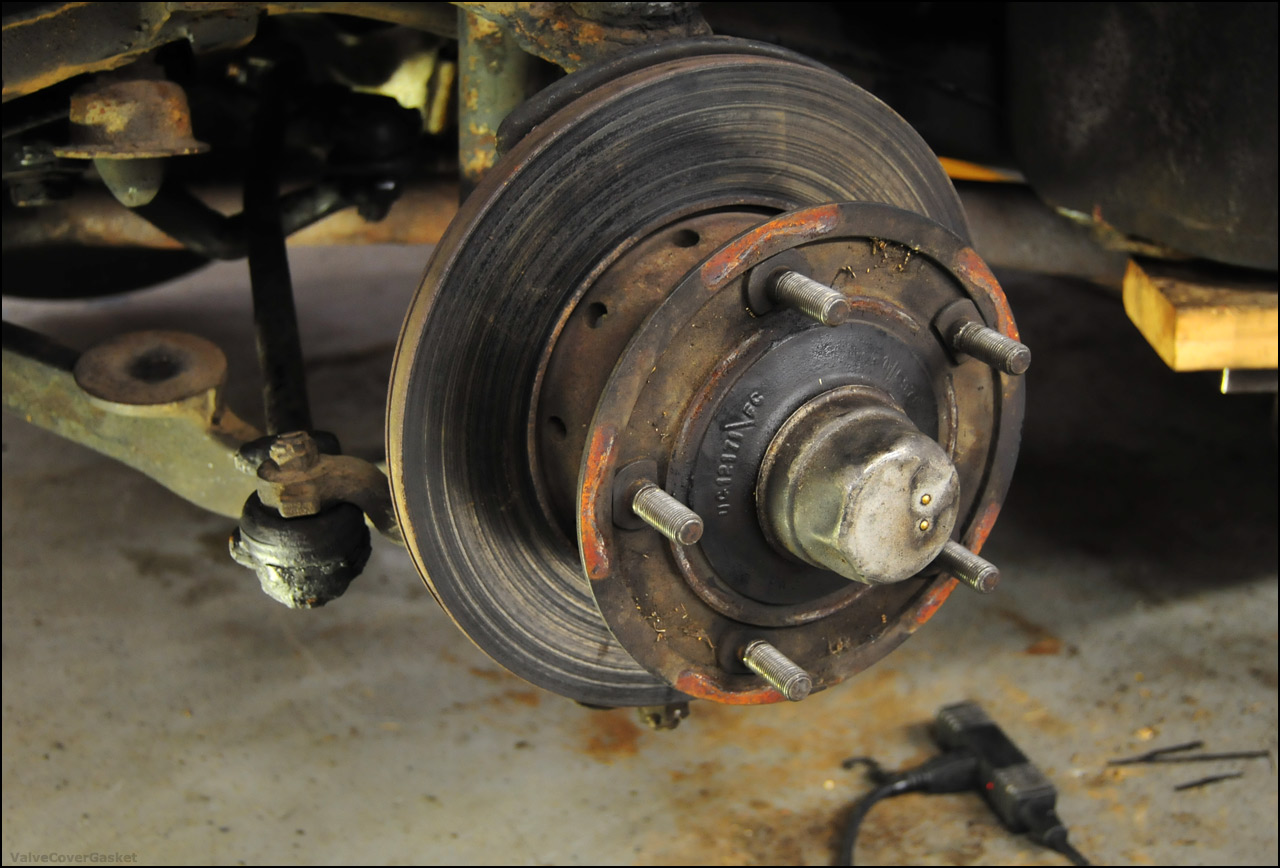
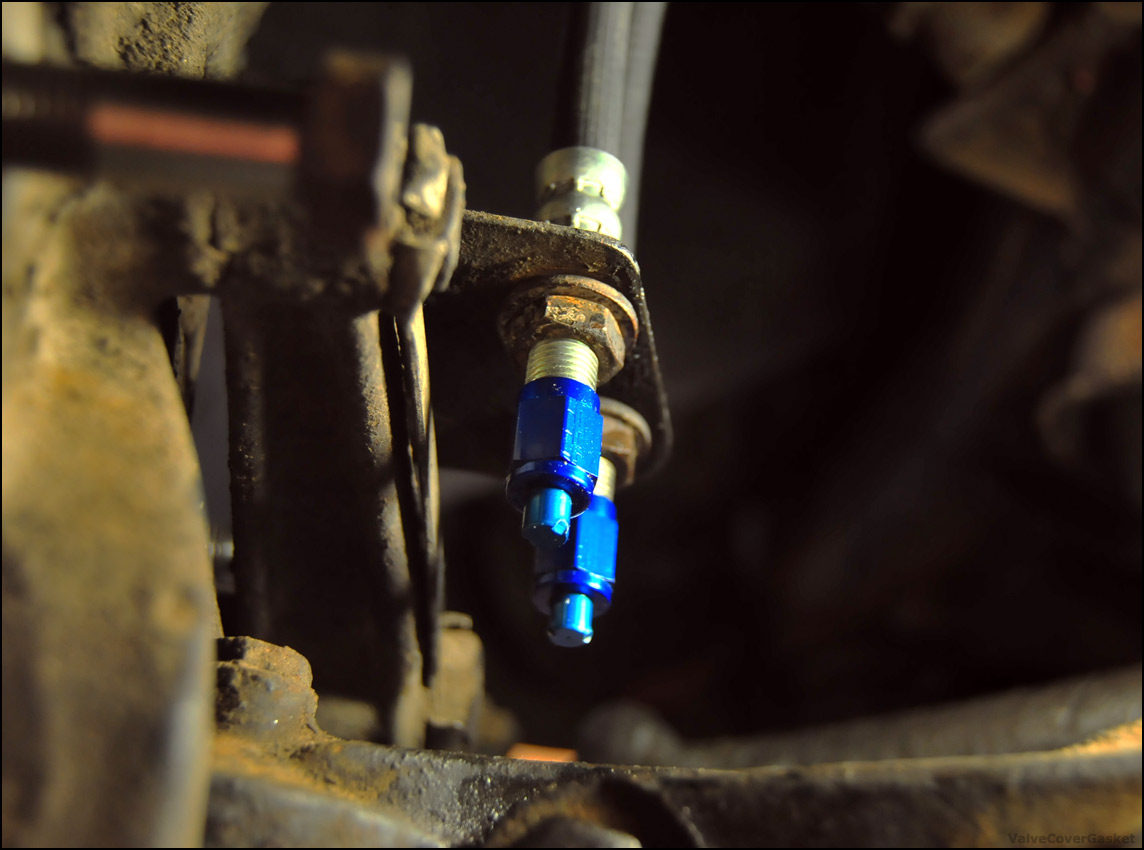
using these little guys to block off the rest of the brake system when the calipers are off... saving as much of the unicorn blood as possible, especially now that supplies are getting more scarce.
3/8x24 AN plugs, a lot cheaper than RR363
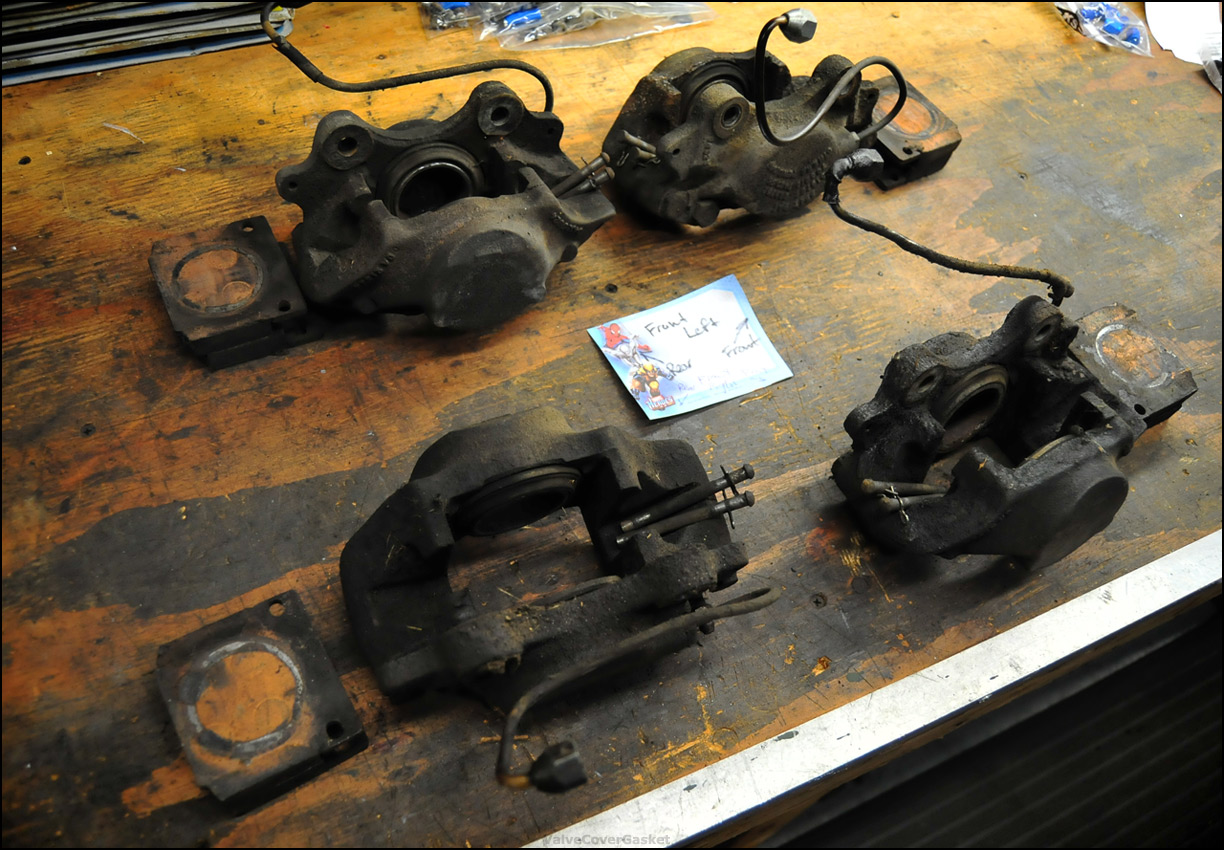
and this is the caliper that started it all... front right, front-most. outside half of it is almost completely frozen.

2-27-2013
i think it actually ends up being a pretty significant amount of stopping power - the rotors are huge, though the pad surface area isnt, but i guess thats why everything is doubled up.
both front calipers (front-most on the front wheel) work on one circuit, and both rear calipers (rear-most on the front wheel) work together with 1/2 of the rear wheel's calipers.
the car basically has 3 entirely separate braking systems (with the third being a non-assisted system that acts on one half of the rear wheels caliper).
hard to describe but theres a hydraulic diagram i posted somehwere in this thread showing the routing... its complicated
im leaving the rotors, im probably going to get a dial indicator on them before saying for 100% certain that they arent warped, but i definitely dont feel any ridges despite how uneven the coloring is. and at first glance they appear to be true.
RR363 is ~$25-30/qt. the car takes ~2 gallons of the stuff if you flush the whole system. last time i bought a case, castrol was in the middle of a production shutdown and the shop i got it from wasnt sure if they were going to get more.
i think i have a couple quarts left from last year that i can use to top off, but im not sure if i can even get more if i wanted it. thats probably the single biggest turn off for folks on this car, the random availability and huge expense of the brake fluid.
castrol has also been really cagey with releasing MSDS sheets so that others could mix their own, but as some citroen DIYers have apparently found mixing castor oil with dot3 fluid in some particular ratio produces almost the same stuff - i dont know if many are running that in their shadows but i know some on the rroc-aus forums appear to be and arent having issues.
the main deal was it needed to have the properties of brake fluid, but also prevent from foaming and lubricate the brake pumps, which straight dot3/4 is unable to do.
yeah it seems the best bet is finding some reliable information on how to make a good home-brew version using dot3 fluid as the base.
i think the rroc-aus guys are onto something but i havent done enough reading to know if theyve found any long term side affects.
id also like to hunt down the citroen information from europe to do some reading there as well... as you can be sure the citroen guys arent paying $30/qt for their cars
we did a full flush after the brake pumps and hoses were swapped. plenty of old dirty fluid came out then.
and as a good sign, nice clean fluid was coming out when i cracked the lines last night... so it hasnt picked up any more hidden contaminants.
bleeding the brakes is actually really interesting, since theres no master cylinder to build pressure in, as the brake pedal movement just releases already pressurized fluid from the accumulators. what you do is apply the brakes with the engine running (brake pumps active) and run around to the corners of the car cracking the calipers. the extremely high pressure fluid pushes air out in seconds, so bleeding the car last time was really quick, you just have to idle it on the lift with the wheels off.
This is unbelievable build!
Posted by Diggymart on 3/11/20 @ 9:53:34 AM