You must be logged in to rate content!
8 minute(s) of a 242 minute read
10-26-2012
and a (still uncleaned) shot of the new fan shroud...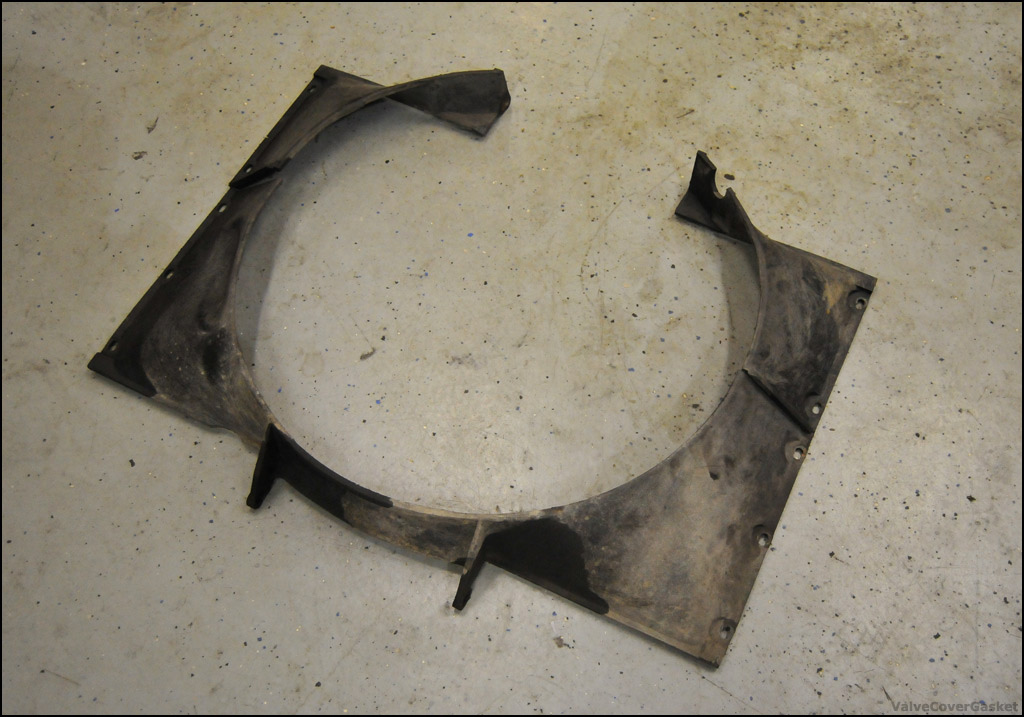
not all that exciting but im posting for reference as i havent seen any pics of the whole assembly online before.
one of the top tabs is cracked but should be an easy epoxy fix, and im thinking the whole thing should clean up well enough without any paint work, but might look good with a misting of semi-gloss if it isnt dark enough.
10-24-2012
woodwork is just flying out of this thing... pictures of the inside all torn apart to come tomorrow...
ive been very pleasantly surprised by how robust and easy to take apart everything has been so far - no bothersome fragile plastic or other bits like you might see on a more modern car.
only thing that im hung up on now, and whether its even going to get done, is how to remove the rear window wood trim... not sure its doable safely with the window in, but i need to do some more investigating.
10-25-2012
alright, a photo dump of the wood and interior tear down....
fairly easy work tearing this all out relative to some of the other projects weve done on this thing, and you get to do it without being on the ground, or getting super greasy
although theres a certain nerves factor in prying on some of these expensive pieces of wood and hoping they pop out... but everything came out in one piece.
it looks like the only thing that wont be getting refinished is the trim around the rear window, since that seems to require removing a little bit of the headliner at the back and undoing some screws, and is really delicate looking. this can always come out on its own later so there wont be any redoing any work if it needs to be done.
the only thing on the list to remove that still needs to be done is the wood at the base of the windshield... which requires popping the top of the dash off and i didnt get to that the other night.
anyway, onto the pics!
a good reason to pull the rear seat - more in depth cleaning required!

wanted to get the rear parcel shelf out to recover it in some fresh leather and get rid of those mounting holes one of the POs put in for some extra rear speakers...
i also found some extra speaker wires dangling around under the back seat... more things to remove!
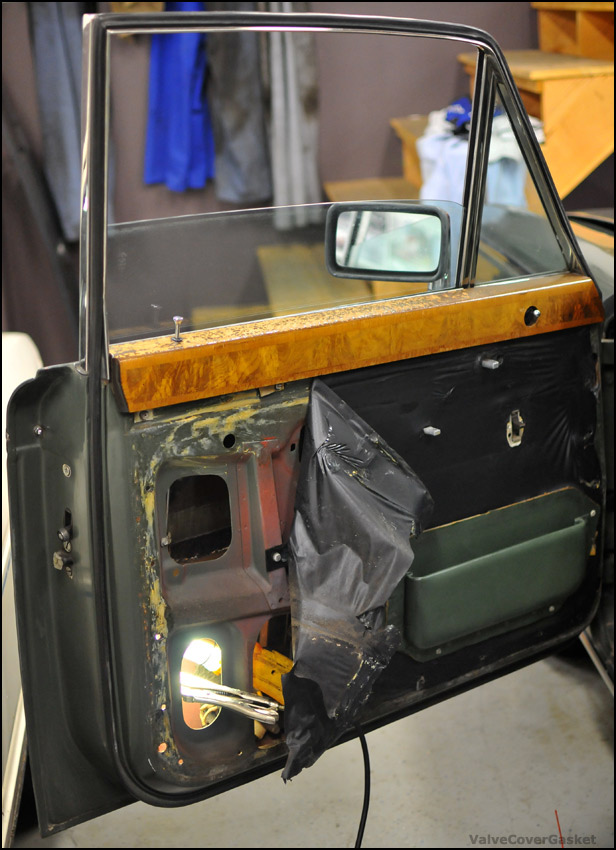
actually really surprised to find the doors had plastic covers underneath the cards... i thought this was a later invention. but it makes sense, as the cards were thin wood and i can imagine they rot quick when exposed to moisture.
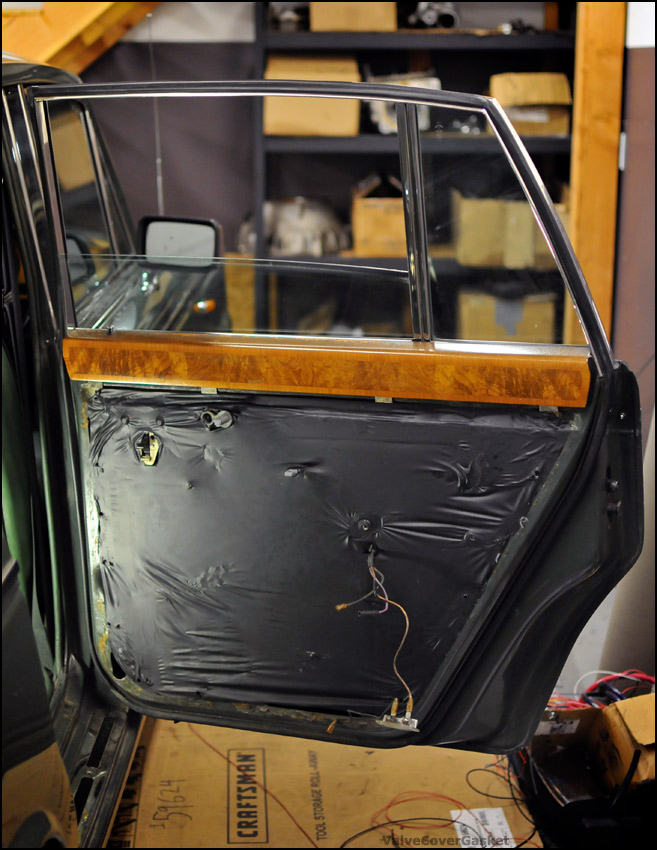
these will all be getting refreshed before everything is back together!
the wood caps are really pretty easy to remove, maybe 15-20 minutes for each door... pop the doorcard off, undo a couple bolts holding the caps down, and take out the door lock that goes through the wood
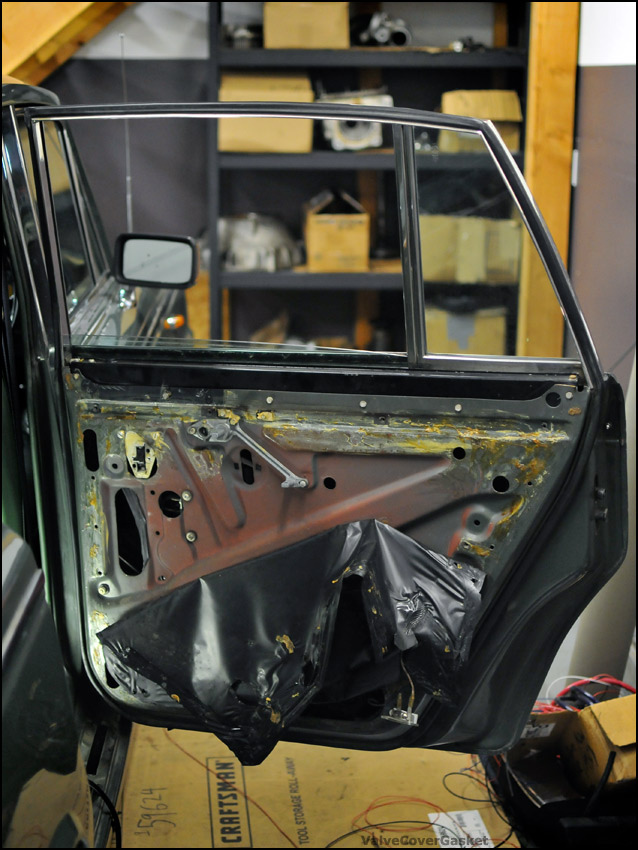
on a couple of the doors the door lock pin was a bit of a pain to remove, as with everything else on this car its connected to a linkage and removing it requires loosing it from the linkage... as these parts sit exposed to moisture in the door things were kind of sticky on a couple of the doors. all in all not too bad though
front doors are even easier than the rears, as there's no electrics inside the arm rest to deal with.
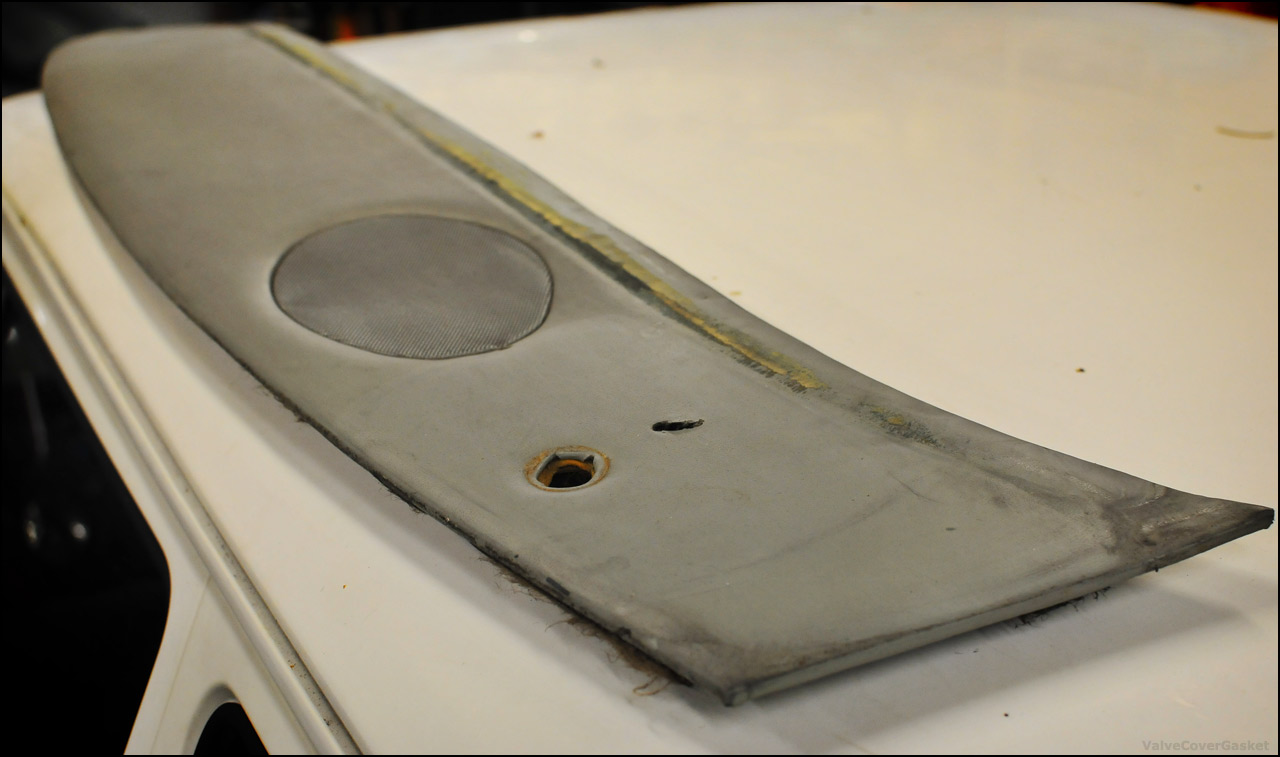
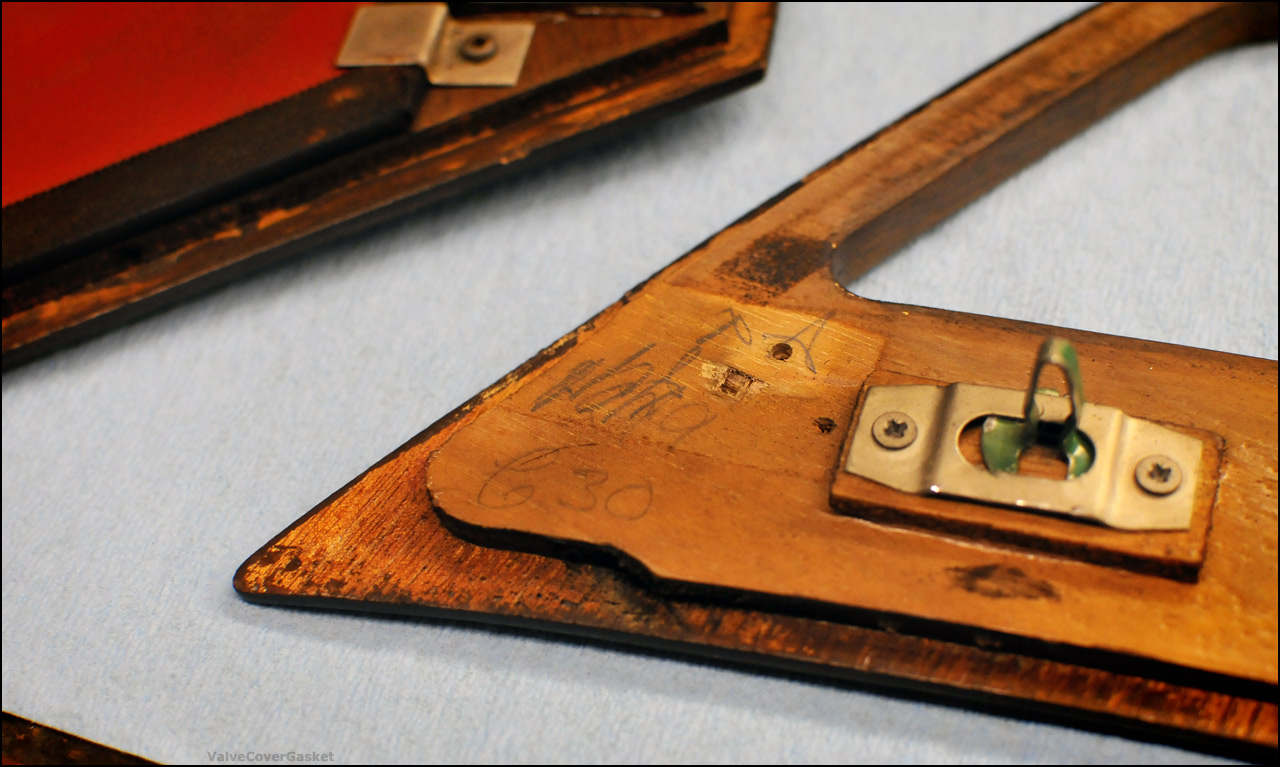
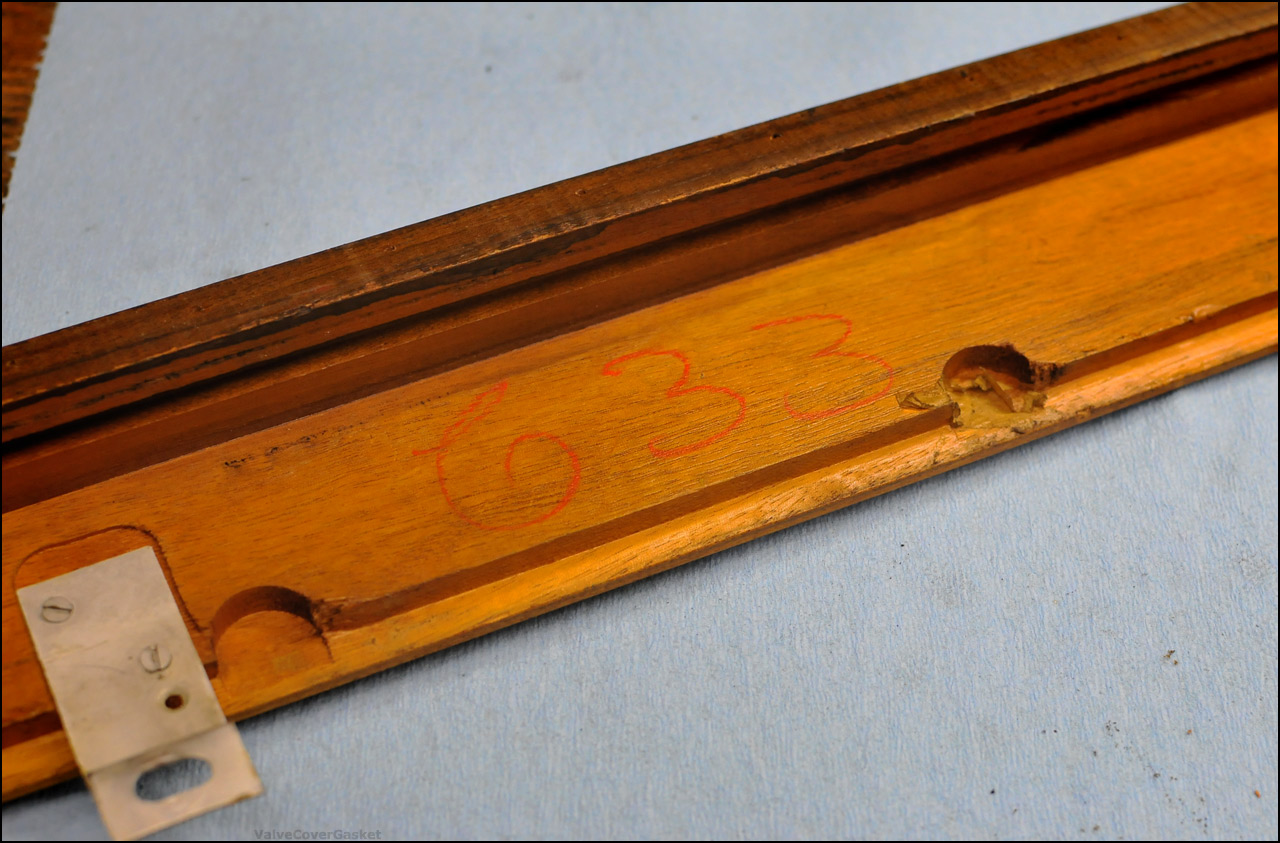
all the wood had numbers and initials/writing on it... no idea what any of it means but it was obviously hand made (and made for some nerve racking times prying on it to remove it!)
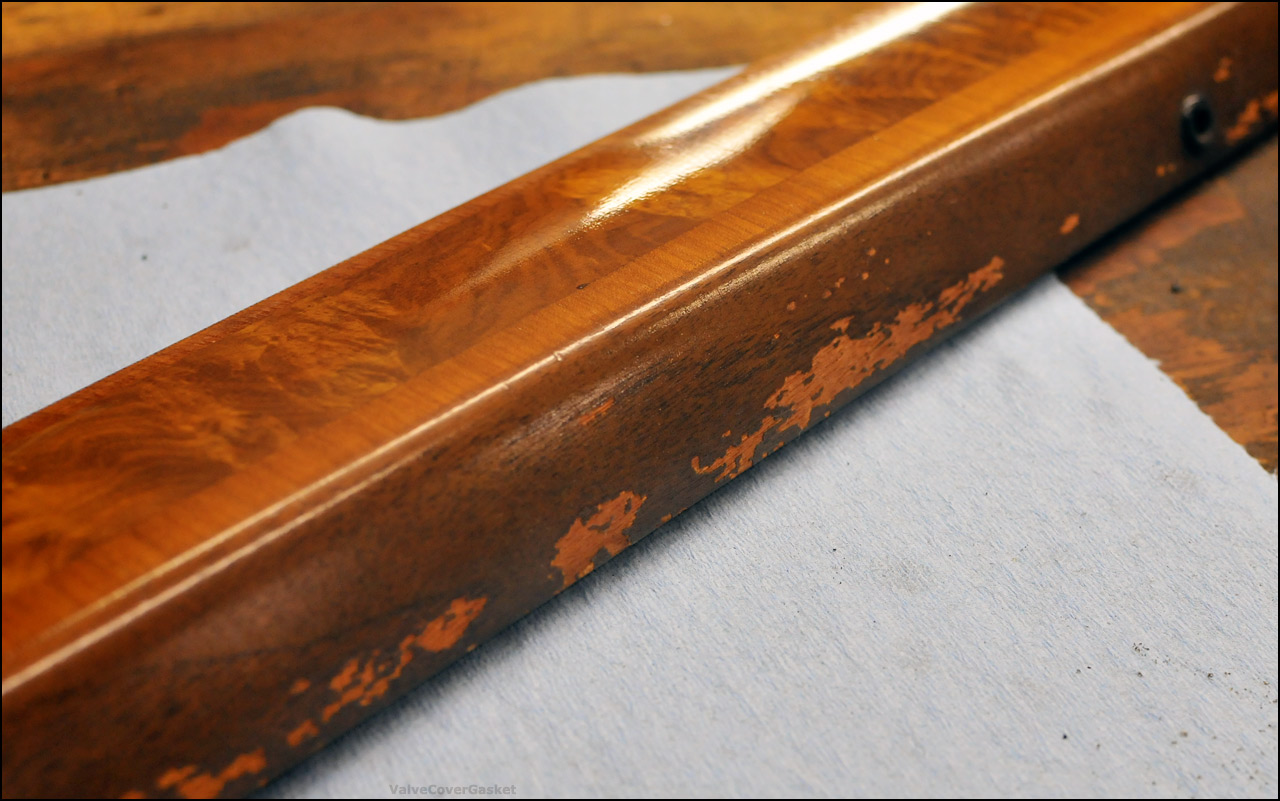
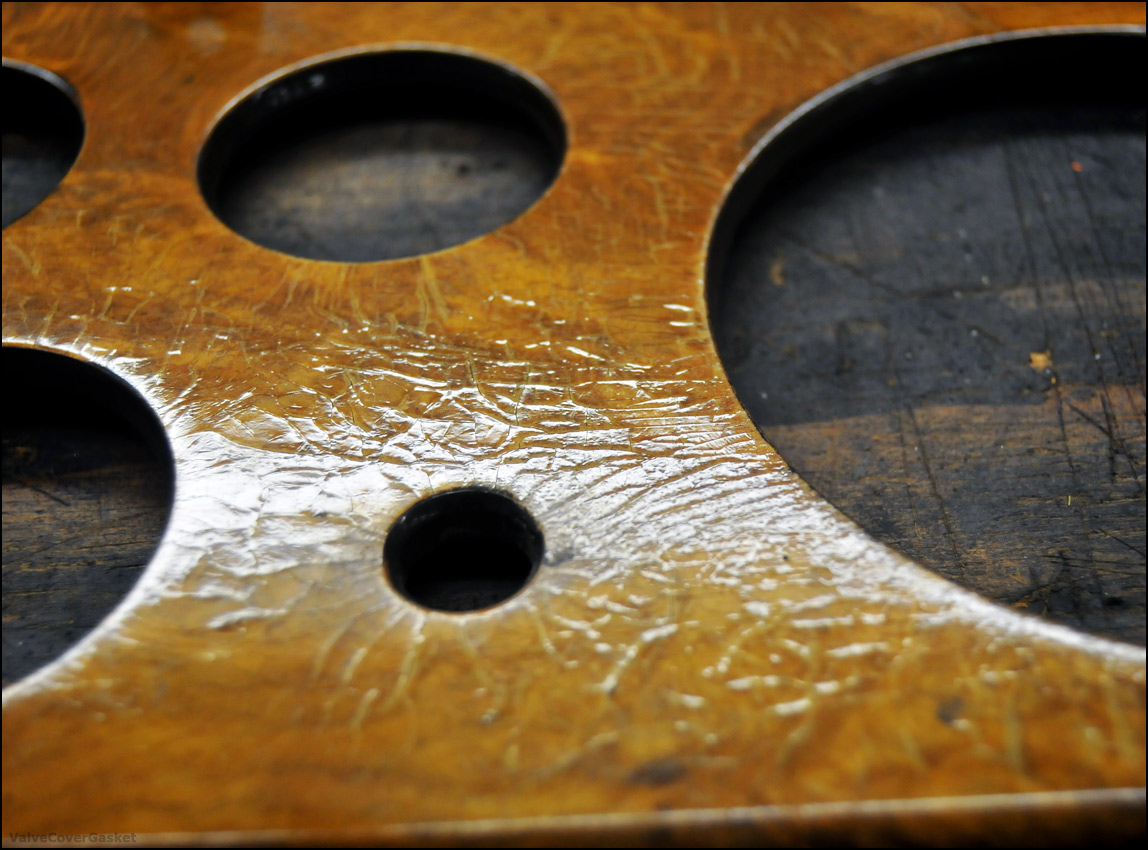
pretty good indication of what most of the wood looks like... darkened clear from UV exposure and flaking from lots of arms resting on it.
more numbers...
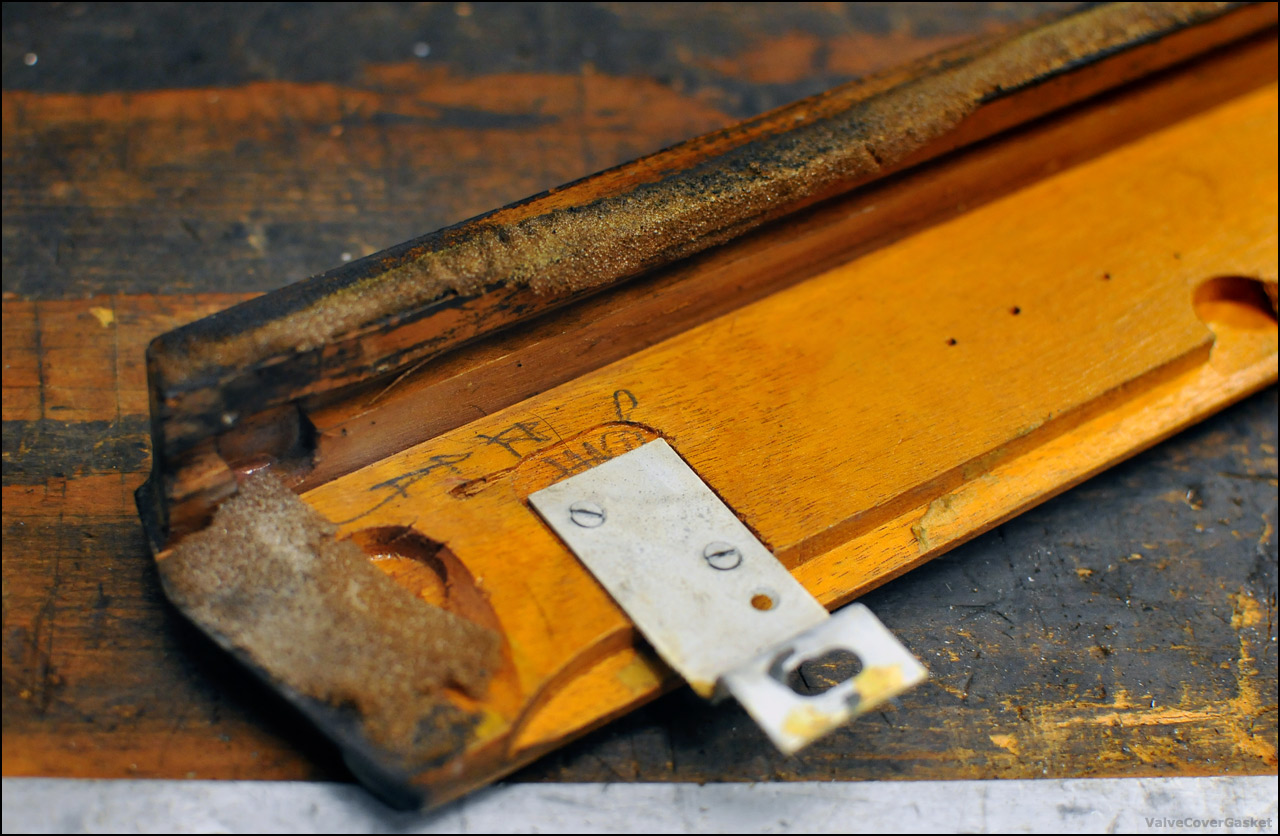
windshield surround trim coating was in really bad shape... these were the easiest bits of wood to remove, just a couple screws and the whole thing falls out. since this is always in the drivers face i think itll make for some huge improvements when it goes back in with proper coating on it

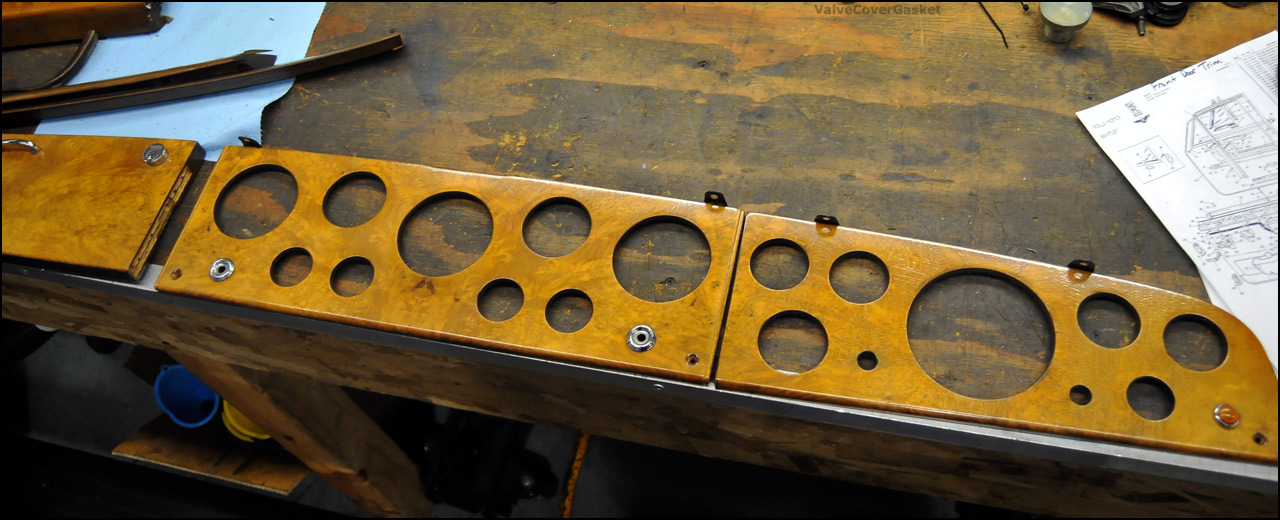
dash vertical surfaces all out...
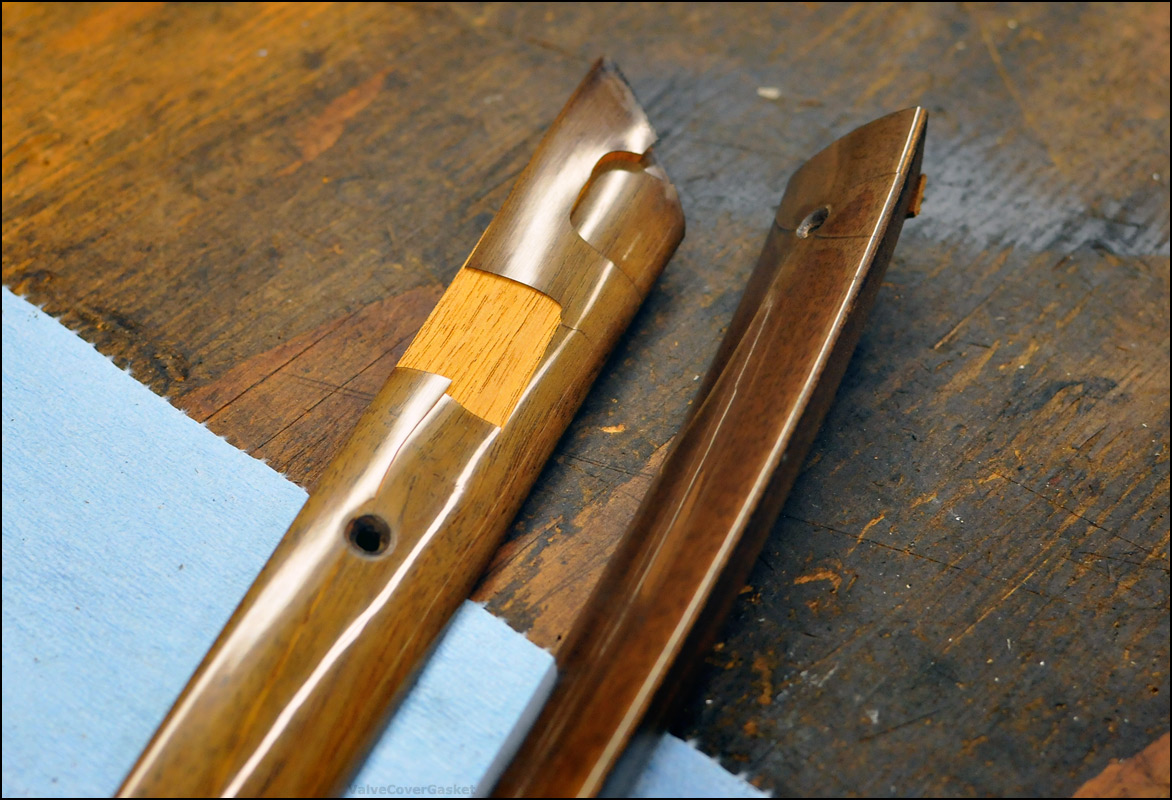
the bit in front of the driver was kind of a bear to pry out as the wood is deep and fits over the gauges, so getting it out without having it catch on the gauges was tough. couple happy thoughts and quick prying got it out in one piece though... surprisingly the pieces are actually pretty thick too
worst of the clear cracking on the dash...
the lower trim pieces look like they're gonna have to stay in the car, since it seem to be glued/integrated into the wood dash shell. luckily the clear on those is in good shape since theyre at such a funny angle they probably didnt get much sun
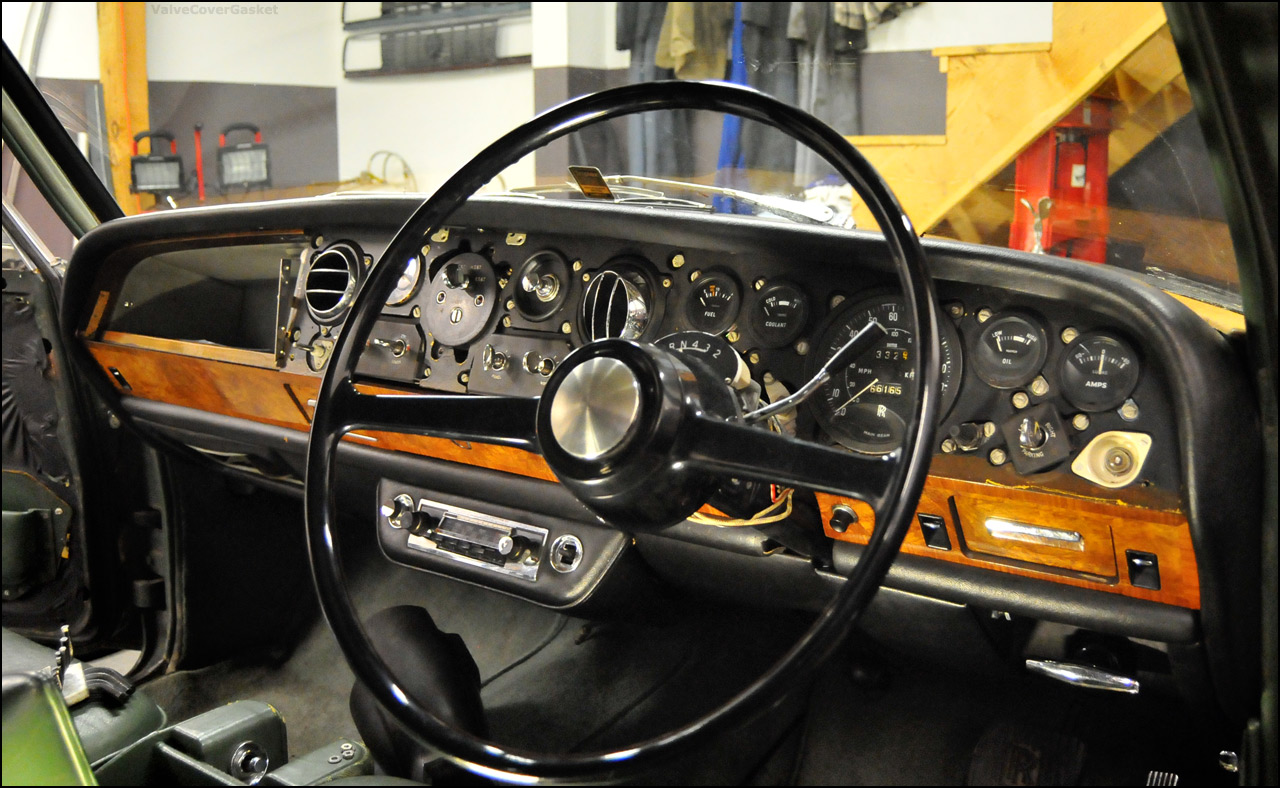
this is unique to the early production cars, as i think in 69 or 70 they made the lower bit into a padded section to comply with safety standards... makes me appreciate the early cars more and more, having more wood on the dash and not having the ugly center console.
i need to get that ignition section out to service the lock, but that'll be a project for later before it all goes back together...

while its apart and im waiting on the wood to com back with fresh coating on it heres the todo list:
-fix the loose drivers side mirror
-get radio working/powering up, sort out speaker wiring... its all unplugged and from the poking around i did the other day it looks like the PO had a different setup in there, so we'll see whats up there
-new bulbs for all the gauges (apparently these are a generic bulb so this should be a cheap fix and well worth it)
-fix/service the clock
-send out the parcel shelf and bottom dash storage cubby to get resurfaced
-take off the steering wheel and put in the new shift selector that weve had sitting around... thisll fix the broken shift selector handle as well
-tighten up the loose turn signal selector, the contacts are kinda loose and it takes a magic touch to get it to actually blink the signals...
-track down a couple of the missing screws/odds and ends for the door cards
-hopefully fix the rear drivers side door inner handle, handle part works and moves the linkage, but the actual door lock doesnt seem to operate unless its activated from the outside... ive heard these can be a pain though so well see...
and do some deep cleaning while its all apart!
anyway, definitely be keeping busy while its apart!
thats it for now!
This is unbelievable build!
Posted by Diggymart on 3/11/20 @ 9:53:34 AM