You must be logged in to rate content!
7 minute(s) of a 148 minute read
4-11-2012
Well ive been cracking on again today and got a good amount done -
Pictures -
Subframe partially built back up with all new pipes -
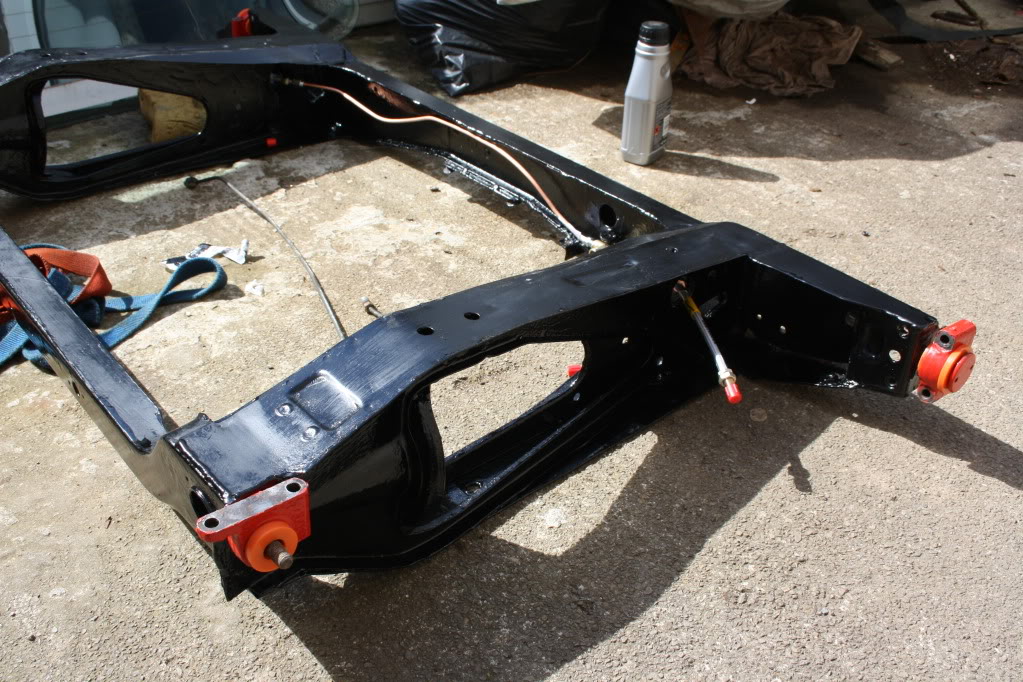
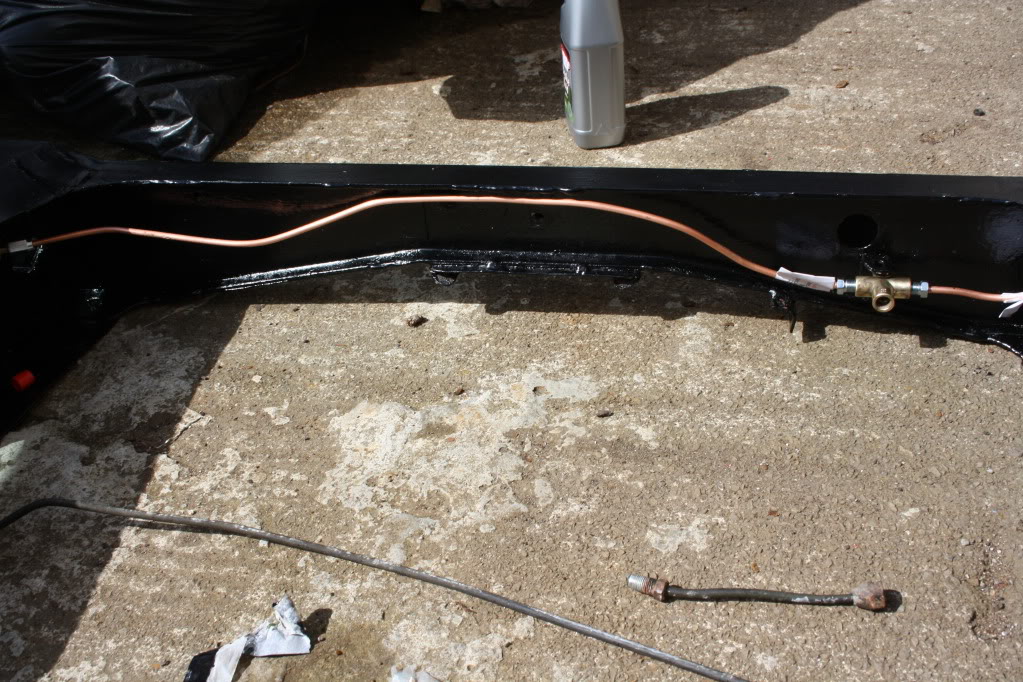
Heel board and boot floor now have a nice coat of chassis black -
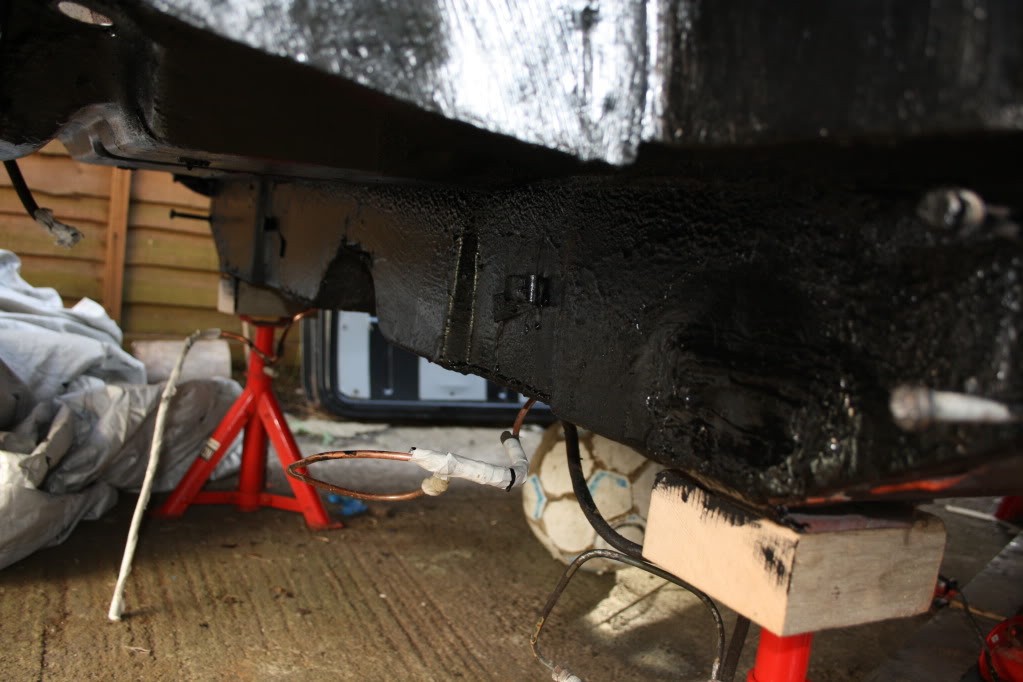
Arch in underseal -
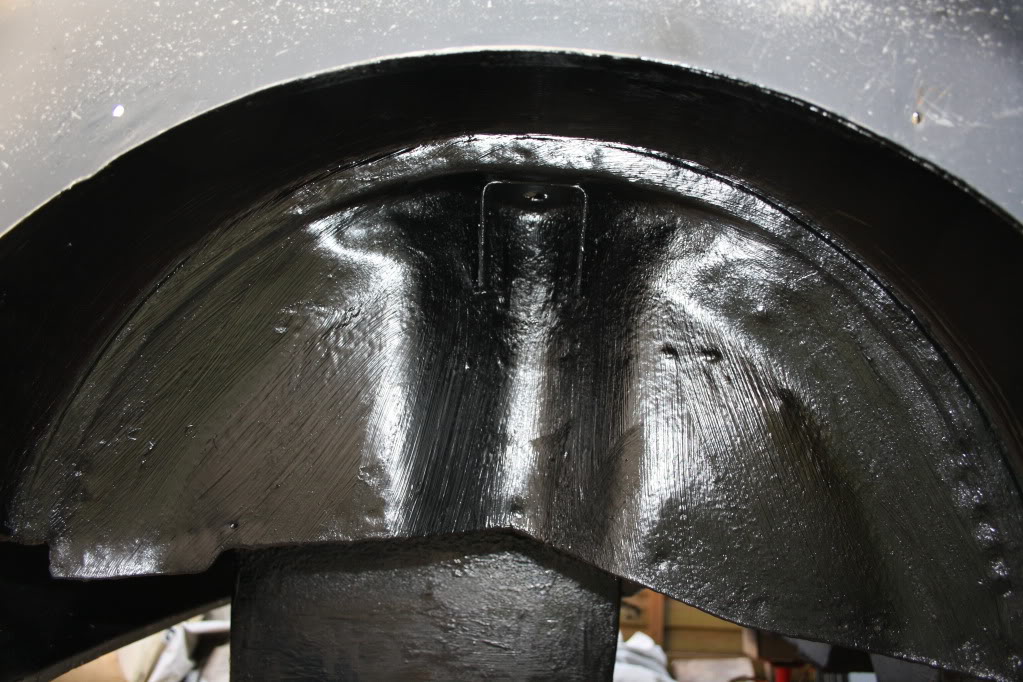
And the front arch -
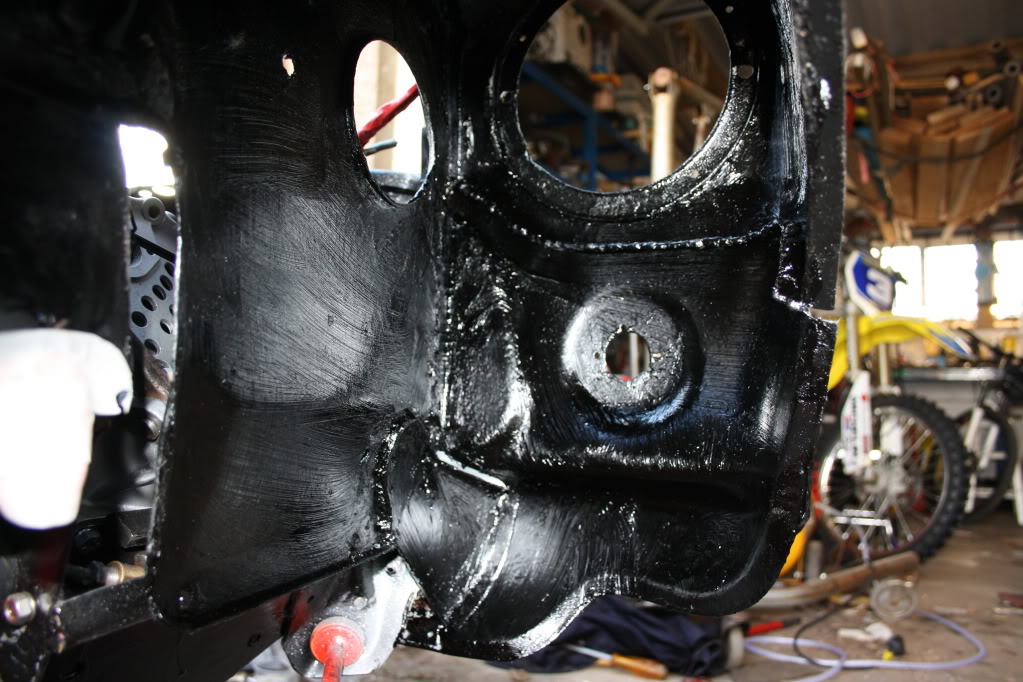
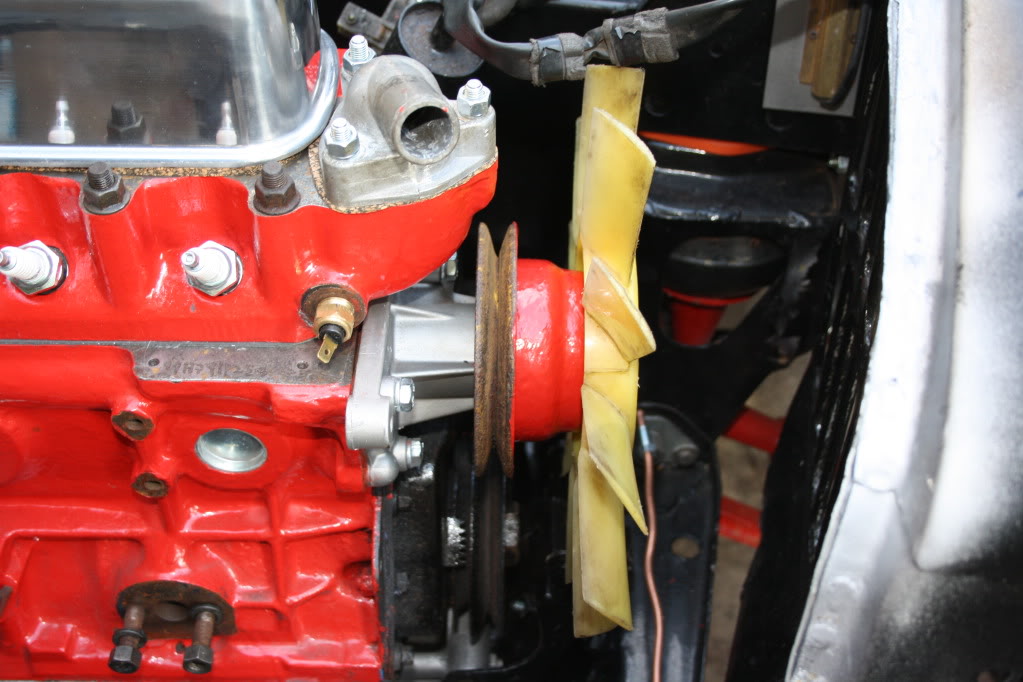
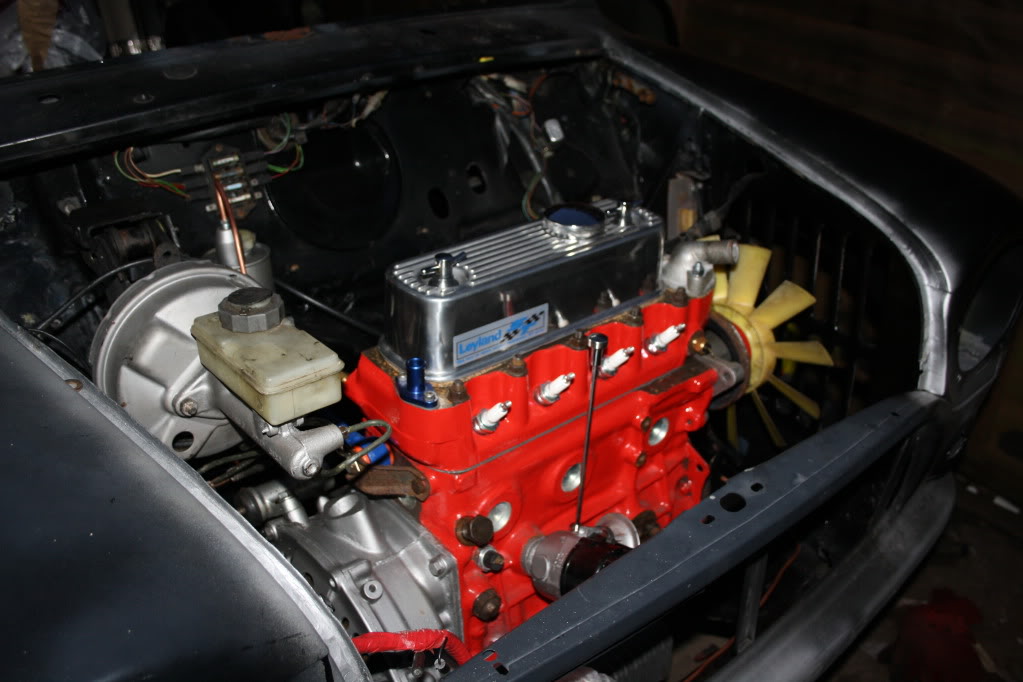
Thermostat housing on and the fan -
Attached the servo and connected it all up -
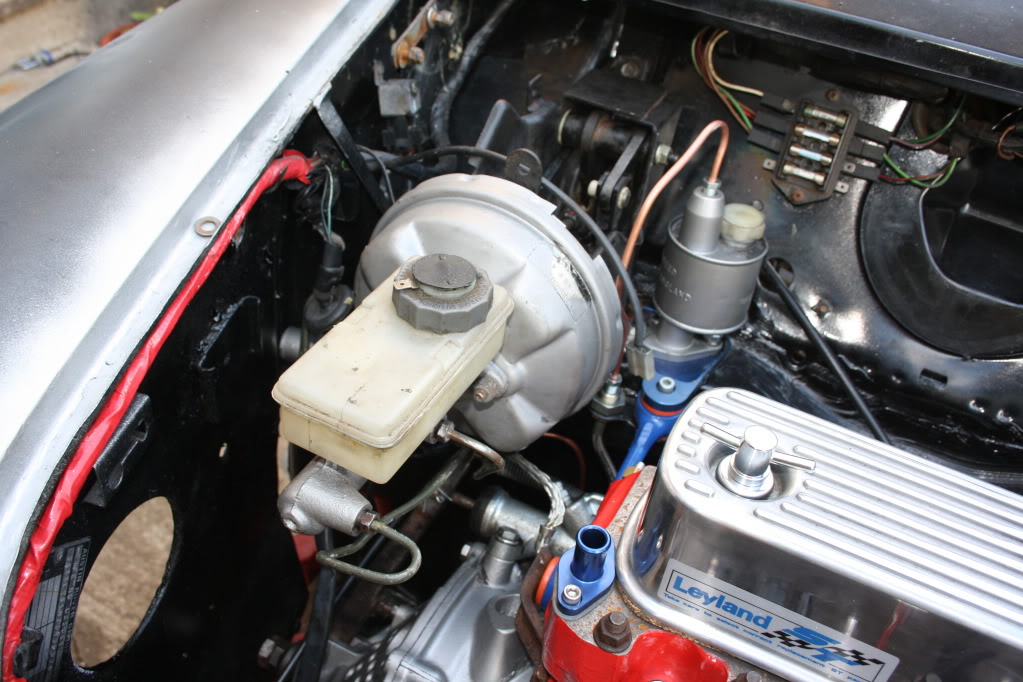
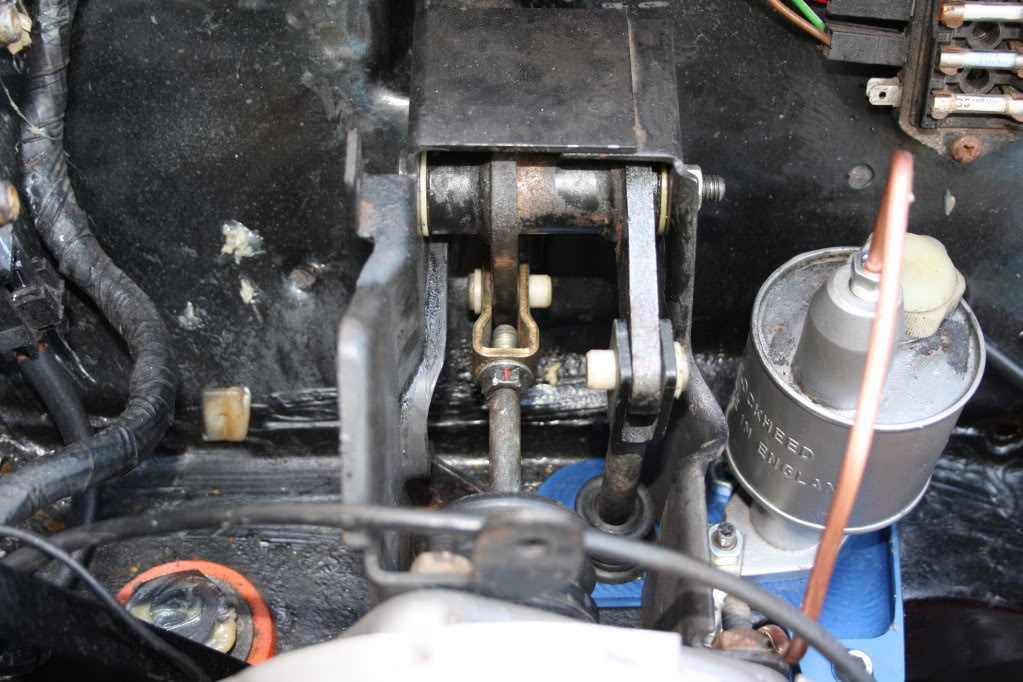
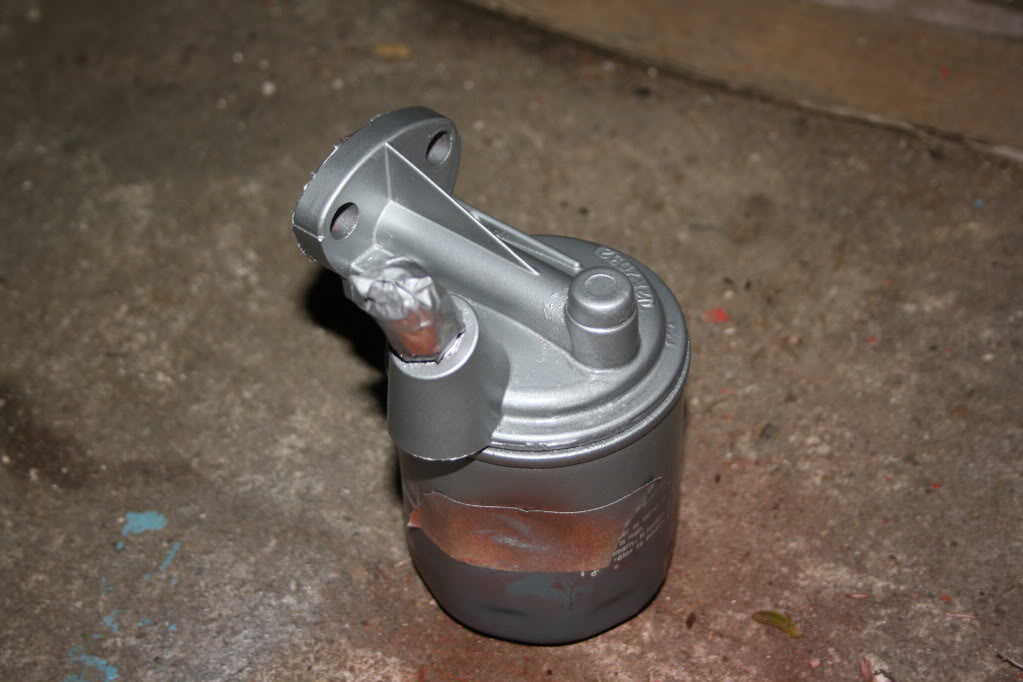
Sprayed the filter housing -
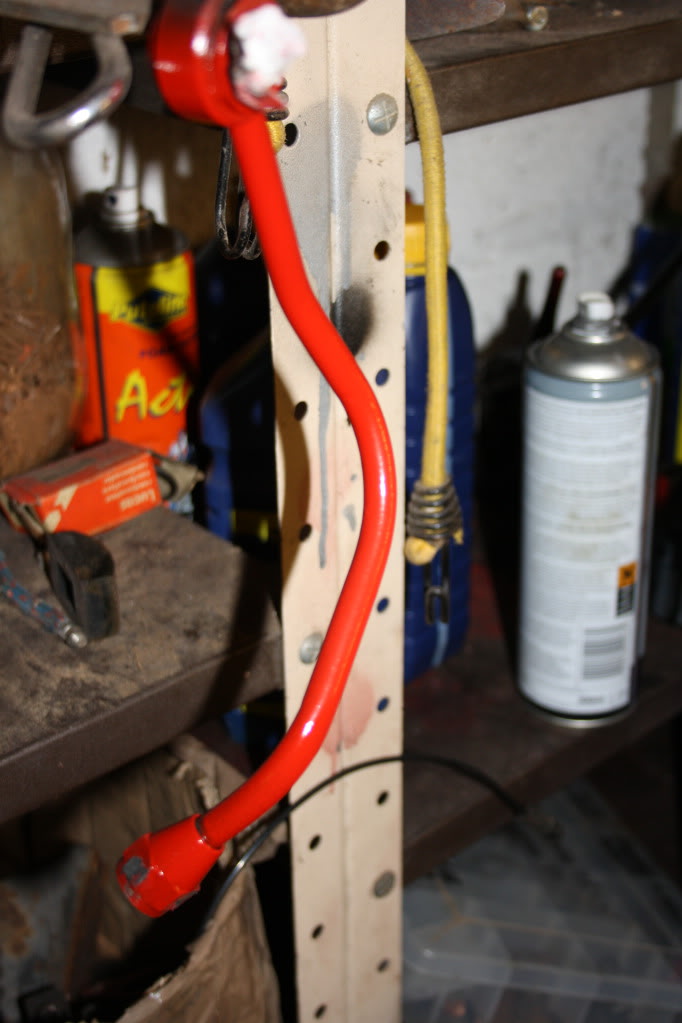
How shes standing now -
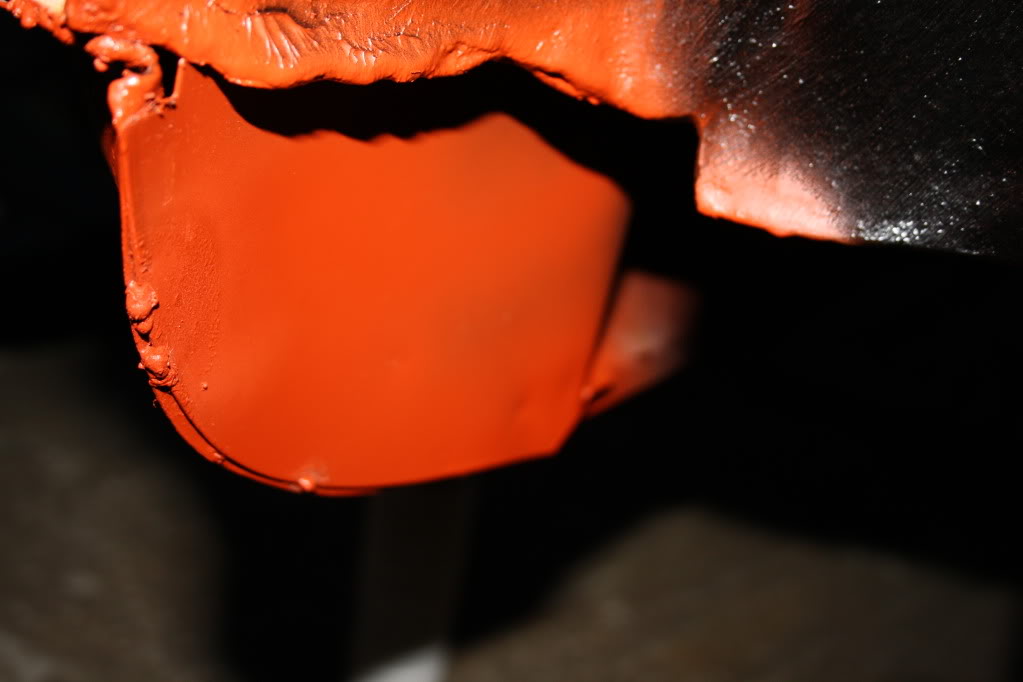
Tacked the first closing pannel on -
Thats about it car wise for now, However -
I ordered a 2 Meter role of real suede as i had something pretty cool in mind. Ive always likes how some luxury cars have suede dash boards and dash rails so i thought why not do it with mine, So here are my results -
I covered up the ashtray hole as i wont be using that -
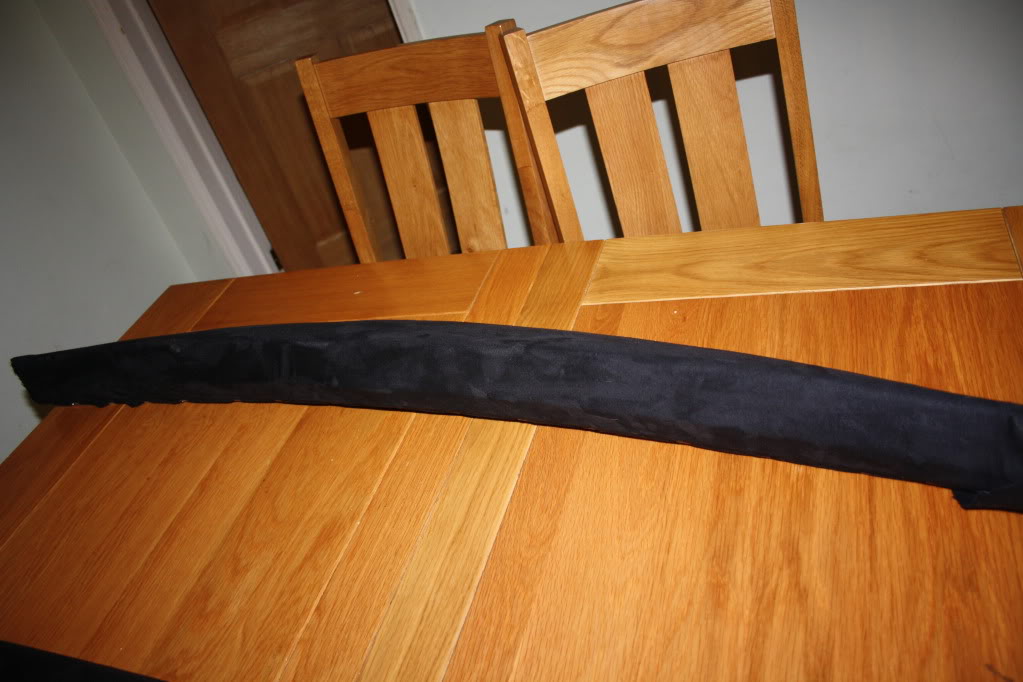
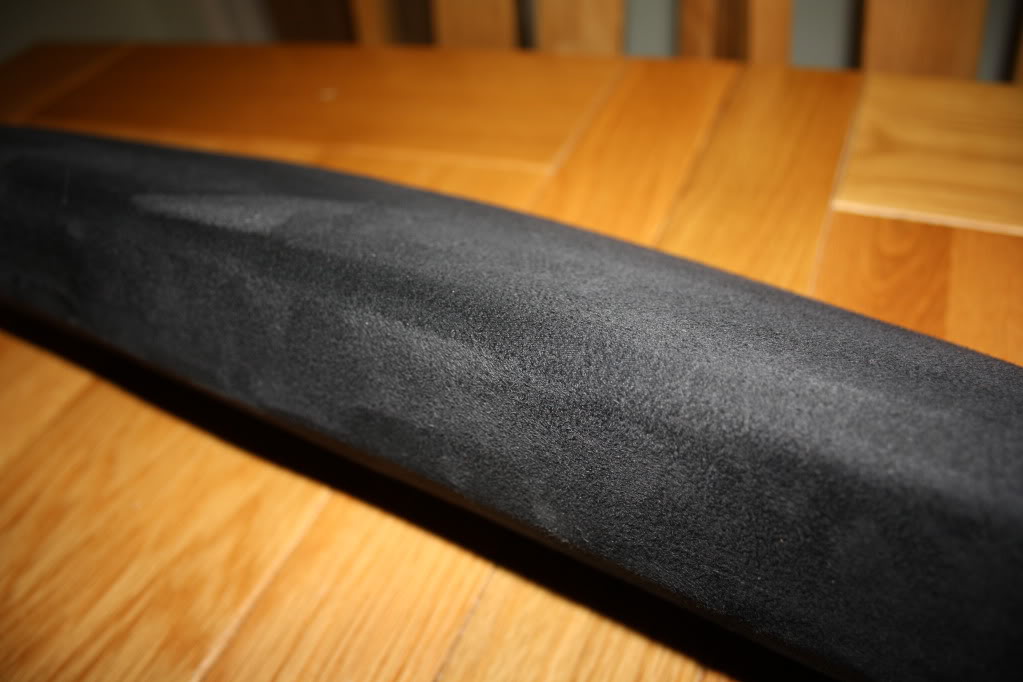
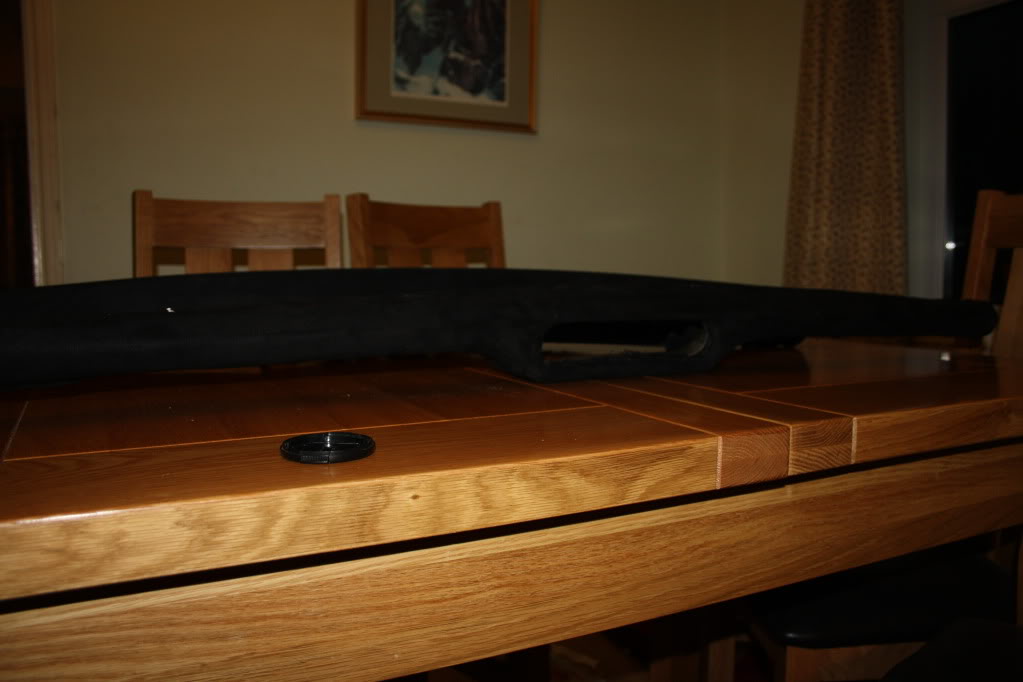
The photos really do not do them justice. They just feel and look so good and it only took me 2 Hours and cost me around £40 for material and glue etc.
I would love to know what you all think after this rather sizable update .
4-13-2012
Got a good amount done today, Im almost ready to fire here up 
Pictures -
Fuel pump on with some sexy braided fuel line ( Not that you will see it anyway ) -
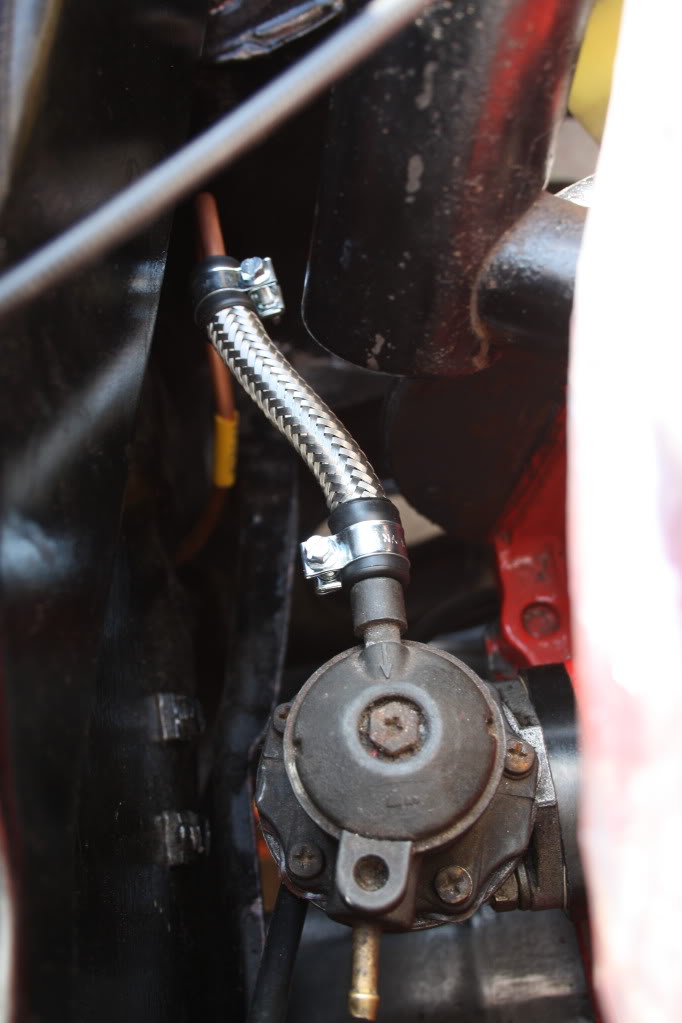
Three way junction hooked up -
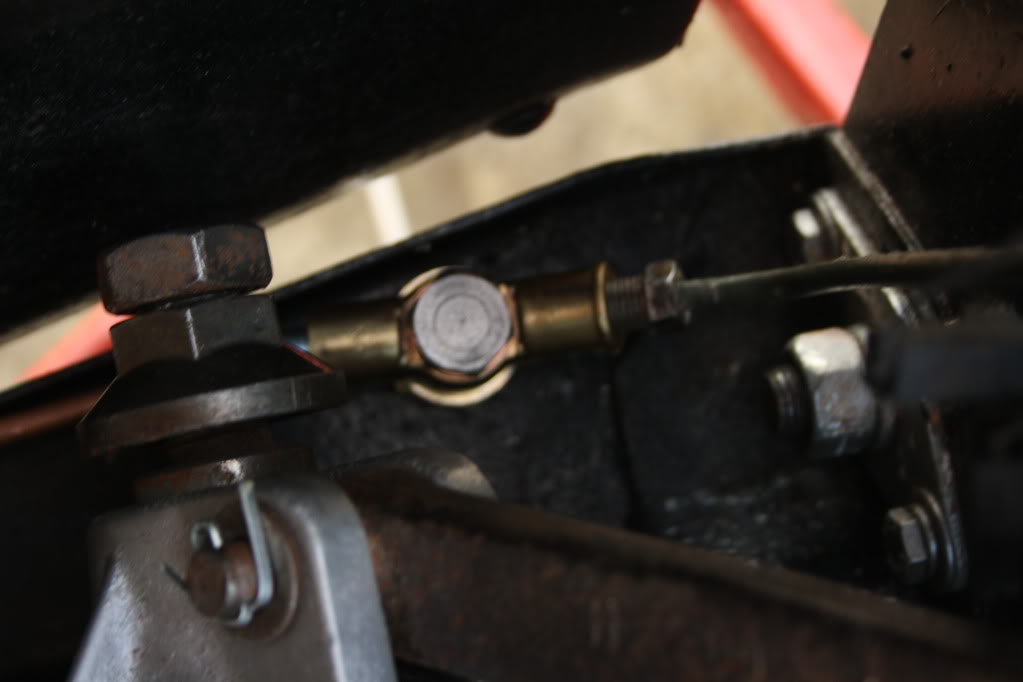
Braided front hoses arrived -
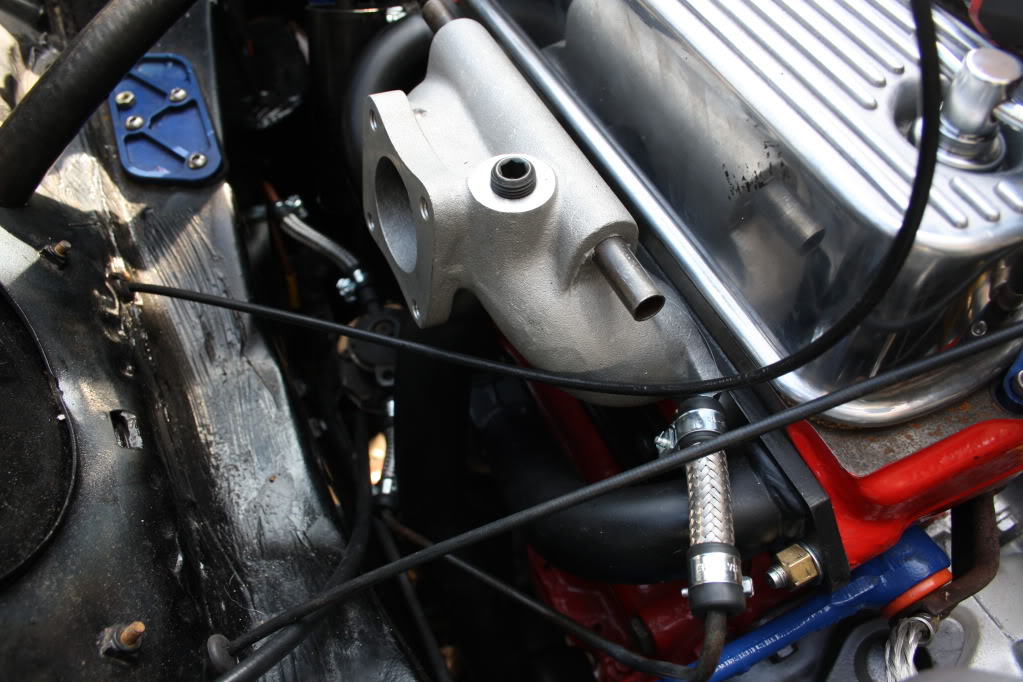
Stage 1 Inlet and Exhaust manifold fitted -
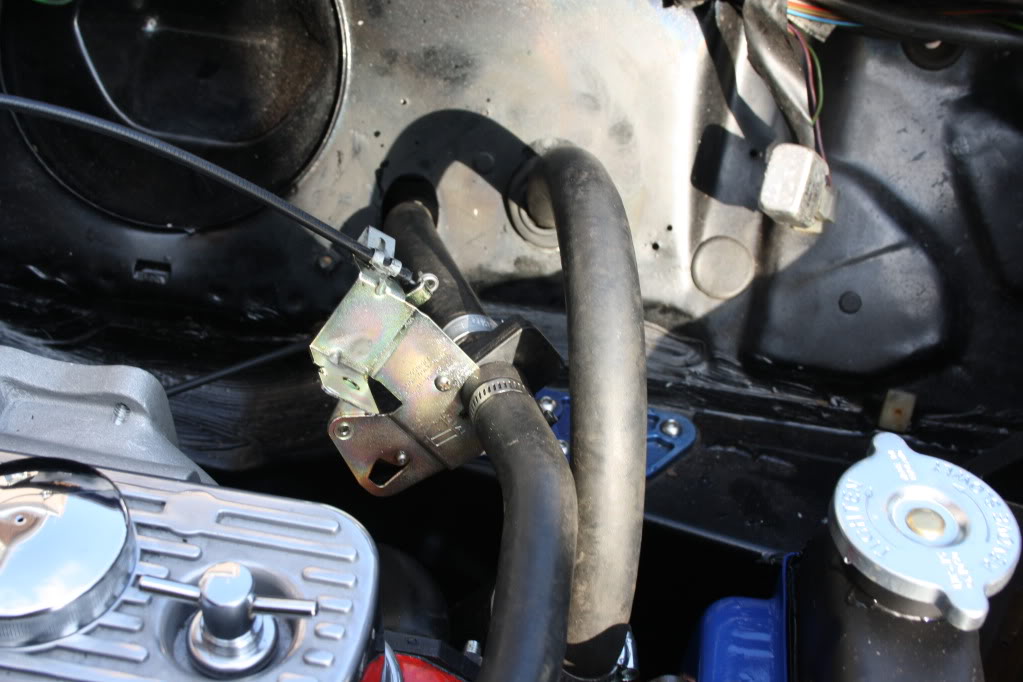
New heater valve hooked up -
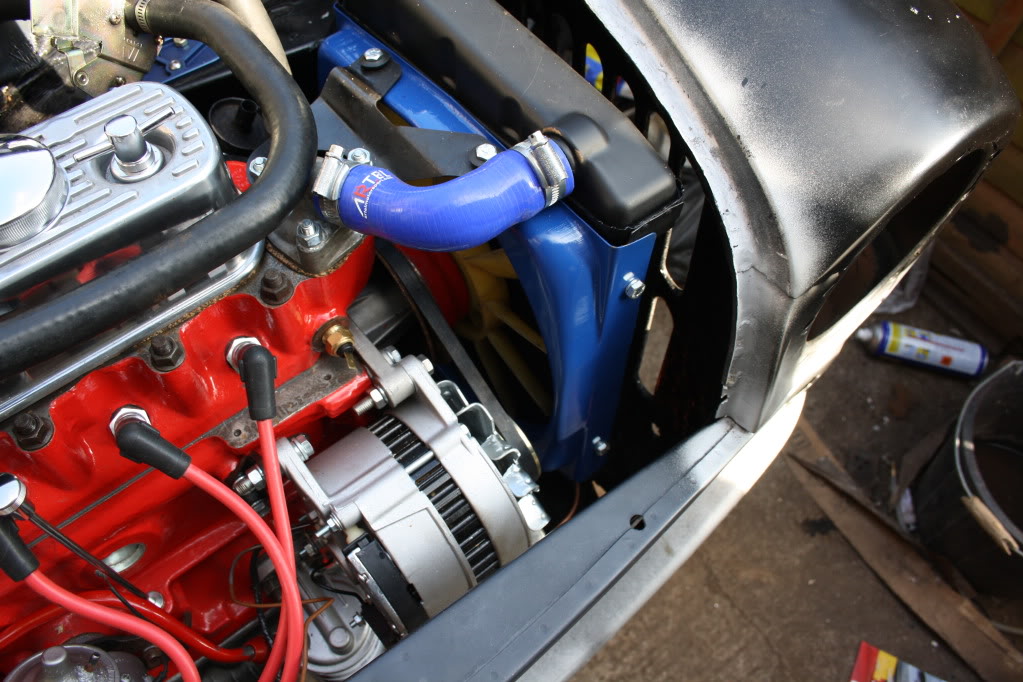
Radiator and alternator all connected -
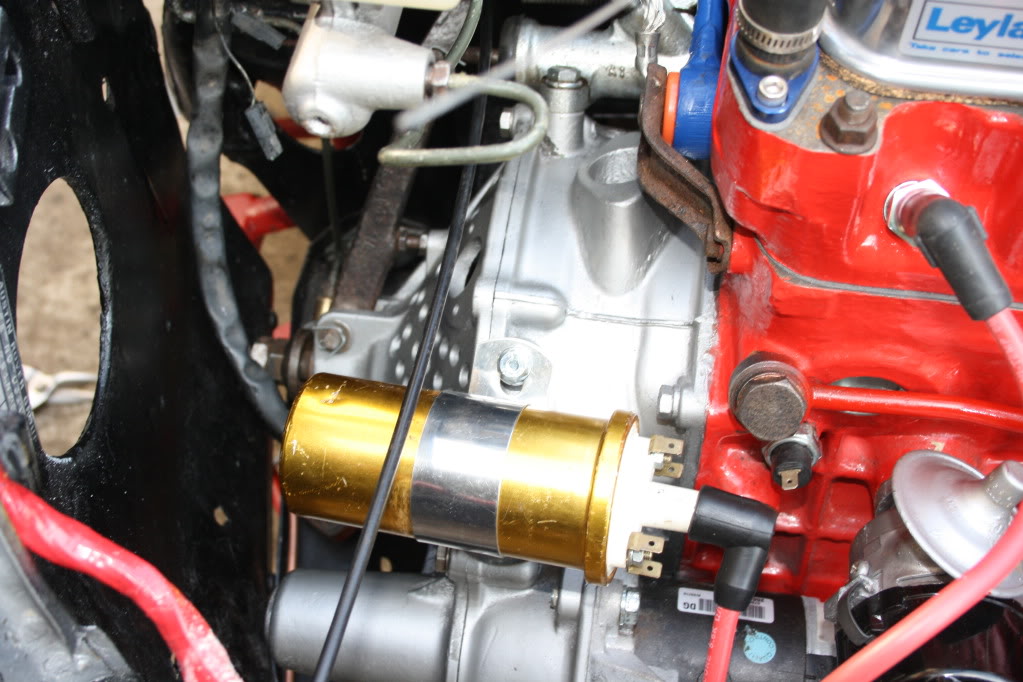
New Lucas coil -
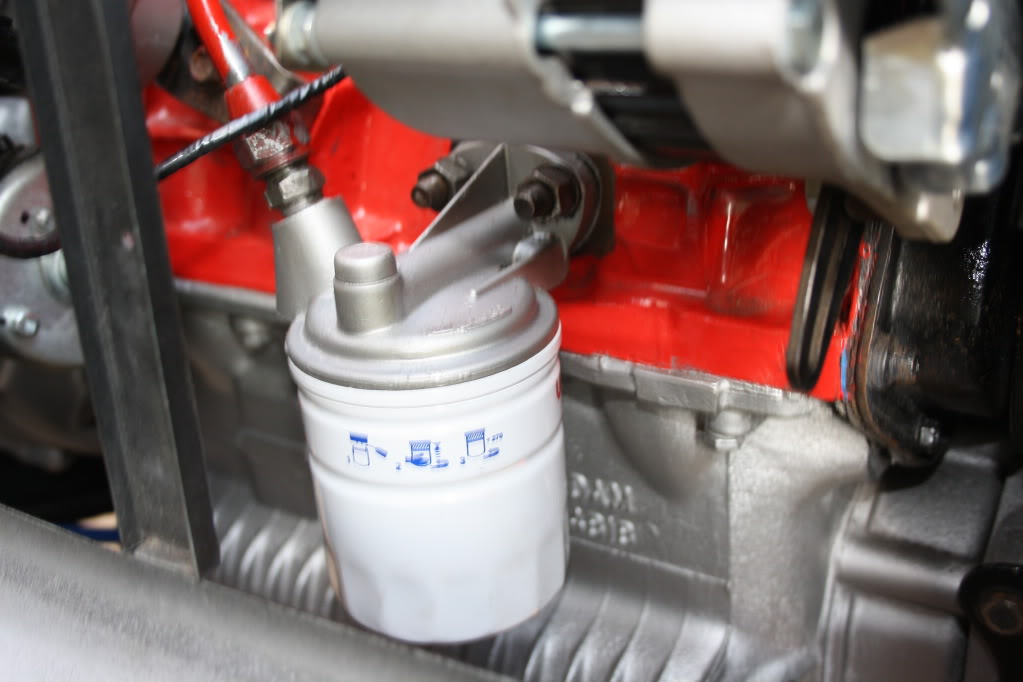
New oil filter is a must -
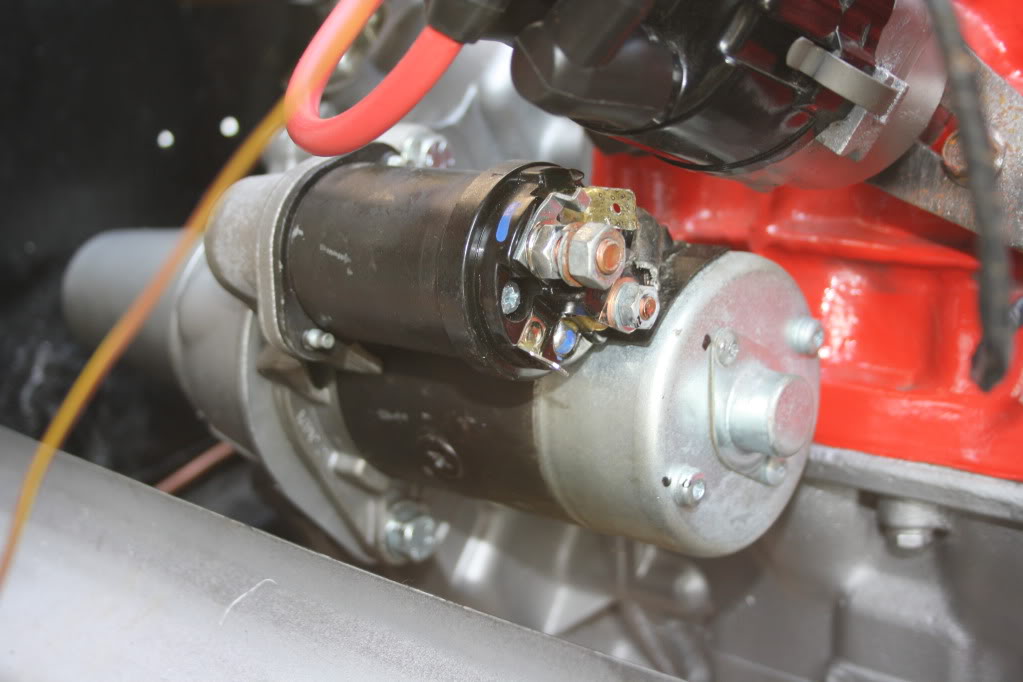
Brand new starter motor -
As she stands at the moment, Just got the carb to fit -
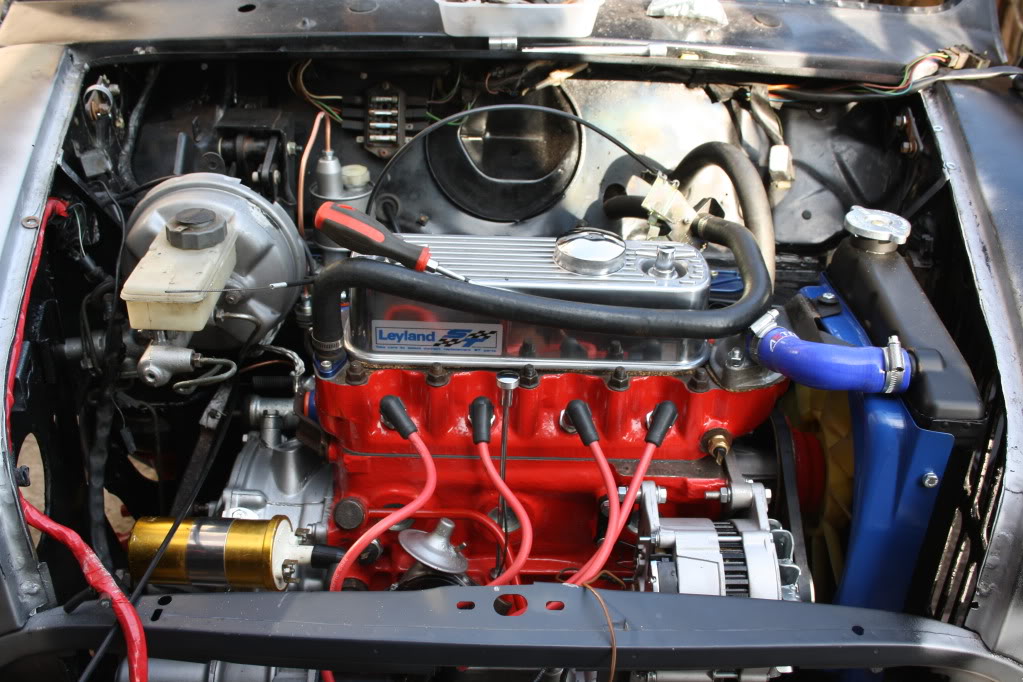
New closing panel welded on -
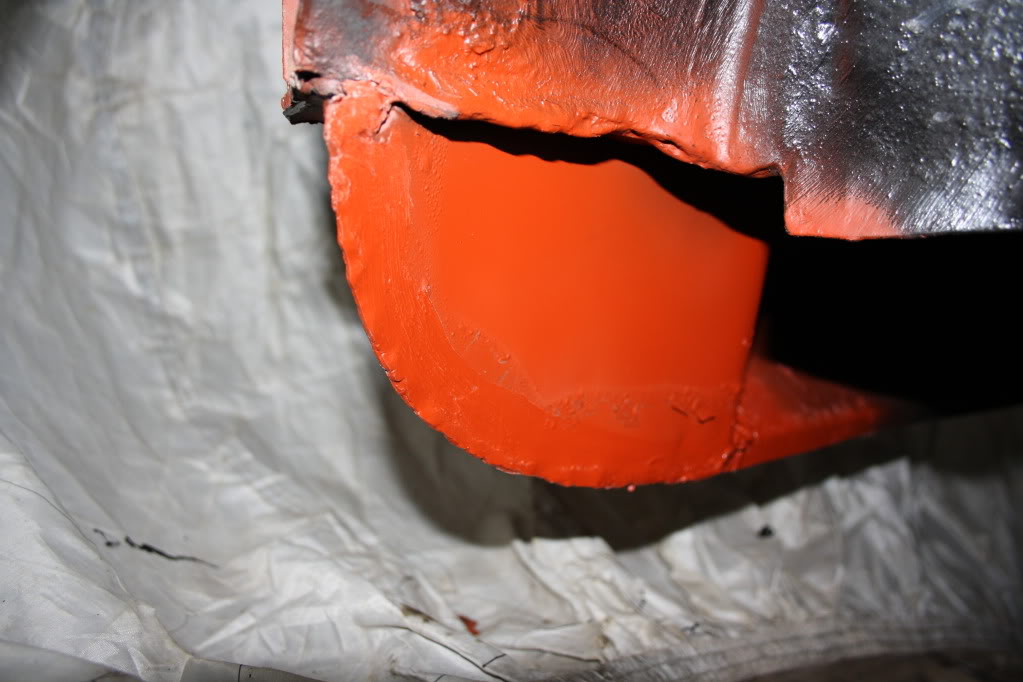
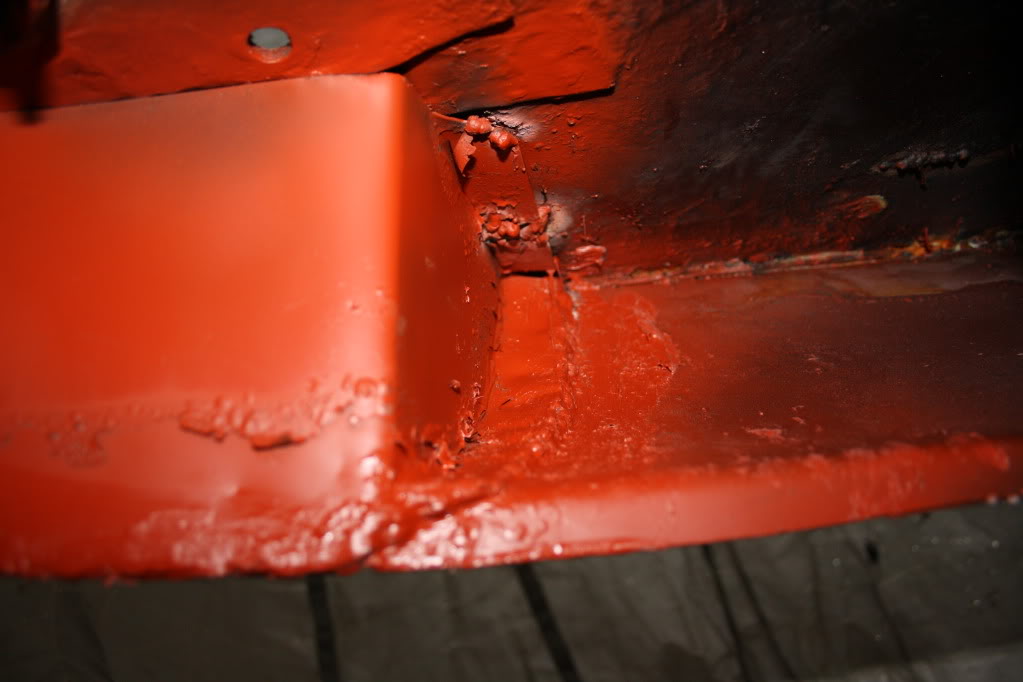
I now need to weld the other closing panel on and then finish de bumpering the valence.
Once this is done i can put the rear sub frame on, put the fuel tank in and then fire her up 
All comments are very welcome as usual
4-25-2012
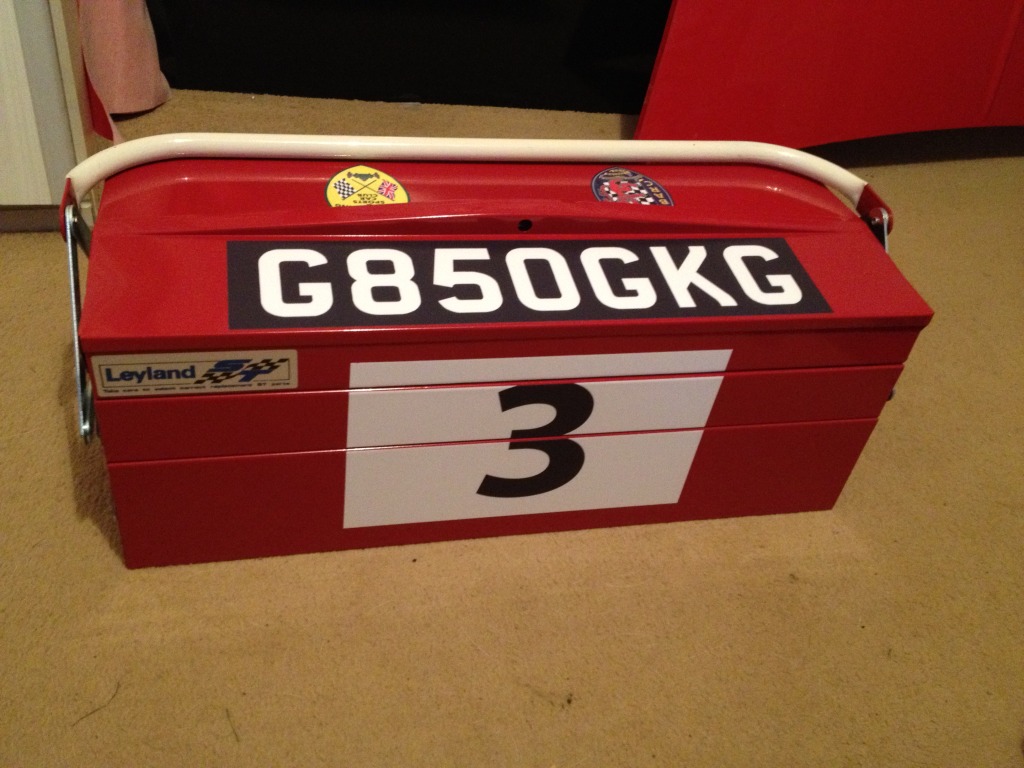
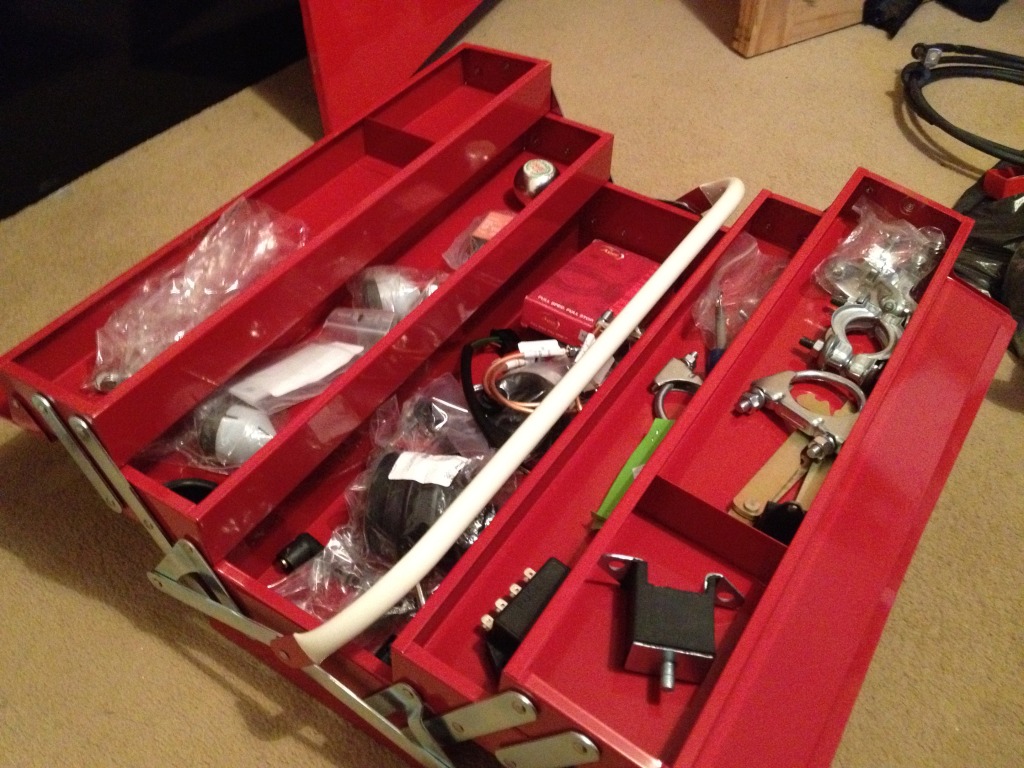
Thought id put some photos up of the tool box i have bought to put in the boot of the Mini -
5-1-2012
Sorry there's been no update in a while but i now have one for you
Pictures -
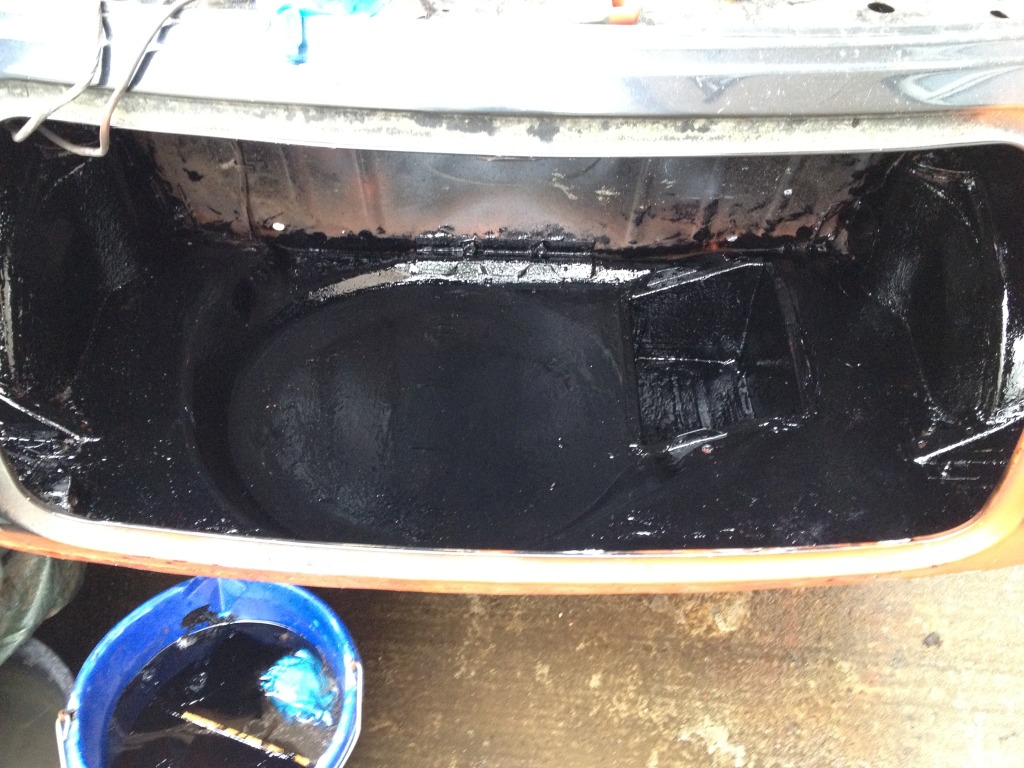
Got the boot floor painted, This is now ready for lots of silent coat -
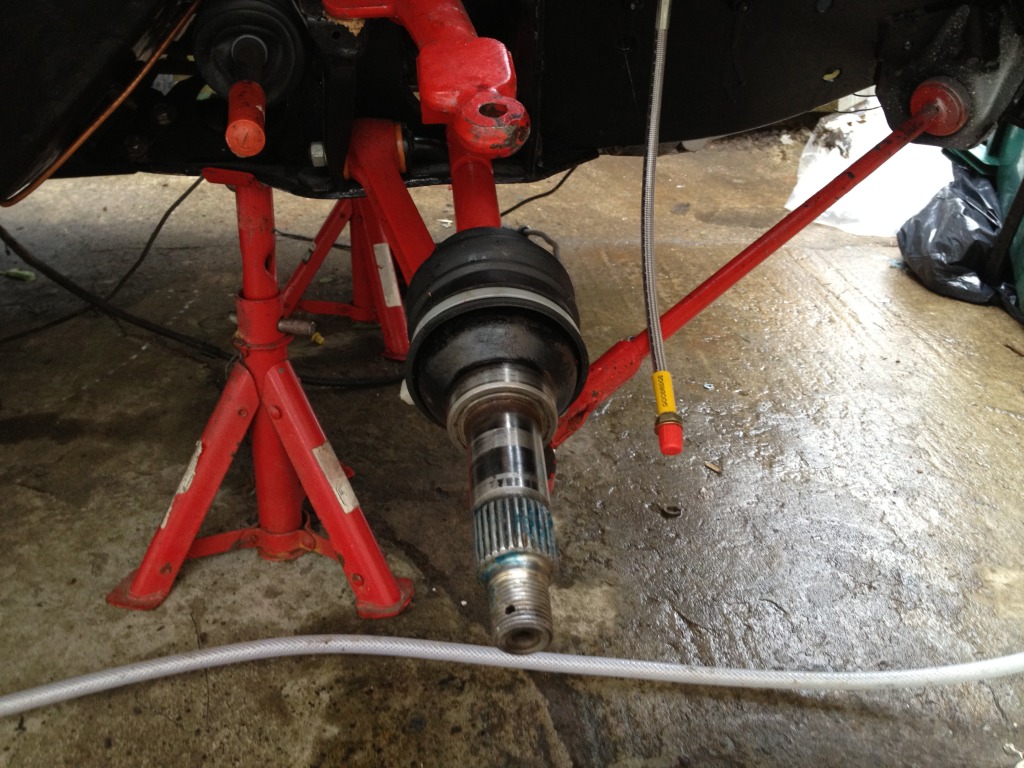
Got the first drive shaft in, I'm waiting on a new Cv Joint to do the other side -
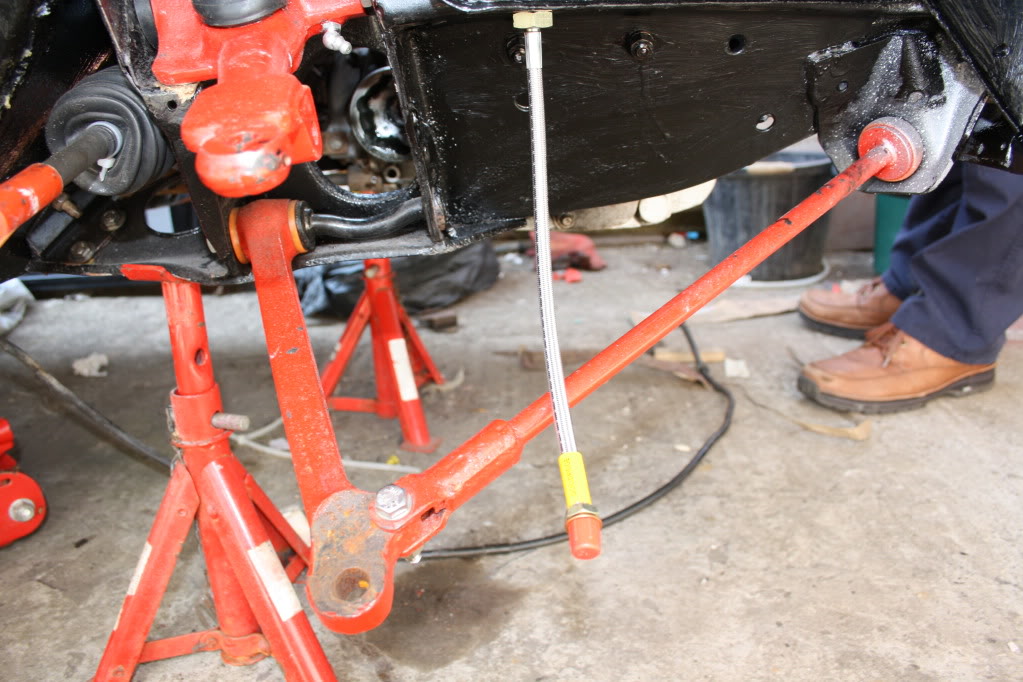
My new Avon cones arrived £40 for the pair ( What a bargain ) so this meant i could crack on with fitting the radius arms -
The left side shock will be coming of when i paint and stone chip the arch -
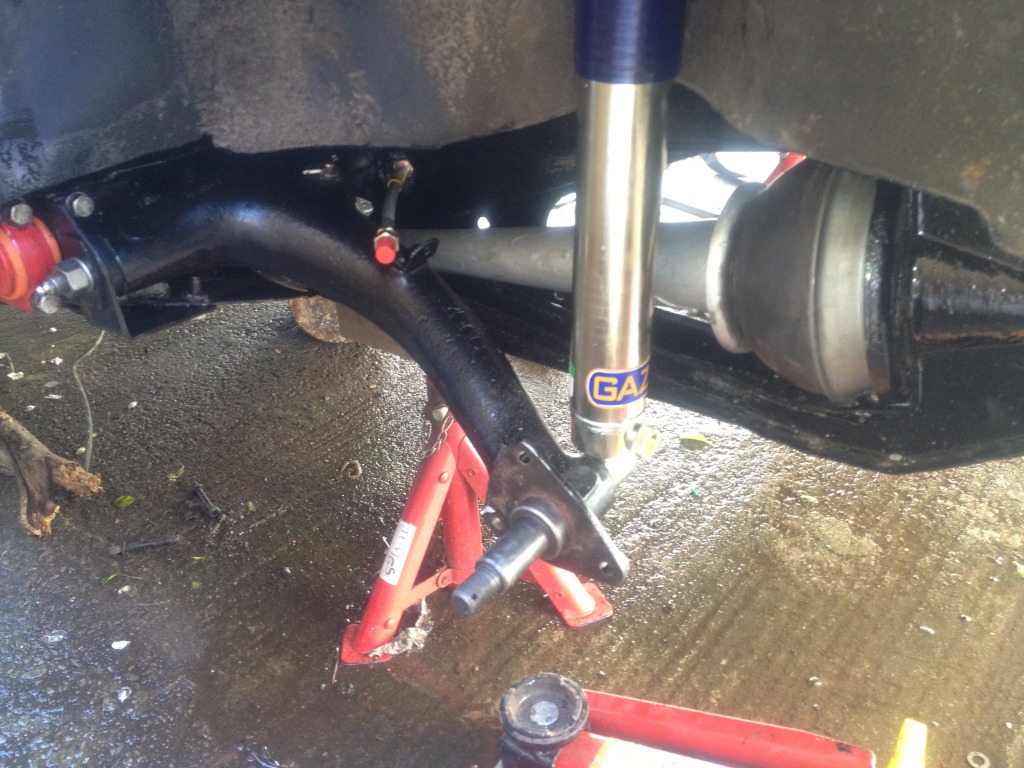
I love how the Gaz shock absorbers look, Not that you will see them anyway -
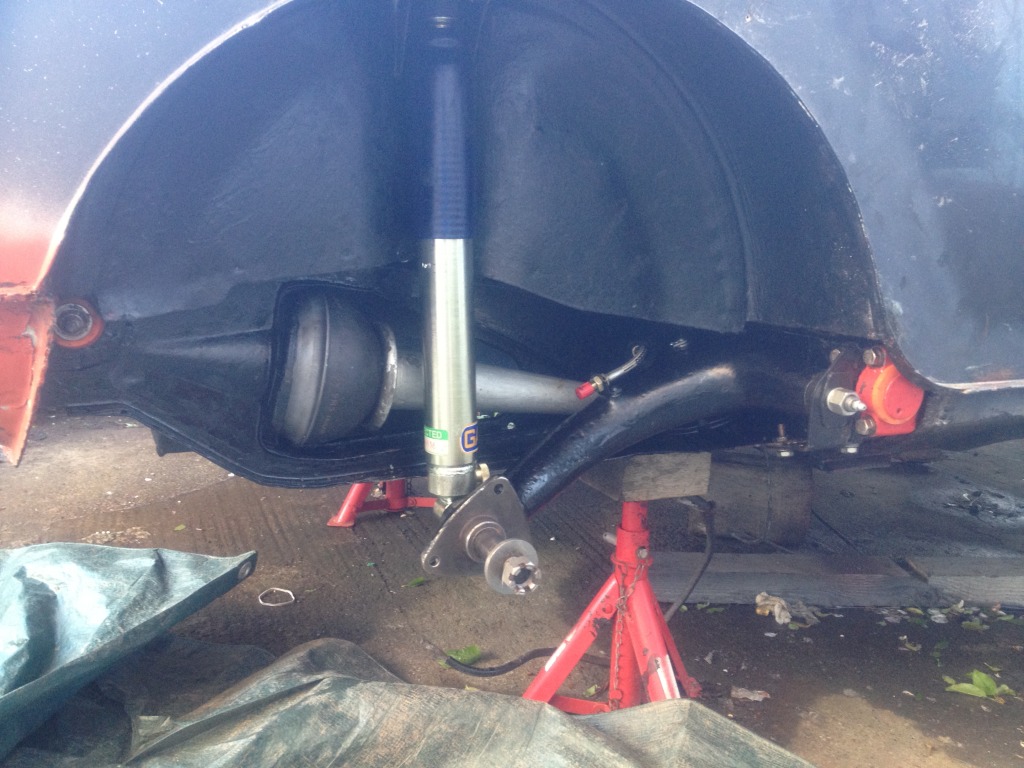
That's it for today, I'm in the process of rebuilding the back plates so they can go on then the car will have wheels for the first time in ages.
I'm getting closer and closer to finishing - Heres a brief to do list
Finish building front suspension
Fit Carb and Battery then start engine
Fit interior
Sound Proof Boot
Paint car
Great Mini build!
Posted by Diggymart on 5/28/20 @ 6:38:38 PM