You must be logged in to rate content!
6 minute read
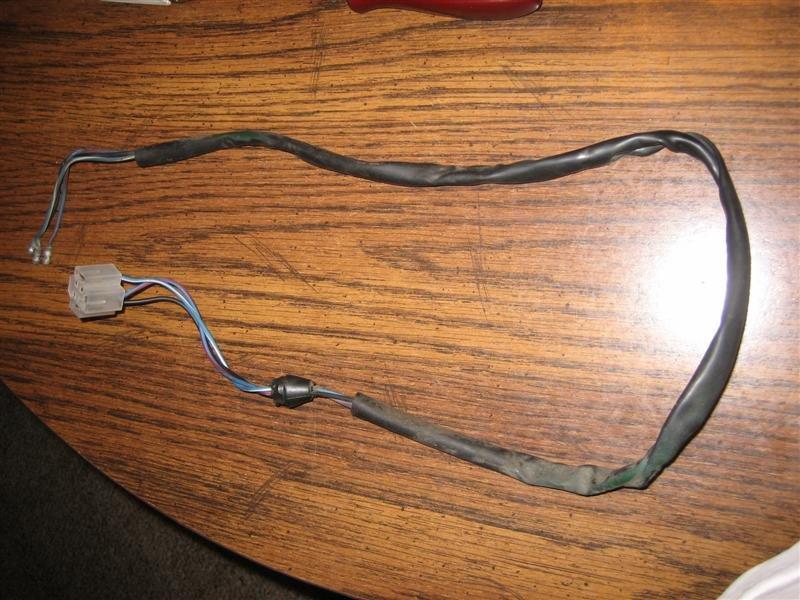
Installing Headlight Harness from Victoria British
Compliments of Tom Smith @ madbrits.org
At least how I did it,
by Tom Smith
First disconnect the ground at the battery.
I also removed the air cleaner assembly and shroud.
Next remove headlight rims, outer rims, sealed beams, and inner rims.
1. The headlight rims are removed by prying outward on the bottom-center of the rims.
2. The outer rims are removed by removing the three Phillips screws that fasten them in place.
3. The sealed beams then need to be removed from their plugs. Take care to not drop the sealed beams while doing this.
4. The inner rims are removed by simply pulling the spring out from the hole it is in on each rim and slipping the rims from the adjuster screws.
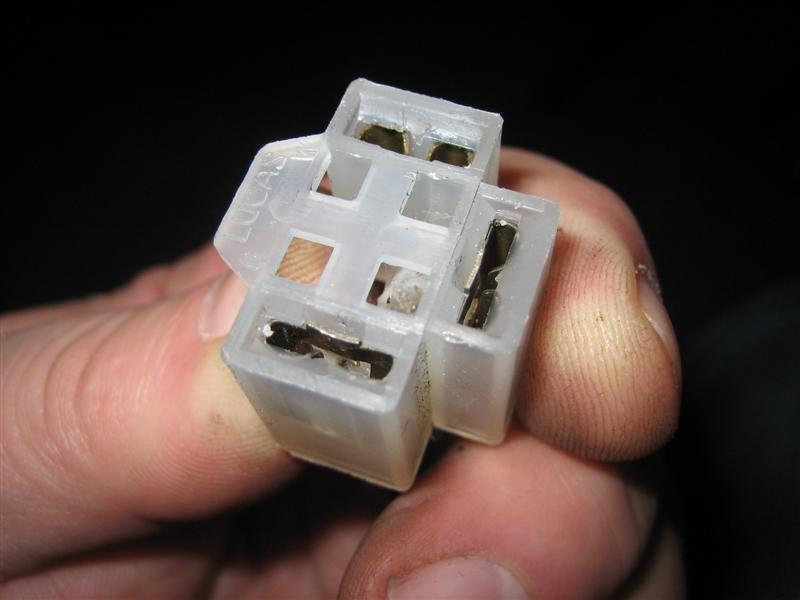
Now remove the plug for the lights from the three wires. Note which wires go to each pocket in the plugs, you will need use one of these wire harnesses and might want to save the other.
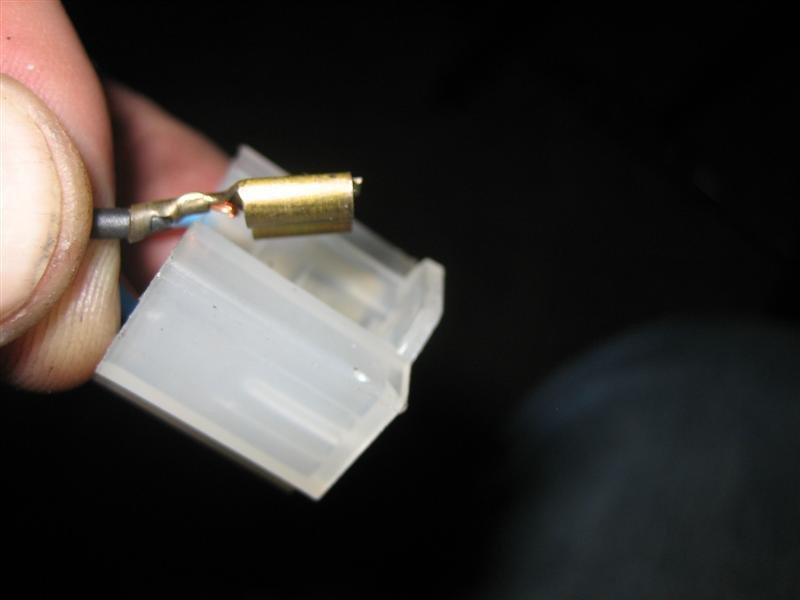
To remove the wire clips from the plastic part of the plug follow these steps. Notice the small notches in each pocket.
Insert a small screwdriver or similar tool in the notch along side the brass clip.
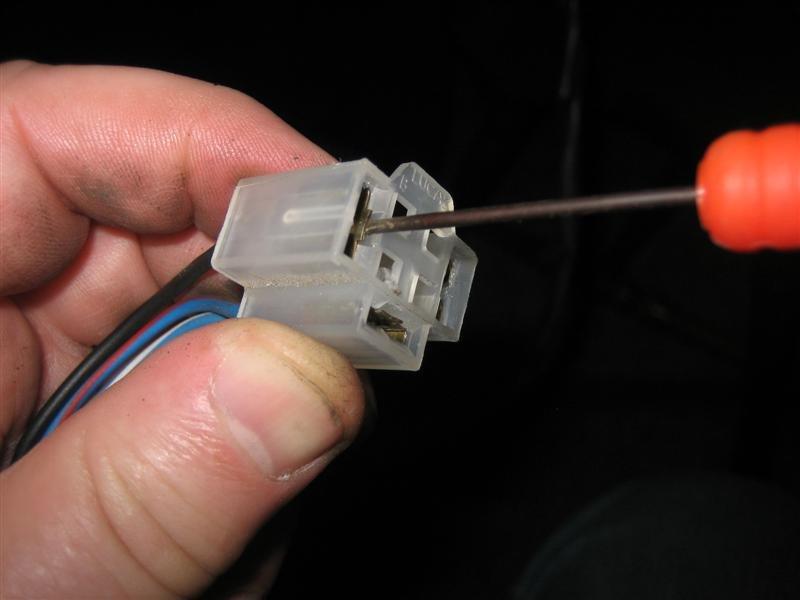
Use the tool to press the small tab and gently pull the clip out of the plastic.
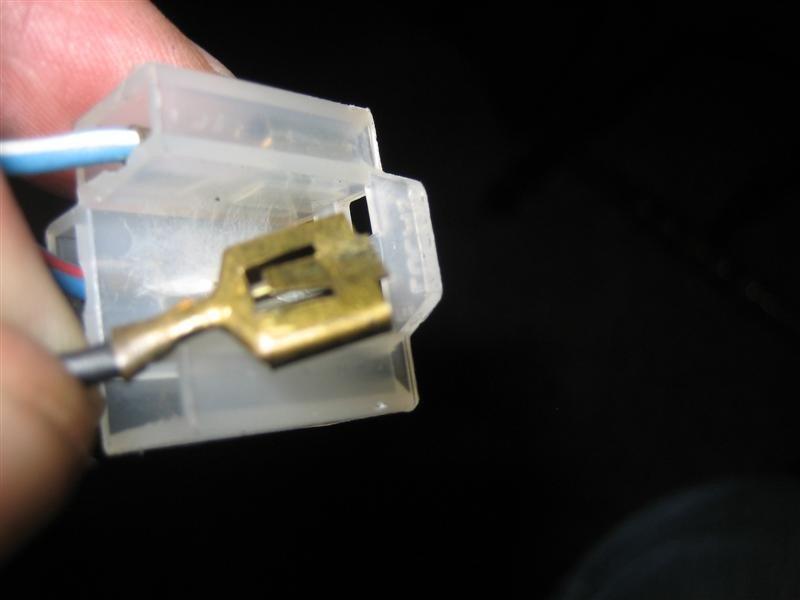
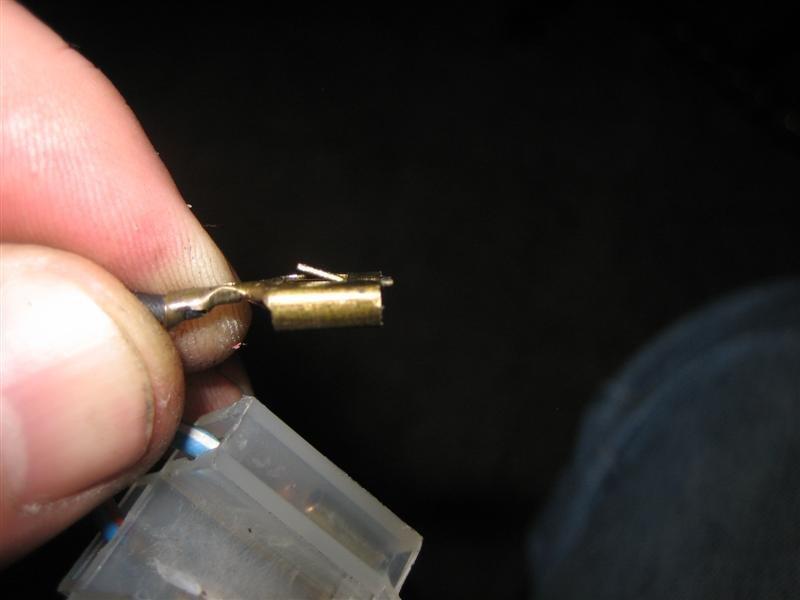
After removing the clip you will notice that the tab is flattened. Use the screwdriver or similar tool to bend it back out. If it is not sticking out it will not secure the clip in the plastic.
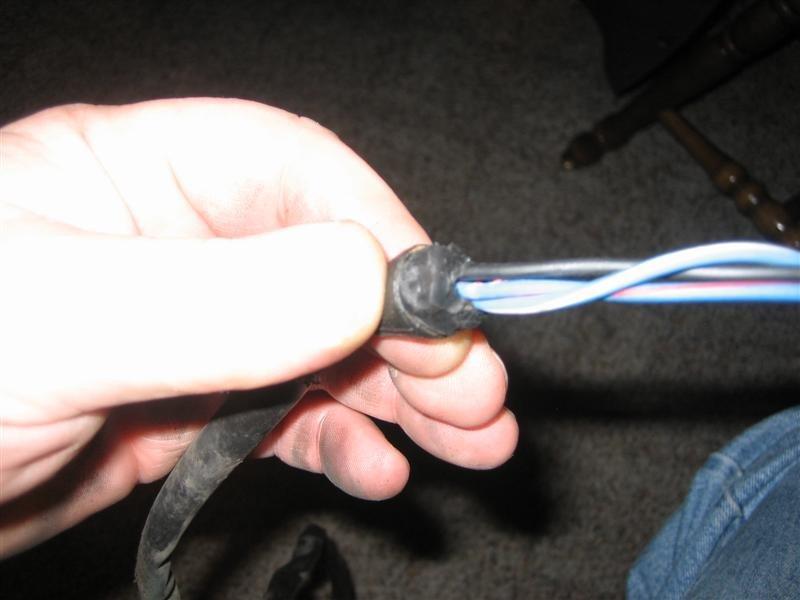
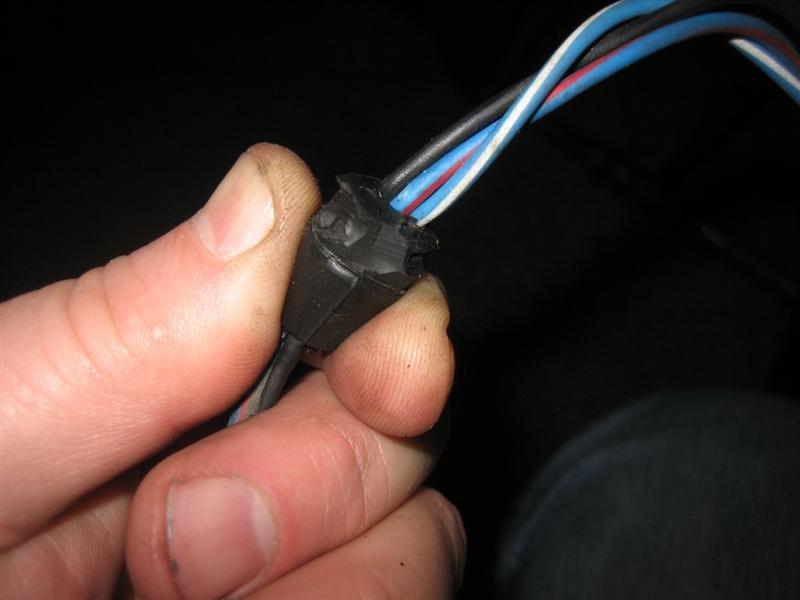
Next use a box cutter and cut the edge from the grommet that seals the wires in the bucket. Then remove the wires by drawing them into the wheel well.
Then unplug the wires from the main harness in front of the radiator. This and other steps might be much easier if the shroud is removed. Now feed this end of the wires into the wheel well. This would be a good time to replace the plastic part of the plugs.
Now to install the new harness.
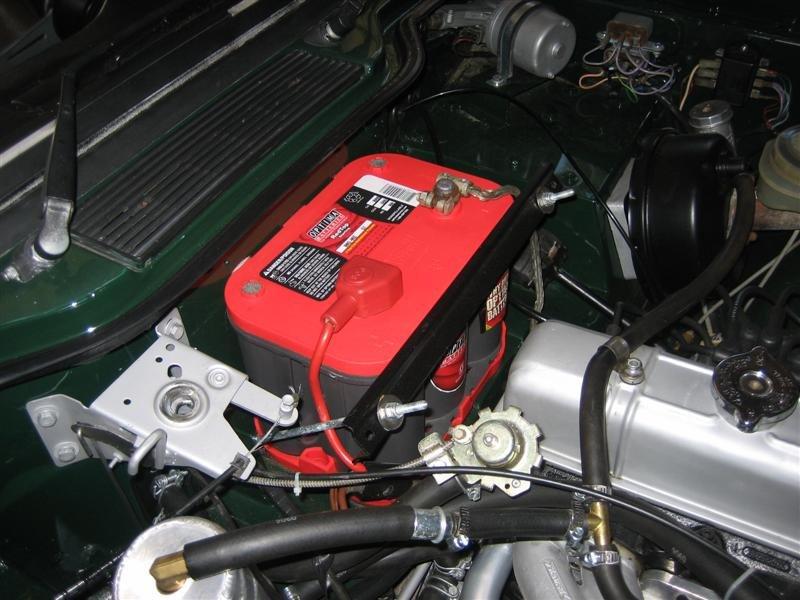
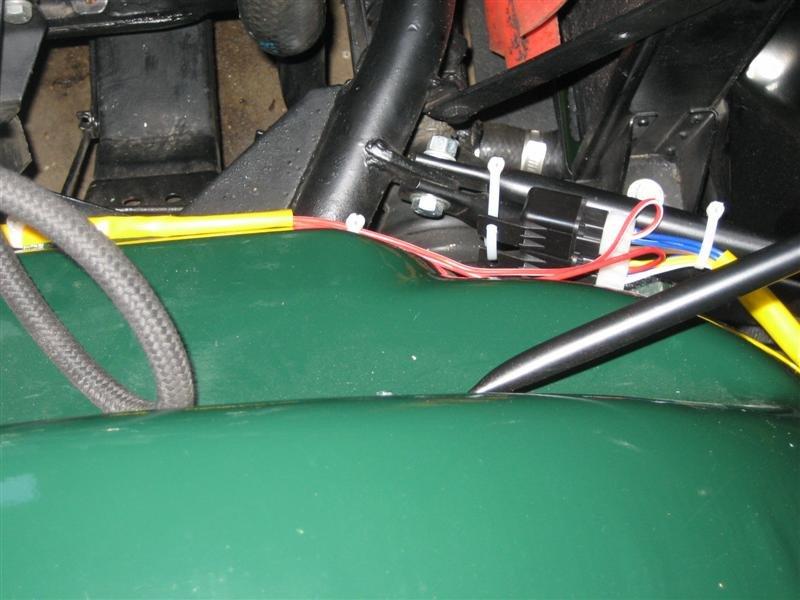
I have seen some installations and did not care for the clutter that came from the extra wires added to those already on the drivers side and crossing back to the passenger side of the battery. In fact I did not want extra wires going to the battery at all. I decided instead to run the wires on the passenger side and go to the positive post on the starter. This seems to me to be a cleaner look I also feel the wires are not as vulnerable to damage with this route.
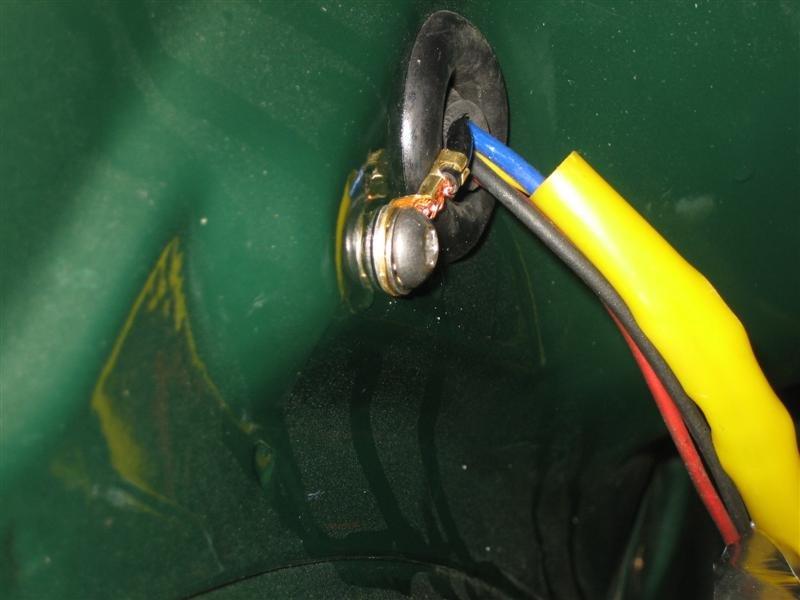
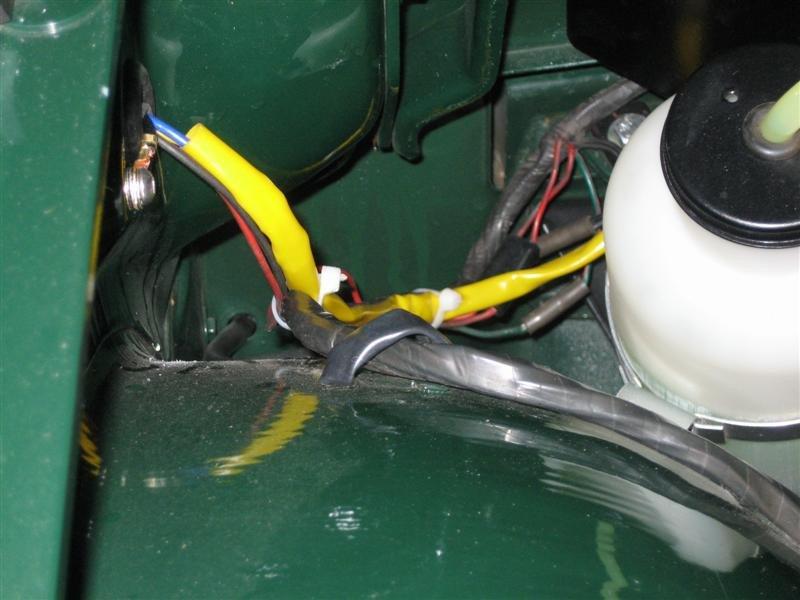
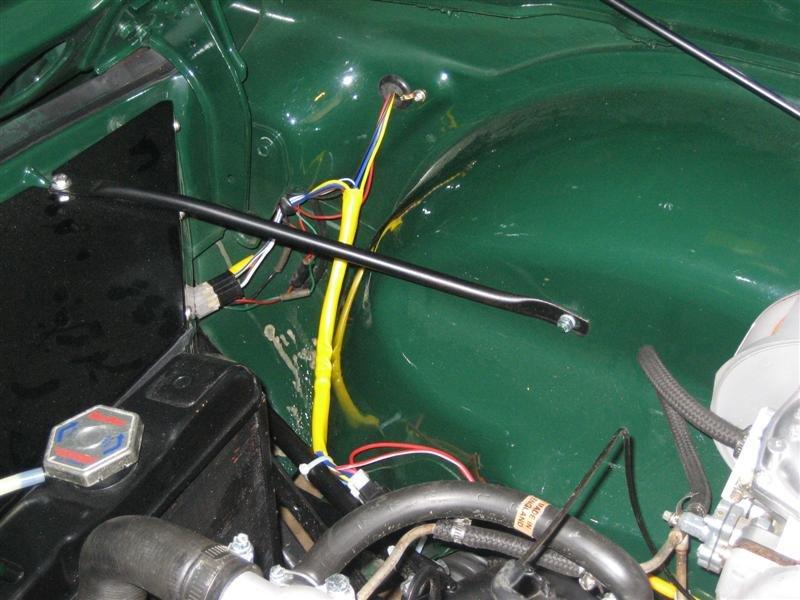
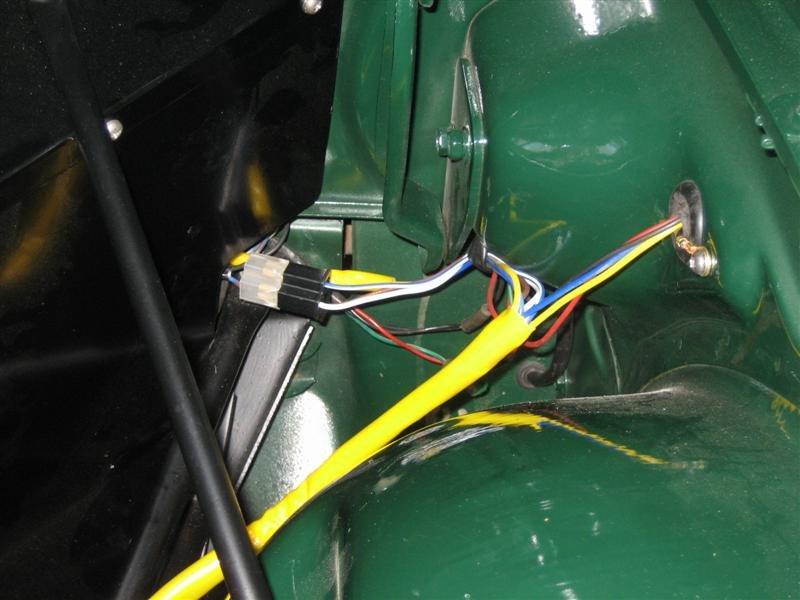

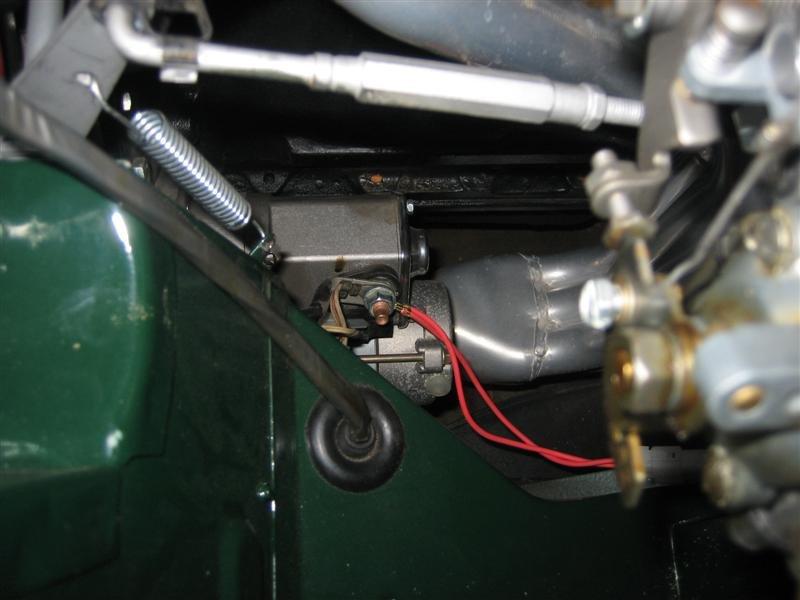
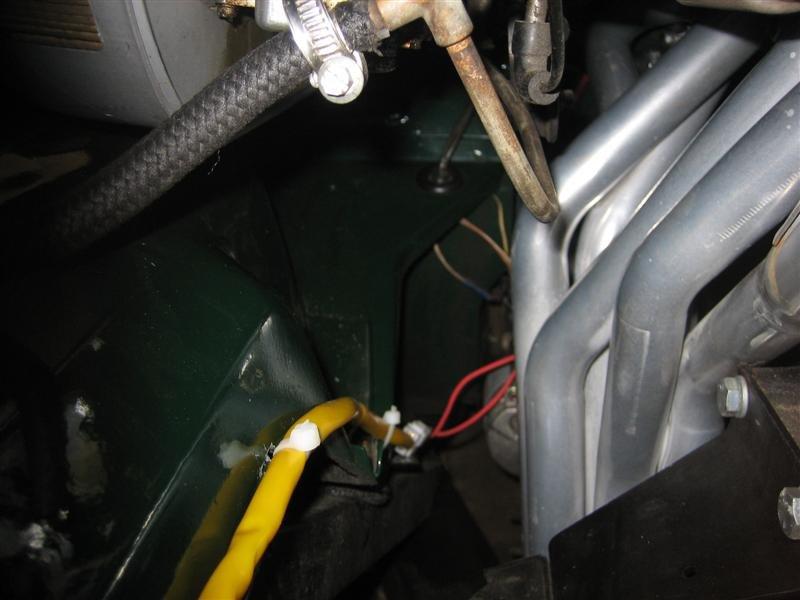
When installing the harness follow the directions on the package. You will need to reinstall one of the original harness/plug sets for the passenger side. The directions say to use the one closest to the battery, because the way they are wired in the original harness it makes little or no difference which side is used. The plastic part of both plugs will need to be removed so the wires can be fed from the engine bay to the headlight bucket. After the wires are in place the plugs need to be reassembled. Follow the above directions. I found the black ground wires for the lights were long enough that I could fasten them just inside the engine bay. I fastened the ground wires with SS 6mm screws, internal tooth star lock washers and nuts. I also used three lock washers, one under the head of the screw and one on both sides of the sheet metal to provide a certain ground connection. I used 6mm and SS just because I happened to have some from another project.. I would not recommend grounding them inside the headlight buckets. The buckets do not have a dependable ground themselves. You might as well learn from my experience. Now you can plug in the new harness to the old light plug that you pulled from the light bucket. You can also plug in the two relays. Next run the two hot leads to the starter and fasten to the positive post. You may need to enlarge the hole in the wire connector or replace it with a larger one. At this point I just plugged in the sealed beams and let them hang. Then connected the ground to the battery and tested the lights. Assured they worked correctly I then finished installing the sealed beams and secured the sires so they would not get near the exhaust and would look as neat and tidy as possible. Then I reinstalled my shroud and air cleaner. This photo shows the battery without extra wires going to it.