You must be logged in to rate content!
4 minute read

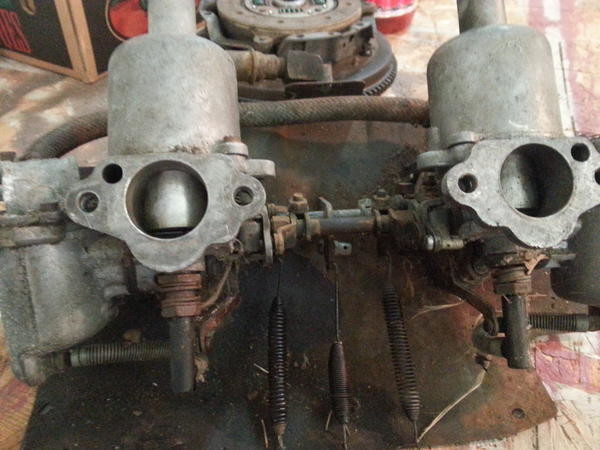
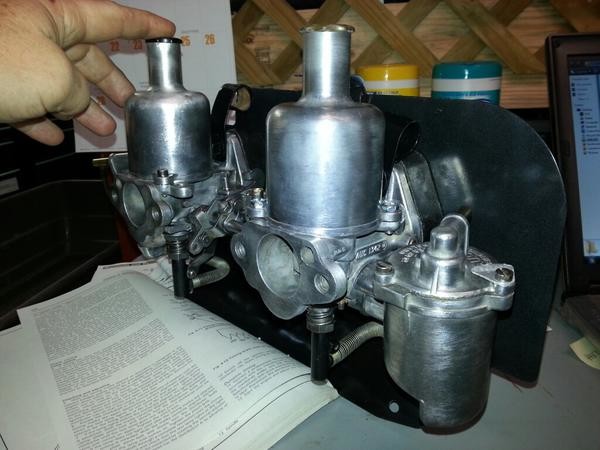
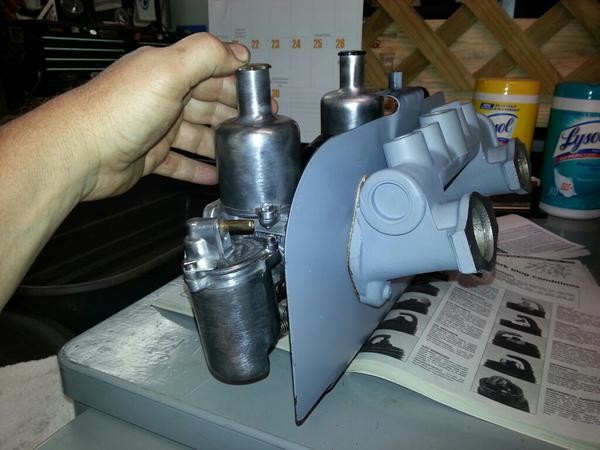
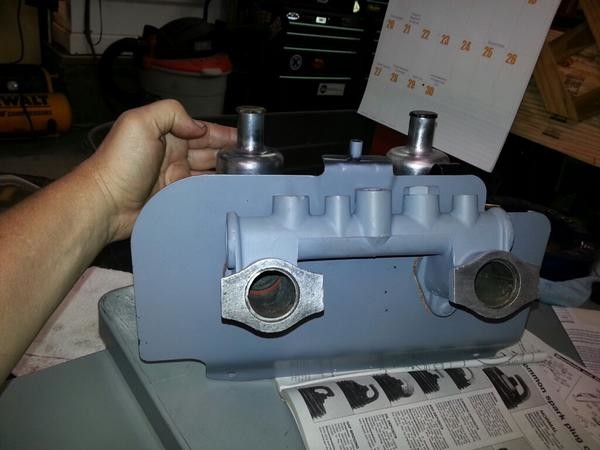
Got the carbs done... before and after...
Compliments of Mosa @ http://www.mgexp.com
4-28-2014
Got the carbs done over the weekend... sheesh what a job just getting the gunk off, and things unstuck from bein just NASTY grimy sludgy etc etc... anyway, heres some before and after pics...
working on the braided fuel line replacement order now....
now.. if its SET UP right after following all the tips/tricks/guides Ive referenced, MAYBE it will run...lol...but the pistons are smooth, the jets centered, Ive set it back 12 flats ( read 6 to 12, so prob will have to adjust, will observer initial fill and fuel level once its all installed)
I do notice its an AUD136R which is for a 66 1098 motor and Ive now got a 1275 that Ive figured out is from around 1973 or so... but figgering it will run anyway....
Tim

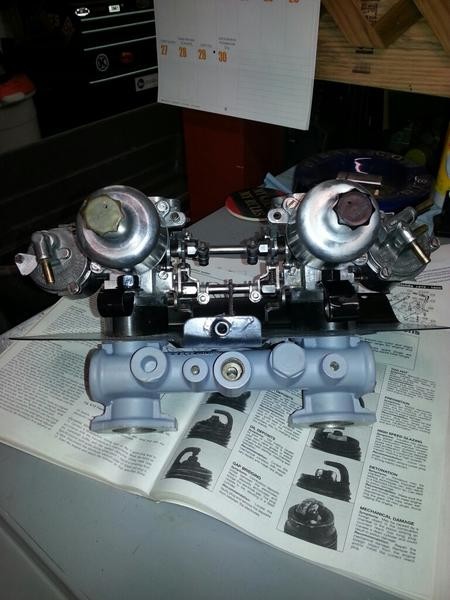
pretty happy the way they turned out...I painted the manifold side the ceramic super-hi--temp paint so when I paint my exhaust manifold, all will blend.... 2-toned...

4-29-2014
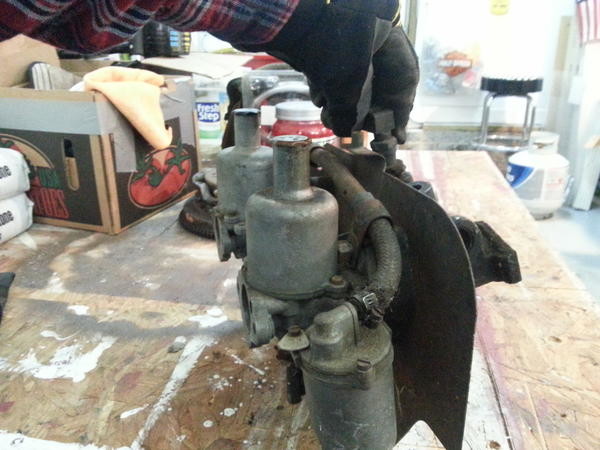
ya thanks Norm for that tip, there is/was a adapter in that center hole in the intake manifold, and it has what looks to be a PCV valve in it ( see my 'before pic" that I have currently out of the manifold and trying to 'unstuck ' it with PBBlaster etc etc... its not the PCV valve thats in any of the diagrams or shop manuals so it must be an aftermarket one, and thinking I will head to AutoZone and just replace THAT one ( its much smaller than the MG one)... then gotta figger out the vacccuum routing ( thinking it will go to the timing cover can thats there) as when I got the car everything was already stripped and apart... fun fun fun...lol
Also, thanks Mike, Im figuring as well I will have to look at the correct jetting of these carbs for the 1275 motor, not sure if the PO did this already or not, so will dig some more... anybody know how to identify current jet thats installed? no markings of any kind on the jet, so I guess its a diameter measurement with calipers or something...
Next up, the exhaust manifold de-gunk, de-rust and paint wiht the hi-temp ceramic paint to match the manifold/heatshield...that shouldnt take much to do today...
Tim
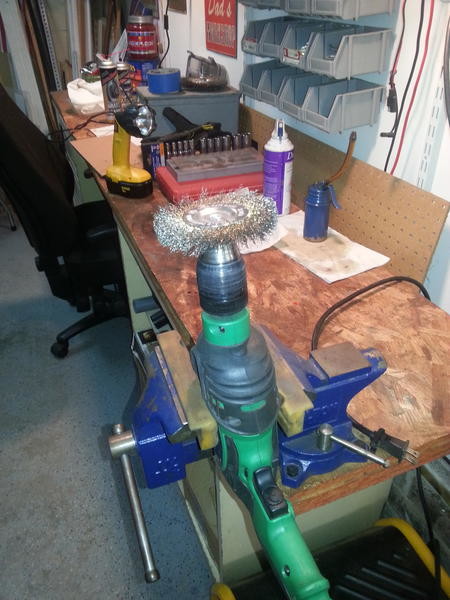
good ol drill motor and wire wheel.... bit by bit, piece by piece...