You must be logged in to rate content!
3 minute read
Jabsco HX Pump Install...
Compliments of NathanScott @ ctsvowners.com
9-11-2012
Thought I would snap some pictures of the install. Got most of the parts at Lowes.
Remove bumper. I already had the Fluidyne mounted. If you are replacing just the pump then I do not thing you will have to remove the bumper. Most do this while installing the HX. Bumper removal can be found in the beginning of this...
Remove bottom panel that is held on with 2 10mm bolts and some clips...
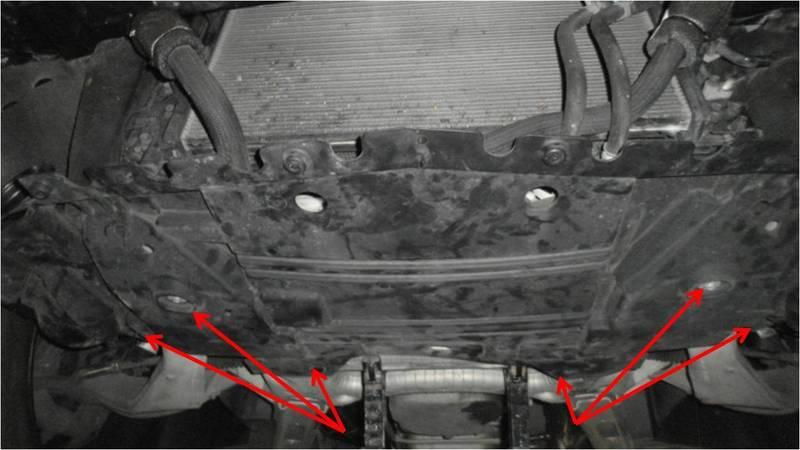
The HX pump will be on the passengers side...
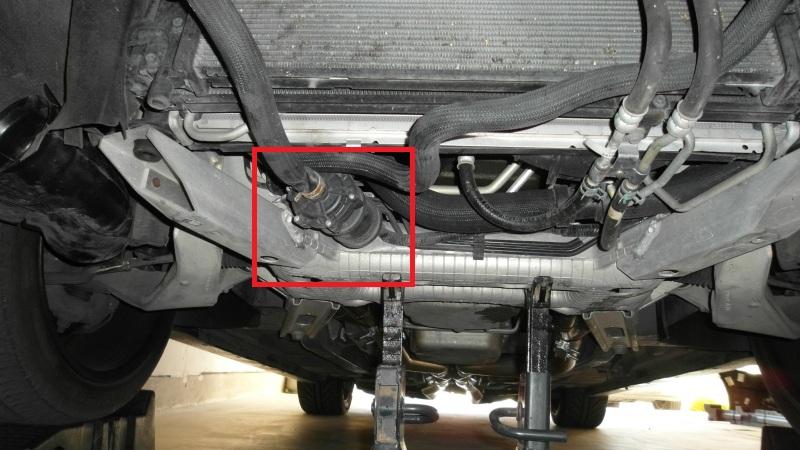
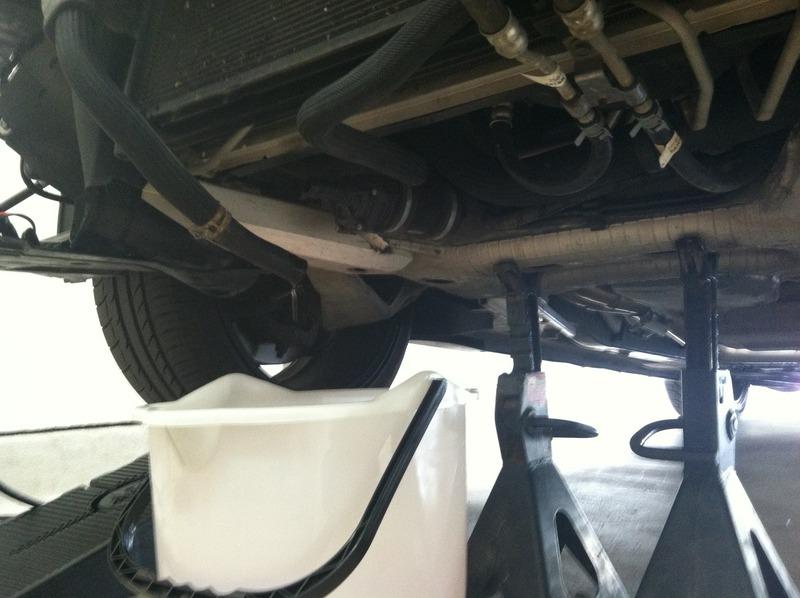
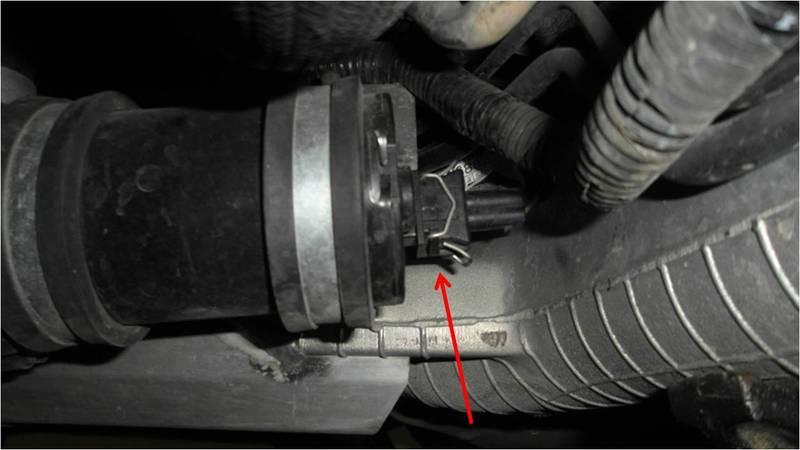
Remove coolant line and drain. I put an old t-shirt over the bucket so filter anything...
Remove electrical plug
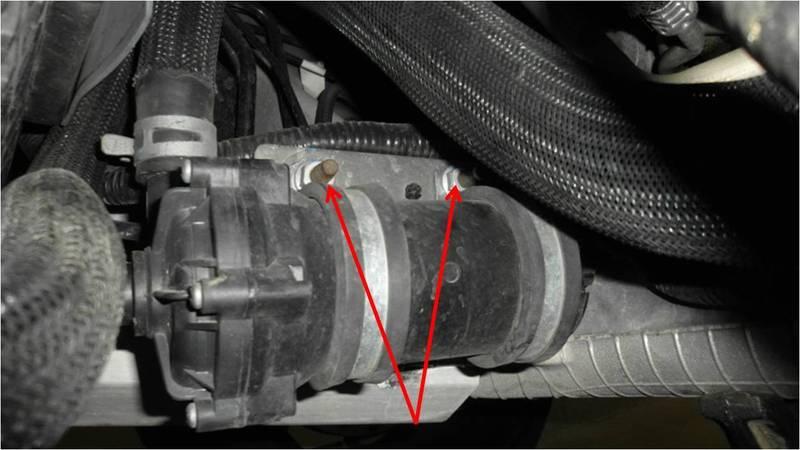
Remove 2 13 mm bolts holding the pump on...
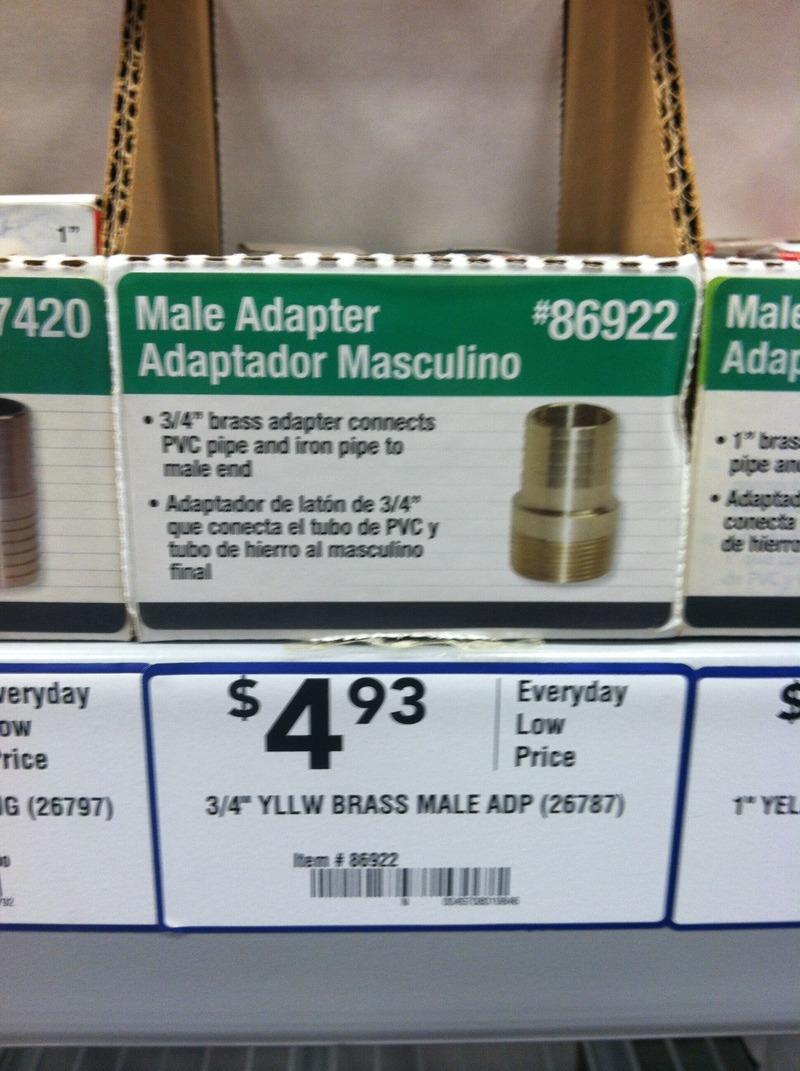
Fittings from Lowes...
Bracket from Lowes...
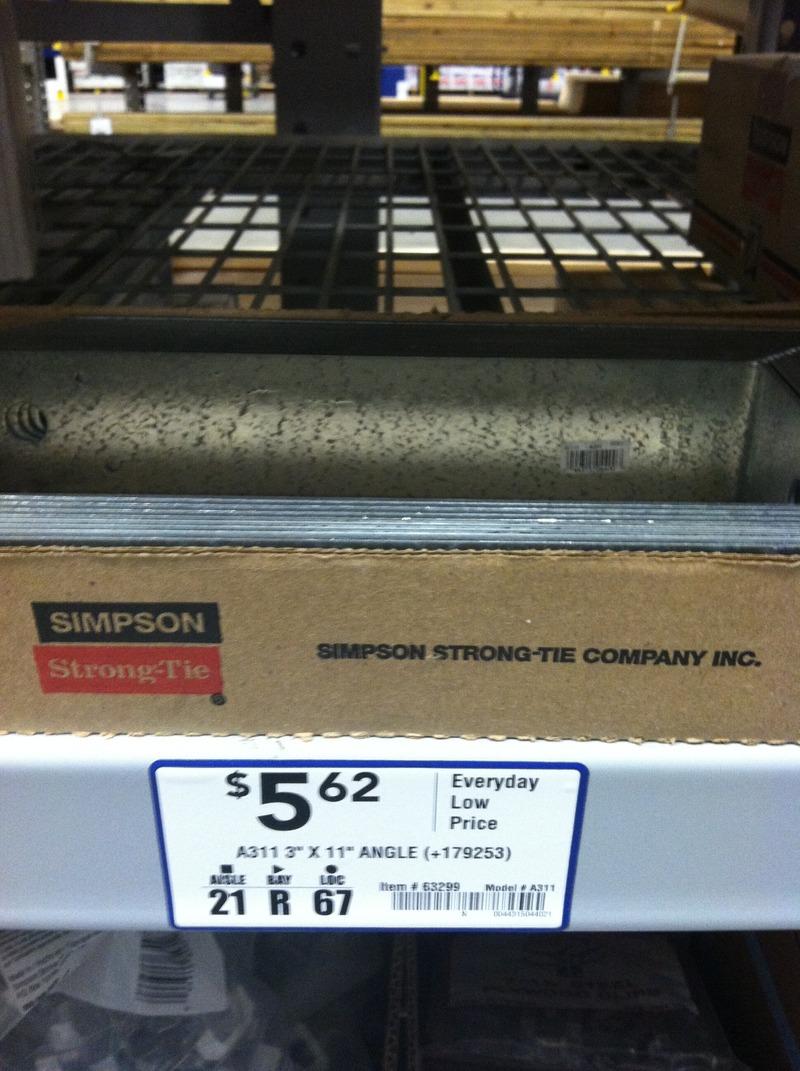
Bracket bent and installed...
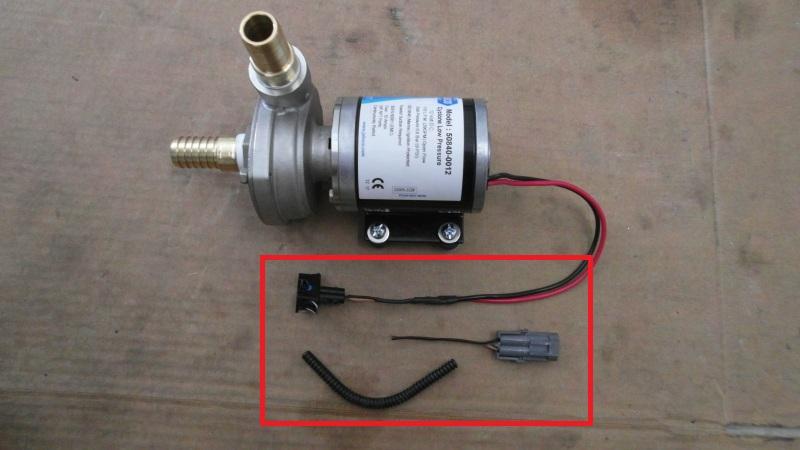
Remove the pigtail from the HX electrical connector. Cut in half and solder brown to red and black to black. The back of the factory HX had + and - signs by the connector...
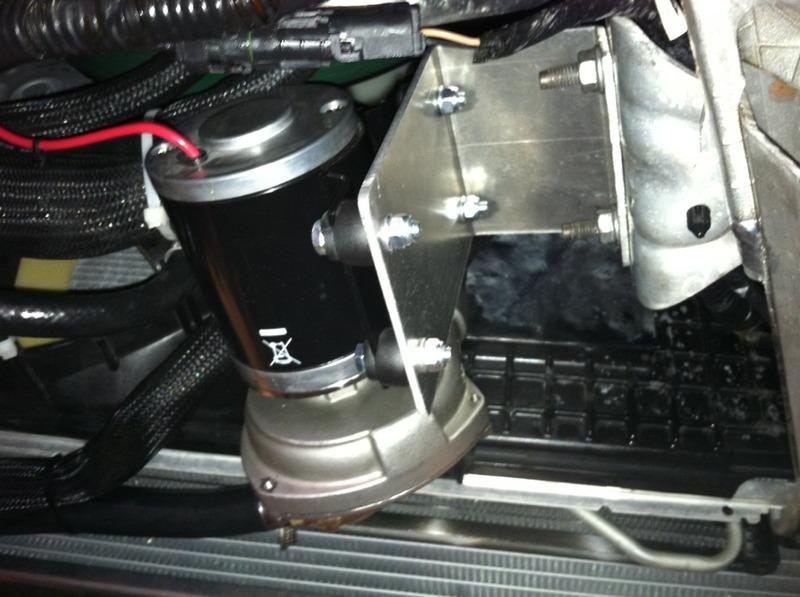
Install bracket and then install pump...
Plumb hoses. I went from the output of pump to the passenger side of Fluidyne then from driver side of Fluidyne to passenger side of factory HX...
Bleed system. I used a funnel and hose to fill the Fluidyne as much as I could before I bled the system.

Nice detail & pics ????
Posted by Diggymart on 11/7/18 @ 1:14:21 PM