You must be logged in to rate content!
8 minute read

How to retrofit a 996 hardtop to fit a 997
Compliments of wiggy @ rennlist.com
9-2-2009
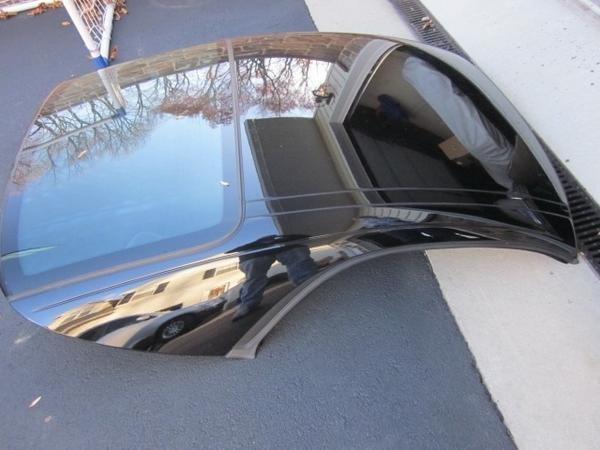
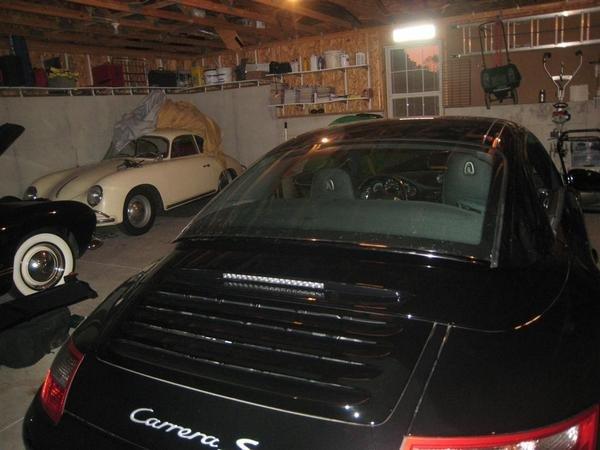
For those that drive their cars in the cold weather like I do, I wanted to have a hardtop to install on my 06 C2S cab in the winter. I'm one of those unusual people that actually like the look of the hardtop!
Unless your 997 was ordered with a hardtop (very rare), in a likelihood, your 997 does not have the mounting hardware on your car to install a hardtop, unlike all of the 996's.
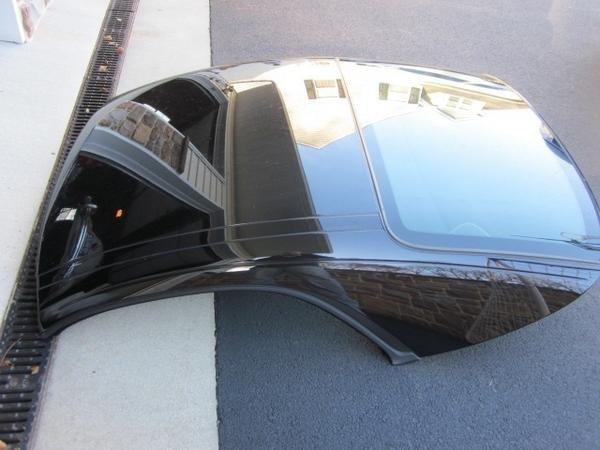
There are many people who question whether a 996 hardtop will fit on a 997. The answer is YES. All that's required are the mounts that bolt on to the car that receive the locks on the top. Mounts are specific to the locking pins on the car. Mounts are left - right specific with the left mount having the electrical connection for the rear defroster included. Electrical hookup is plug and play as the 997 includes the harness for the defroster connection.
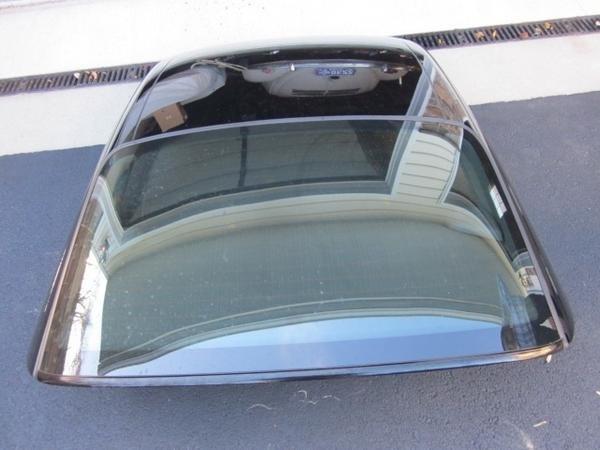
It is important to know what kind of hardtop you have, because sometime during the 996 lifespan, the attachment mounts, and hardware on the top, were changed out for a better design. I was lucky enough to find a very CHEAP 996 hardtop with the later mounting hardware.
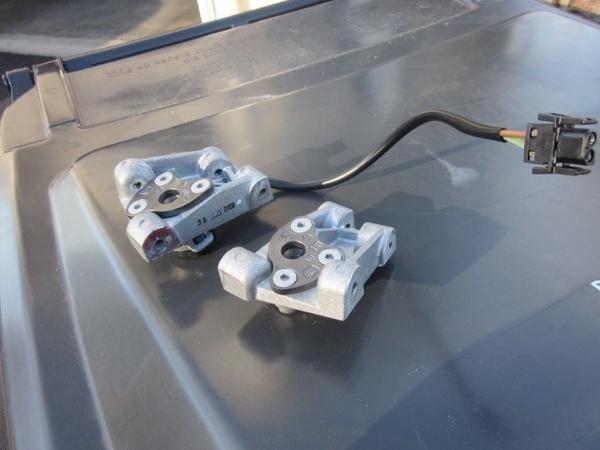
The parts you will need for the newer style mounts are :
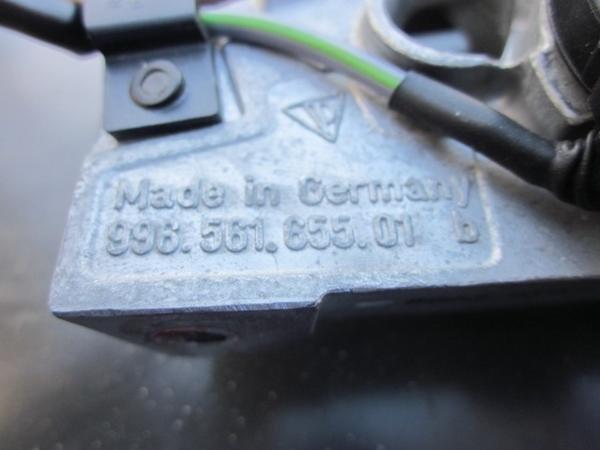
996.561.653.04 (mount to attach to the car)
996.561.654.04 (mount to attach to the car)
900.378.173.09 (8 of these just to be safe)
I bought these mounts and hardware for a total of $245 from my local dealer.
I believe the '00 to '04 tops the parts numbers were 996-561-653-03 and 996-561-654-03. It is possible to retrofit your older hardtop for the better design.
This is a very easy job - it took me about 30 minutes to do.
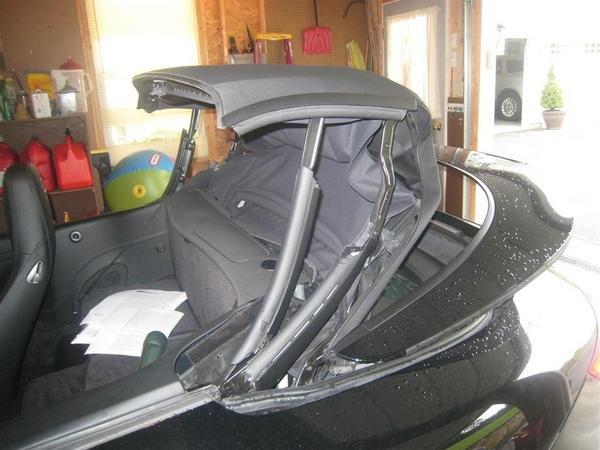
1. Place top in the service position ( almost closed with the rear top cover still in the open position as high as you can get it).
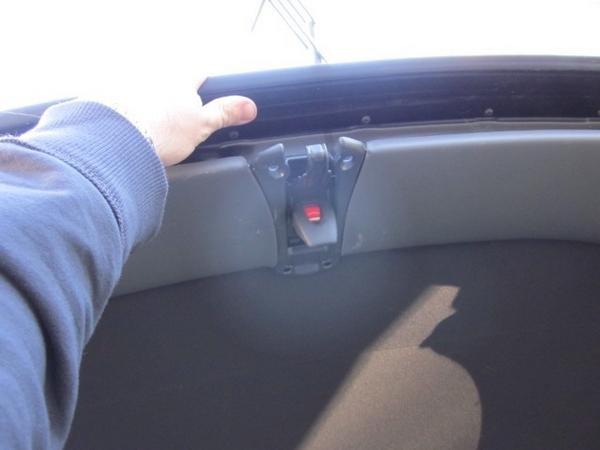
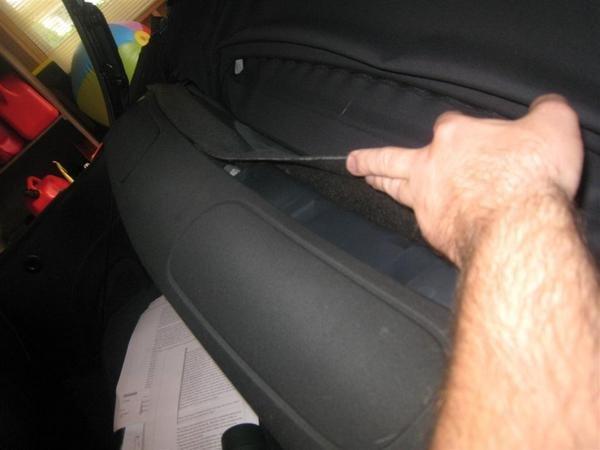
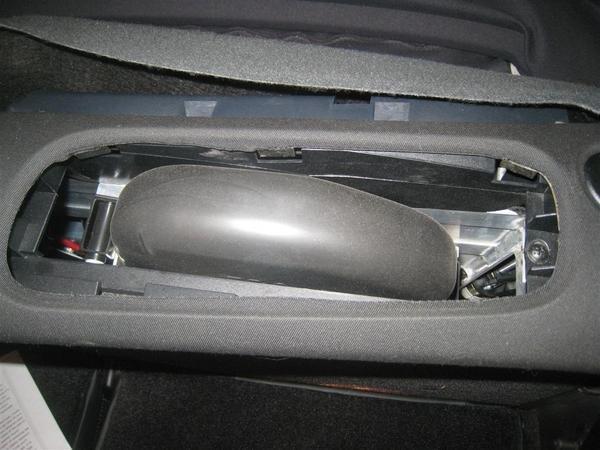
2. Pull back the thin molded carpet section at the center near the roll bar cover you'll notice a single screw that holds down the center of the roll bar cover. Remove the screw.
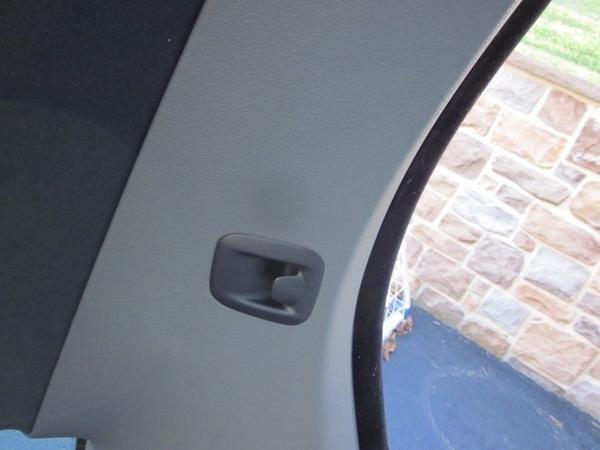
3. Pry off the top oblong covers directly over the roll bars. Work from the rearward side of the covers not the front side. There are three spring clips, left , center and right so if you work with a wide bladed screw driver start at one side, then the middle, then the other side and the covers will pop off.
4. Once the covers are off you'll see one screw under each cover on the outside edge. Remove them being carefull not to drop them in side the roll bar frame.

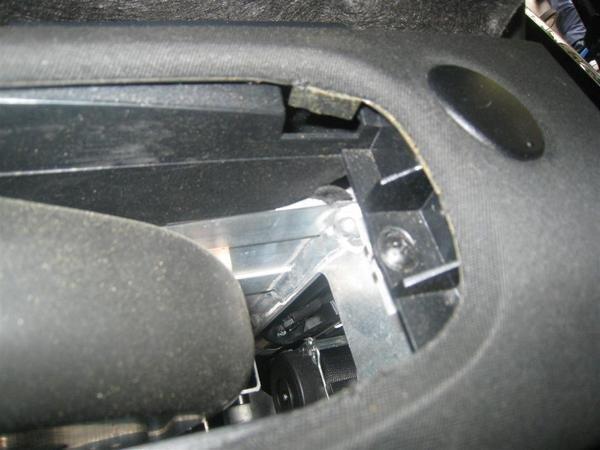
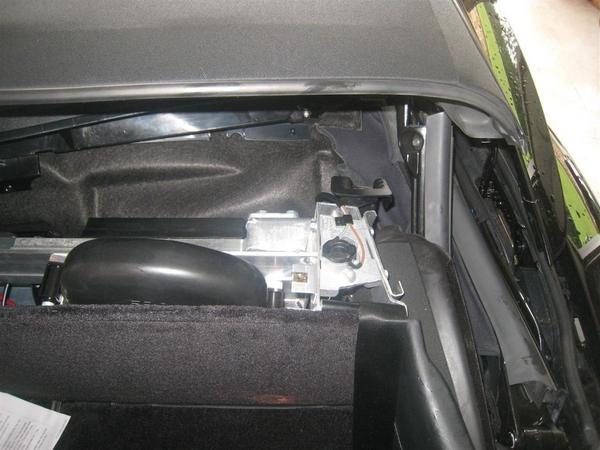
The entire cover will lift off now and exposing the roll bars and the carrier frame rails where the mounts bolt in.
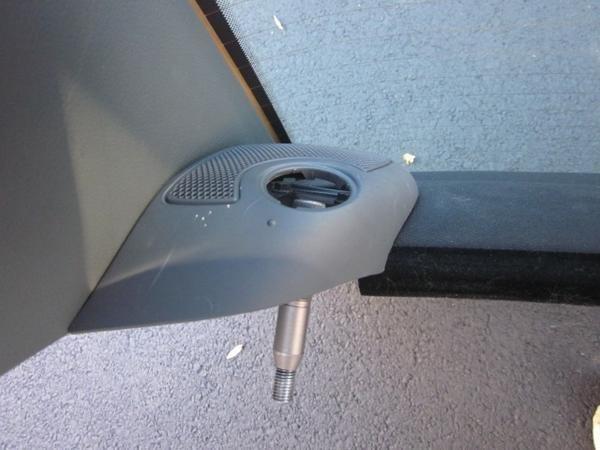
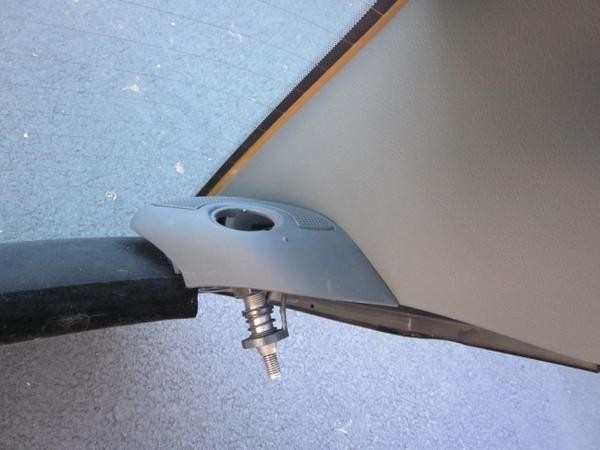
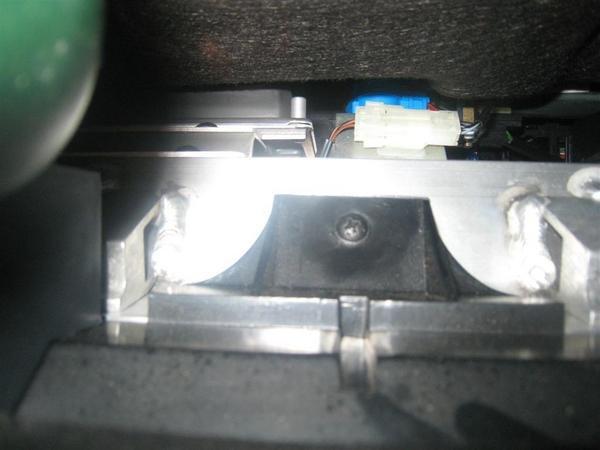
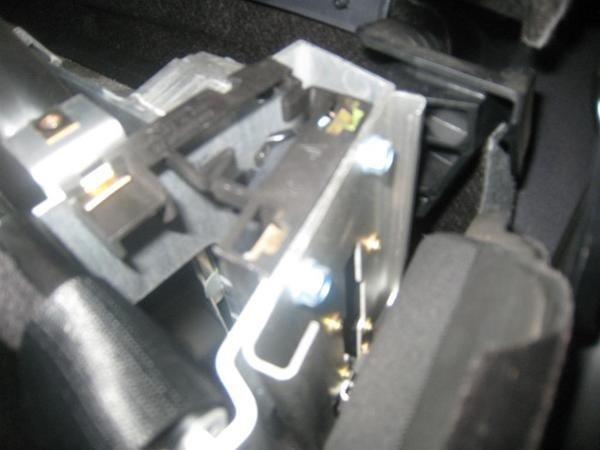
5. You'll notice once you have the cover off two plastic zig zag shaped spacers on either side of off the roll bar carrier frame. Each is held on with 3 threaded bolts despite the fact the mounting locks require four . Remove these. Be sure to note where the "L" shaped attachment points for the roll bar covers go as you'll need to re-attach them when you're bolting in the mounts as they hold the roll bar cover in place with the two screws you removed from either side of the cover.
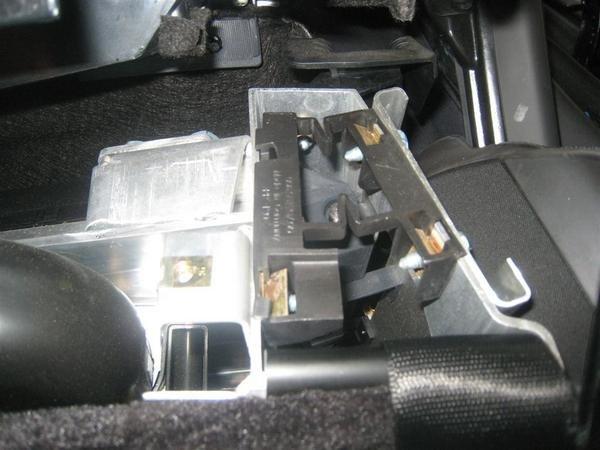
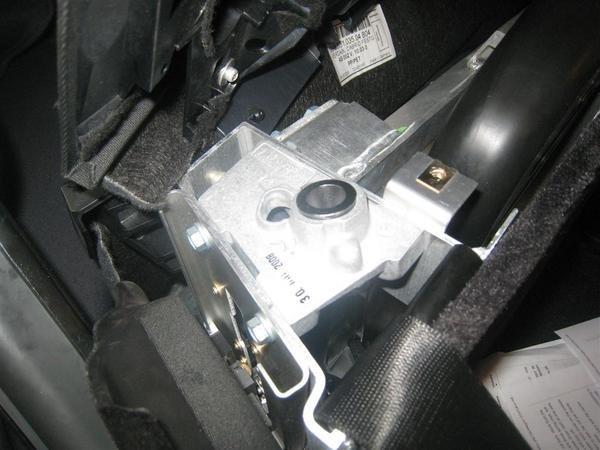
6. Bolt in new mounts with 4 bolts for each side. The drivers side mount has an electrical connection for the defroster. You need to run the wire down into the car and plug it in. The wire plugs in about 4-6 inches below the mount on the back side of the frame rail it is attached too. You'll may need to pull back the molded carpet to see the plug. It's a little bit a reach but do able. Plug only goes in one way so you can't mess it up.
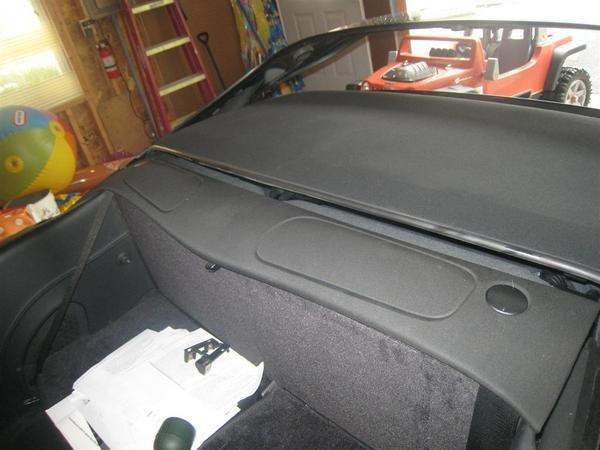
7. Reinstalling the roll bar cover is the reverse of the removal. The cover has a channel along the front side of it to receive the trim piece that goes across the back of the car's rear bulkhead. It's easy to line up just needs to be done before you start screwing the roll bar cover back in place. The smaller covers go in front first ( where the hard plastic positioning clips are) then push down on the backs to get them to seat in.
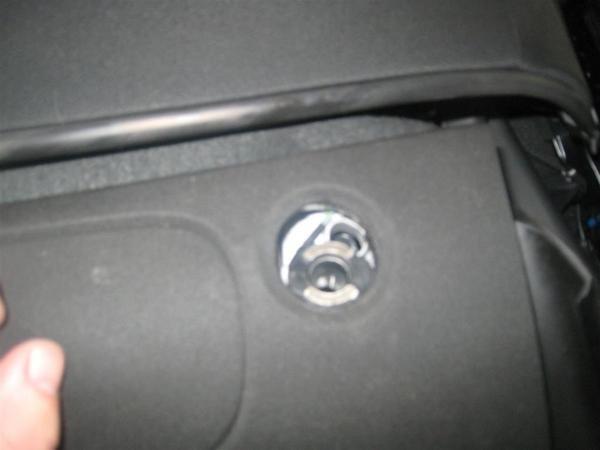
8. Pull off the small circular covers on the roll bar cover and check to see that your mounts line up.
9. With the help of a friend, lift the hardtop onto the car as per the owners manual. Torque down the bolts in the back to 37 ft lbs per the manual.
You're all set!

I learned most of this from a thread on Renntech.org. I added pictures and my commentary from when I did the install myself.
11-15-2010
If anybody is interested in it, I have my hardtop and mounting kit for sale as I sold my 911. Its in great shape. Black with grey interior (looked fine with my black on black car). Nice thing about black, is it actually looks pretty good on other colored cars - so no need to repaint it.
$1000 for the hardtop and mounting kit.