You must be logged in to rate content!
7 minute read
Front bumper removal and blackout grille install – A3
Compliments of kwanja_a3 @ www.fourtitude.com
For your convenience, I've documented my steps in removing the front bumper to swap out the OEM chrome/grey S-Line grille for the OEM blackout grille and plate holder.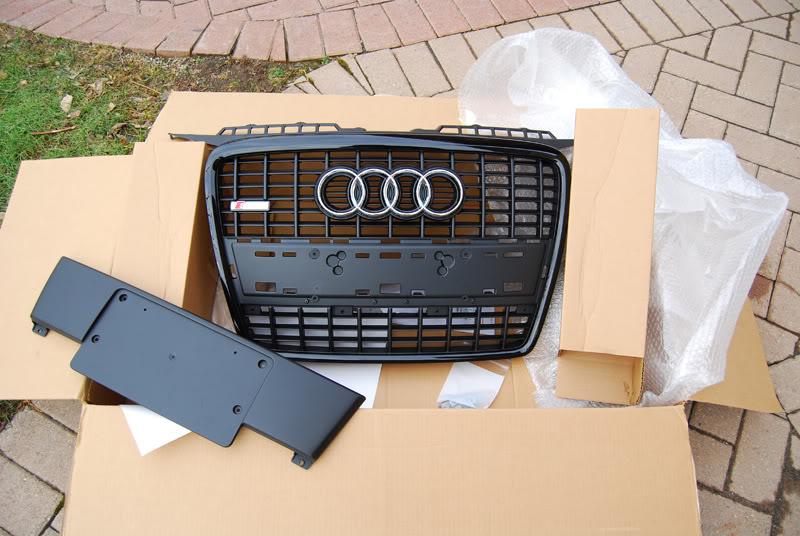
This is how I did it, although I'm sure there are many different ways.
If you're wondering if it's necessary to remove the front bumper to swap the grilles, YES, it is necessary, you'll see why.
Tools used:
Torx-25
Torx-30
ratchet and 10mm socket
jack and two stands
flat head screwdriver
philips head (a.k.a. "+" head) screwdriver
Time used:
A little over 3 hours at a fairly leisurely pace, giving myself time to wipe down some dirty crevaces and stumble through the initial bumper removal, as I didn't know exactly which screws needed to be removed (i.e. a bit of trial and error)
Note:
steps 4) to 11) are explained for one side of the car only, the other side is simply a mirror image. I always did both sides before moving to the next step.
Process:
1)Put down something soft under the front of your car, both for your own comfort and to keep the bumper from being scratched when you remove it.
2) Jack up the front of the car high enough so you can easily manoeuvre under there.
3) Pop the hood and get to work! Remove the THREE screws just at the mouth of the engine bay.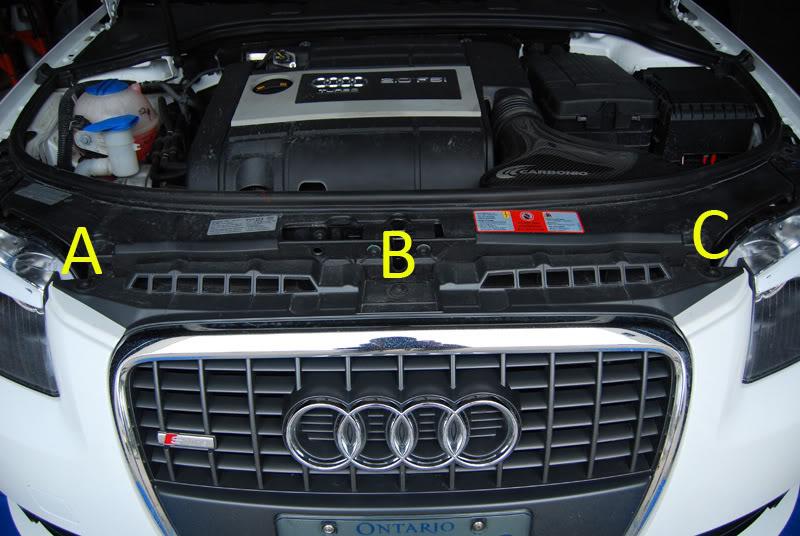
4) Slide under the car and remove the FOUR torx screws (all torx screws are size 25 from here on) that follow the line connecting two plastic under body pieces.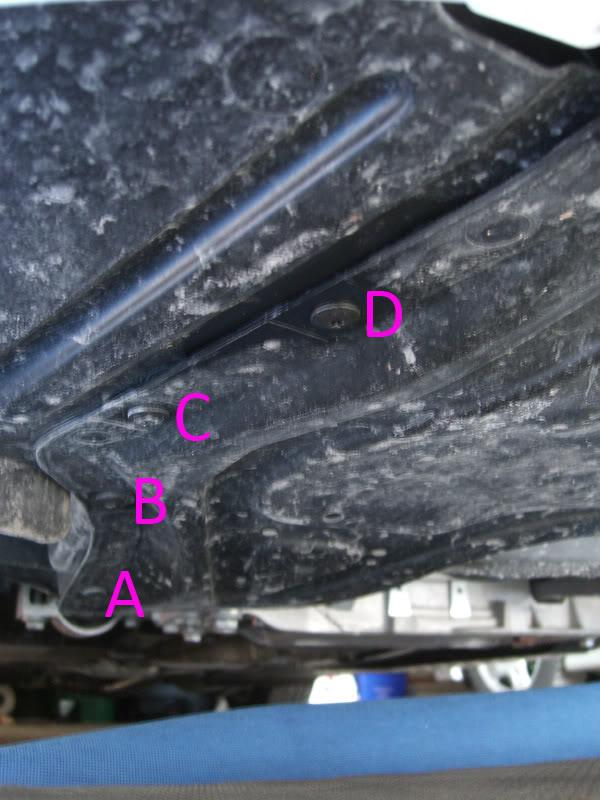
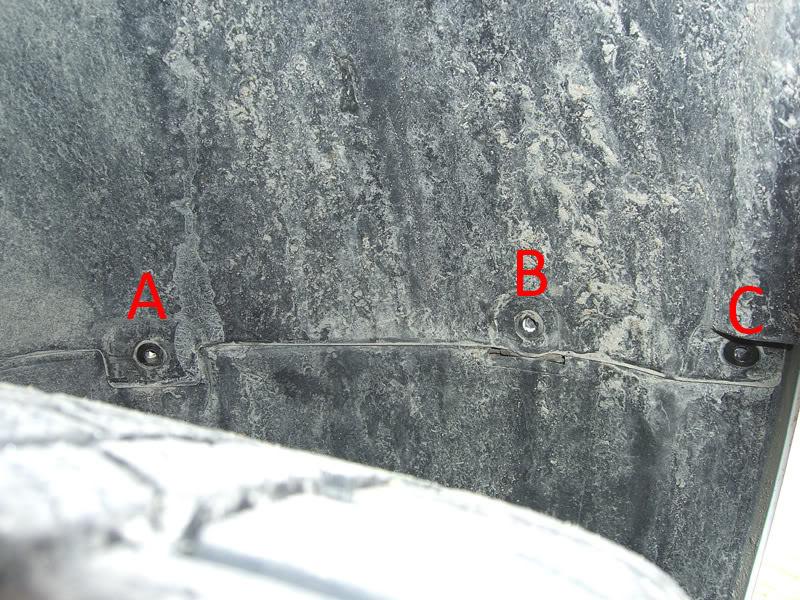
5) Remove the torx screws closer to the front bottom of the bumper. THREE screws in total.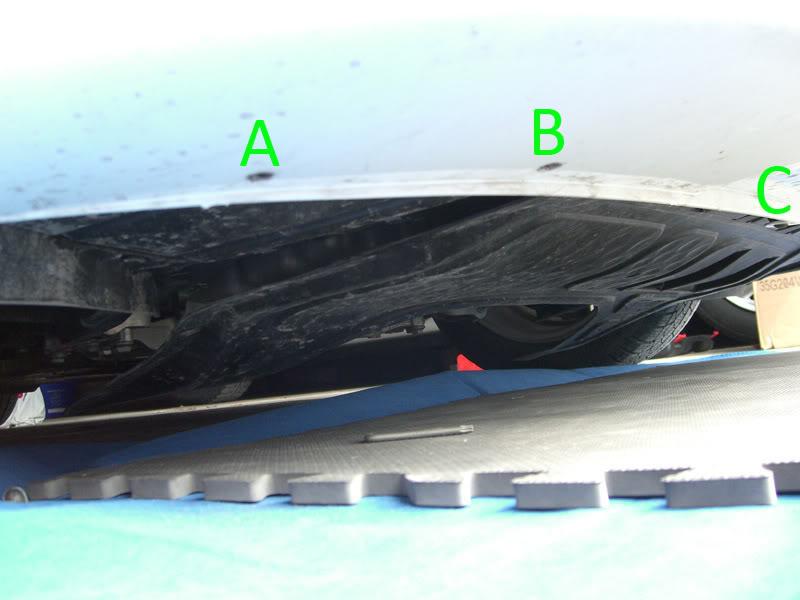
Note: green "C" is in the middle of bumper, so no mirror image for this one screw.
6) The front underbody piece should now be loose. Pull it out of there.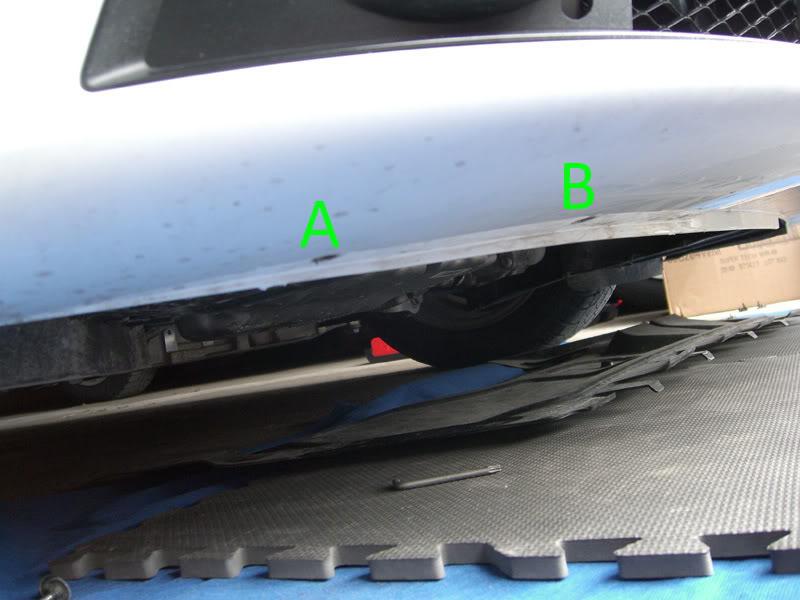
7) With that piece removed, you can now see green "D". Remove it.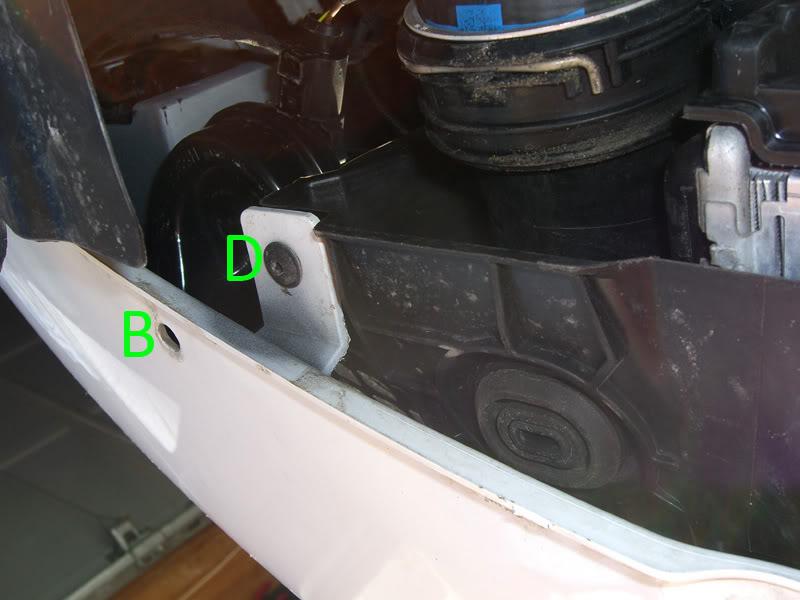
8) Now to the wheel well. Remove these FIVE screws pictured.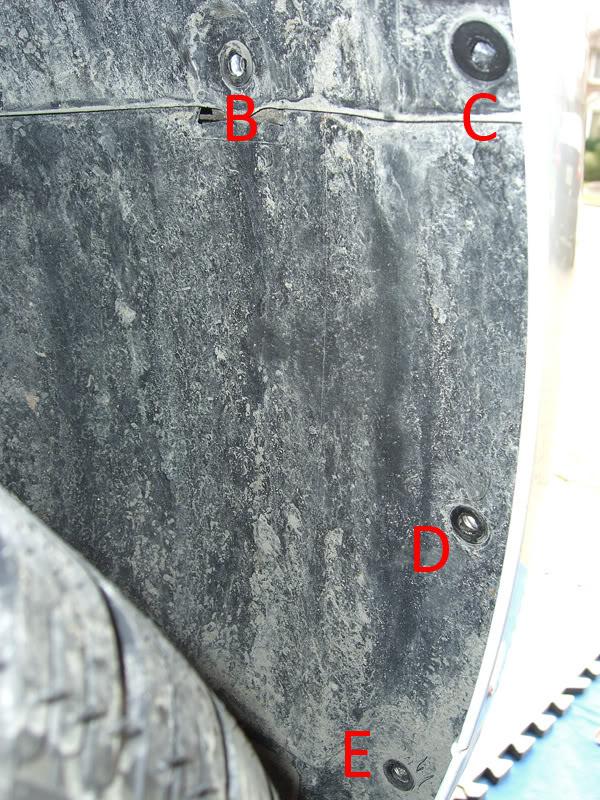
9) These next TWO screws don't need to be removed, but I did just so that I could get easier access to some screws in the upcoming steps. This one is the infamous "rubbing" screw that many of you have experience with, hehe. It's at the arch of the wheel well.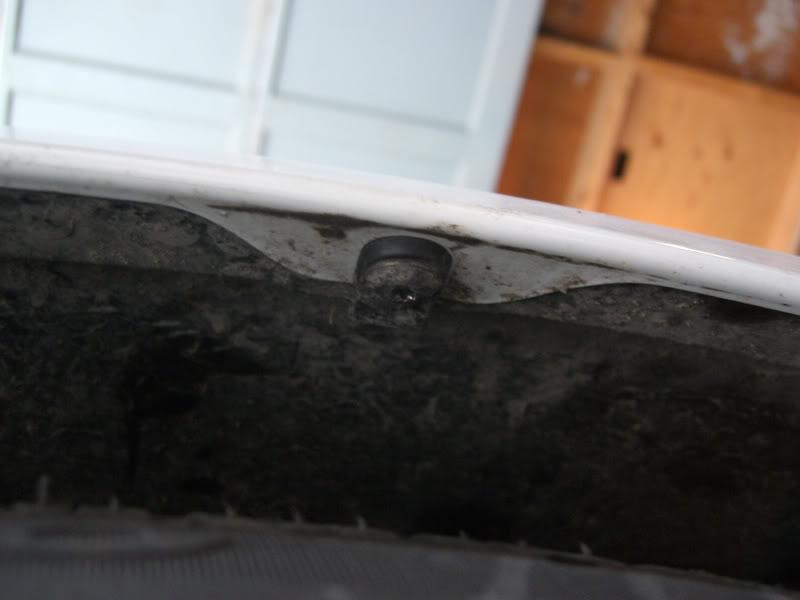
And this one below is near the arch of the inner wheel well.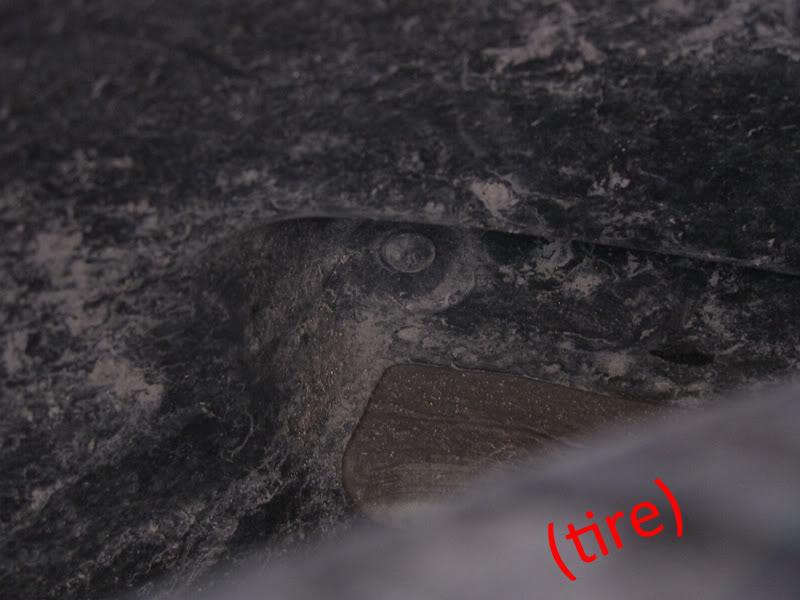
10) The bumper is almost off! Pull back the wheel well liner to get access to these TWO bad boys, blue "A" and "B". You have to access them from below what's labeled.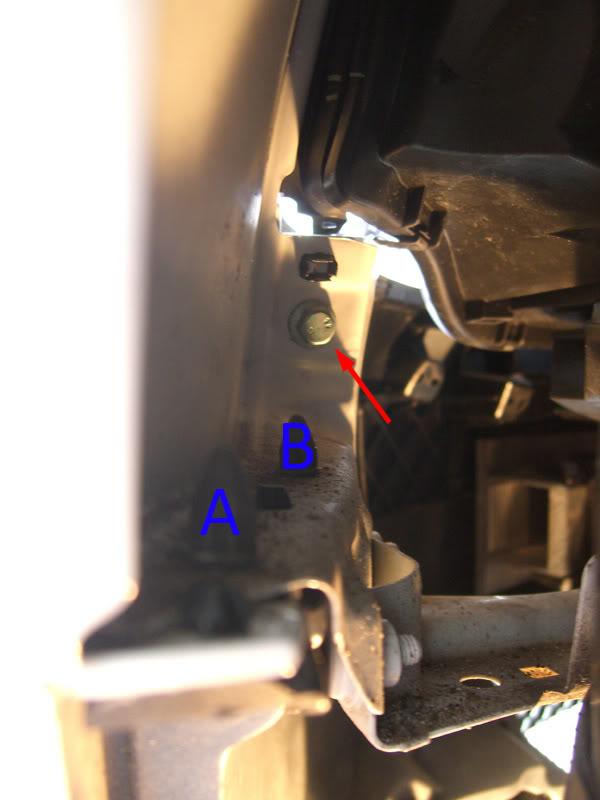
After you remove these two, the red arrow in the picture above is pointing to the 10mm screw, so break out the ratchet and 10mm socket to get at this screw. You may or may not need a socket extension piece to reach it. I used one to make things easier.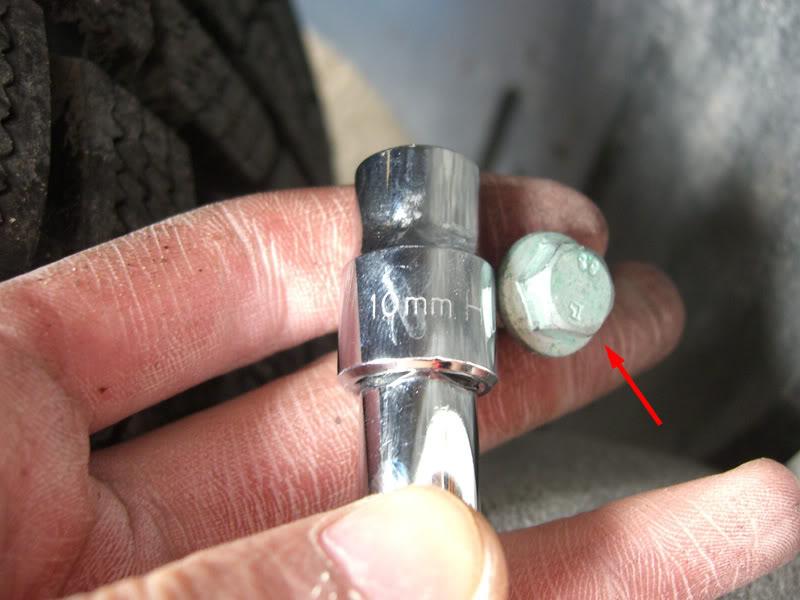
11) That should do it, IIRC. Look at the picture below, grab hold around the red dot area and carefully pull in the direction of the arrow. Make sure there's something soft on the ground beneath the bumper.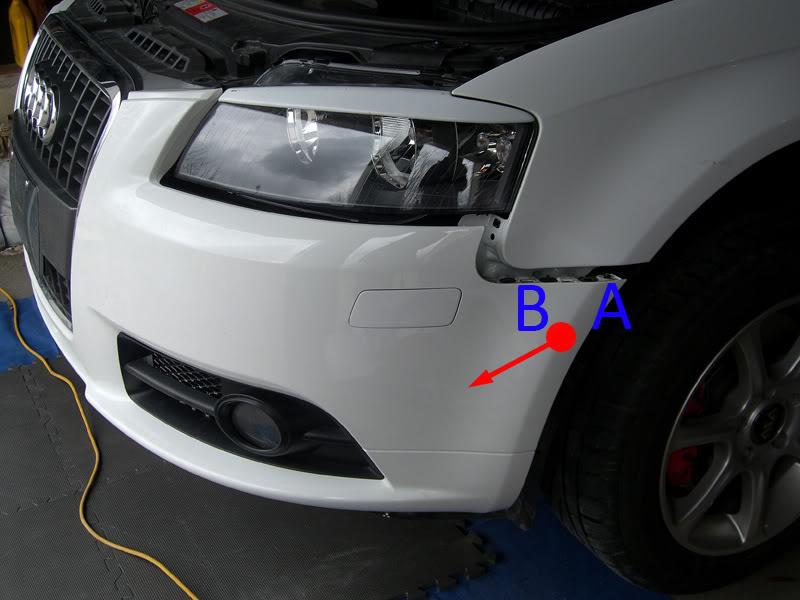
A different angle of blue "A" and "B" after removal of the bumper.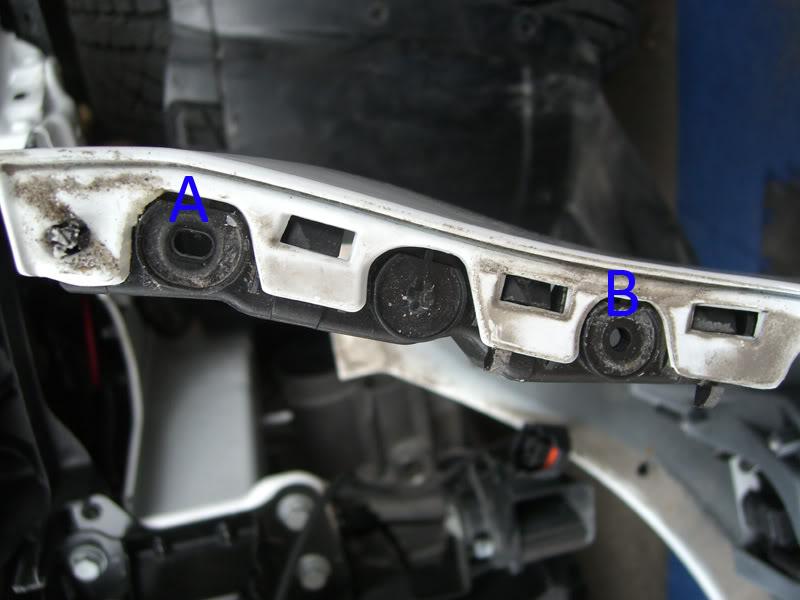
12) Pull out fog light connectors so that you're not constrained when trying to pop out/in the grilles.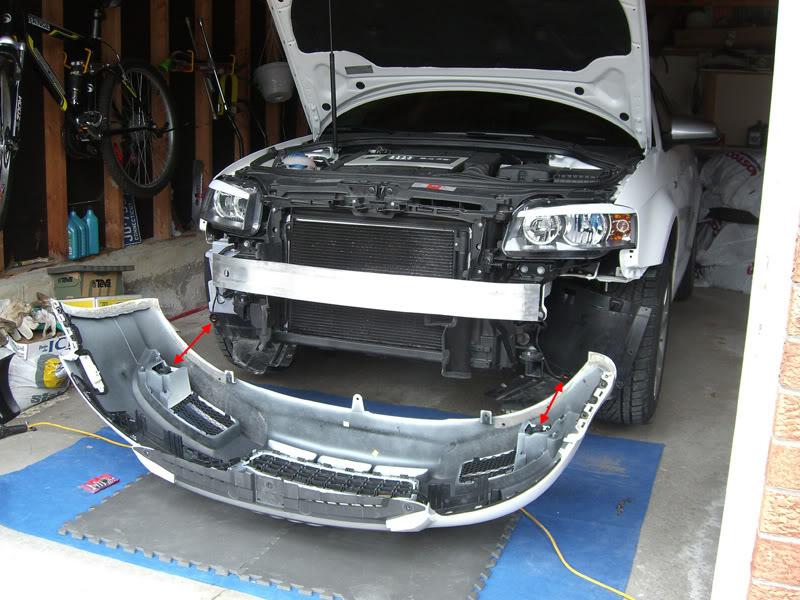
13) There are a couple philips head screws holding the grille to the bumper, remove those. Take your flat head screwdriver to help you push against the many tabs to separate the grille from the bumper. Let me warn you, this was a b!tch, you have to use force, but you also don't want to break anything. Just be patient. This step alone took me about half an hour!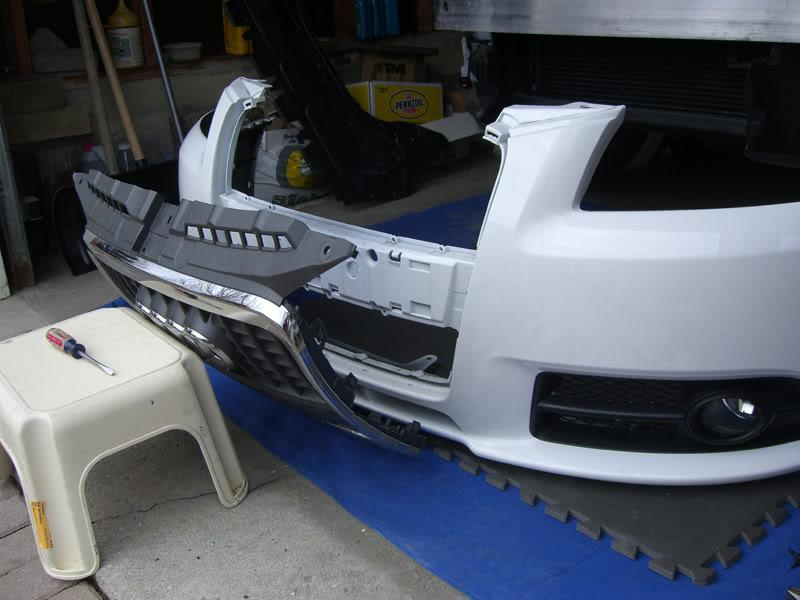
14) Go get one, you deserve it!
15) Out with the old, in with the new!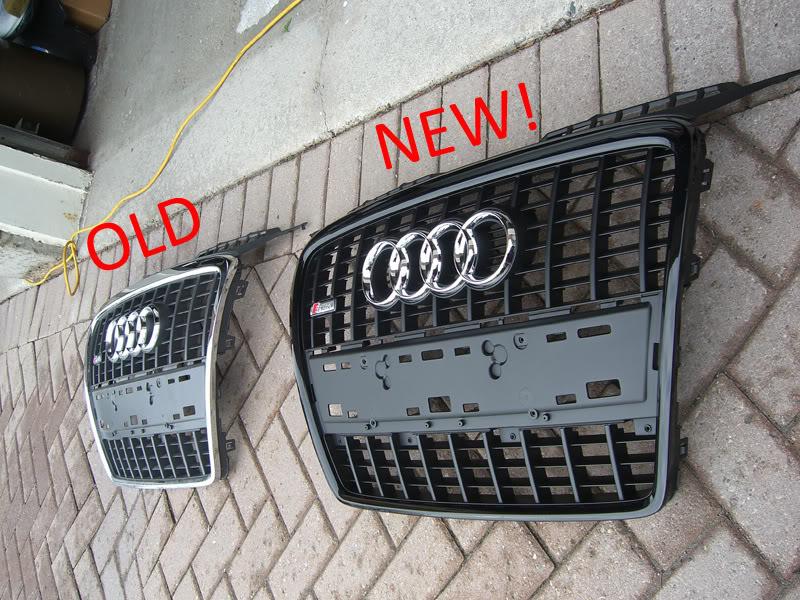
Pop in the blackout grille. This is a million times easier than the removal! Make sure all your tabs pop into place. Screw in the philips head screws onto the blackout grille where they were removed from the original grille.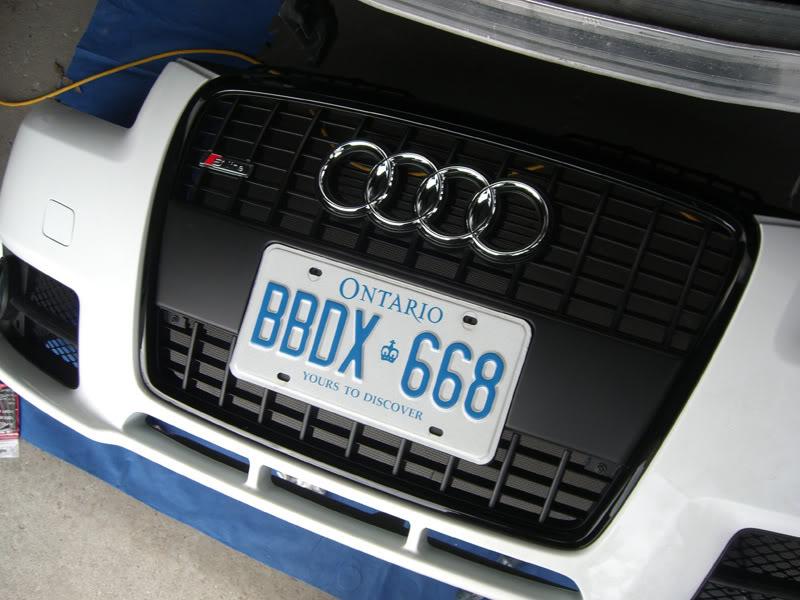
16) Once you've double checked everything, mount the bumper back onto the car. It should be able to sit in place on its own (with no screws) if properly set.
17) go through steps 12) to 5) in decending order to get all those damn screws back into place and to re-mount your bumper.
18) Test the bumper to make sure it's secure and check that there are no loose torx screws left lying around.
19) Put the car back on the ground and enjoy!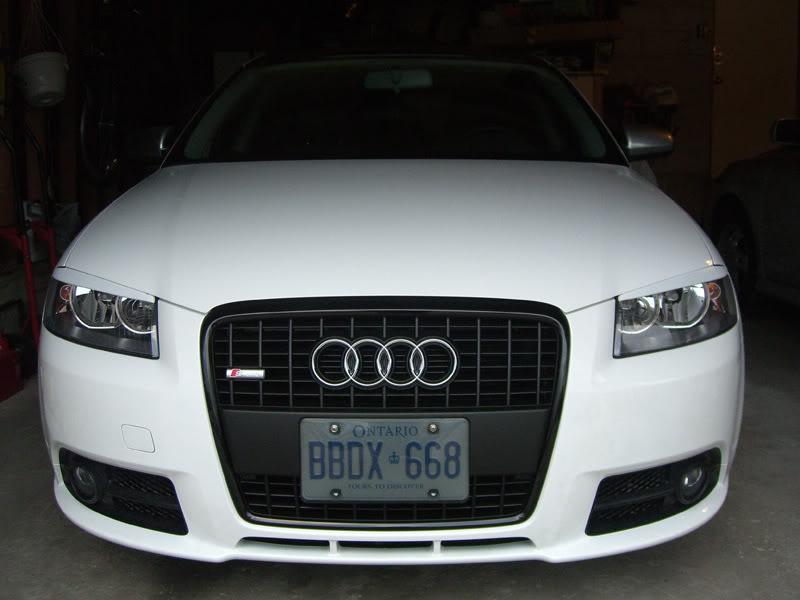
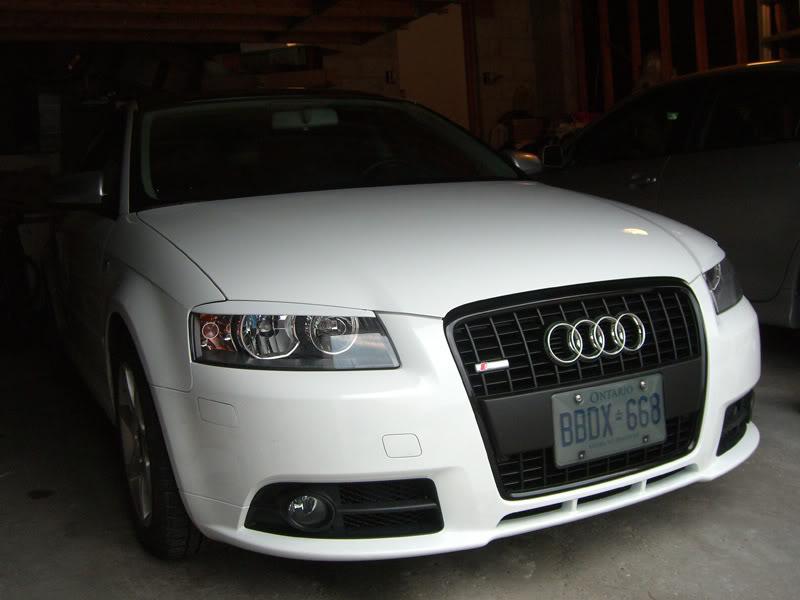


The blackout is sharp!
Posted by Diggymart on 2/17/20 @ 9:14:47 PM